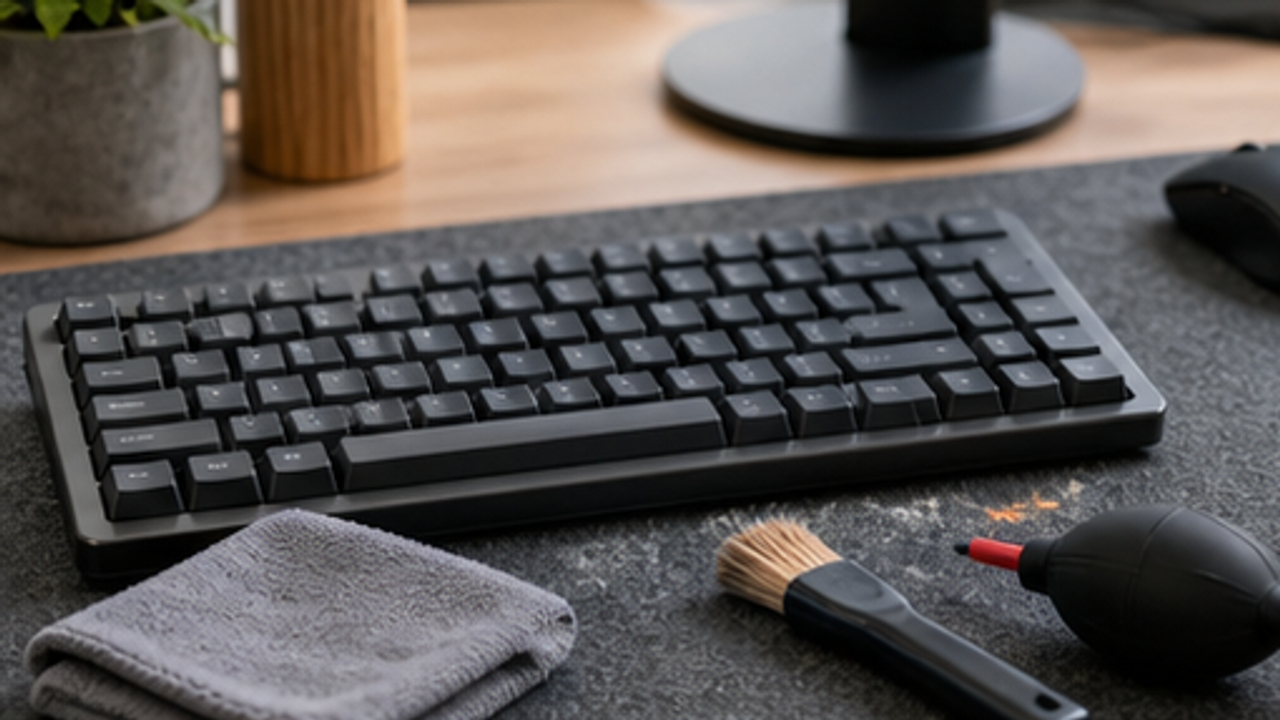
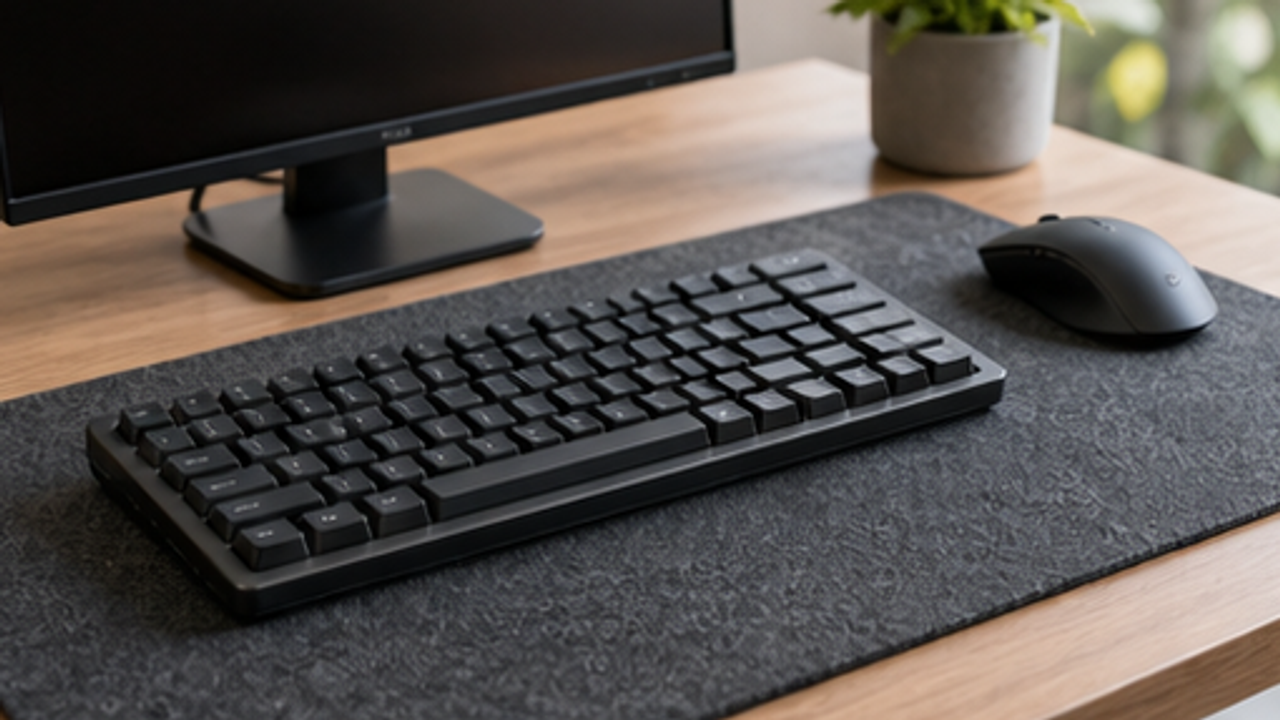
Clean a Computer Keyboard Surface Safely

This guide helps remove dust, crumbs, and surface grime from a keyboard without soaking it. By powering down, loosening crumbs, brushing, wiping lightly, and drying fully, you can clean the surface with lower risk.
Power Down First
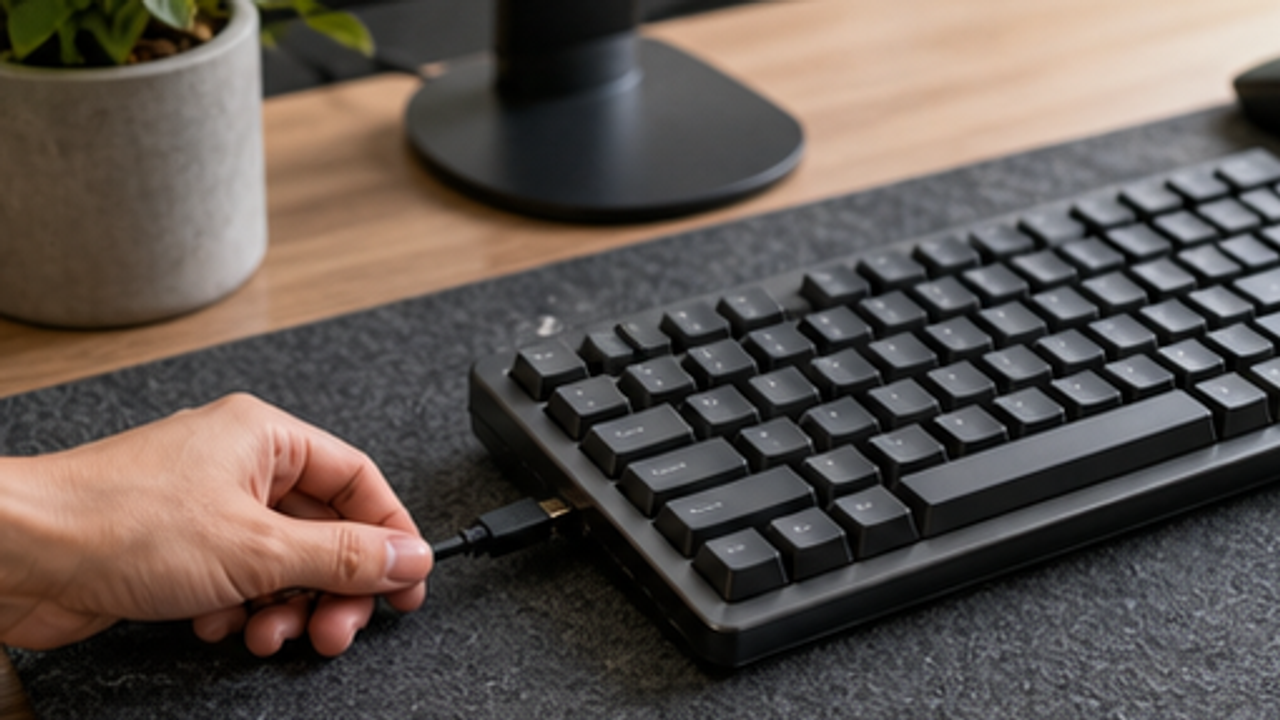
Unplug an external keyboard or turn it off. For a laptop, shut it down before cleaning.
Powering down reduces accidental input, short-circuit risk, and device damage.
Do not wet-wipe or deep-clean while the device is powered.
Shake Out Loose Crumbs
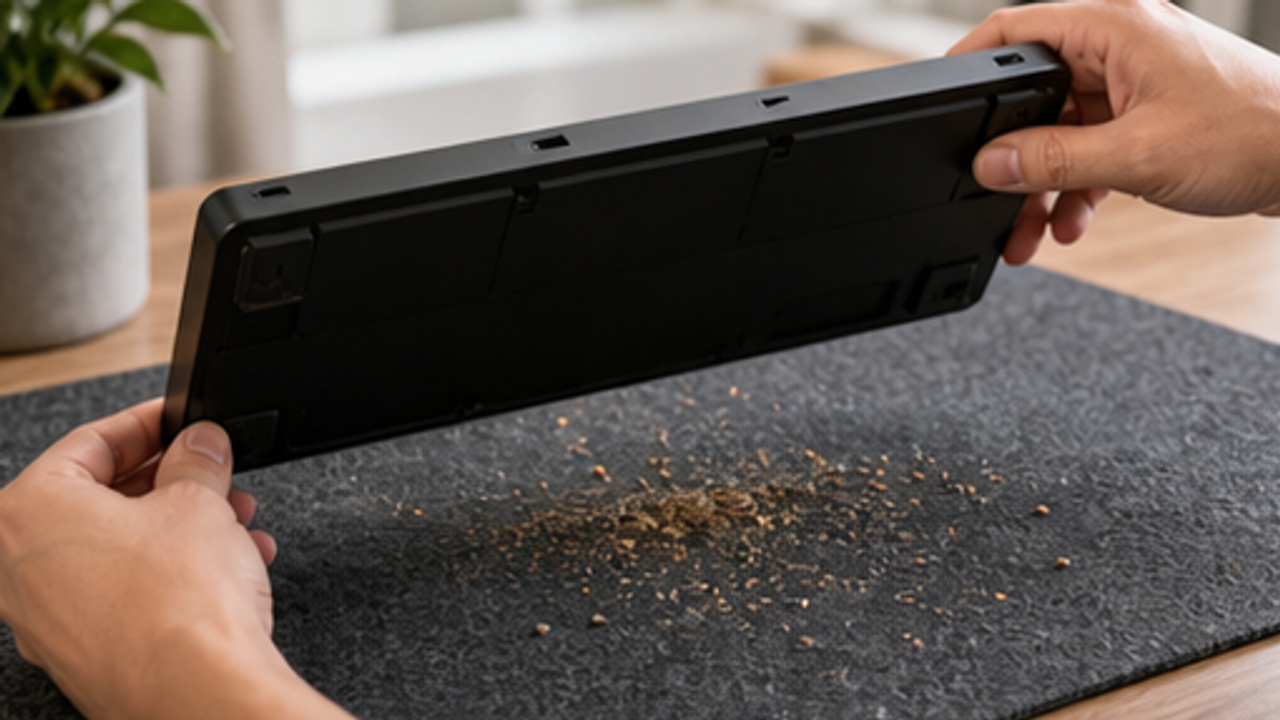
Gently turn the keyboard over above a desk mat and tap lightly so crumbs and dust fall out.
Removing loose debris first keeps brushing from pushing particles deeper.
Do not hit or drop the keyboard.
Brush Between Keys
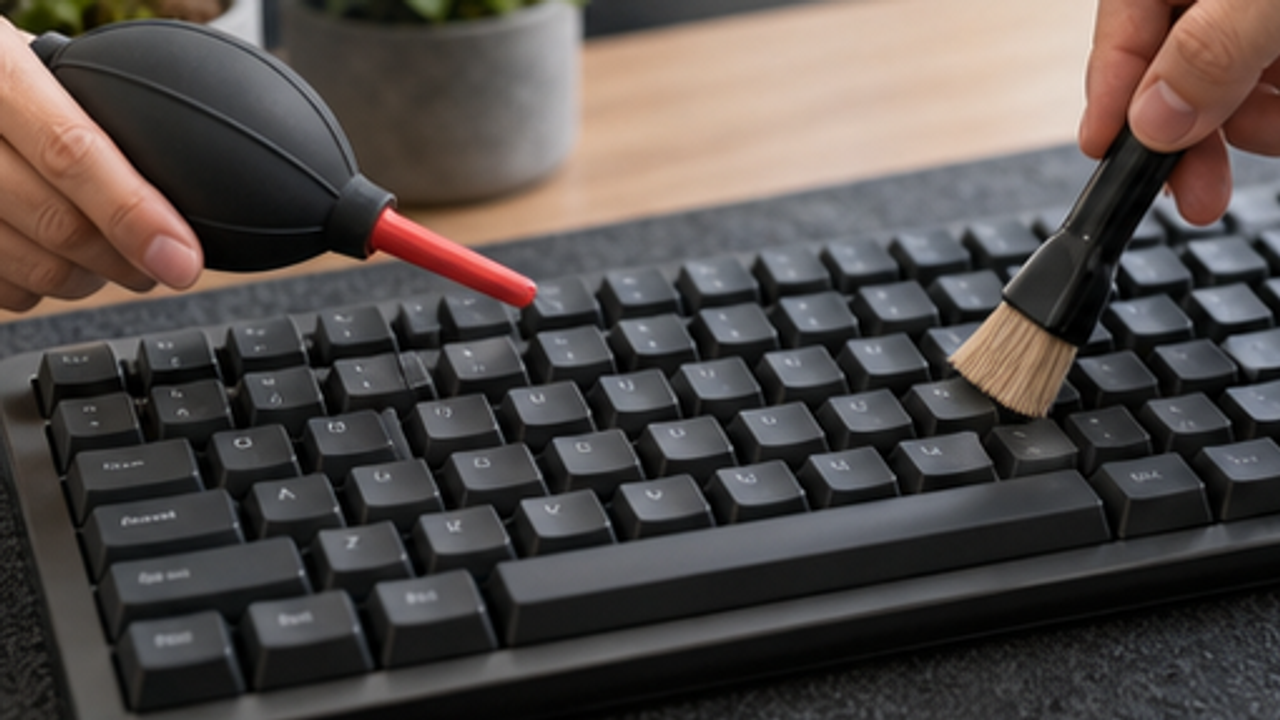
Use a small air blower and soft brush along the key gaps to move dust out.
A soft brush is less likely to scratch keycaps or edges than hard tools.
Avoid blasting high-pressure air close to the keys.
Wipe the Key Surfaces
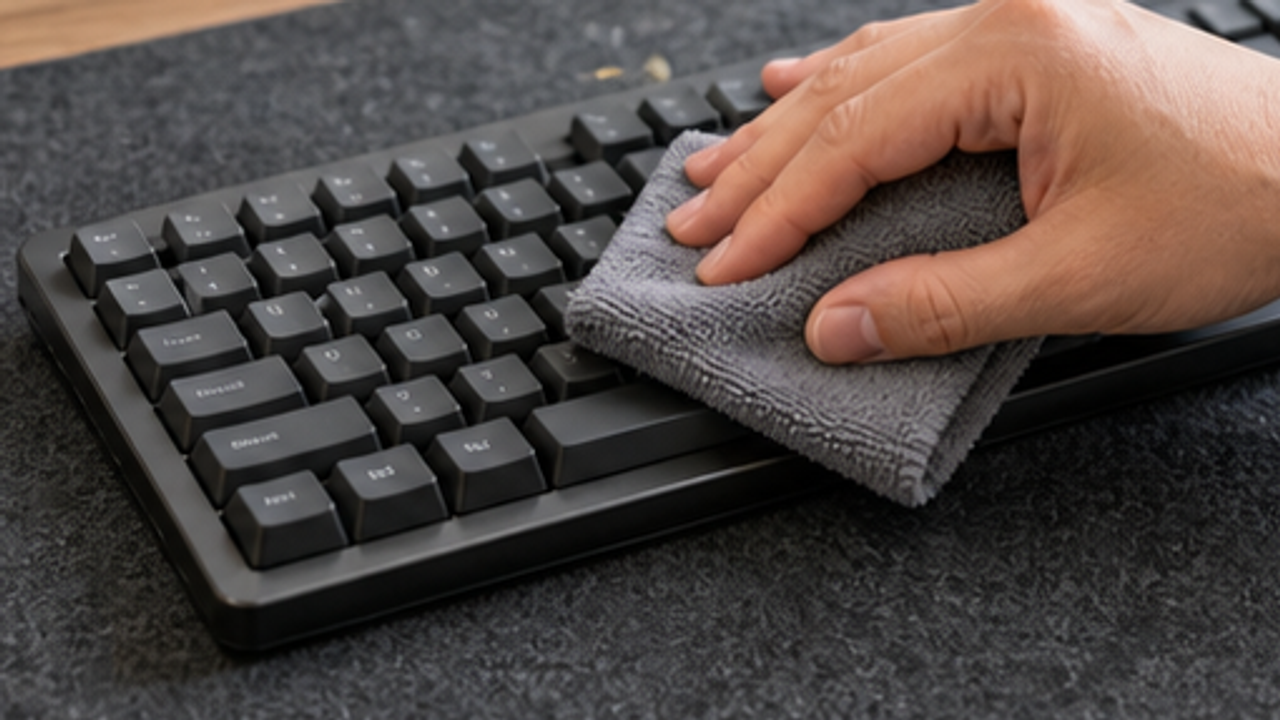
Wipe the key tops with a clean microfiber cloth, only slightly damp if needed.
A light wipe removes fingerprints and surface oil while keeping moisture controlled.
The cloth should not drip, and cleaner should not be sprayed directly on the keyboard.
Clean Edges and Corners
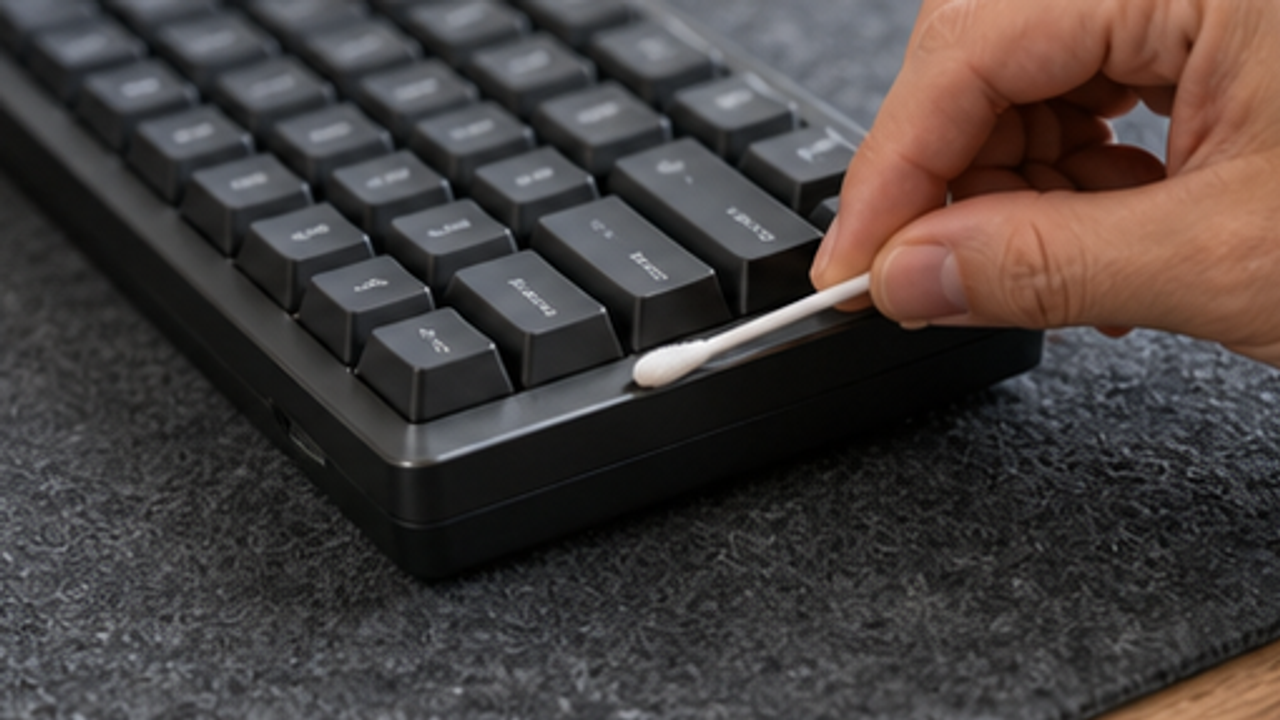
Use a cotton swab to gently clean edges, corners, and tight spots.
Swabs work for small areas and reduce the need to remove keycaps.
If the swab is too wet, squeeze out excess moisture first.
Wipe Under the Keyboard
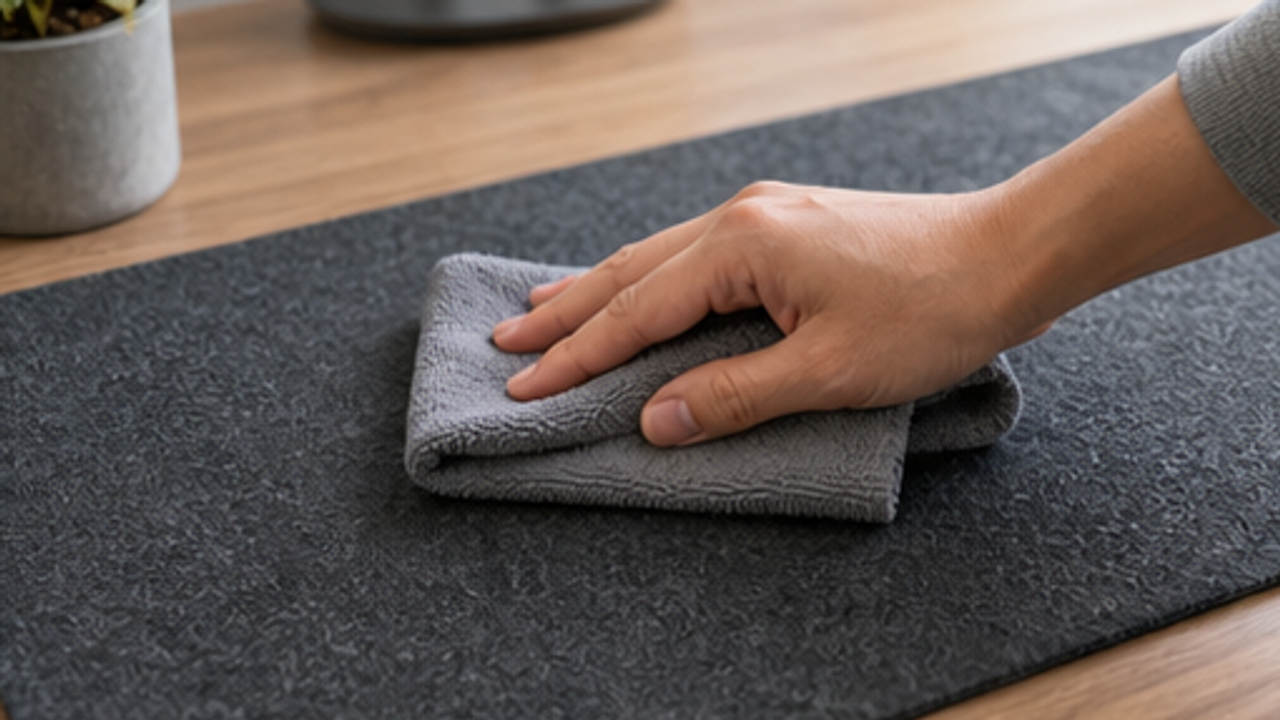
Move the keyboard aside and wipe dust and crumbs from the desk or mat below.
A dirty desk will transfer dust back to the keyboard quickly.
Watch cables and ports so you do not pull them.
Let It Dry Fully
Leave the keyboard on a ventilated desk until surfaces and gaps are dry.
Drying time lowers the risk of moisture reaching electronics.
Do not bake the keyboard with a hot hair dryer.
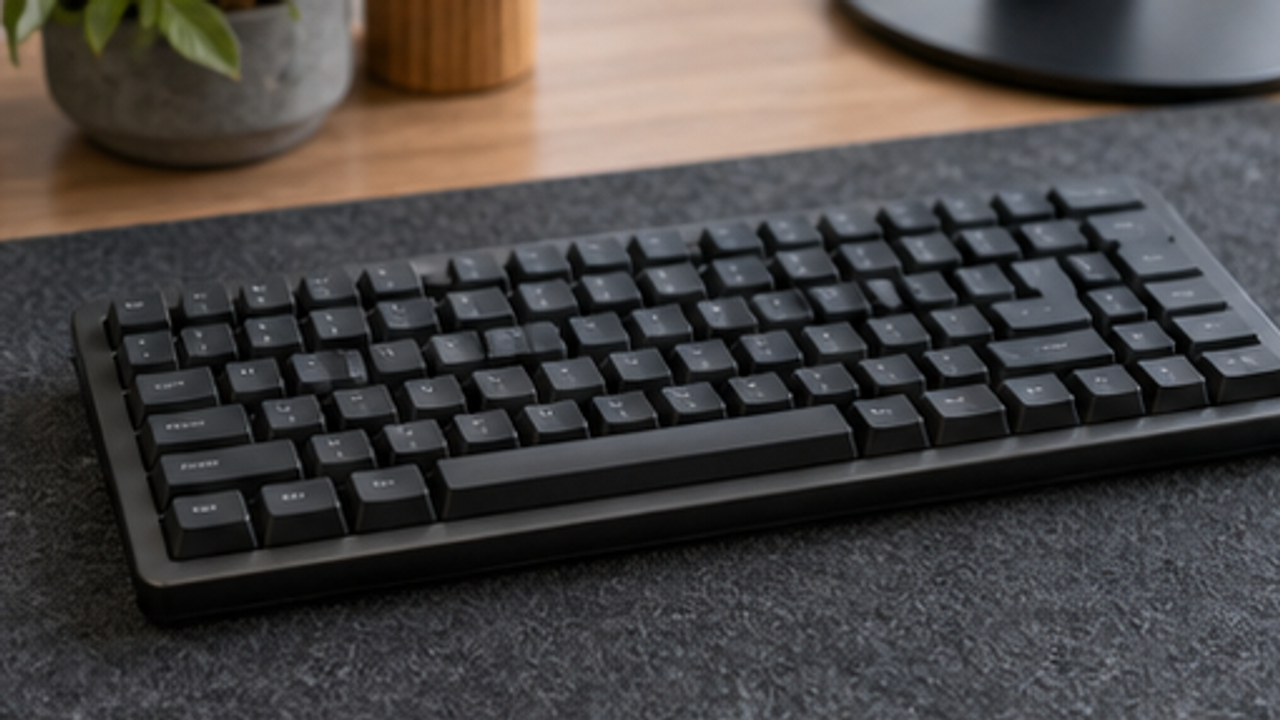
Reconnect and Test
Put the keyboard back, connect or power it on, and test a few common keys.
A final test catches stuck keys or connection issues early.
If keys fail or liquid entered the device, stop using it and seek professional help.
Same topic
Related guides
Related guides
Cleaning
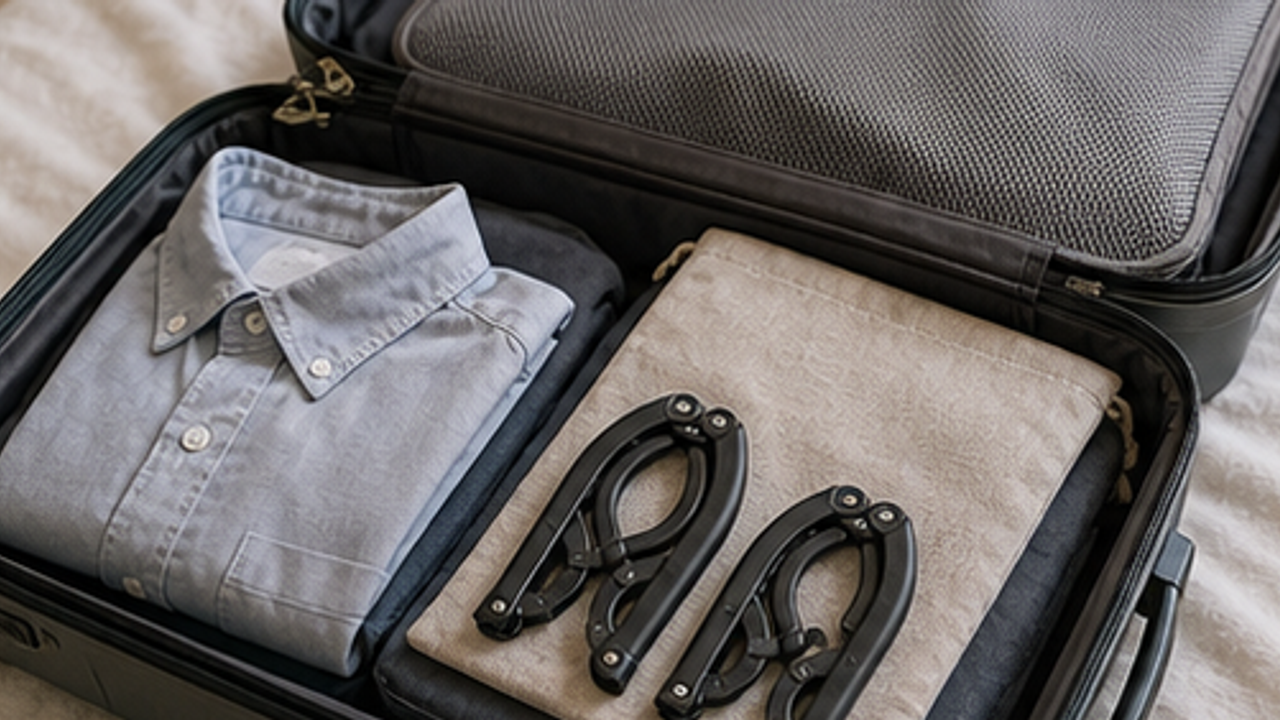
How to Prepare a Travel Folding Hanger Pouch
Give a travel folding hanger pouch one small fixed home so it is easy to use, return, and keep from spreading across drawers, shelves, or counters.
Cleaning
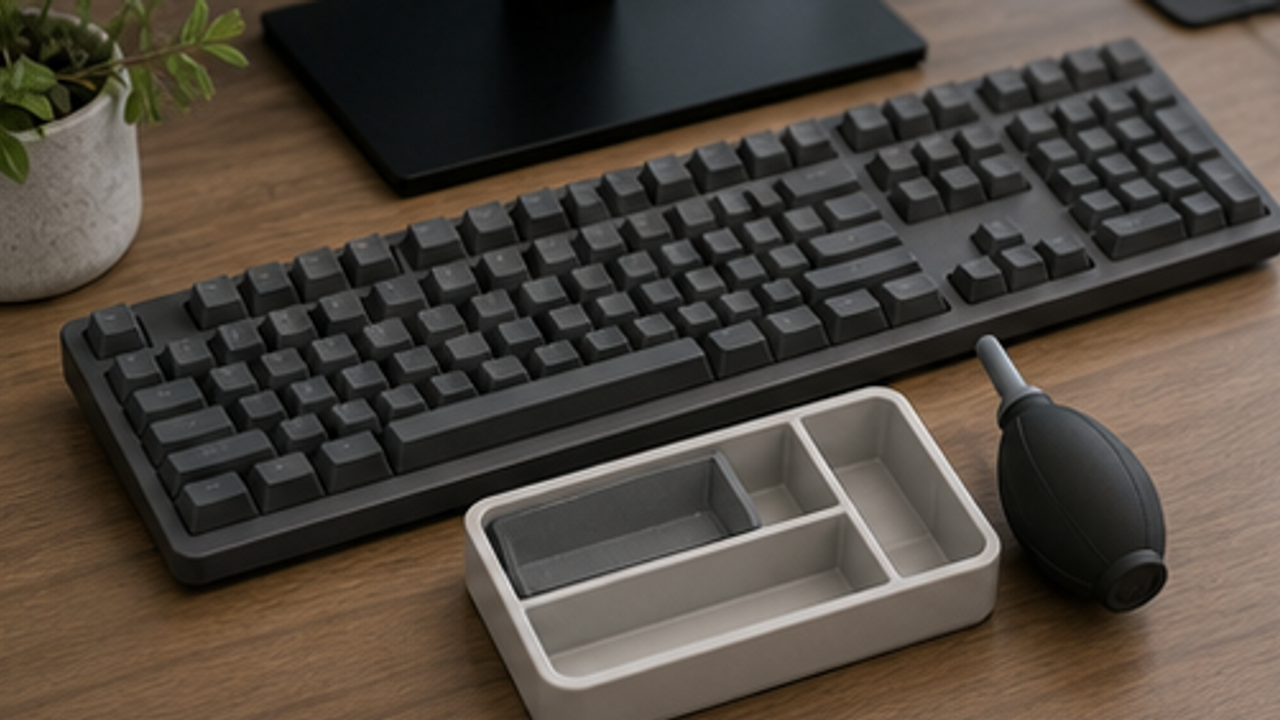
How to Set Up a Desk Keyboard Cleaning Brush Tray
Give a desk keyboard cleaning brush tray one small fixed home so it is easy to use, return, and keep from spreading across drawers, shelves, or counters.
Cleaning
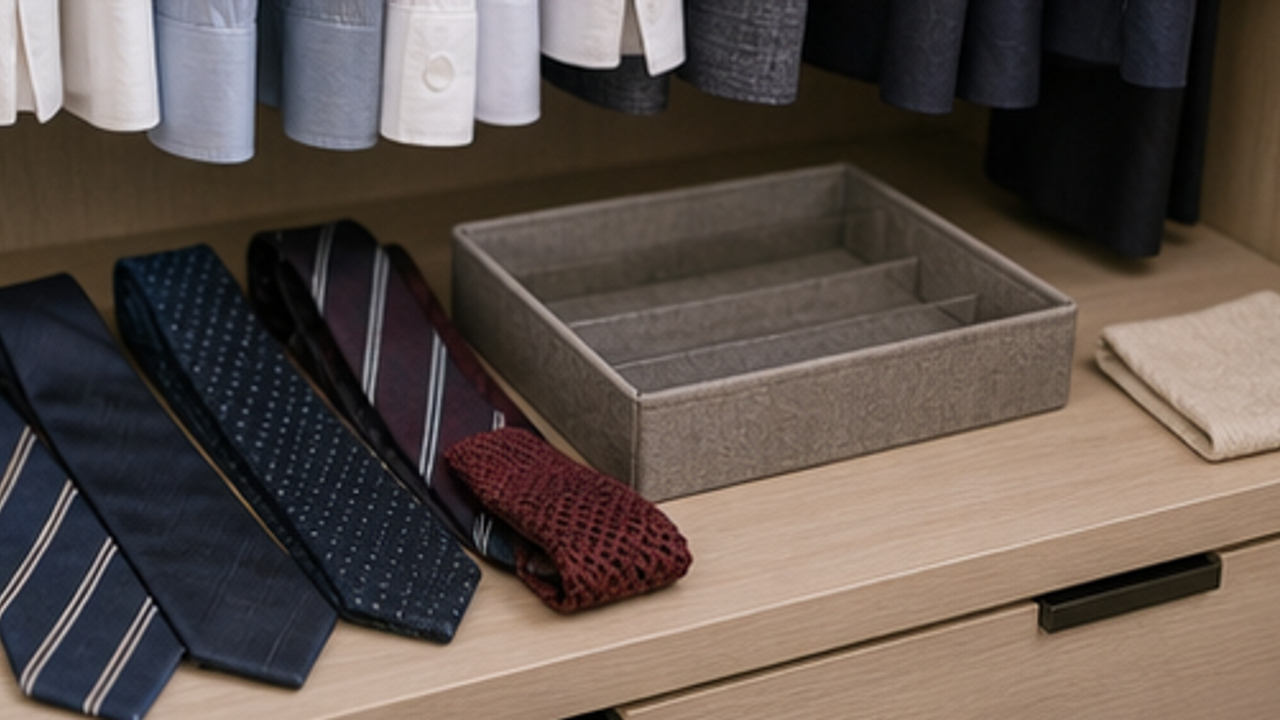
How to Organize Closet Ties in a Roll Tray
Give closet ties in a roll tray one small fixed home so it is easy to use, return, and keep from spreading across drawers, shelves, or counters.
Cleaning
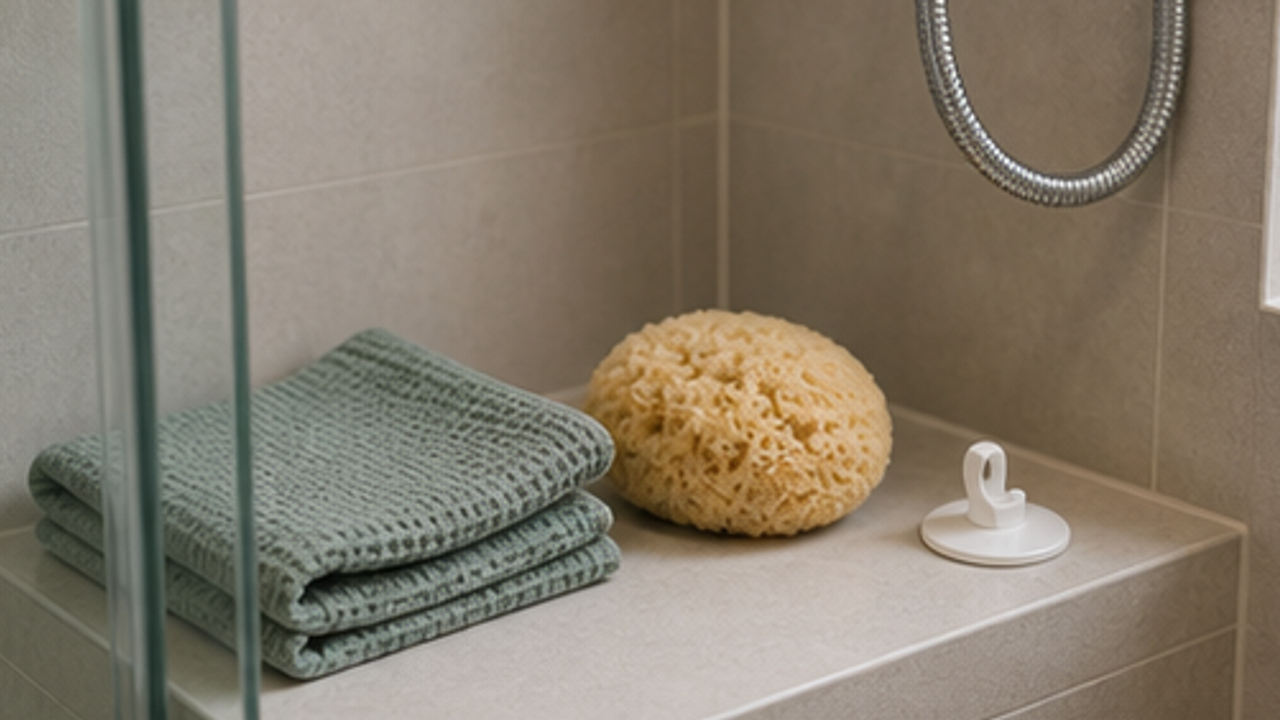
How to Set Up a Bathroom Bath Sponge Drying Hook
Give a bathroom bath sponge drying hook one small fixed home so it is easy to use, return, and keep from spreading across drawers, shelves, or counters.
More from this author
Open
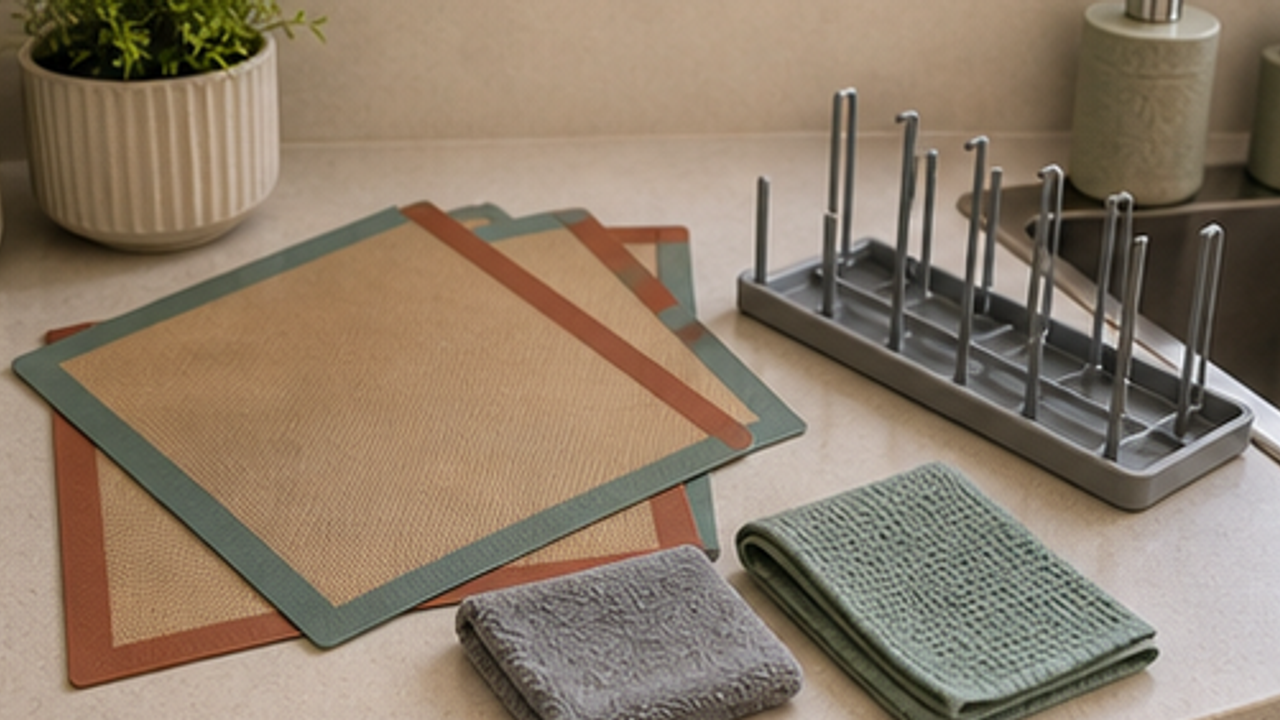
How to Set Up a Kitchen Silicone Baking Mat Drying Rack
Give a kitchen silicone baking mat drying rack one small fixed home so it is easy to use, return, and keep from spreading across drawers, shelves, or counters.
Open
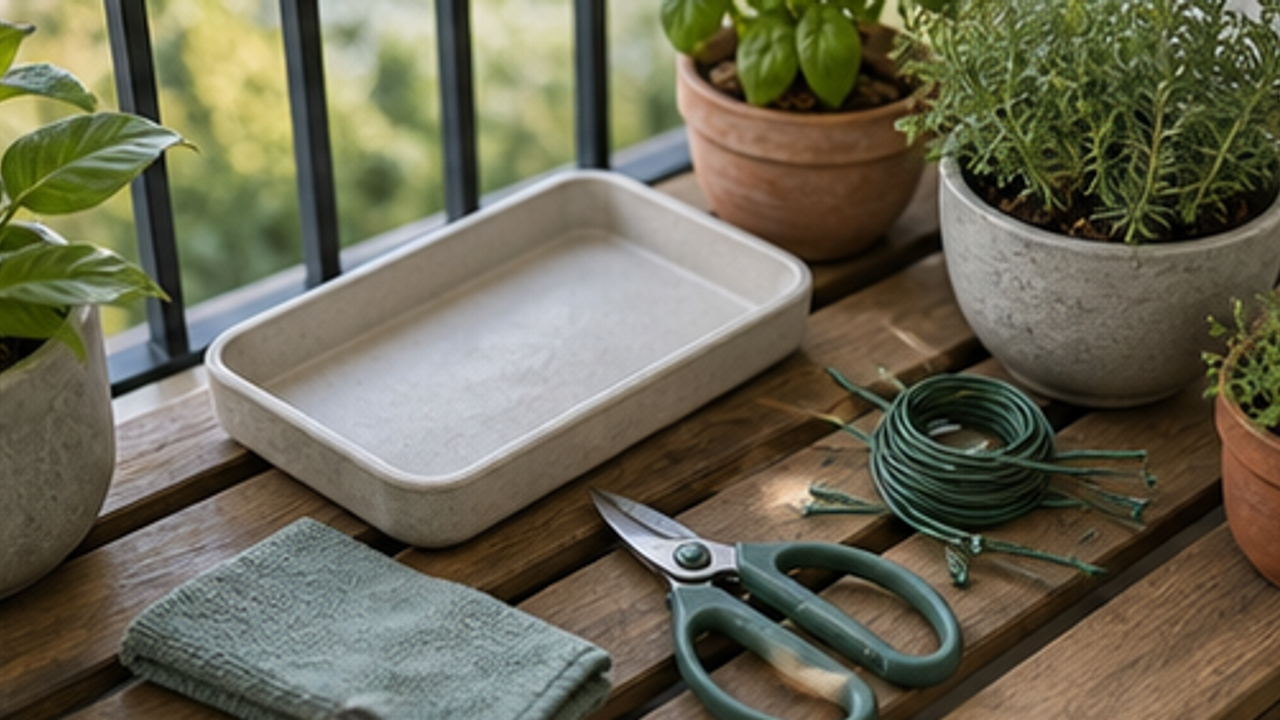
How to Set Up a Balcony Plant Pruning Tool Tray
Give a balcony plant pruning tool tray one small fixed home so it is easy to use, return, and keep from spreading across drawers, shelves, or counters.
Open
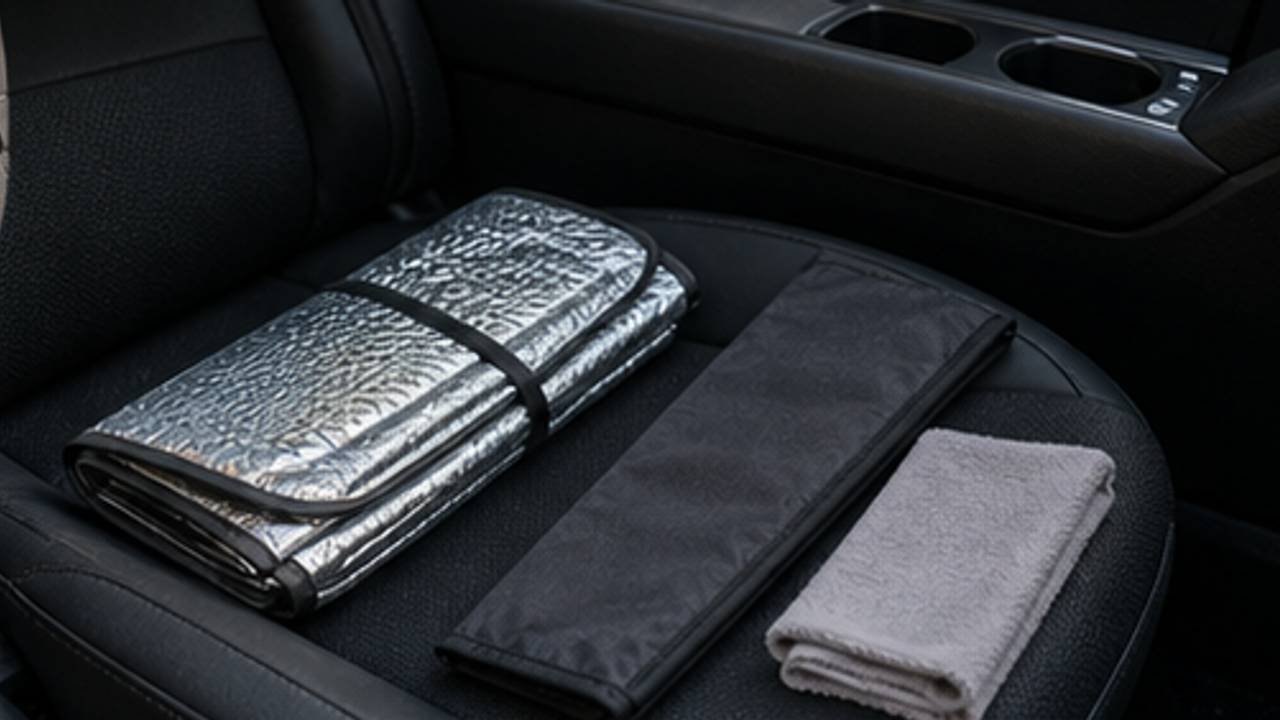
How to Organize a Car Folding Sunshade Sleeve
Give a car folding sunshade sleeve one small fixed home so it is easy to use, return, and keep from spreading across drawers, shelves, or counters.
Life Reactions
How this way feels to you
My Life Trial
Log it after trying
Comments
0 Comments
No comments yet.