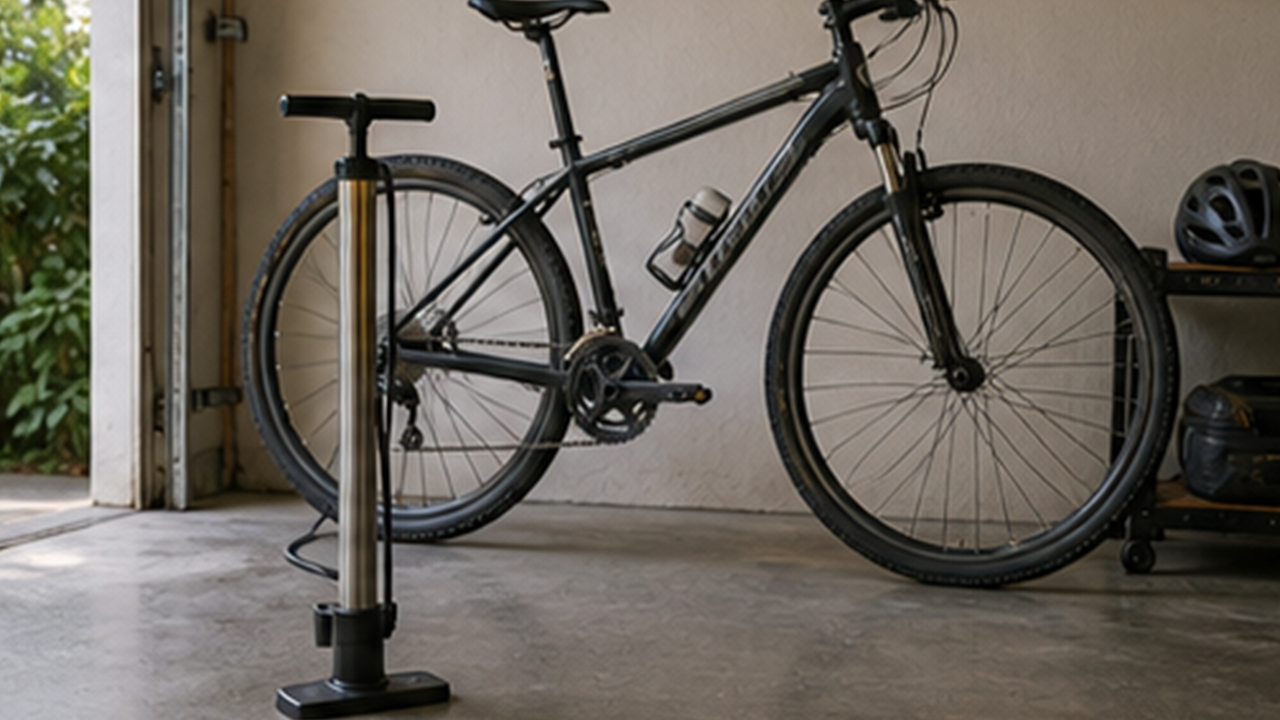
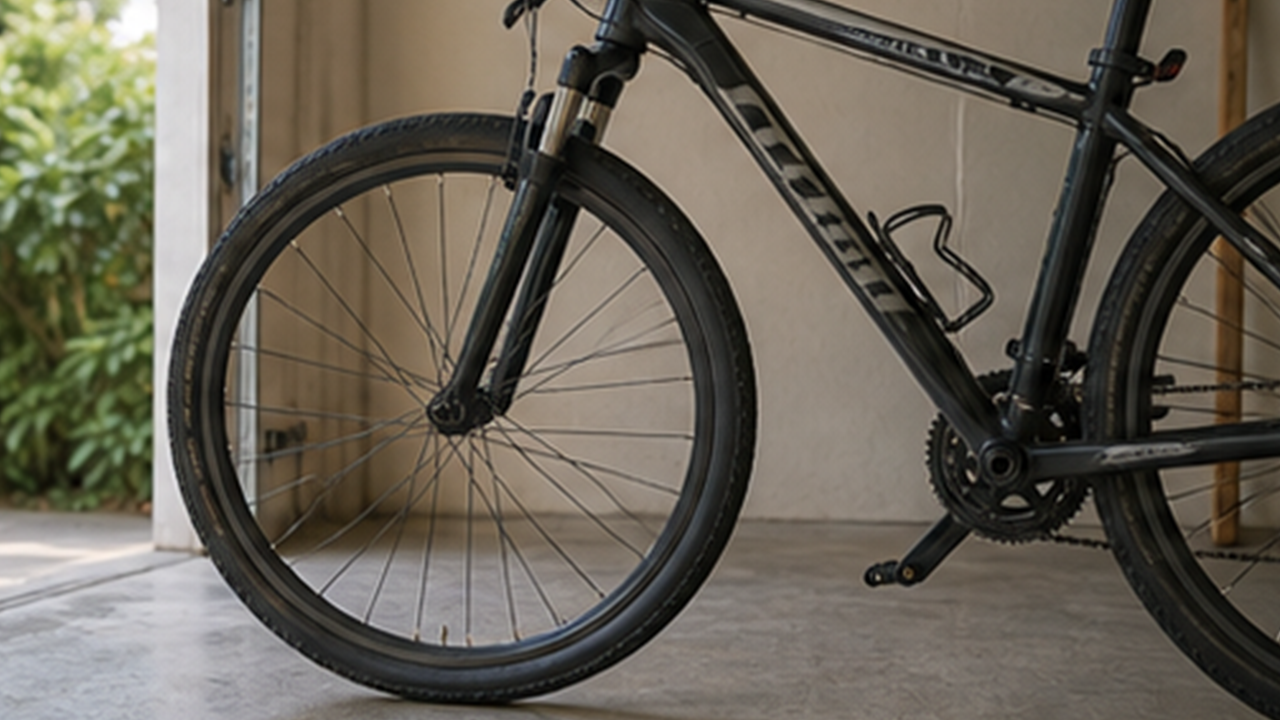
How to Inflate a Bicycle Tire

Low tire pressure makes riding harder and increases pinch-flat risk. Identify the valve, attach the pump well, and check firmness.
Find the tire valve
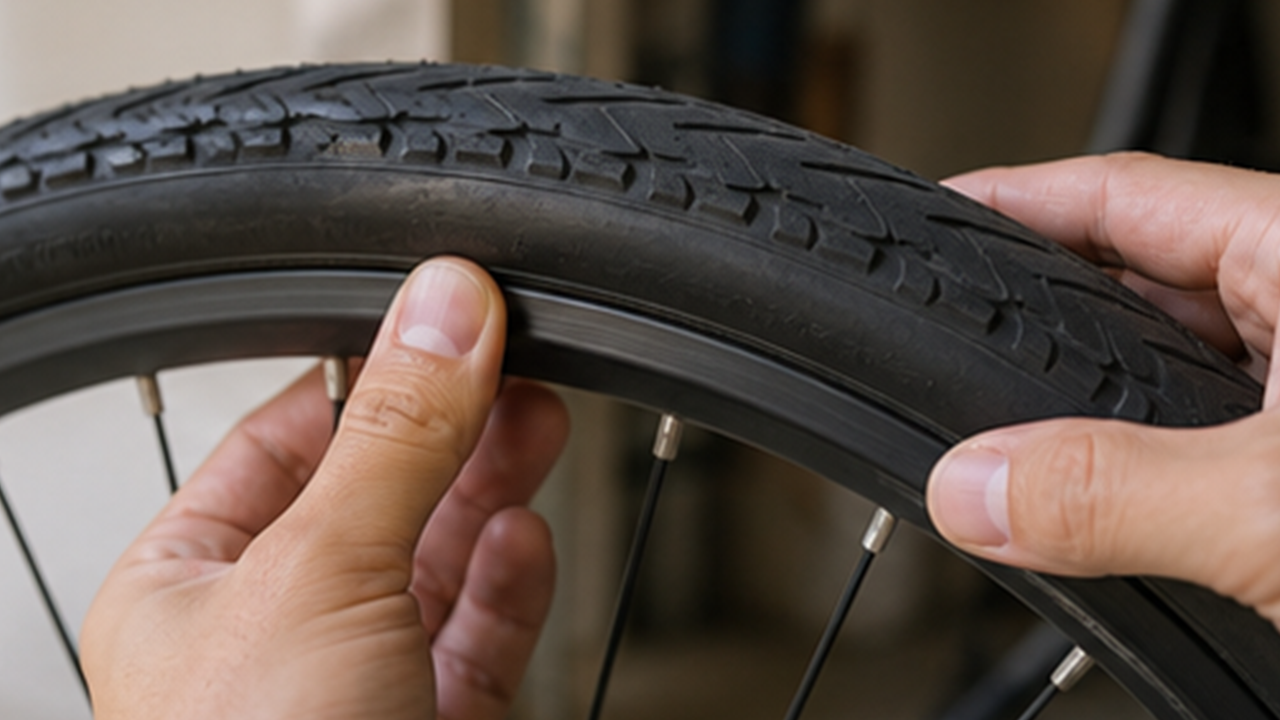
Step 1 is “Find the tire valve.” Keep what you need nearby and handle only this part. Steady progress matters more than doing too much at once.
This keeps the process clear and reduces missed details or rework. Each step is simple, but together they make the result more reliable.
Do not exceed recommended tire pressure; ask a bike shop if markings are unclear.
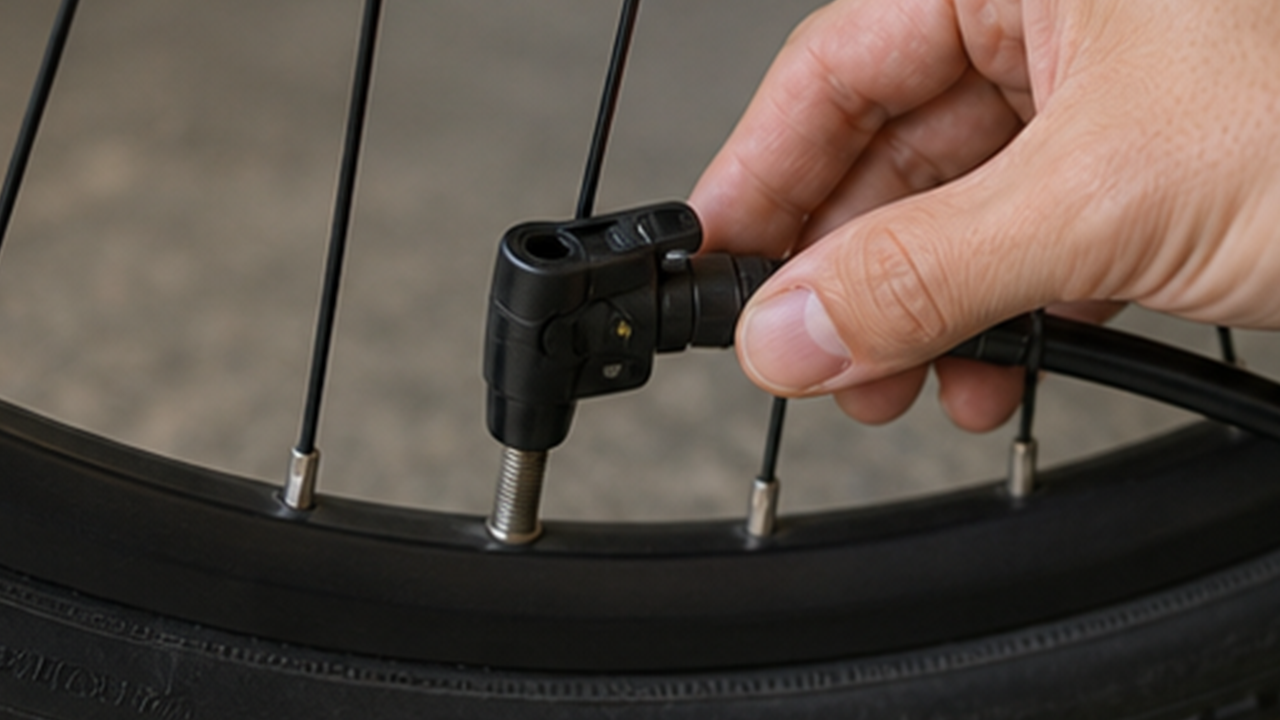
Identify the valve type
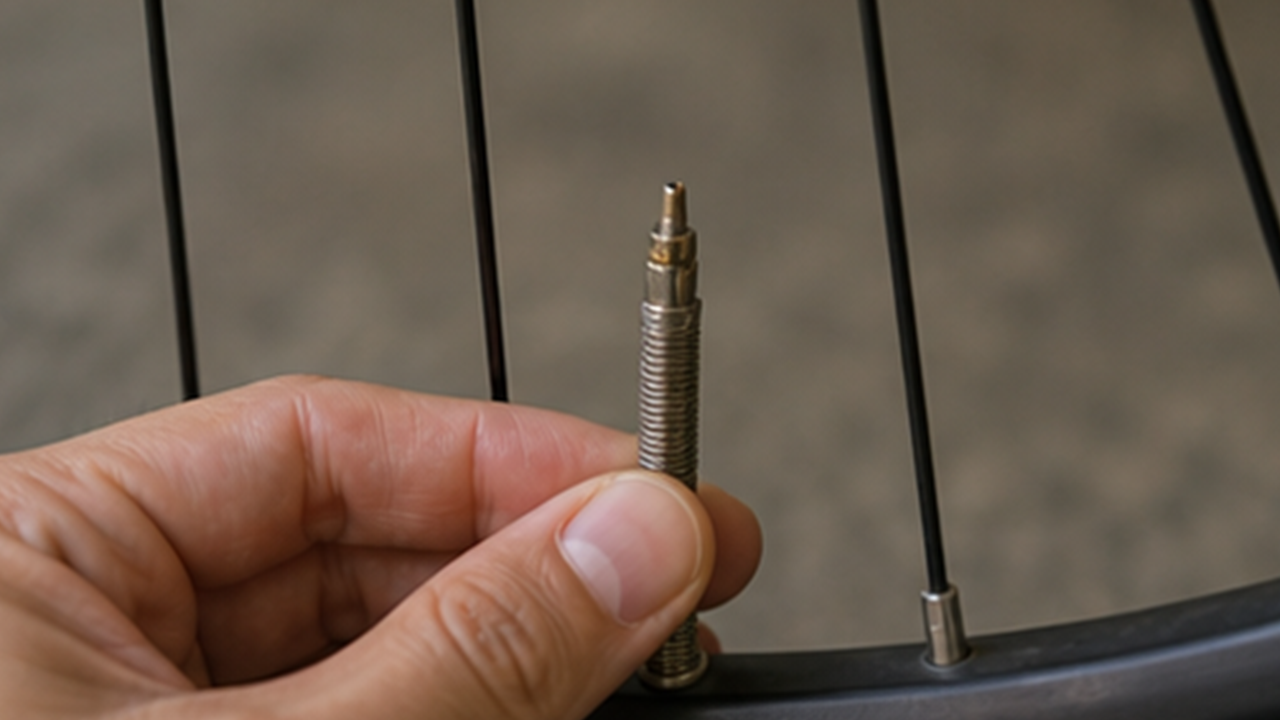
Step 2 is “Identify the valve type.” Keep what you need nearby and handle only this part. Steady progress matters more than doing too much at once.
This keeps the process clear and reduces missed details or rework. Each step is simple, but together they make the result more reliable.
Do not exceed recommended tire pressure; ask a bike shop if markings are unclear.
Remove the valve cap
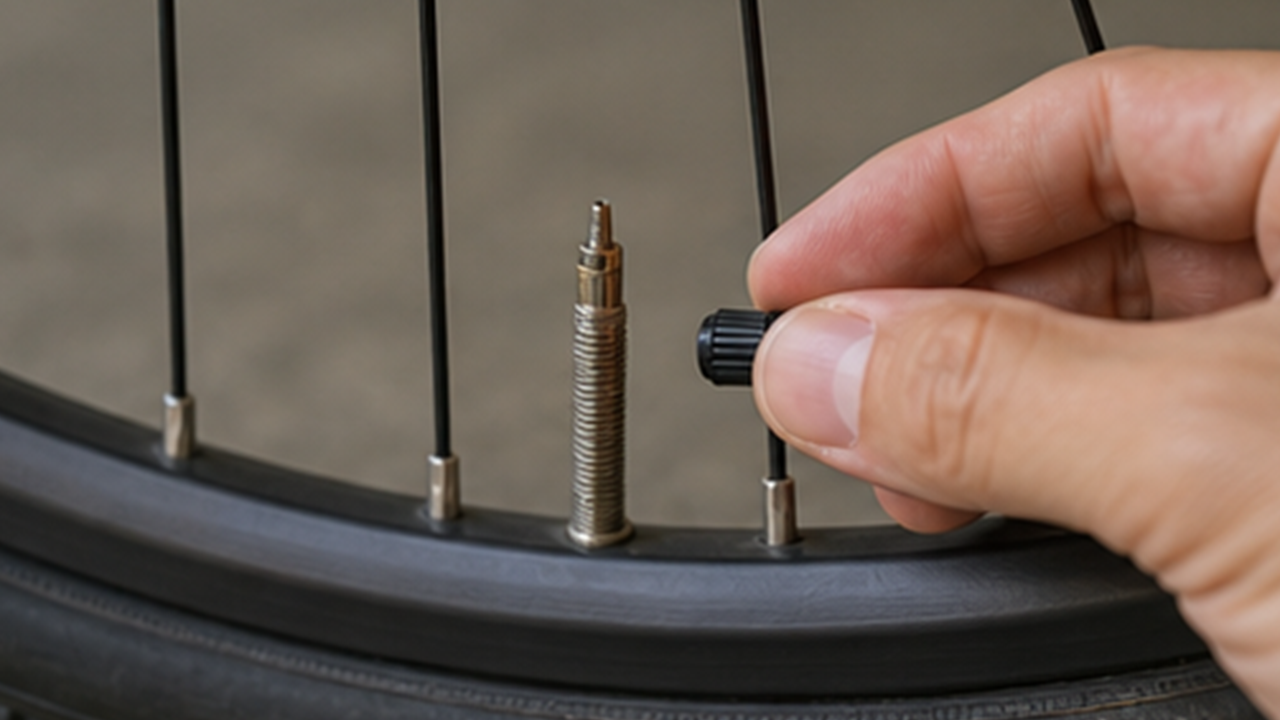
Step 3 is “Remove the valve cap.” Keep what you need nearby and handle only this part. Steady progress matters more than doing too much at once.
This keeps the process clear and reduces missed details or rework. Each step is simple, but together they make the result more reliable.
Do not exceed recommended tire pressure; ask a bike shop if markings are unclear.
Attach pump head firmly
Step 4 is “Attach pump head firmly.” Keep what you need nearby and handle only this part. Steady progress matters more than doing too much at once.
This keeps the process clear and reduces missed details or rework. Each step is simple, but together they make the result more reliable.
Do not exceed recommended tire pressure; ask a bike shop if markings are unclear.
Pump steadily
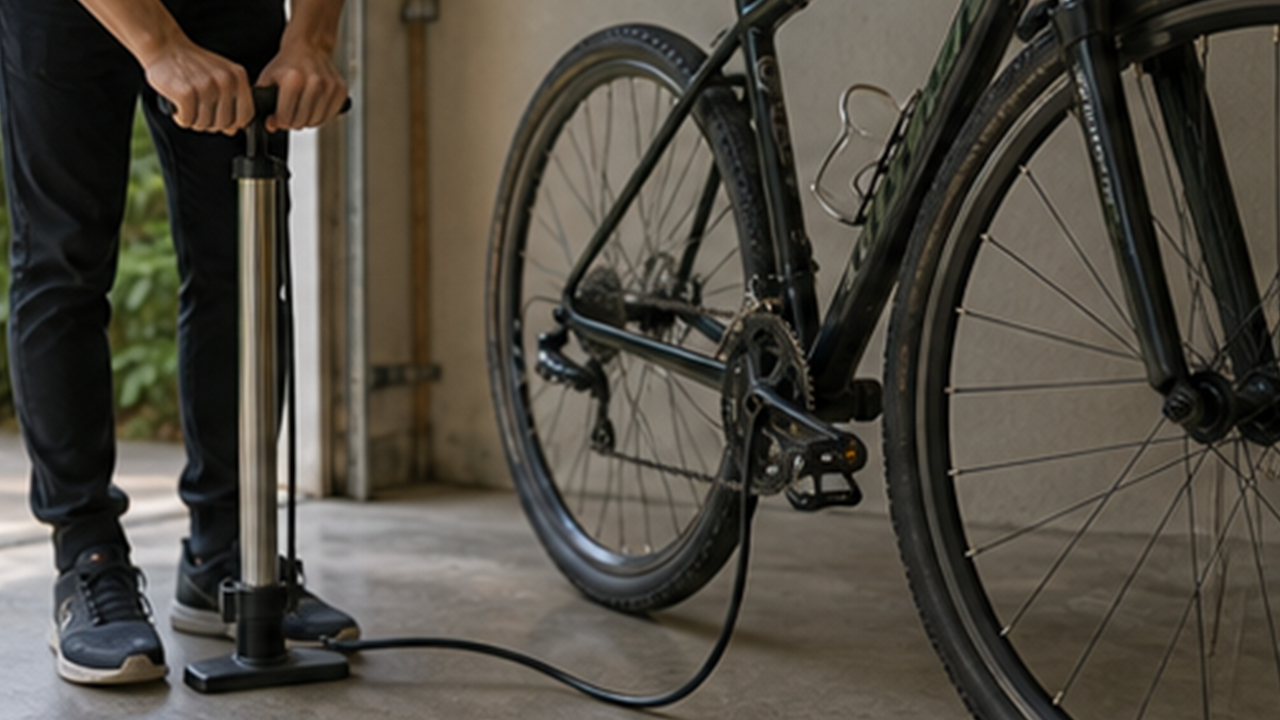
Step 5 is “Pump steadily.” Keep what you need nearby and handle only this part. Steady progress matters more than doing too much at once.
This keeps the process clear and reduces missed details or rework. Each step is simple, but together they make the result more reliable.
Do not exceed recommended tire pressure; ask a bike shop if markings are unclear.
Check firmness by hand
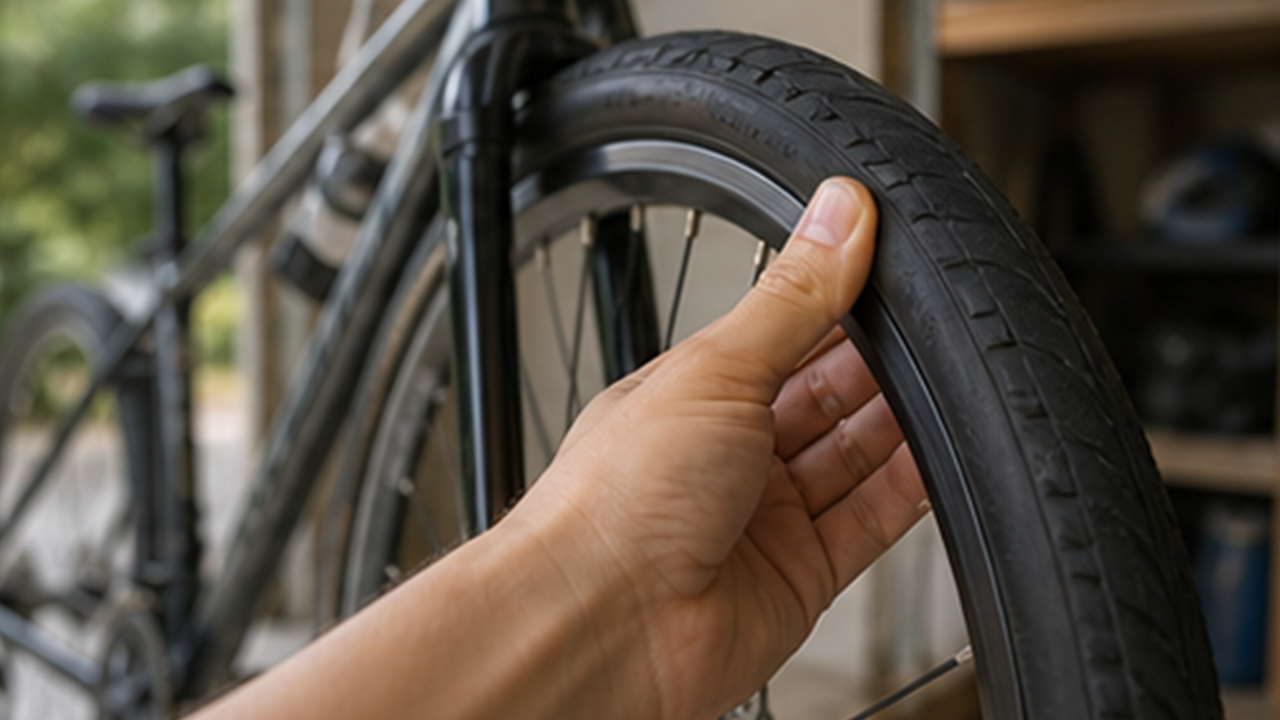
Step 6 is “Check firmness by hand.” Keep what you need nearby and handle only this part. Steady progress matters more than doing too much at once.
This keeps the process clear and reduces missed details or rework. Each step is simple, but together they make the result more reliable.
Do not exceed recommended tire pressure; ask a bike shop if markings are unclear.
Remove pump head
Step 7 is “Remove pump head.” Keep what you need nearby and handle only this part. Steady progress matters more than doing too much at once.
This keeps the process clear and reduces missed details or rework. Each step is simple, but together they make the result more reliable.
Do not exceed recommended tire pressure; ask a bike shop if markings are unclear.
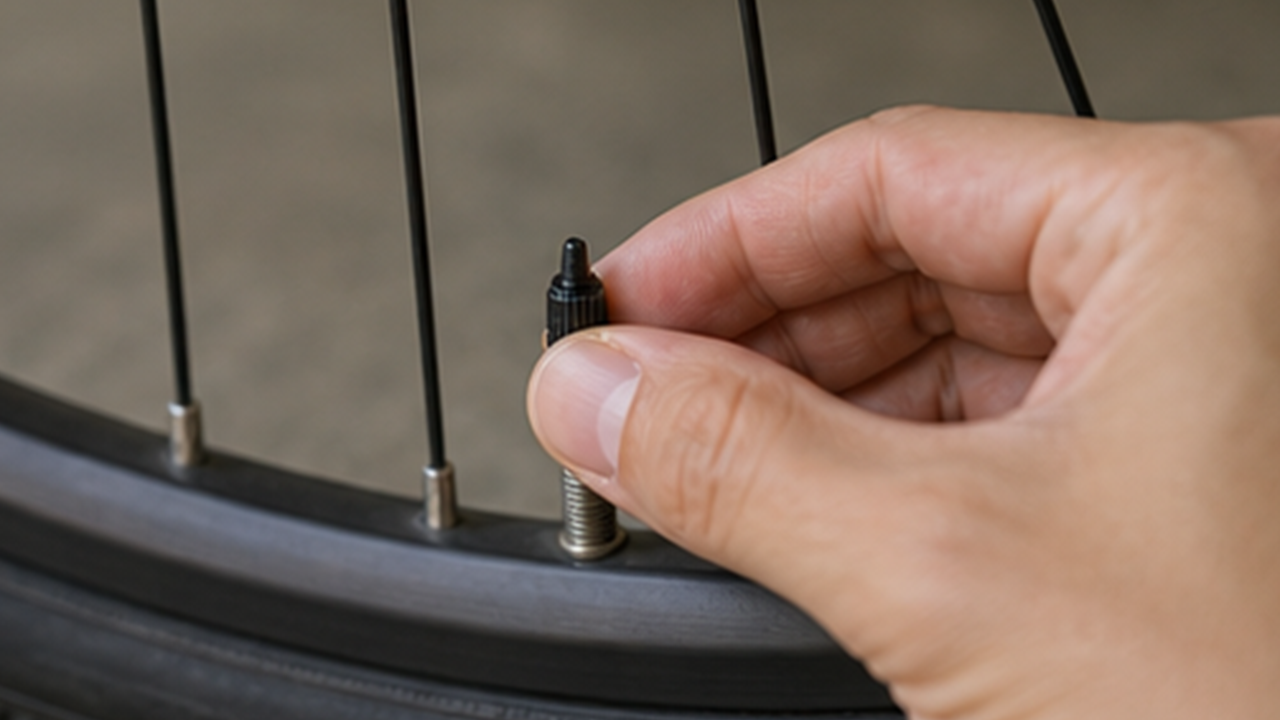
Replace the valve cap
Step 8 is “Replace the valve cap.” Keep what you need nearby and handle only this part. Steady progress matters more than doing too much at once.
This keeps the process clear and reduces missed details or rework. Each step is simple, but together they make the result more reliable.
Do not exceed recommended tire pressure; ask a bike shop if markings are unclear.
Same topic
Related guides
Related guides
Study & Work
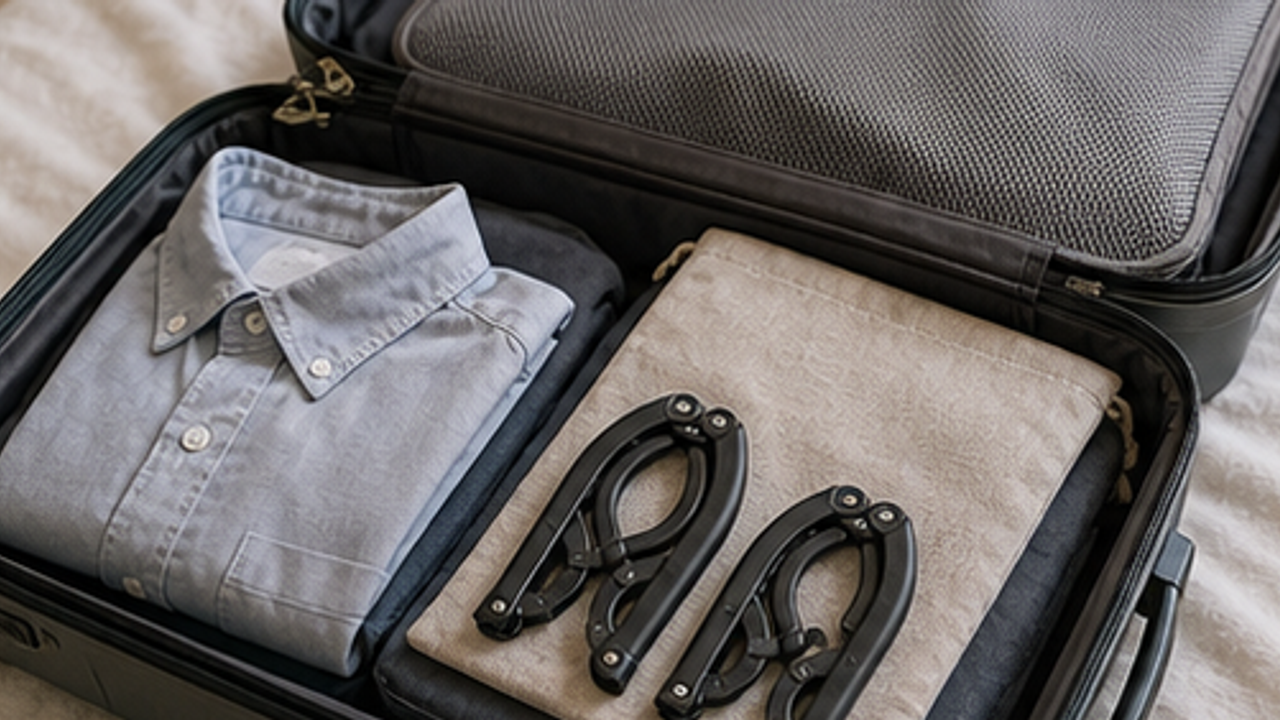
How to Prepare a Travel Folding Hanger Pouch
Give a travel folding hanger pouch one small fixed home so it is easy to use, return, and keep from spreading across drawers, shelves, or counters.
Study & Work
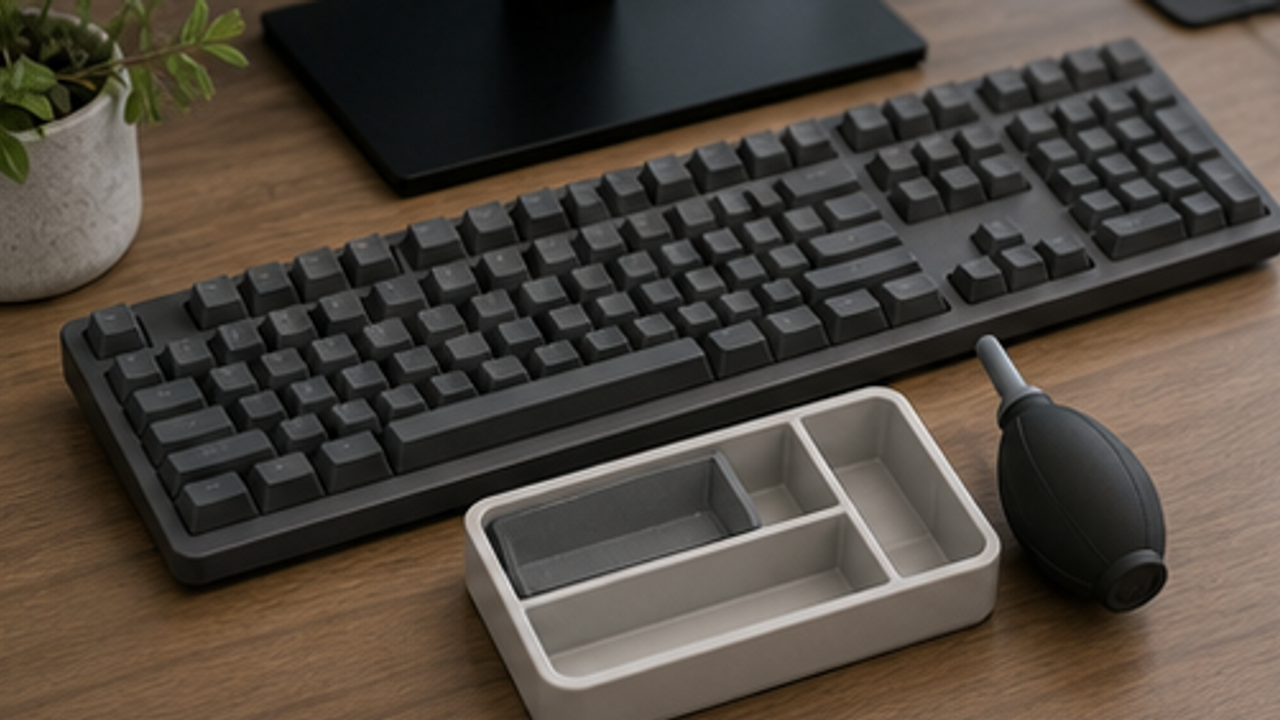
How to Set Up a Desk Keyboard Cleaning Brush Tray
Give a desk keyboard cleaning brush tray one small fixed home so it is easy to use, return, and keep from spreading across drawers, shelves, or counters.
Study & Work
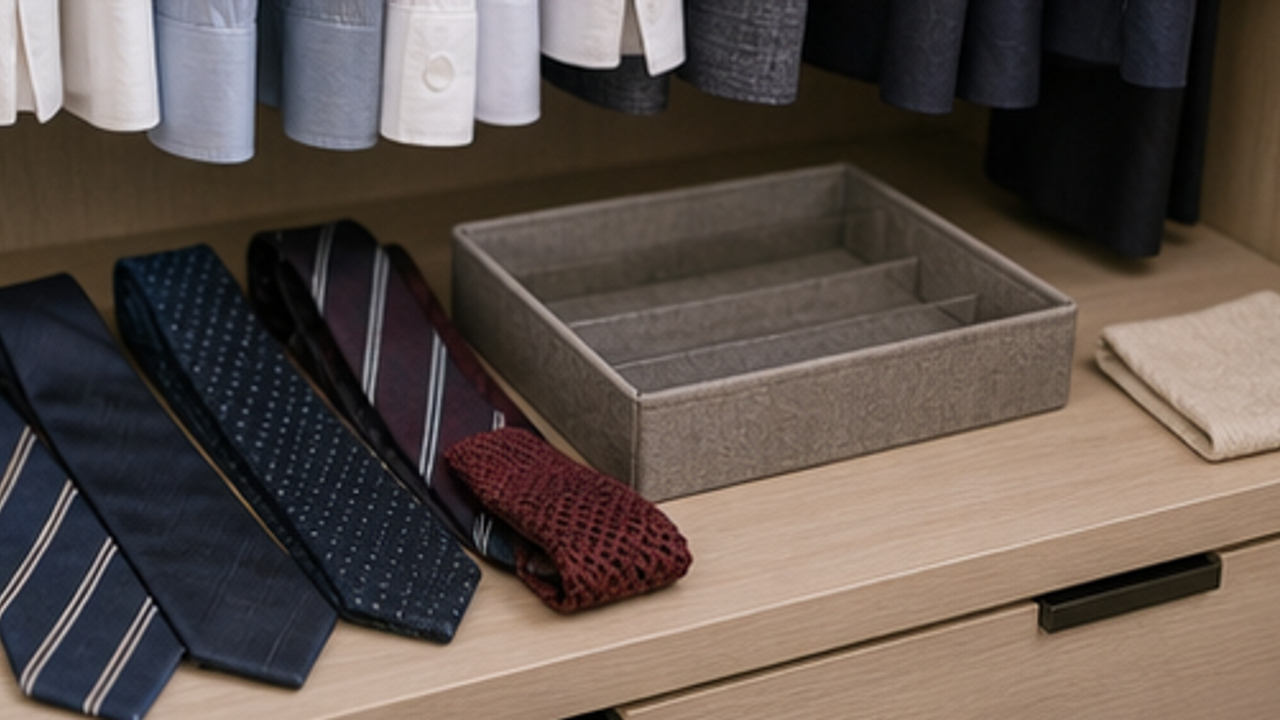
How to Organize Closet Ties in a Roll Tray
Give closet ties in a roll tray one small fixed home so it is easy to use, return, and keep from spreading across drawers, shelves, or counters.
Study & Work
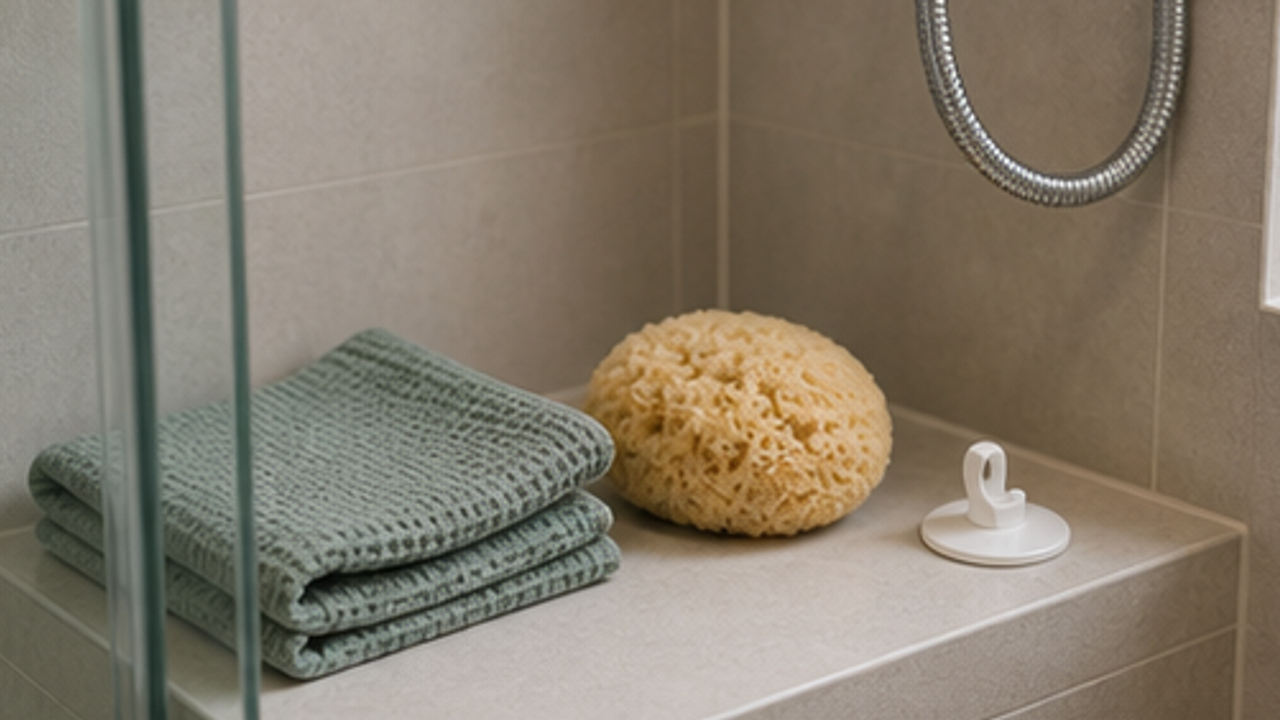
How to Set Up a Bathroom Bath Sponge Drying Hook
Give a bathroom bath sponge drying hook one small fixed home so it is easy to use, return, and keep from spreading across drawers, shelves, or counters.
More from this author
Open
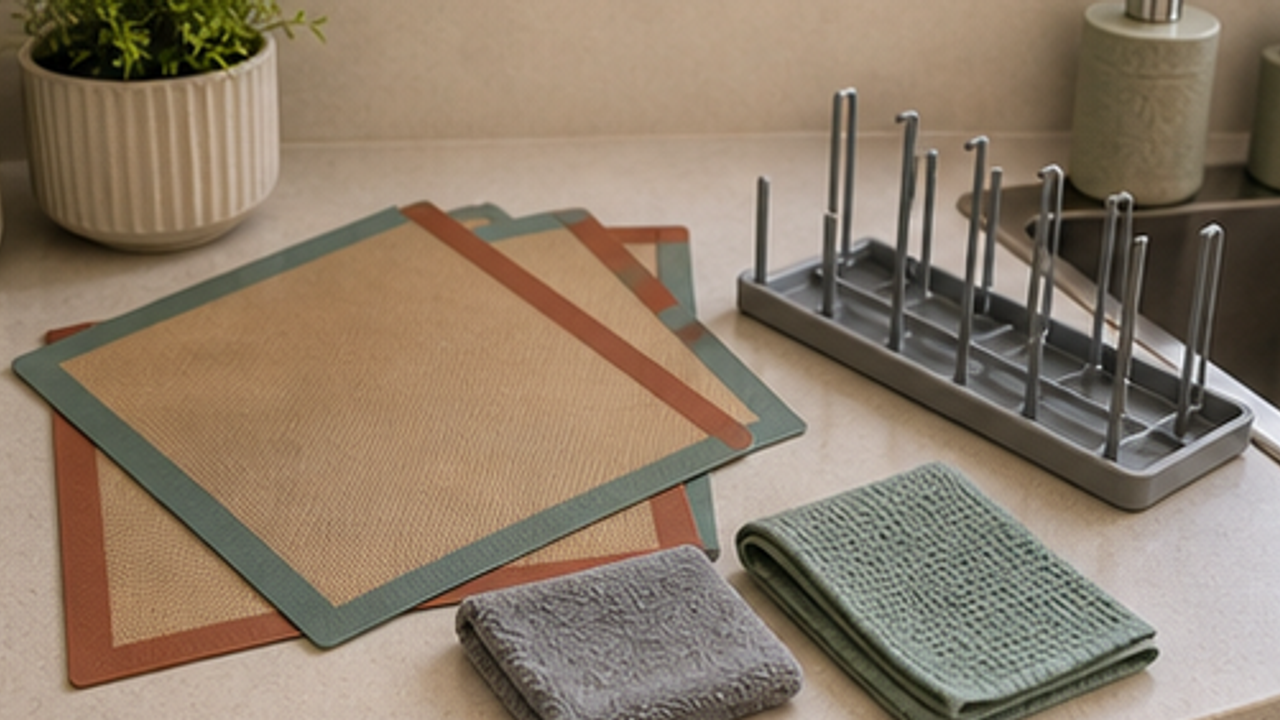
How to Set Up a Kitchen Silicone Baking Mat Drying Rack
Give a kitchen silicone baking mat drying rack one small fixed home so it is easy to use, return, and keep from spreading across drawers, shelves, or counters.
Open
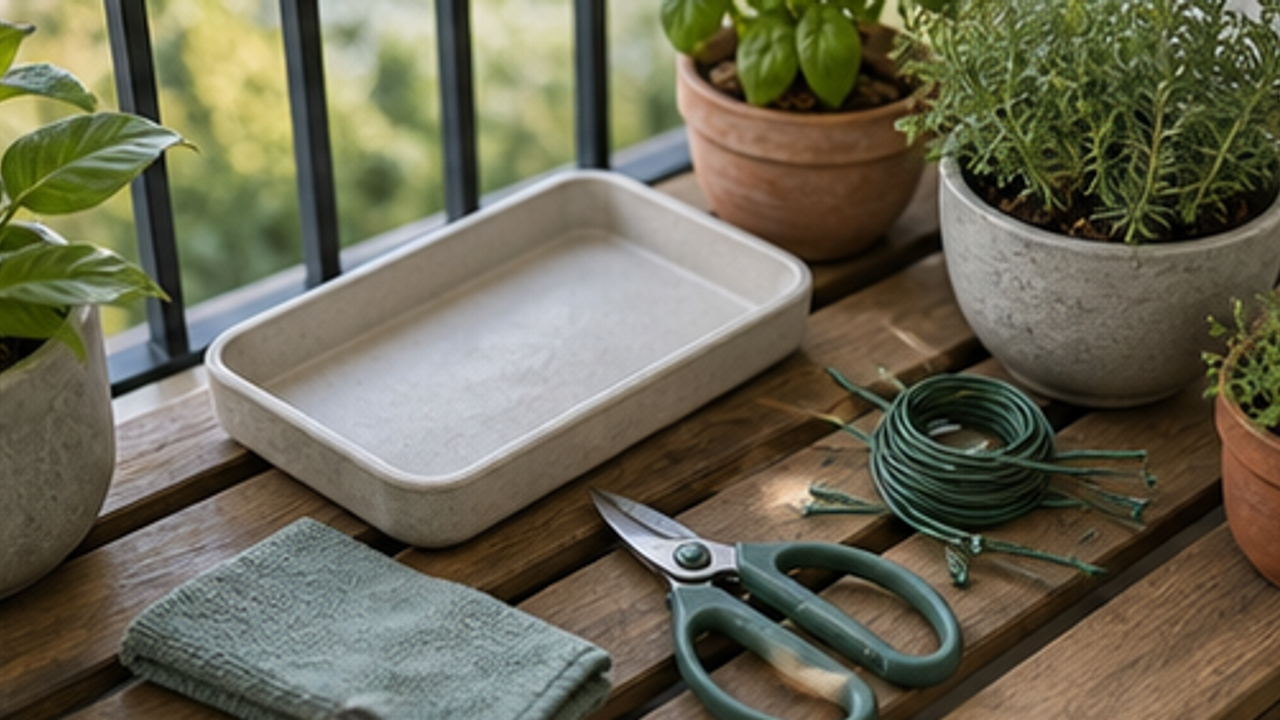
How to Set Up a Balcony Plant Pruning Tool Tray
Give a balcony plant pruning tool tray one small fixed home so it is easy to use, return, and keep from spreading across drawers, shelves, or counters.
Open
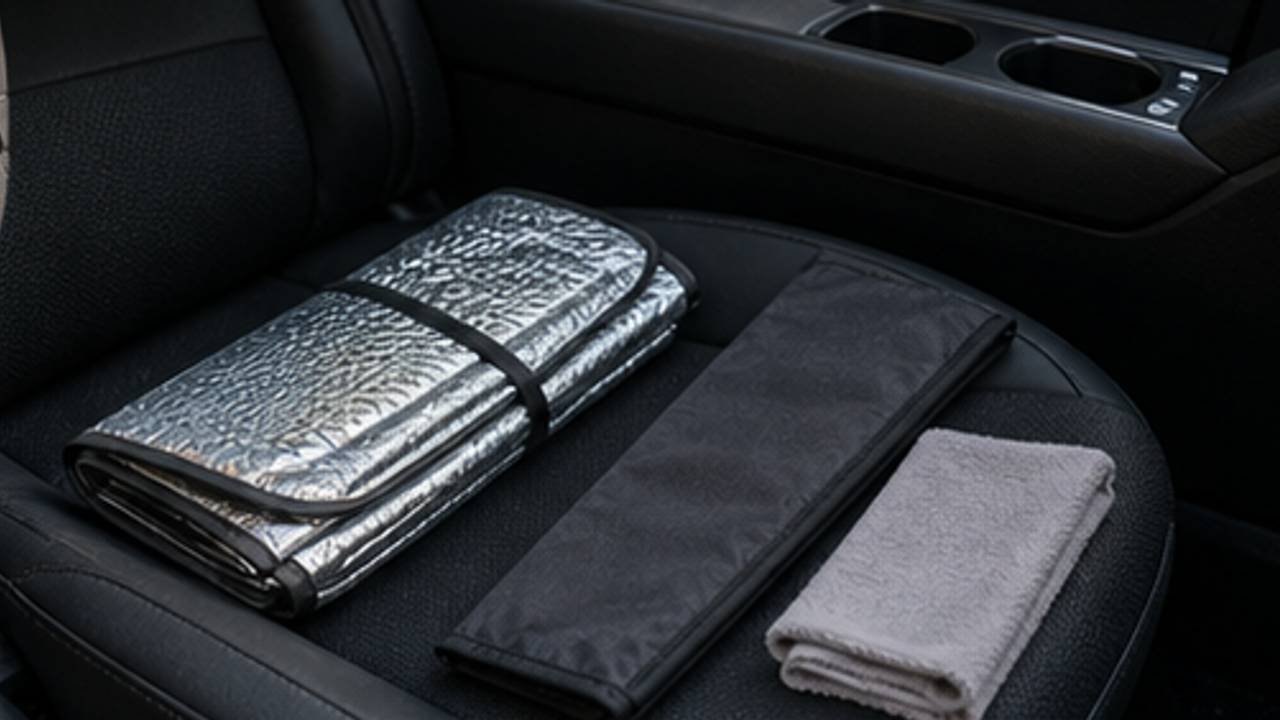
How to Organize a Car Folding Sunshade Sleeve
Give a car folding sunshade sleeve one small fixed home so it is easy to use, return, and keep from spreading across drawers, shelves, or counters.
Life Reactions
How this way feels to you
My Life Trial
Log it after trying
Comments
0 Comments
No comments yet.