How to Organize an Electric Toothbrush Charging Corner

Give the toothbrush and charging base a dry corner so the cable stays away from splashes and pooled water.
Clear a counter corner
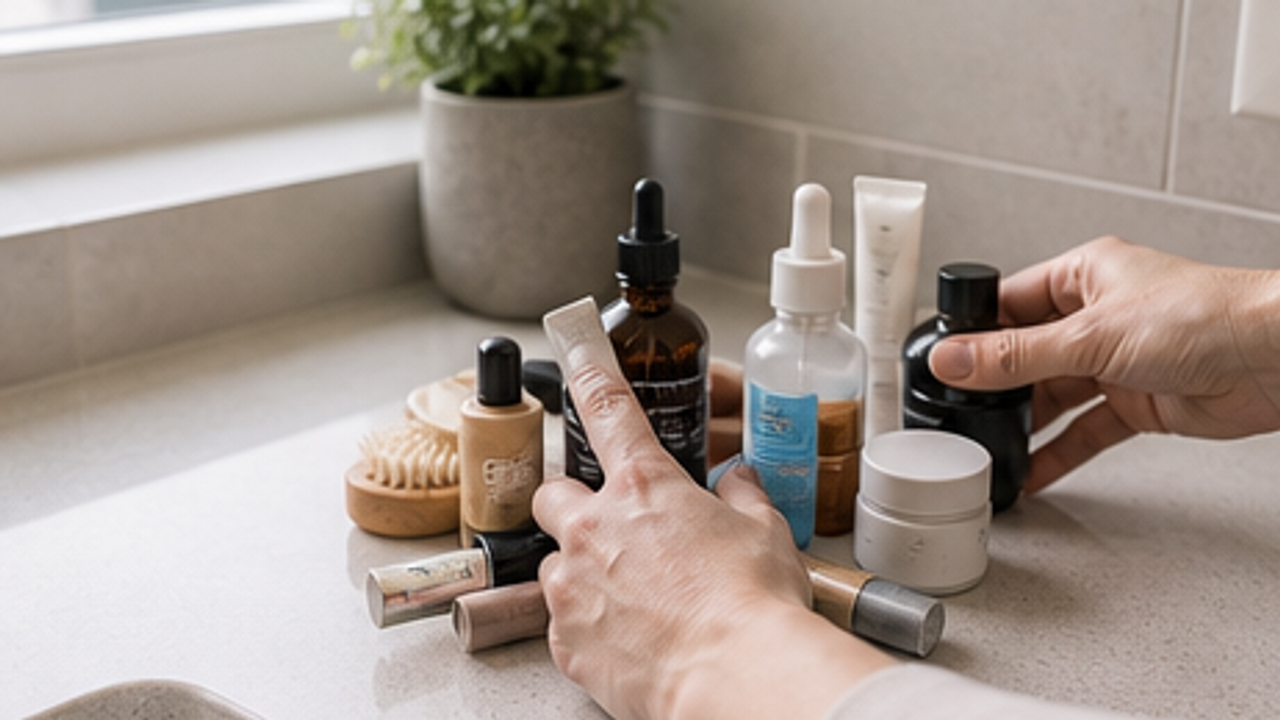
Move cosmetics and loose items away from the sink-side counter.
A clear area helps you choose a spot away from splashes.
Do not plug or unplug power with wet hands.
Dry the surface
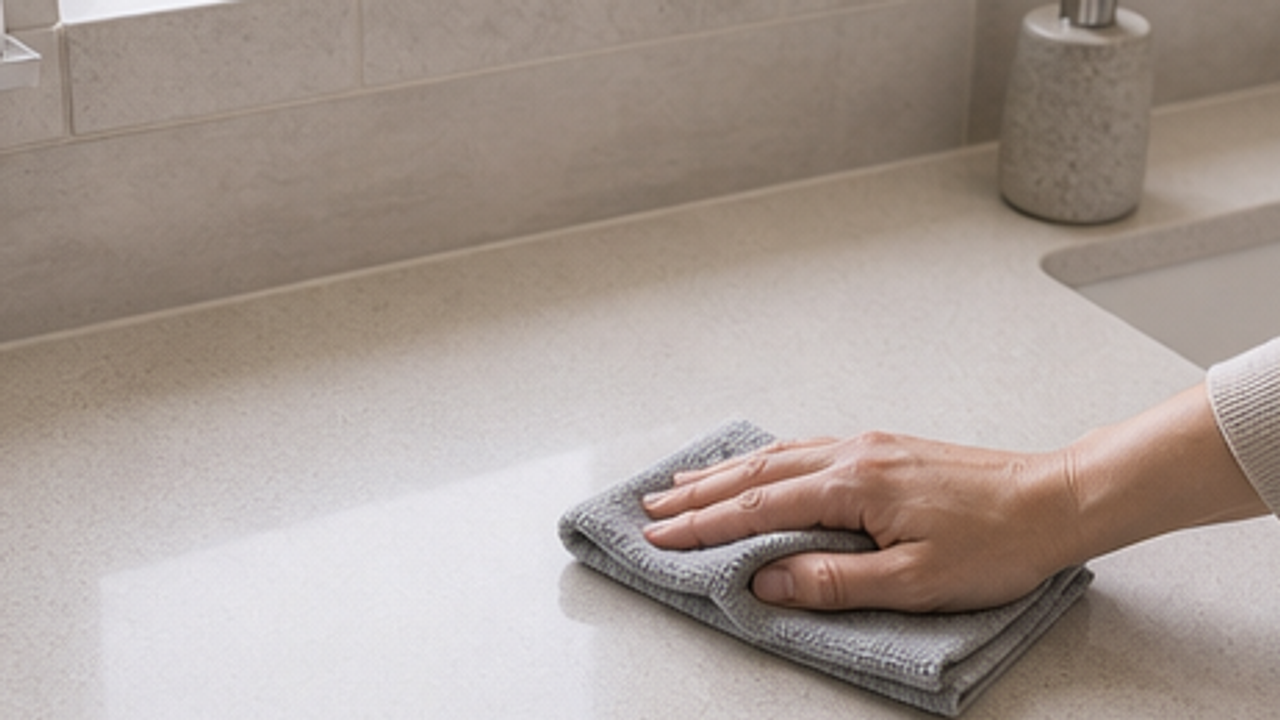
Wipe the chosen charging spot with a dry cloth.
The charging base needs a dry, stable surface.
If water collects there, fix that before placing electronics.
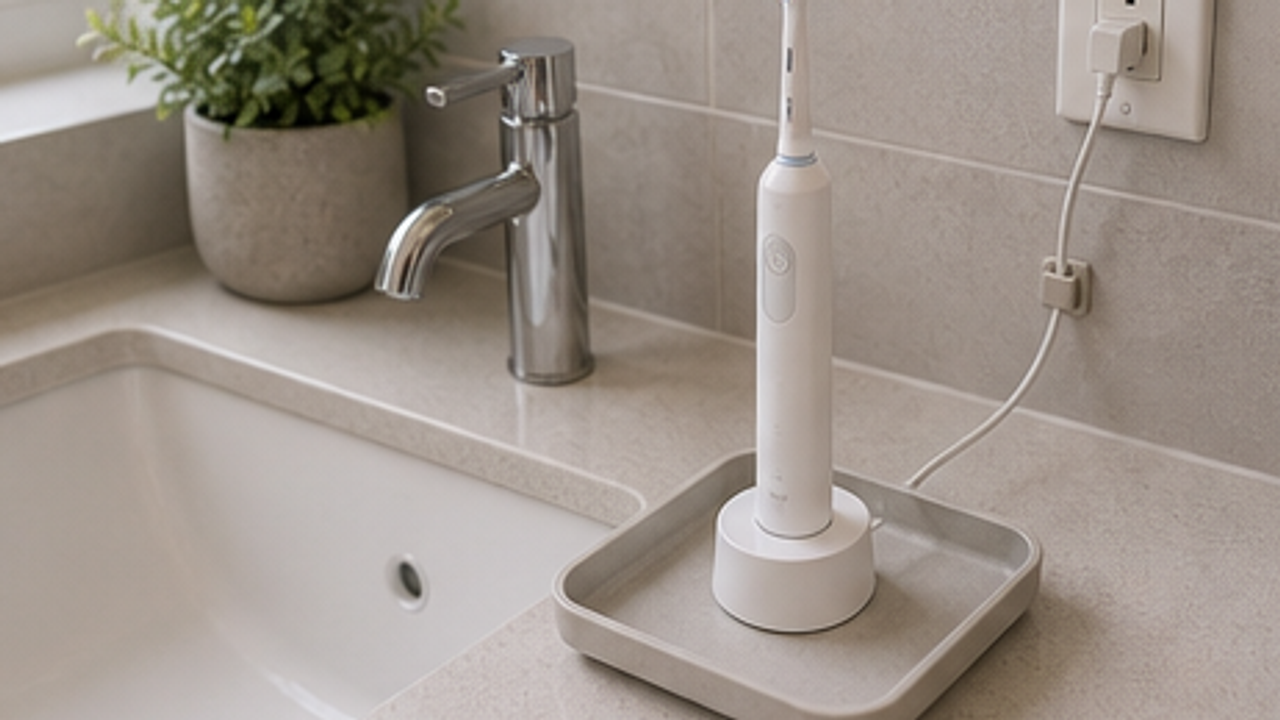
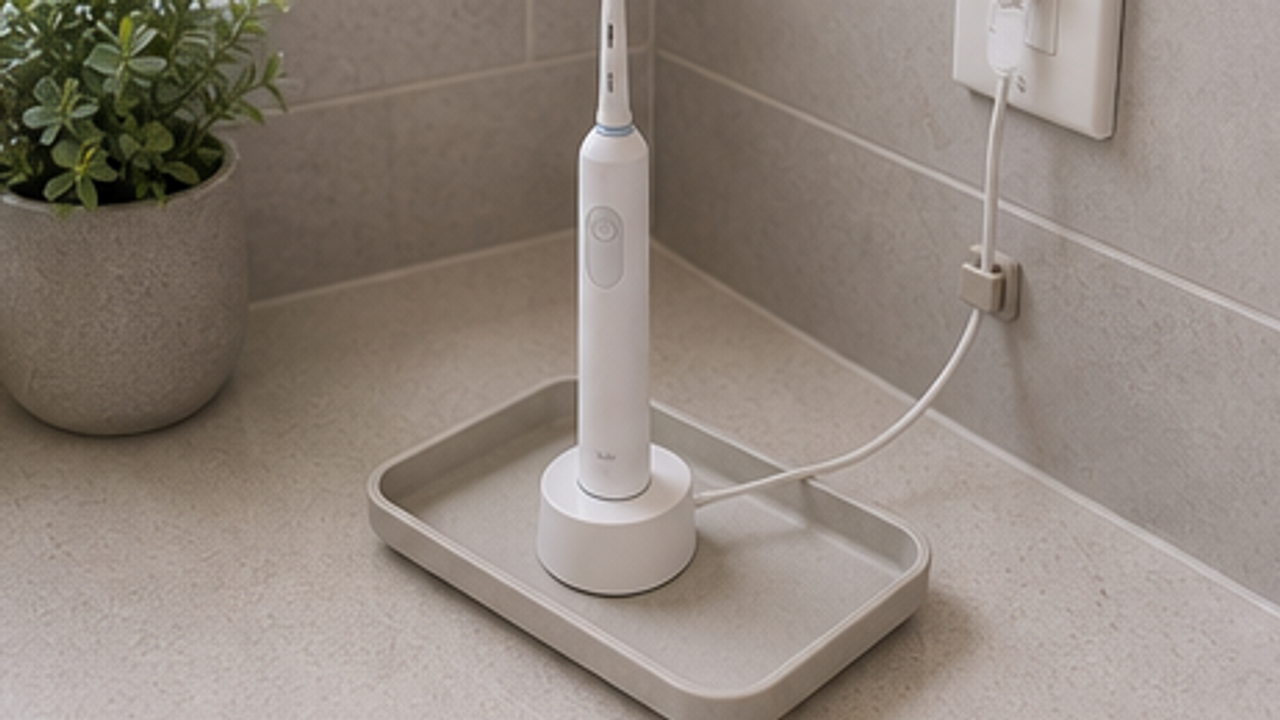
Set a small dry tray
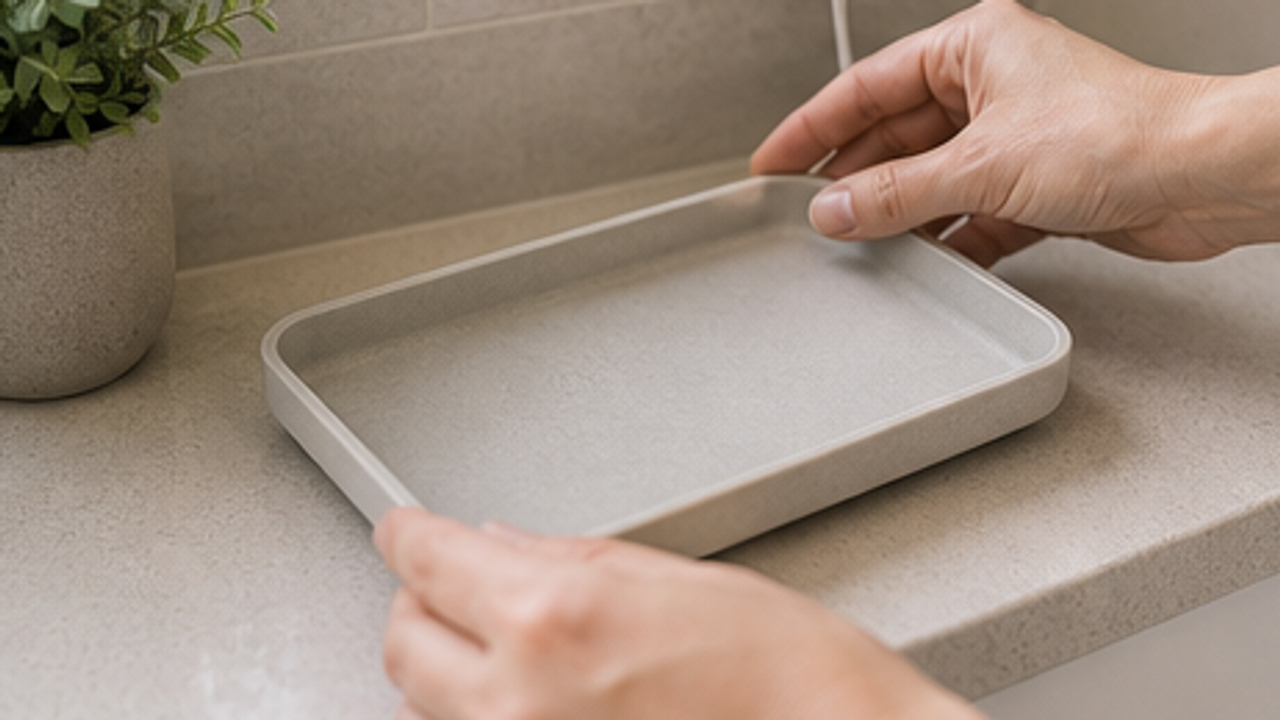
Place a small tray slightly away from the sink edge.
The tray defines the base area and reminds you to keep it dry.
Do not place it directly under the faucet.
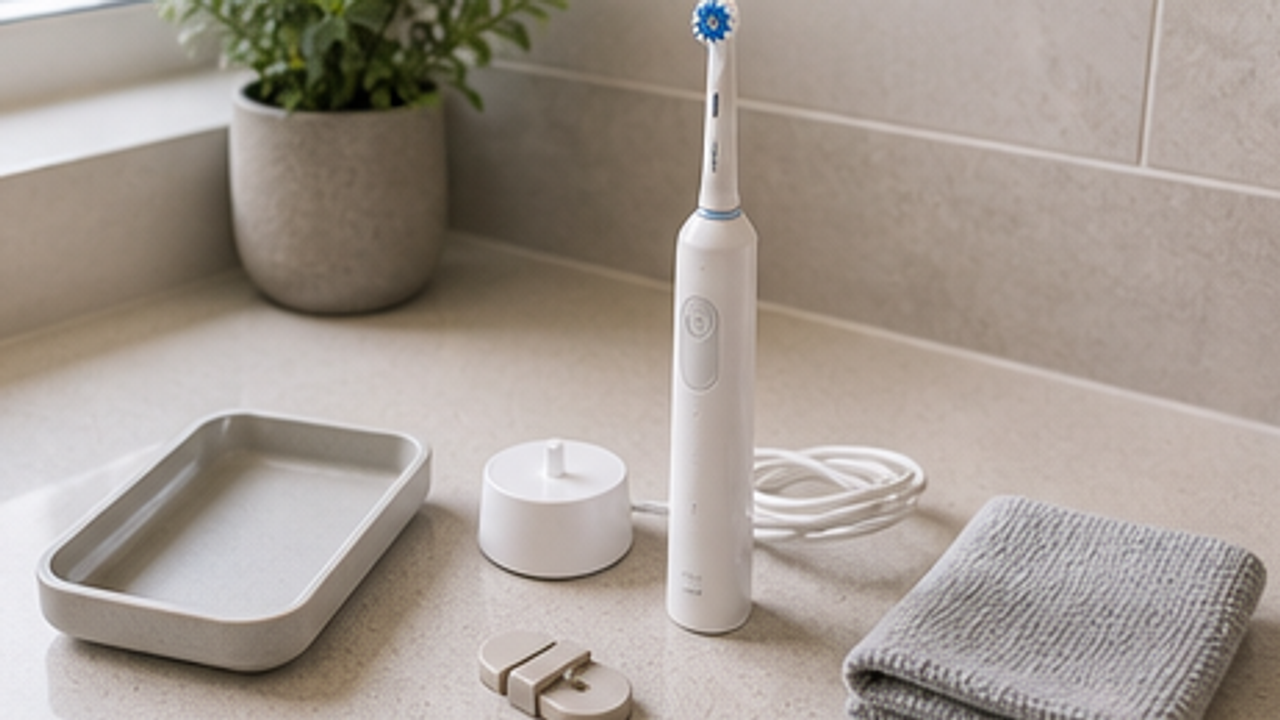
Place the charging base

Set the charging base in the center of the tray with a stable bottom.
A stable base keeps the toothbrush from tipping.
Do not use a damaged base or plug.
Route the cable
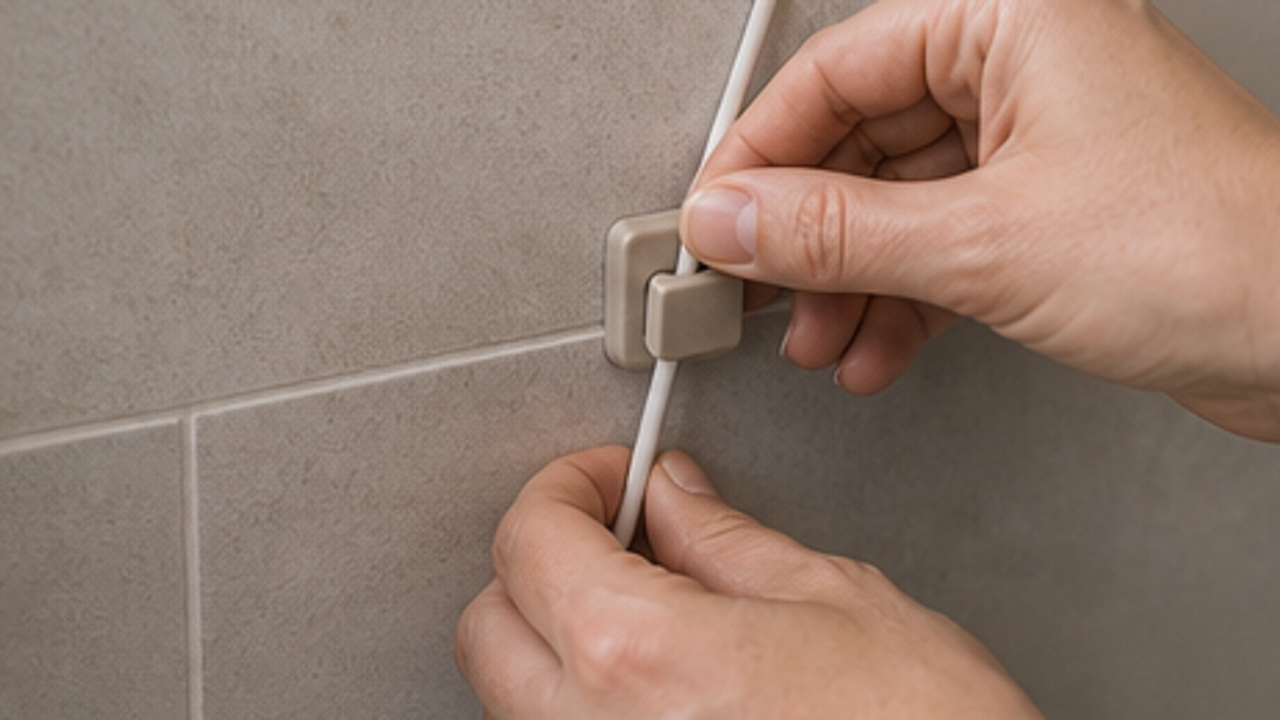
Use a small cable clip to guide the cord along the wall or back of the counter.
Keeping the cord off the wet counter makes cleaning easier and safer.
Do not let cabinet doors pinch the cable.
Dry the handle first
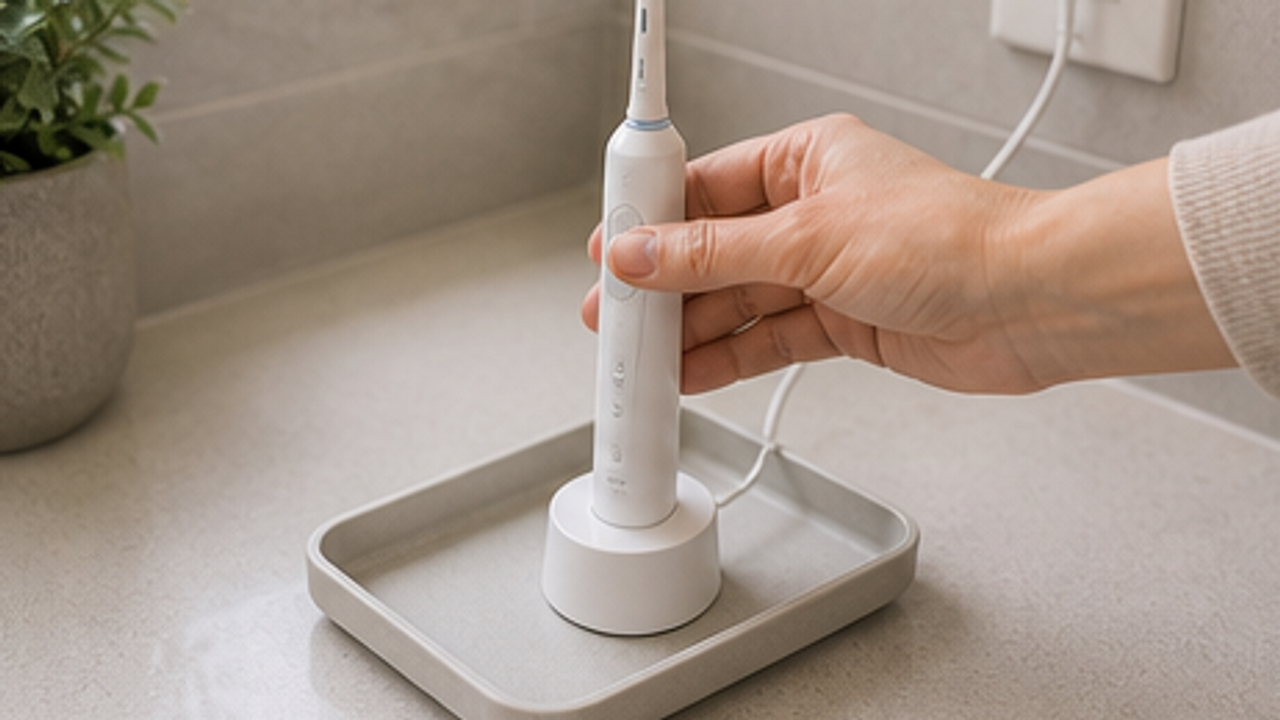
After brushing, wipe water from the toothbrush handle before returning it to the base.
Less dripping means less water around the base.
Keep the brush head ventilated instead of sealed.
Check around the plug
Look for water near the plug, cable, and base.
A quick daily check reduces bathroom electrical risk.
Stop using it if you notice unusual heat or burning smells.
Wipe underneath weekly
Once a week, lift the tray and base to wipe hidden moisture underneath.
The hidden bottom area collects dust and dampness.
Disconnect power before cleaning.
Same topic
Related guides
Related guides
Cleaning
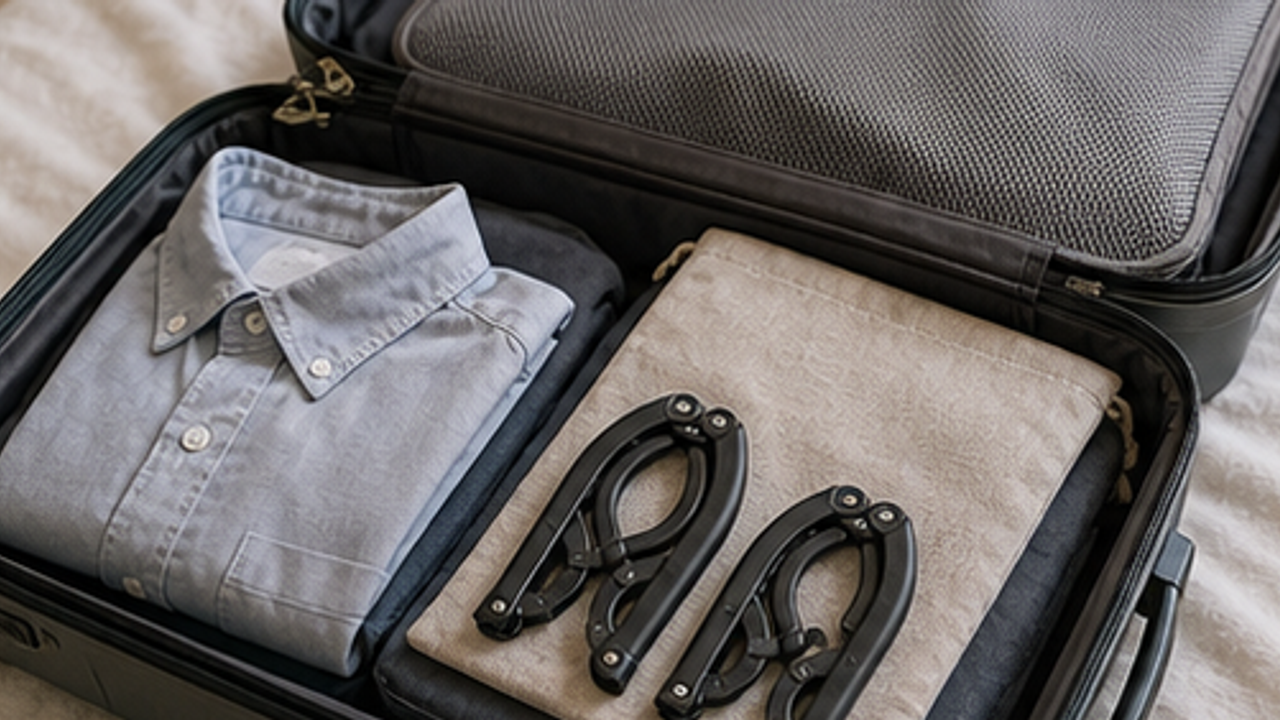
How to Prepare a Travel Folding Hanger Pouch
Give a travel folding hanger pouch one small fixed home so it is easy to use, return, and keep from spreading across drawers, shelves, or counters.
Cleaning
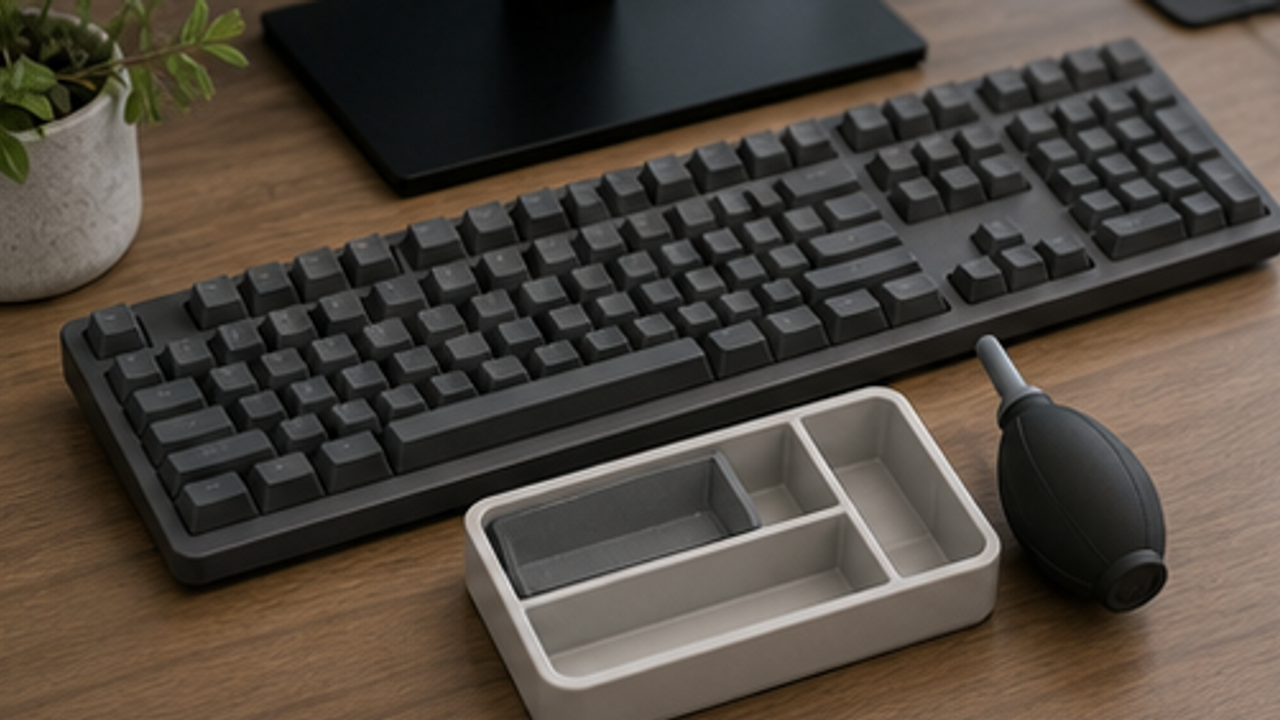
How to Set Up a Desk Keyboard Cleaning Brush Tray
Give a desk keyboard cleaning brush tray one small fixed home so it is easy to use, return, and keep from spreading across drawers, shelves, or counters.
Cleaning
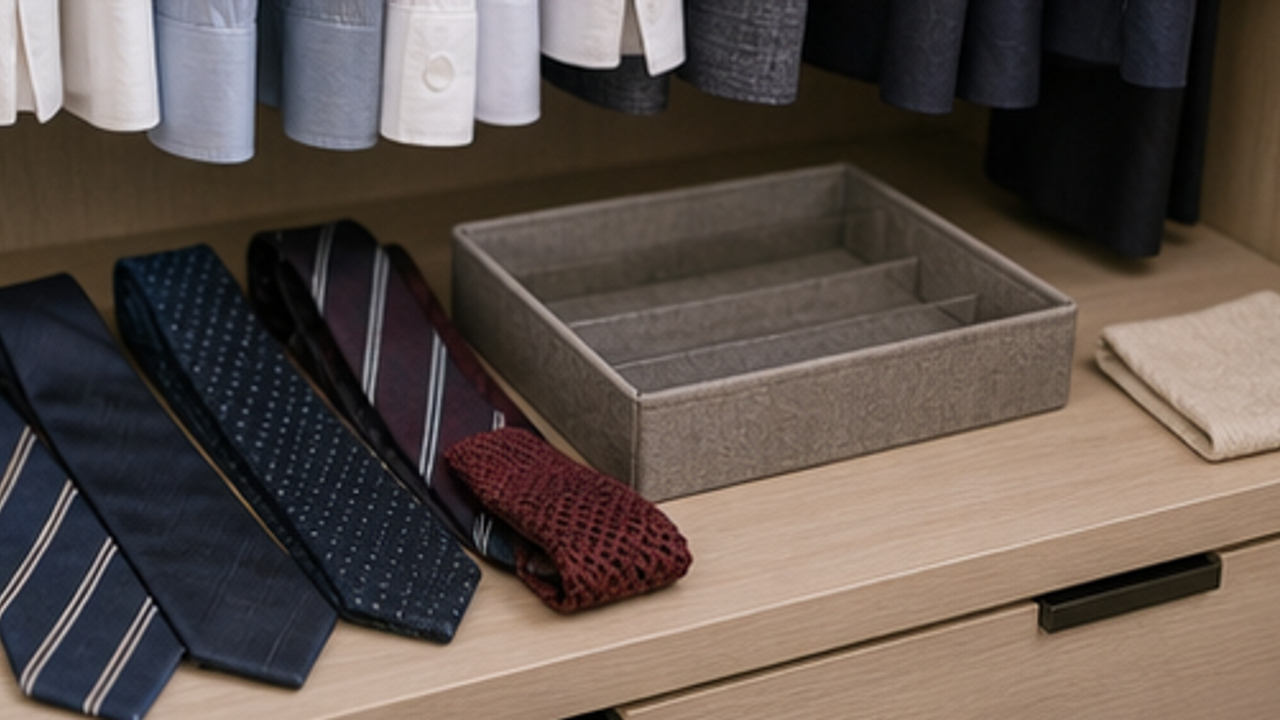
How to Organize Closet Ties in a Roll Tray
Give closet ties in a roll tray one small fixed home so it is easy to use, return, and keep from spreading across drawers, shelves, or counters.
Cleaning
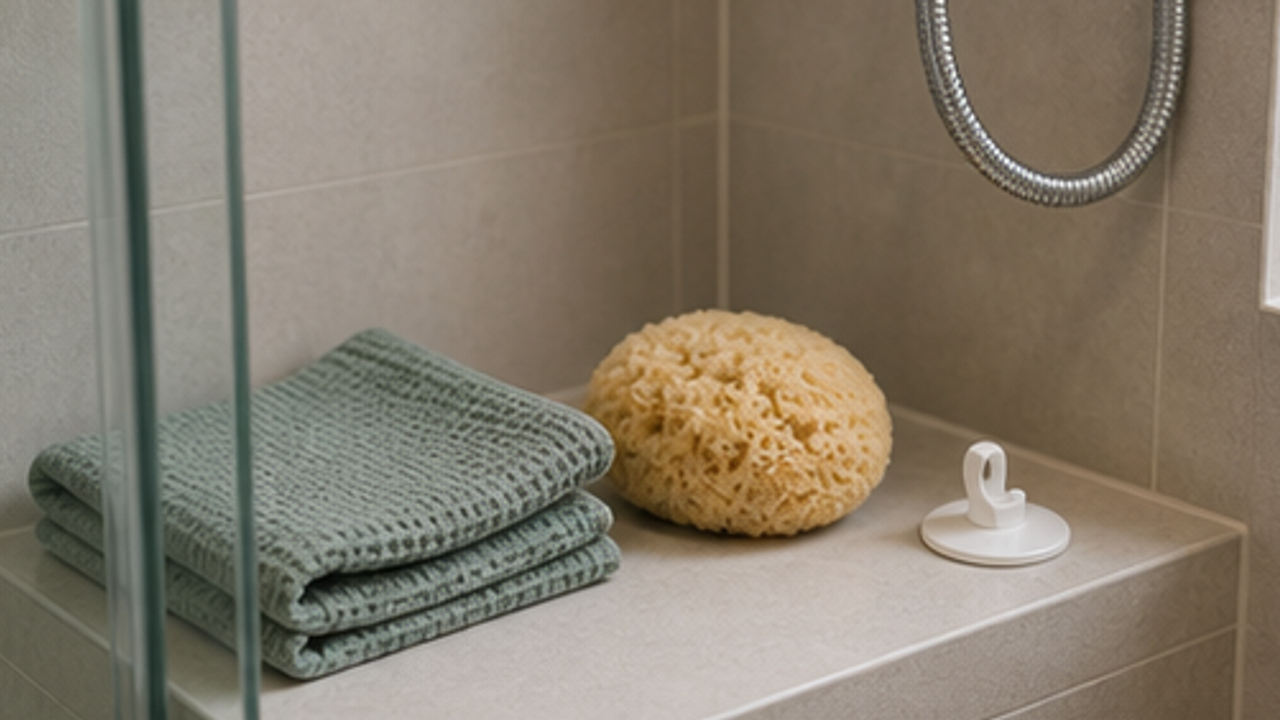
How to Set Up a Bathroom Bath Sponge Drying Hook
Give a bathroom bath sponge drying hook one small fixed home so it is easy to use, return, and keep from spreading across drawers, shelves, or counters.
More from this author
Open
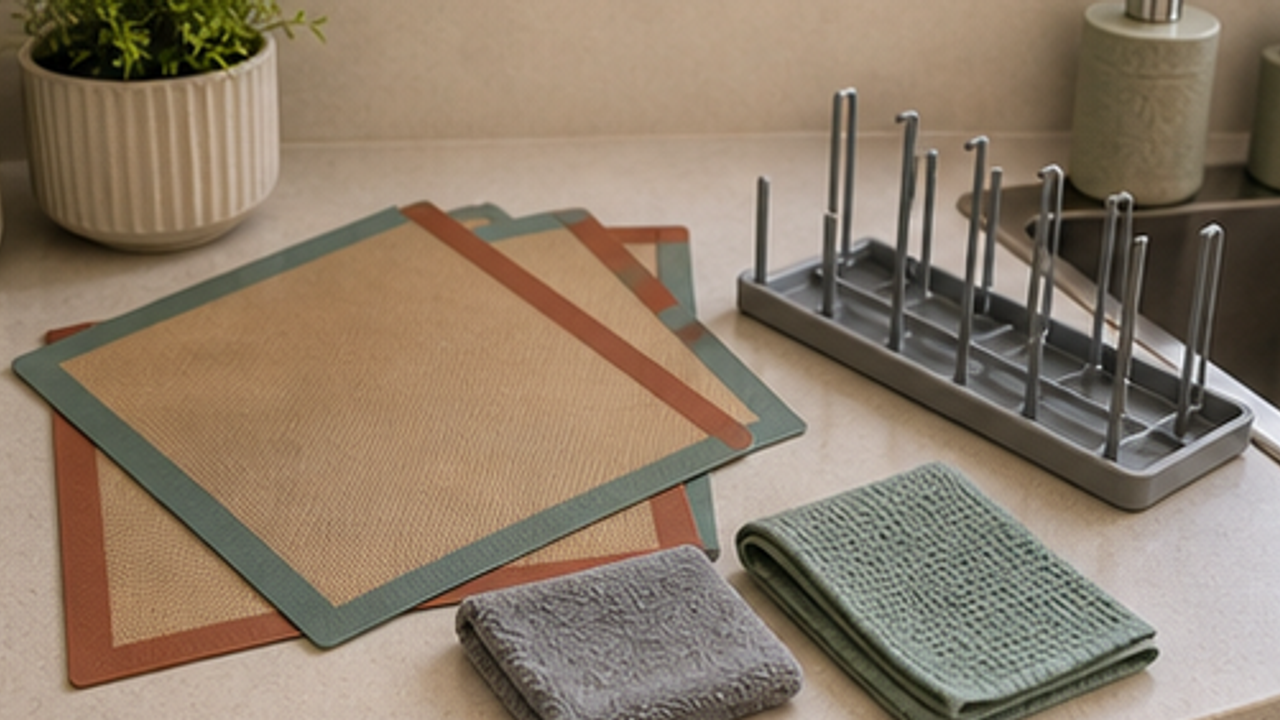
How to Set Up a Kitchen Silicone Baking Mat Drying Rack
Give a kitchen silicone baking mat drying rack one small fixed home so it is easy to use, return, and keep from spreading across drawers, shelves, or counters.
Open
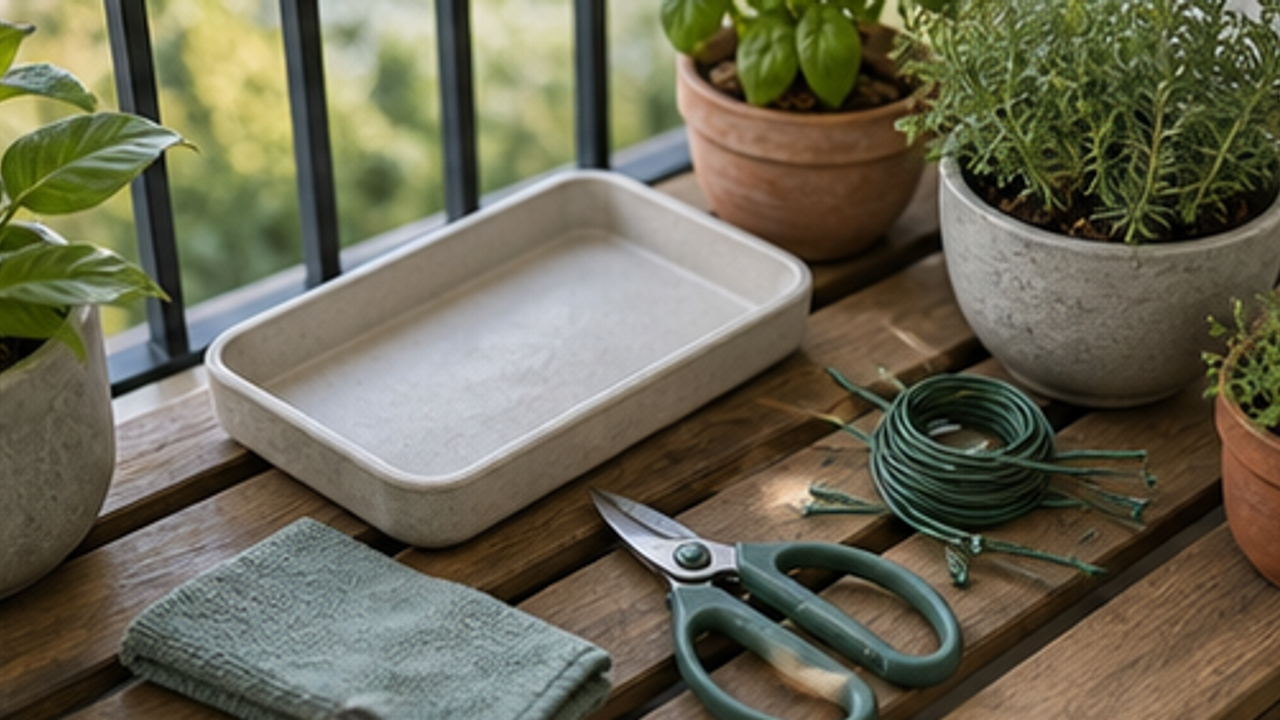
How to Set Up a Balcony Plant Pruning Tool Tray
Give a balcony plant pruning tool tray one small fixed home so it is easy to use, return, and keep from spreading across drawers, shelves, or counters.
Open
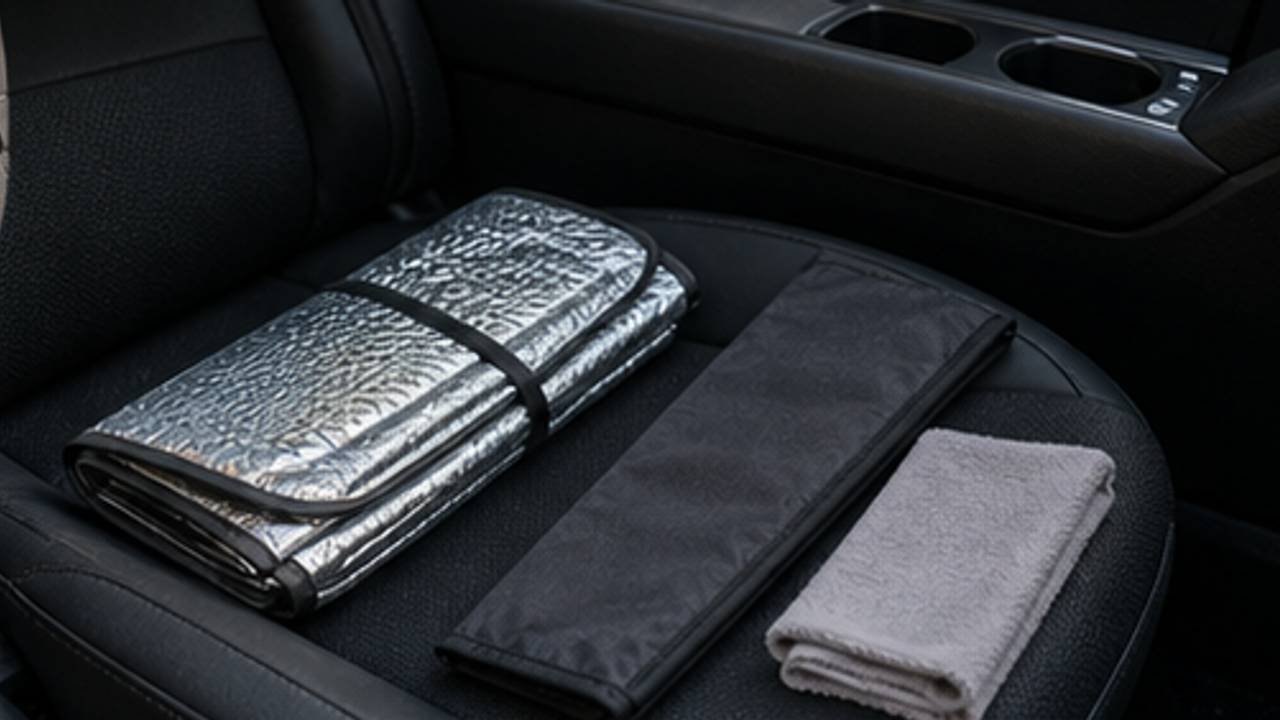
How to Organize a Car Folding Sunshade Sleeve
Give a car folding sunshade sleeve one small fixed home so it is easy to use, return, and keep from spreading across drawers, shelves, or counters.
Life Reactions
How this way feels to you
My Life Trial
Log it after trying
Comments
0 Comments
No comments yet.