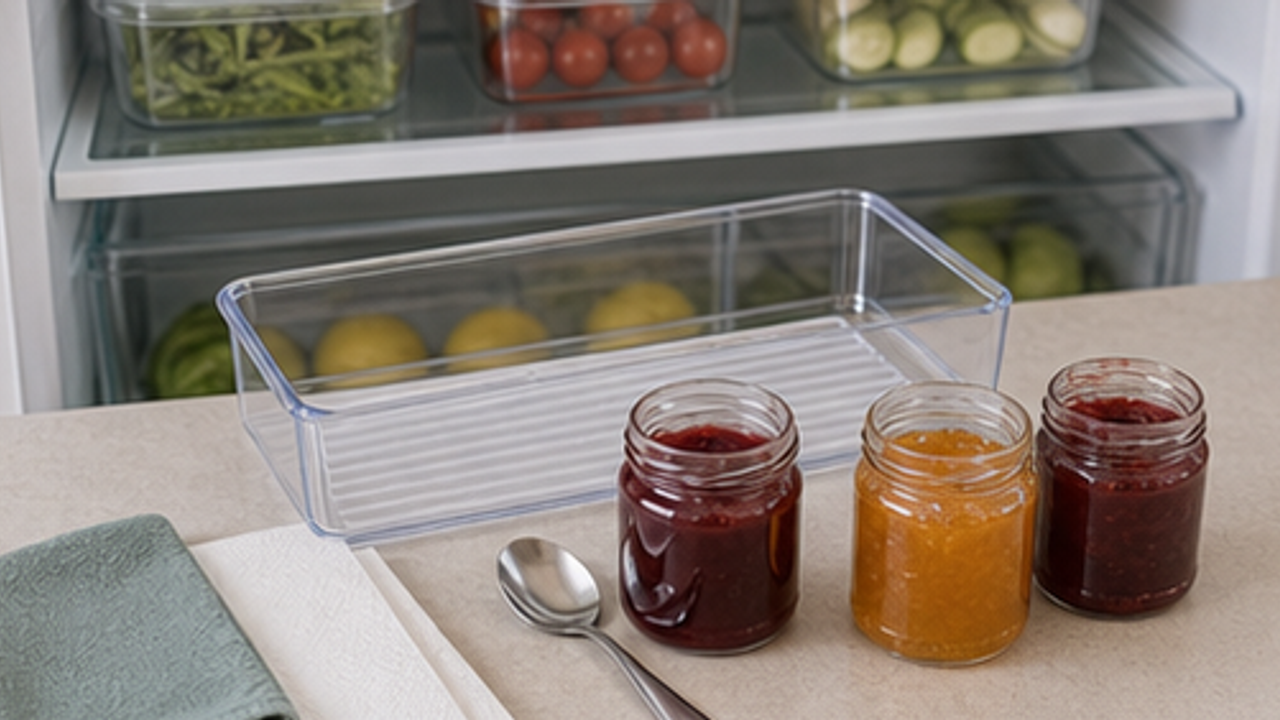
How to Organize Baking Liners in a Pantry Divider Box

Give baking liners and parchment pieces one small, repeatable home so it is easy to use, return, and keep tidy every day.
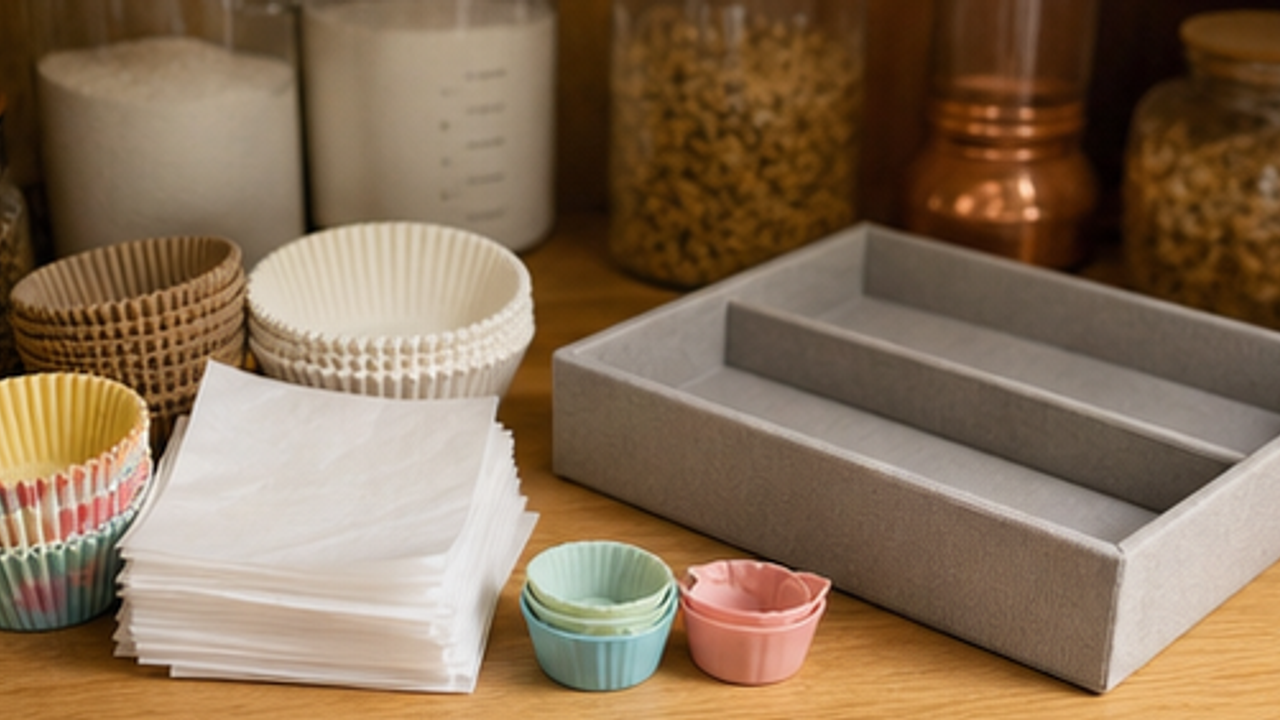
Take out loose baking liners
Take out loose baking liners. Keep the work area small and handle one group at a time so the step matches the visual state clearly.
This moves baking liners and parchment pieces from loose clutter into a stable setup. Finish step 1 before starting the next action.
If anything is damp, damaged, or dirty, clean or remove it before putting it back with the rest.
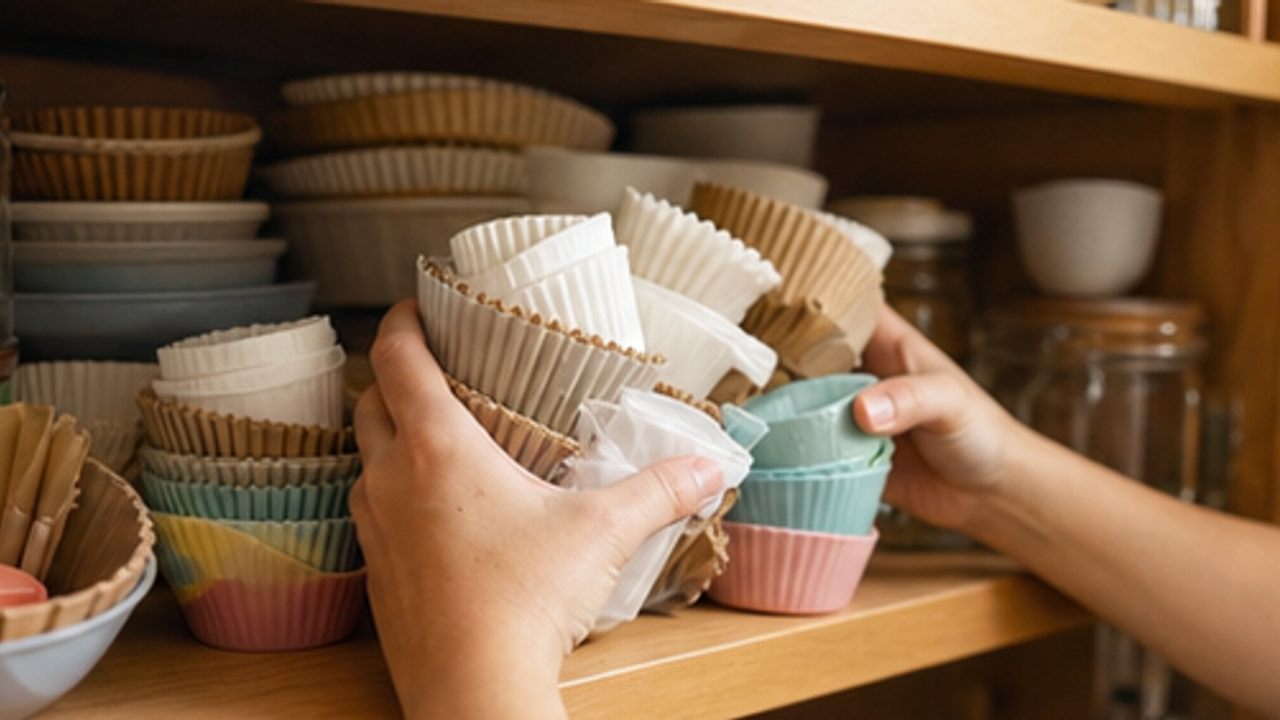
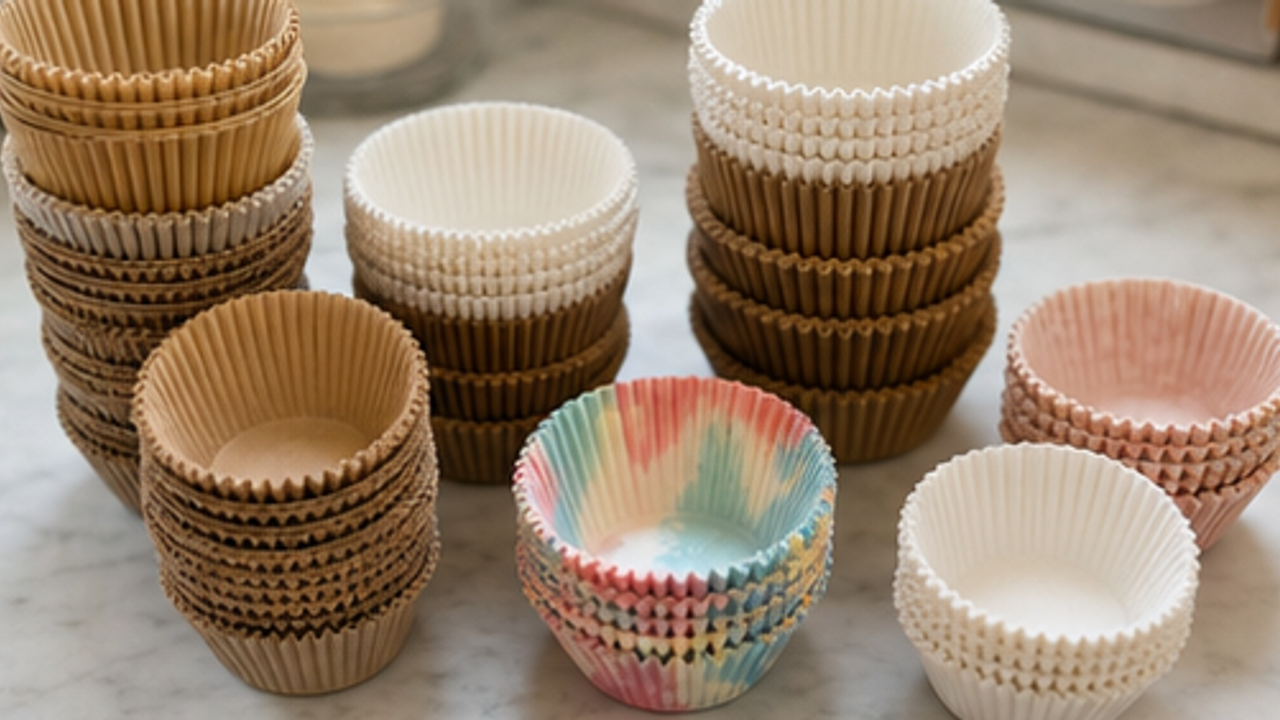
Spread and sort by type
Spread and sort by type. Keep the work area small and handle one group at a time so the step matches the visual state clearly.
This moves baking liners and parchment pieces from loose clutter into a stable setup. Finish step 2 before starting the next action.
If anything is damp, damaged, or dirty, clean or remove it before putting it back with the rest.
Wipe the shallow divider box
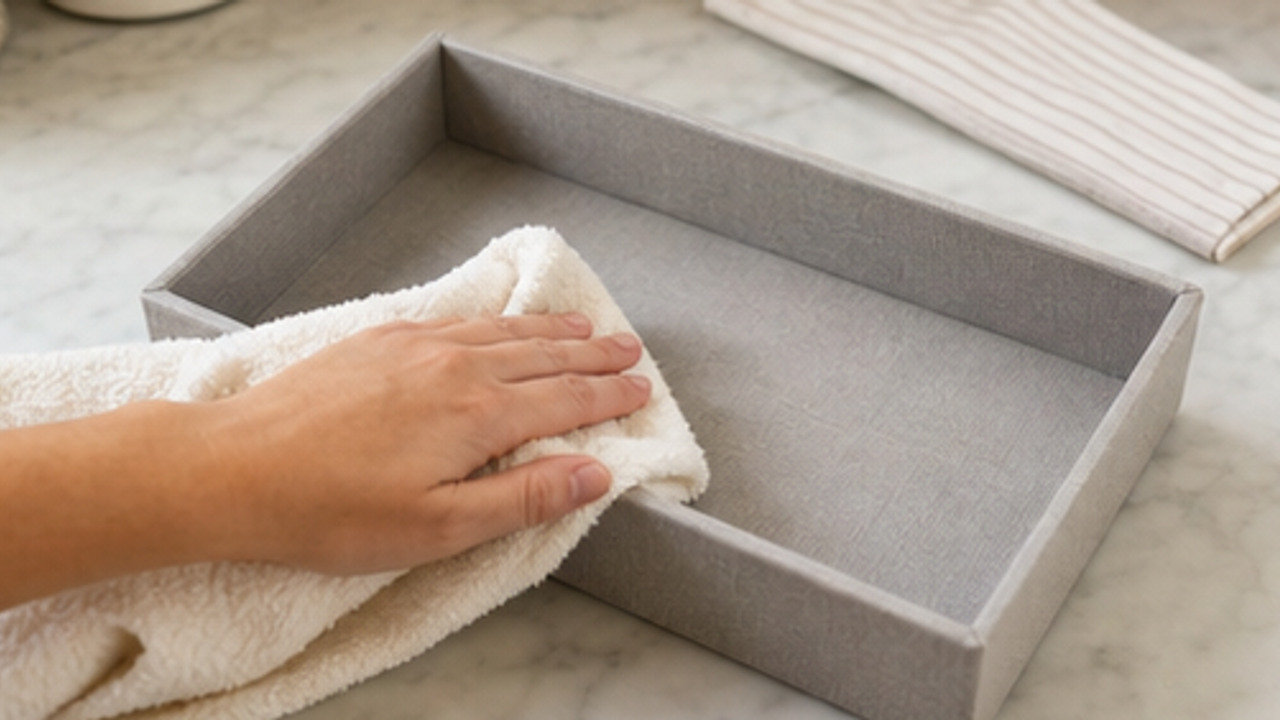
Wipe the shallow divider box. Keep the work area small and handle one group at a time so the step matches the visual state clearly.
This moves baking liners and parchment pieces from loose clutter into a stable setup. Finish step 3 before starting the next action.
If anything is damp, damaged, or dirty, clean or remove it before putting it back with the rest.
Add adjustable dividers
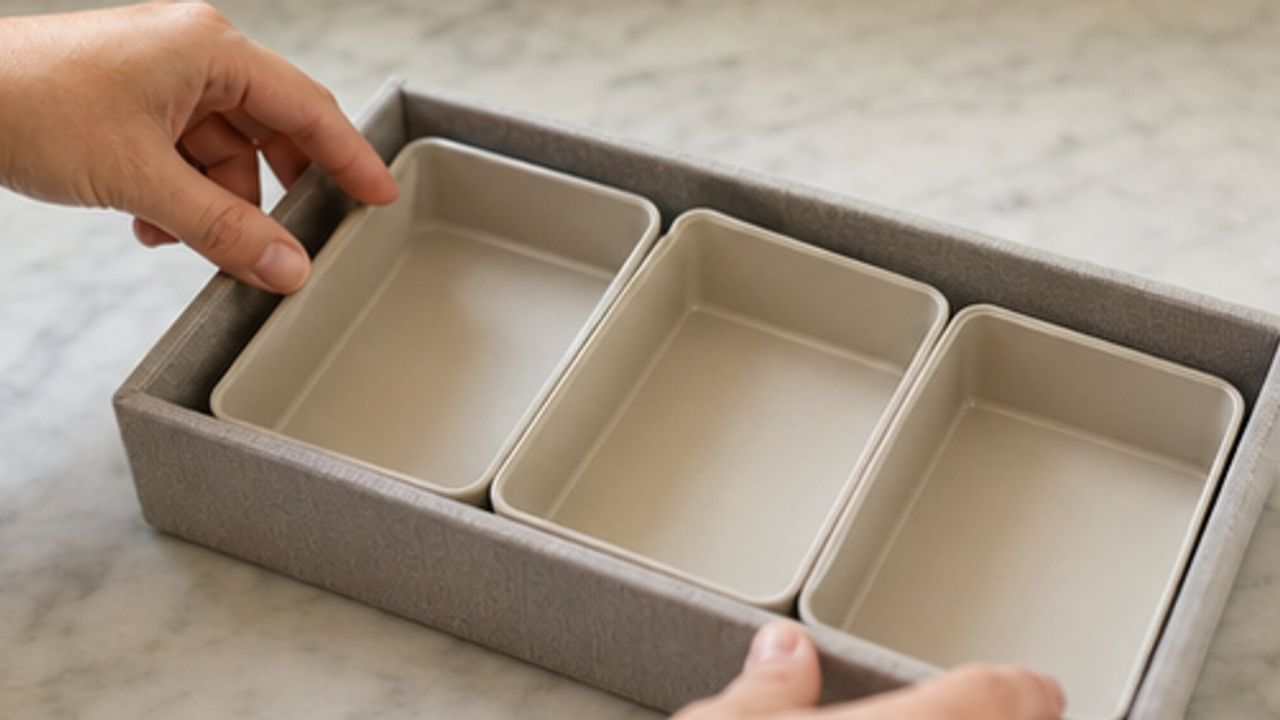
Add adjustable dividers. Keep the work area small and handle one group at a time so the step matches the visual state clearly.
This moves baking liners and parchment pieces from loose clutter into a stable setup. Finish step 4 before starting the next action.
If anything is damp, damaged, or dirty, clean or remove it before putting it back with the rest.
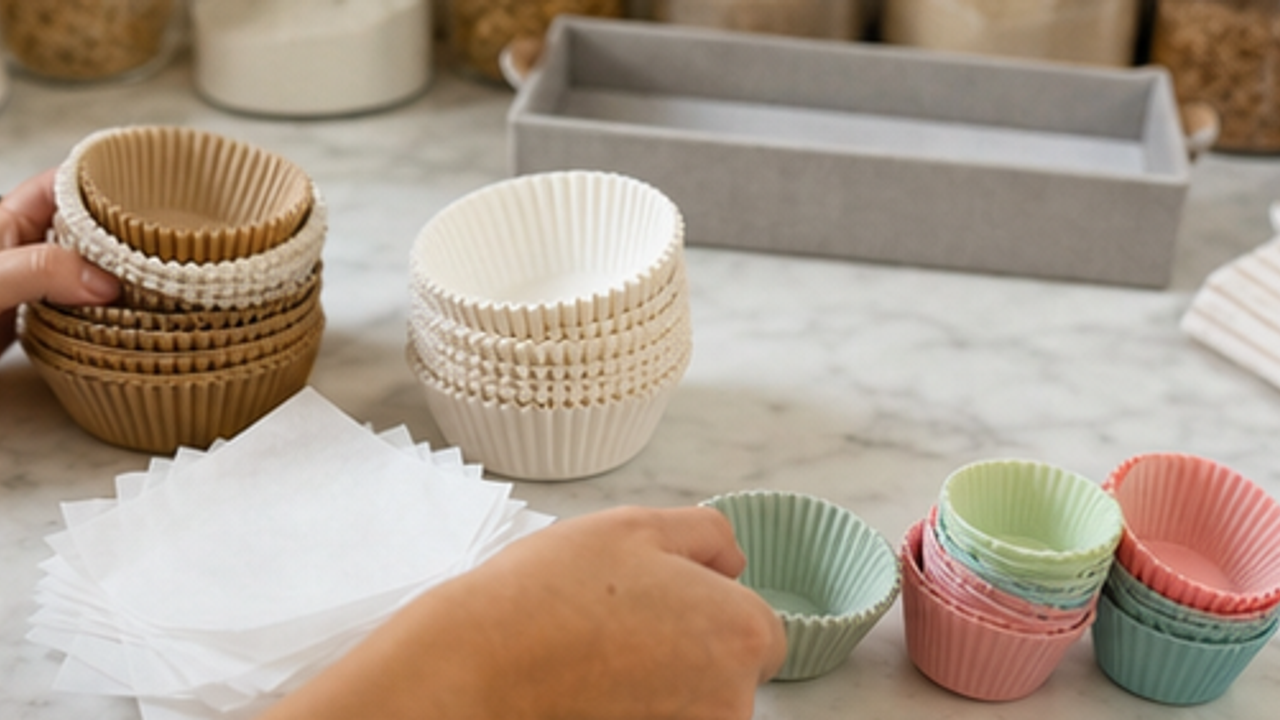
Stand daily paper cups upright
Stand daily paper cups upright. Keep the work area small and handle one group at a time so the step matches the visual state clearly.
This moves baking liners and parchment pieces from loose clutter into a stable setup. Finish step 5 before starting the next action.
If anything is damp, damaged, or dirty, clean or remove it before putting it back with the rest.
Lay parchment pieces flat

Lay parchment pieces flat. Keep the work area small and handle one group at a time so the step matches the visual state clearly.
This moves baking liners and parchment pieces from loose clutter into a stable setup. Finish step 6 before starting the next action.
If anything is damp, damaged, or dirty, clean or remove it before putting it back with the rest.
Store silicone cups together
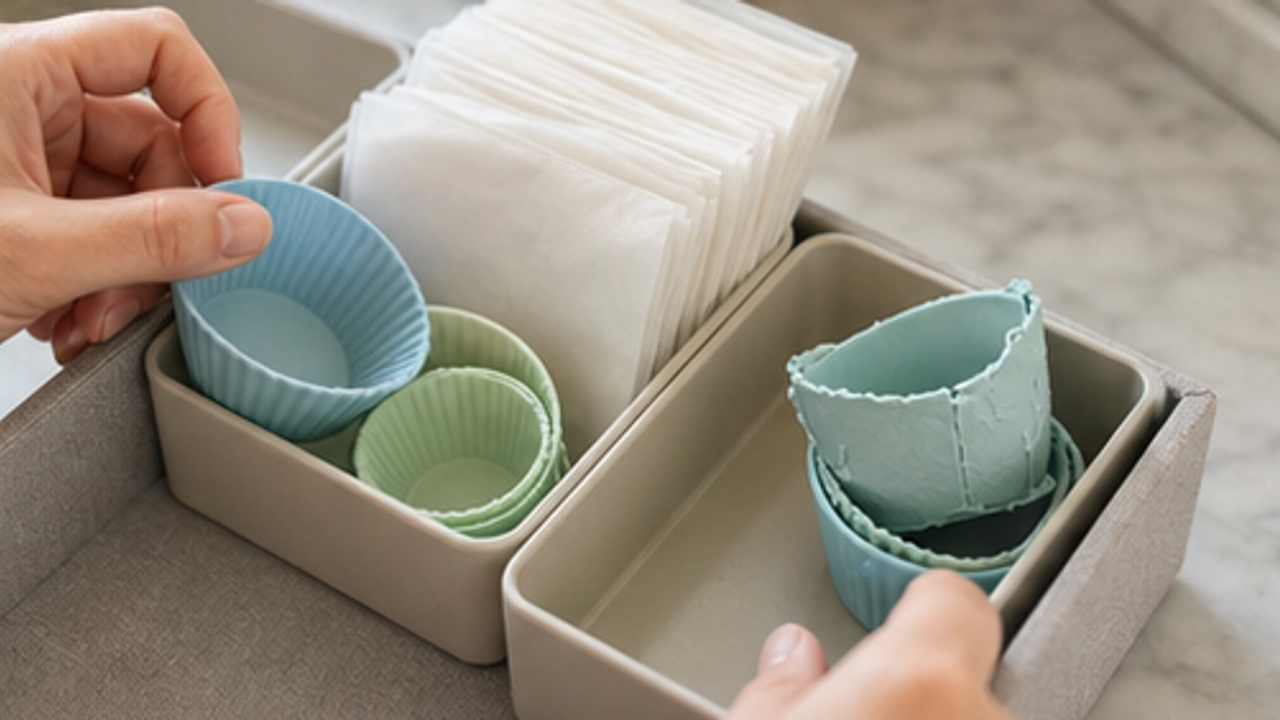
Store silicone cups together. Keep the work area small and handle one group at a time so the step matches the visual state clearly.
This moves baking liners and parchment pieces from loose clutter into a stable setup. Finish step 7 before starting the next action.
If anything is damp, damaged, or dirty, clean or remove it before putting it back with the rest.
Return the box to one pantry shelf
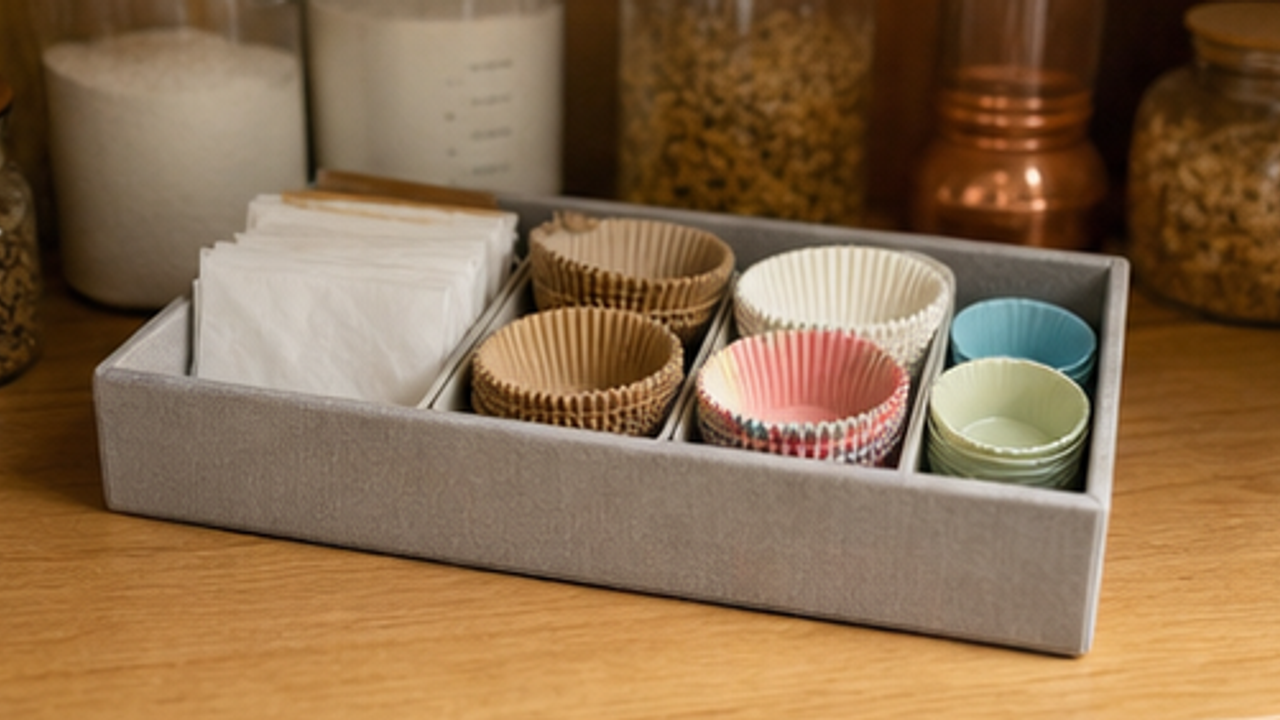
Return the box to one pantry shelf. Keep the work area small and handle one group at a time so the step matches the visual state clearly.
This moves baking liners and parchment pieces from loose clutter into a stable setup. Finish step 8 before starting the next action.
If anything is damp, damaged, or dirty, clean or remove it before putting it back with the rest.
Same topic
Related guides
Related guides
Cleaning
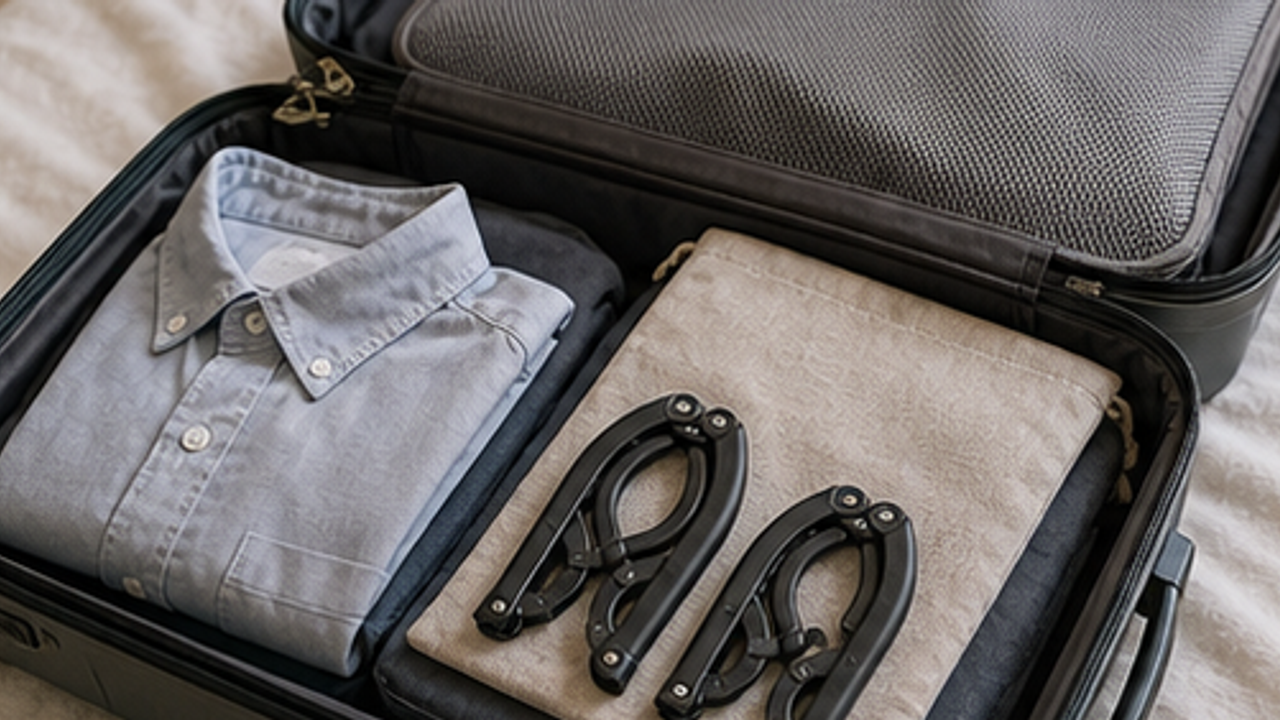
How to Prepare a Travel Folding Hanger Pouch
Give a travel folding hanger pouch one small fixed home so it is easy to use, return, and keep from spreading across drawers, shelves, or counters.
Cleaning
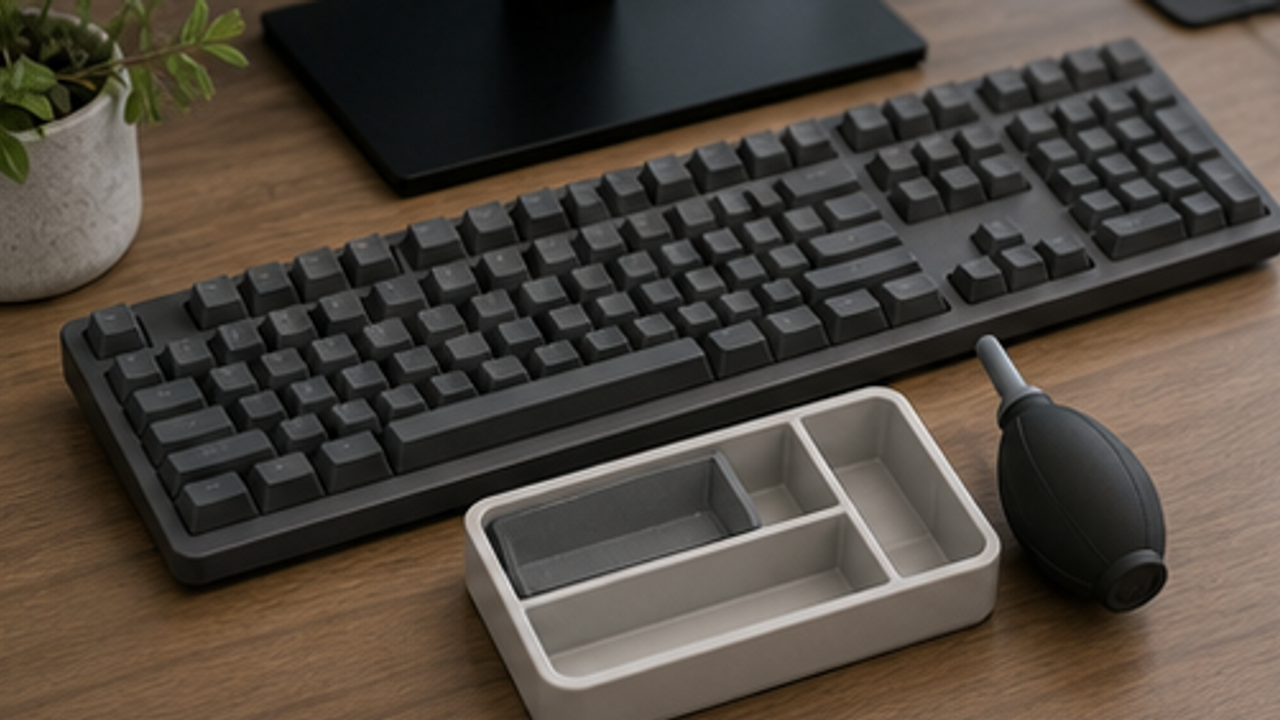
How to Set Up a Desk Keyboard Cleaning Brush Tray
Give a desk keyboard cleaning brush tray one small fixed home so it is easy to use, return, and keep from spreading across drawers, shelves, or counters.
Cleaning
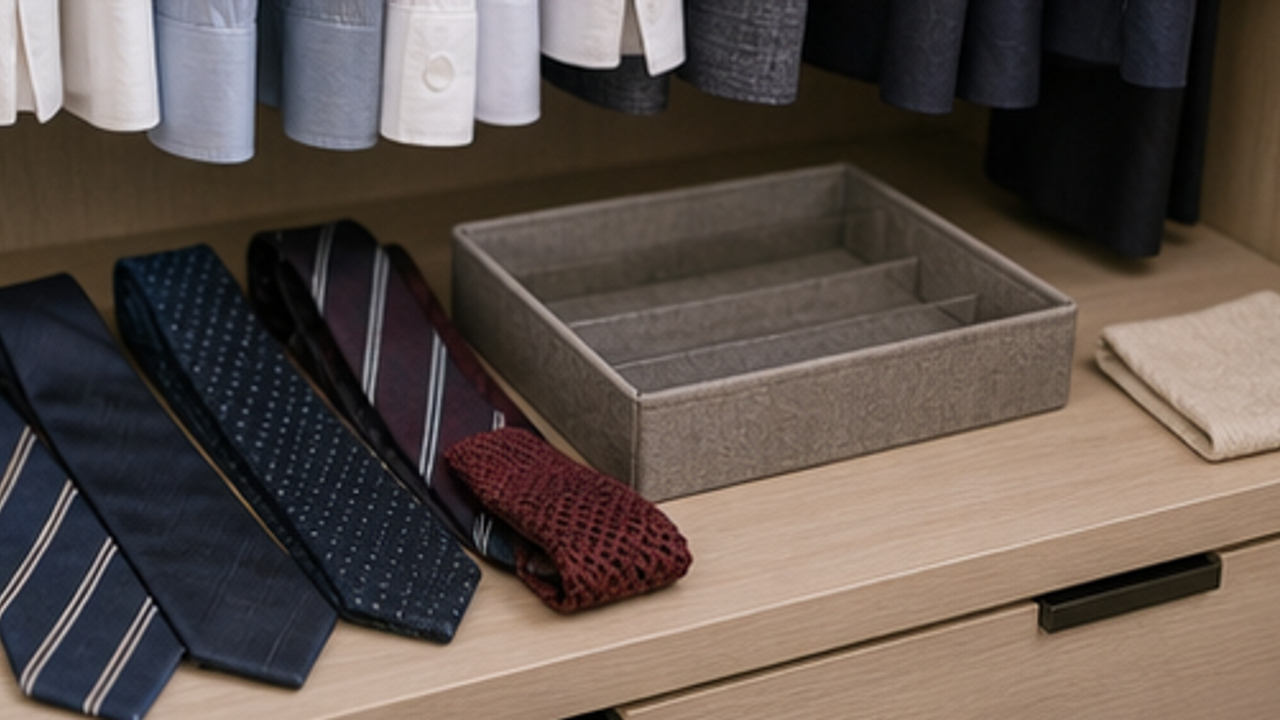
How to Organize Closet Ties in a Roll Tray
Give closet ties in a roll tray one small fixed home so it is easy to use, return, and keep from spreading across drawers, shelves, or counters.
Cleaning
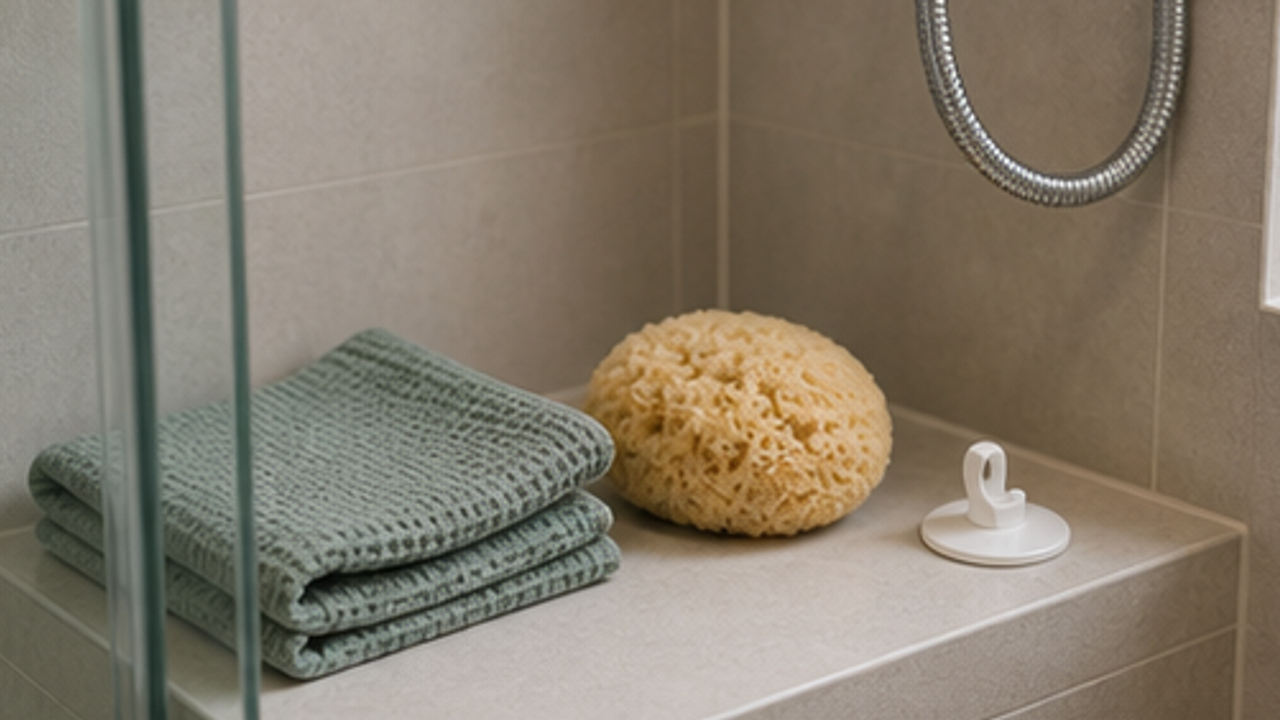
How to Set Up a Bathroom Bath Sponge Drying Hook
Give a bathroom bath sponge drying hook one small fixed home so it is easy to use, return, and keep from spreading across drawers, shelves, or counters.
More from this author
Open
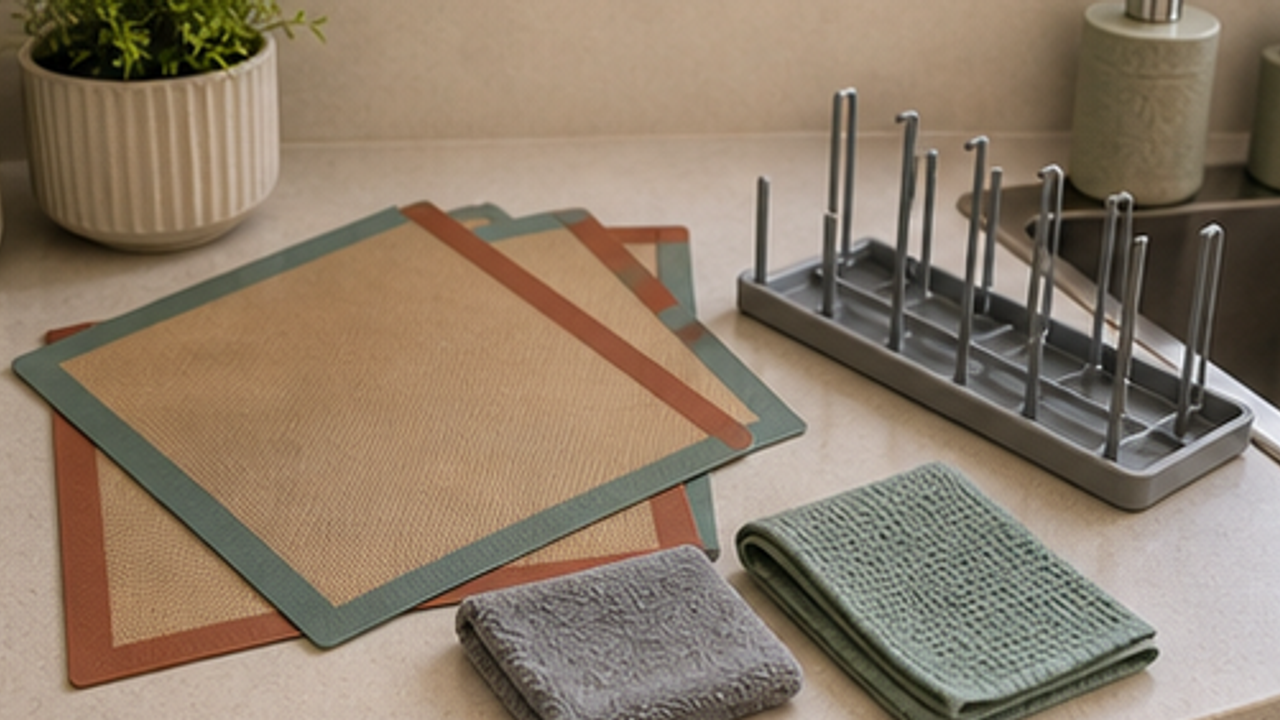
How to Set Up a Kitchen Silicone Baking Mat Drying Rack
Give a kitchen silicone baking mat drying rack one small fixed home so it is easy to use, return, and keep from spreading across drawers, shelves, or counters.
Open
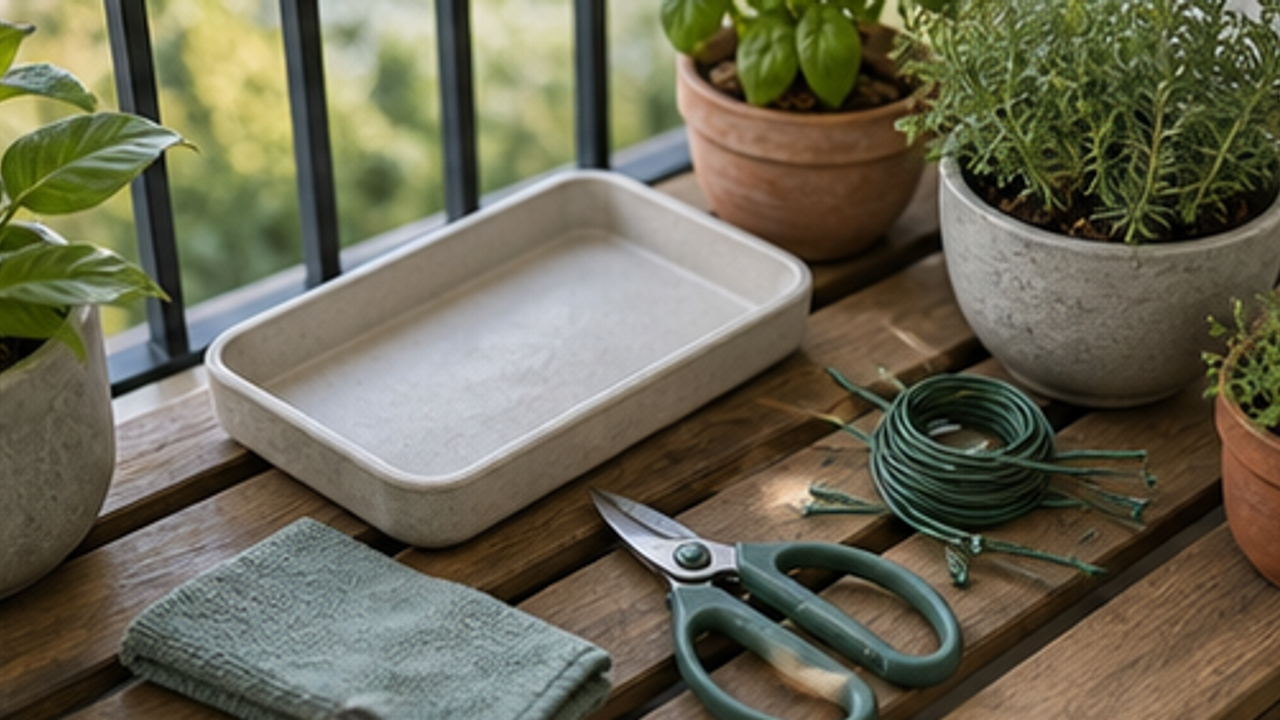
How to Set Up a Balcony Plant Pruning Tool Tray
Give a balcony plant pruning tool tray one small fixed home so it is easy to use, return, and keep from spreading across drawers, shelves, or counters.
Open
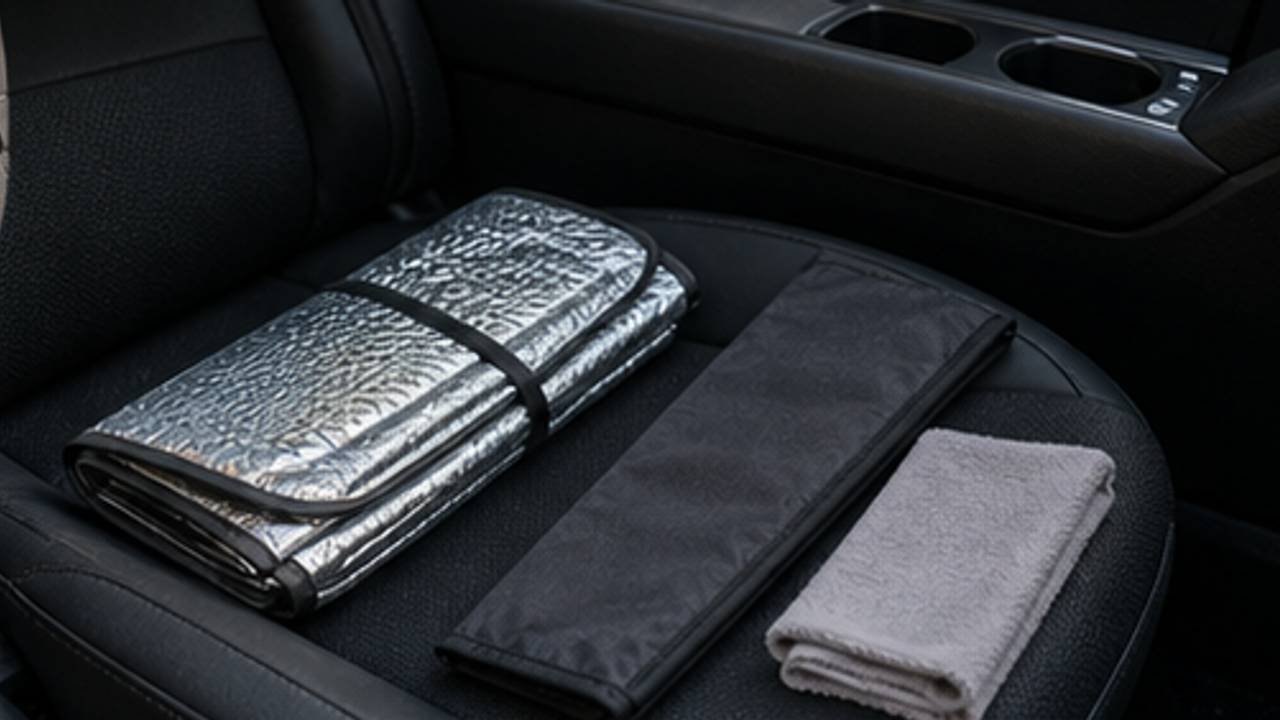
How to Organize a Car Folding Sunshade Sleeve
Give a car folding sunshade sleeve one small fixed home so it is easy to use, return, and keep from spreading across drawers, shelves, or counters.
Life Reactions
How this way feels to you
My Life Trial
Log it after trying
Comments
0 Comments
No comments yet.