Clean and Refill a Reusable Water Bottle Safely

A reusable bottle touches drinking water and your mouth every day, so the bottle, lid, straw, and gasket all need regular cleaning. This guide uses warm water, mild dish soap, and brushes to clean, dry, and refill the bottle safely.

Take the Bottle Apart
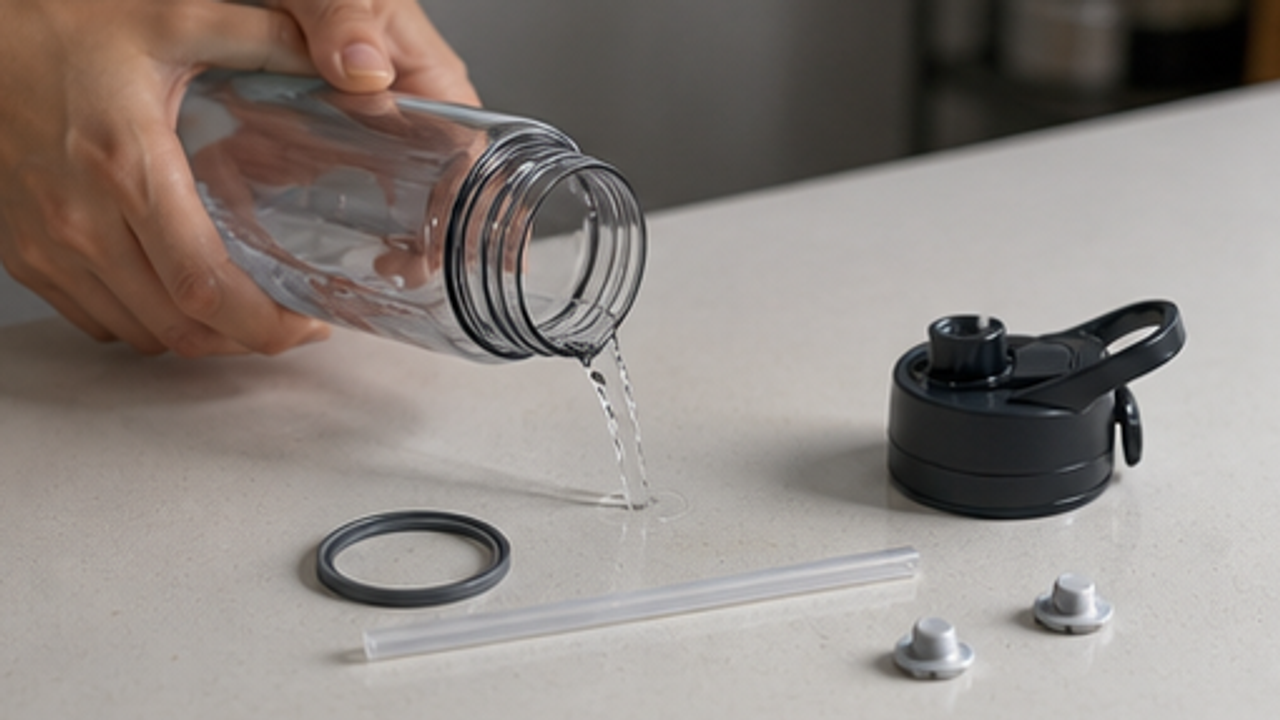
Pour out old water, remove the lid, straw, gasket, and any small removable parts, then place them on a clean counter.
Taking the bottle apart exposes hidden areas such as lid grooves and the inside of the straw.
Put tiny gaskets in a shallow bowl so they do not roll into the sink.
Rinse With Clean Water
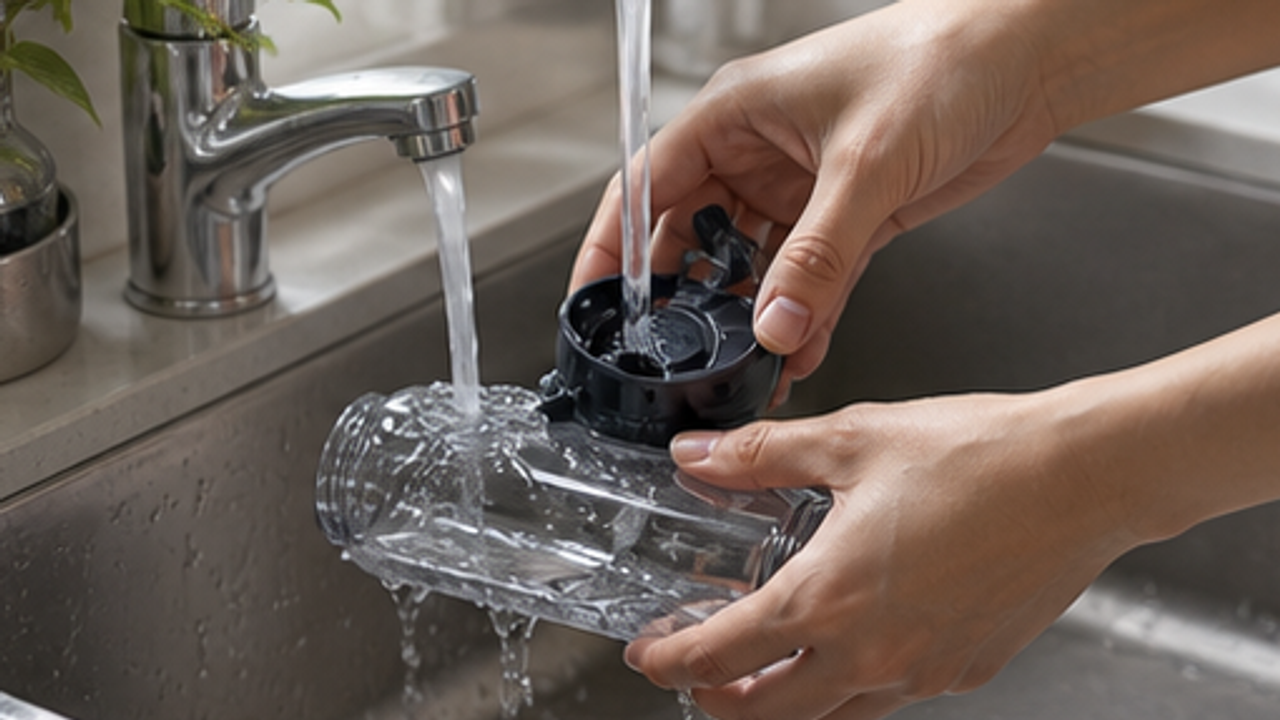
Rinse the bottle and parts under running water to remove loose residue, dust, and drink traces.
A first rinse reduces slippery buildup and helps you see which areas need extra attention.
Avoid very hot water on plastic parts because it may warp them.
Add Warm Water and Mild Soap
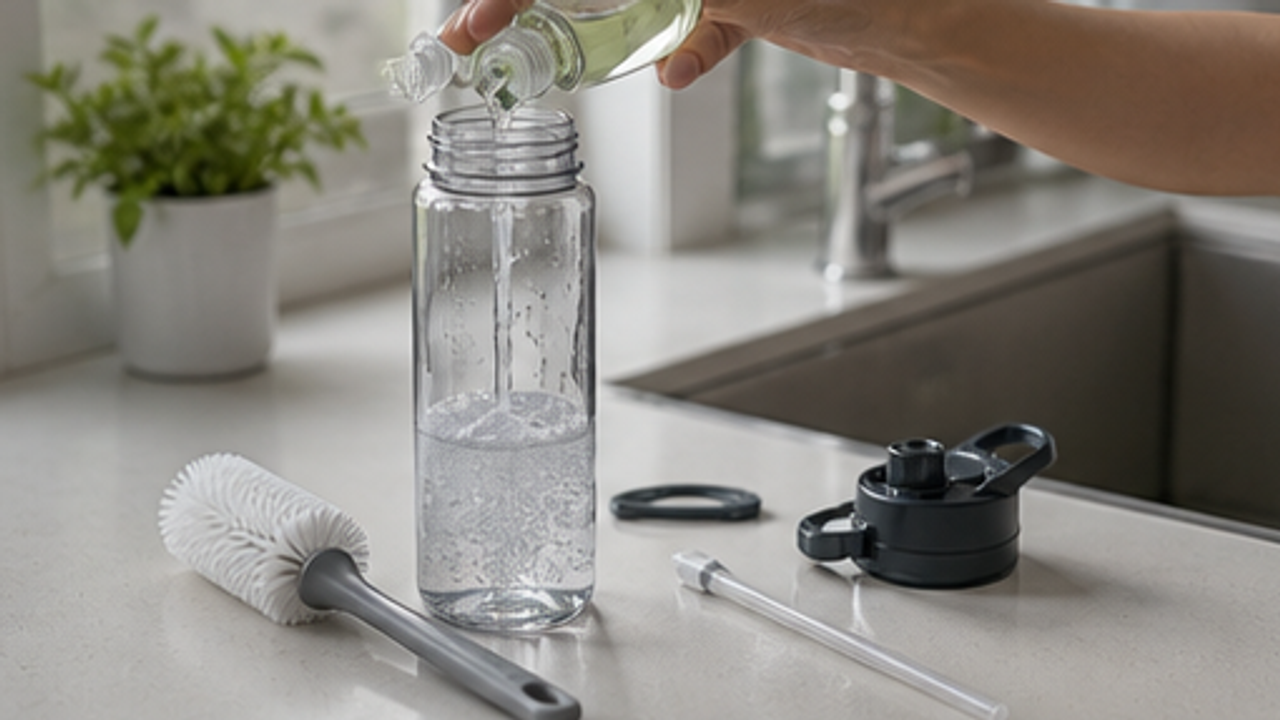
Add a little warm water and mild dish soap to the bottle. Soak the lid and small parts briefly in warm soapy water.
Warm soapy water loosens oils and mouth-contact residue so brushing works better.
Do not mix bleach, vinegar, or other cleaners, since combinations can irritate or damage materials.
Scrub Inside the Bottle
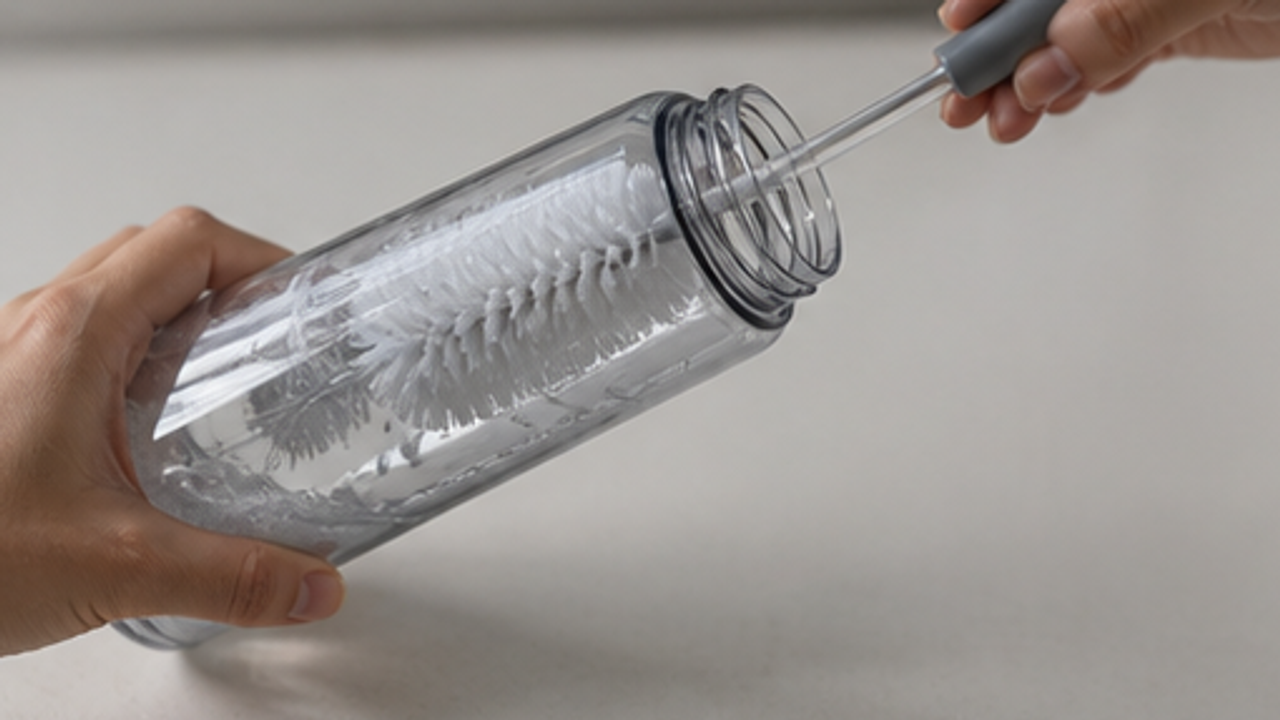
Use a long bottle brush to scrub the bottom, walls, and mouth threads, especially where fingers cannot reach.
The bottom and mouth area collect residue, and brushing is more thorough than shaking.
Hold glass bottles firmly because wet hands can slip.
Clean the Lid and Straw
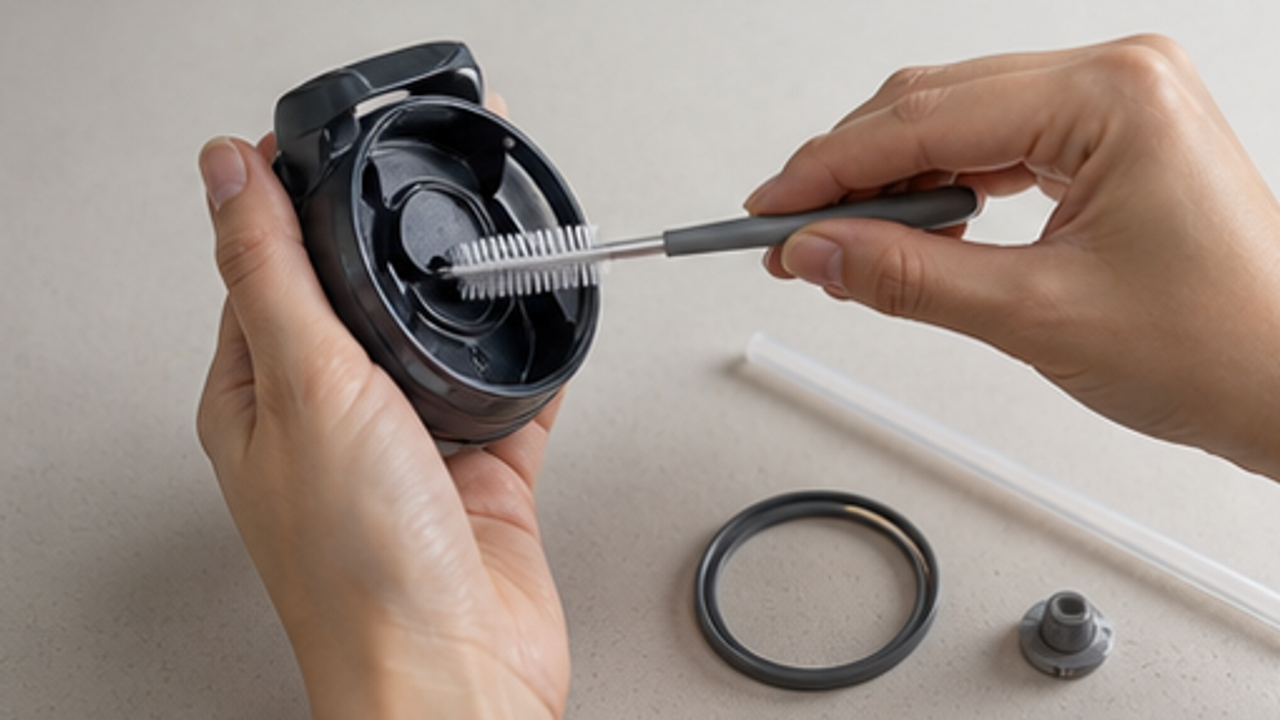
Use a small brush to clean lid grooves, the inside of the straw, and gasket edges, then check for remaining residue.
Small parts often cause odors, so cleaning them separately makes a real difference.
Do not force a brush through a straw if it is too wide; use a thinner brush.
Rinse Away All Soap
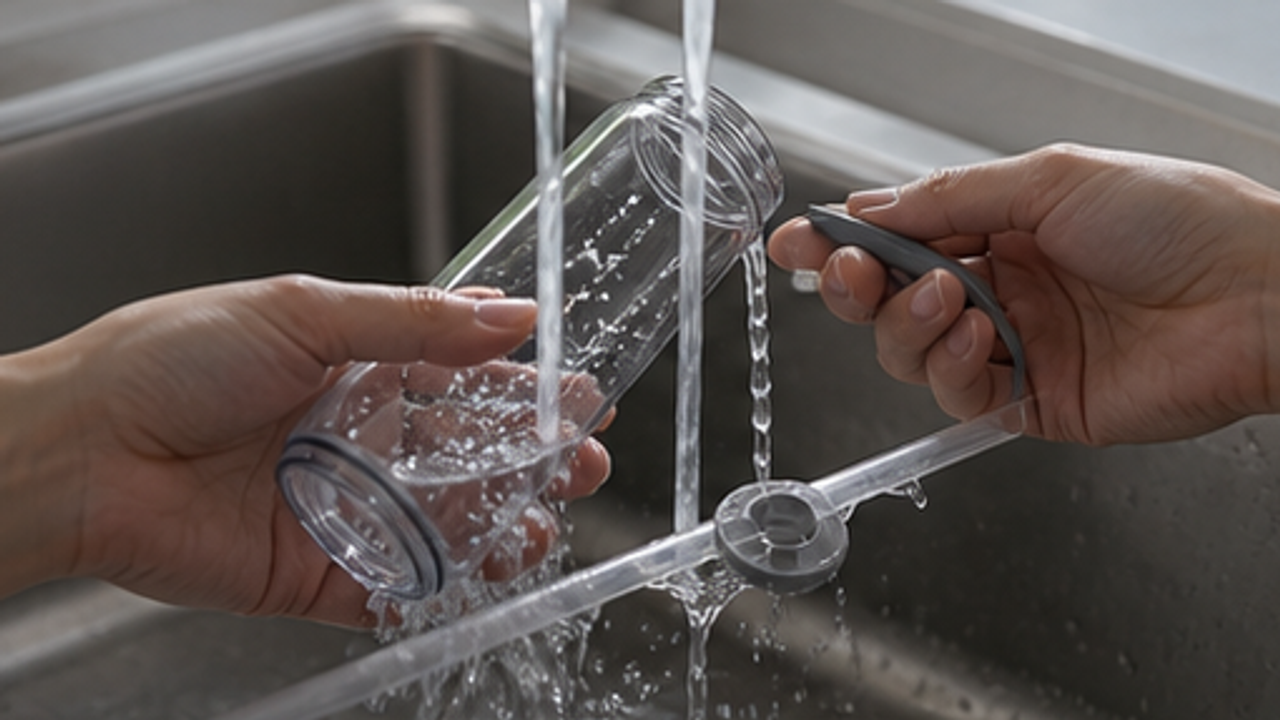
Rinse the bottle, lid, straw, and gasket under running water until there is no foam or slippery feel.
Soap residue can affect taste and make the bottle mouth slick.
Use gentle water flow for small parts so they are not washed away.
Air-Dry Upside Down
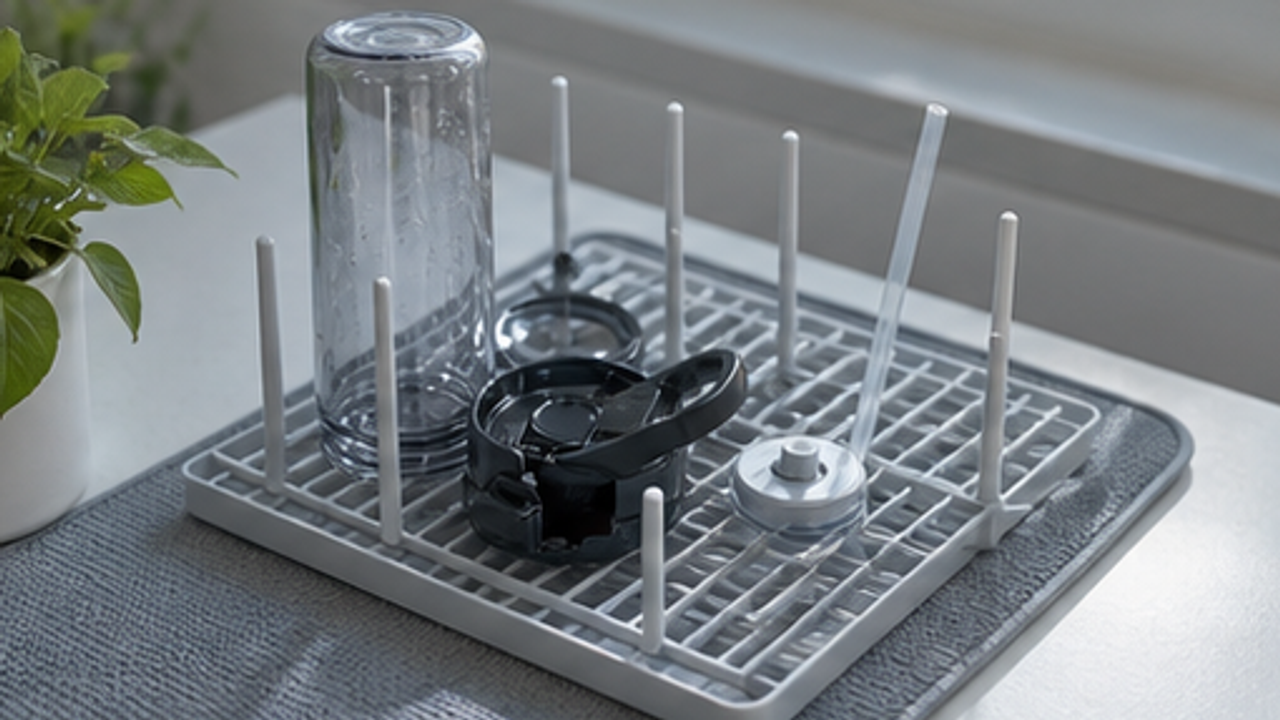
Place the bottle upside down on a clean rack and spread small parts out so air reaches every side.
Full drying helps prevent damp odors and microbial growth.
Do not close the lid while the inside is still wet.
Reassemble and Refill
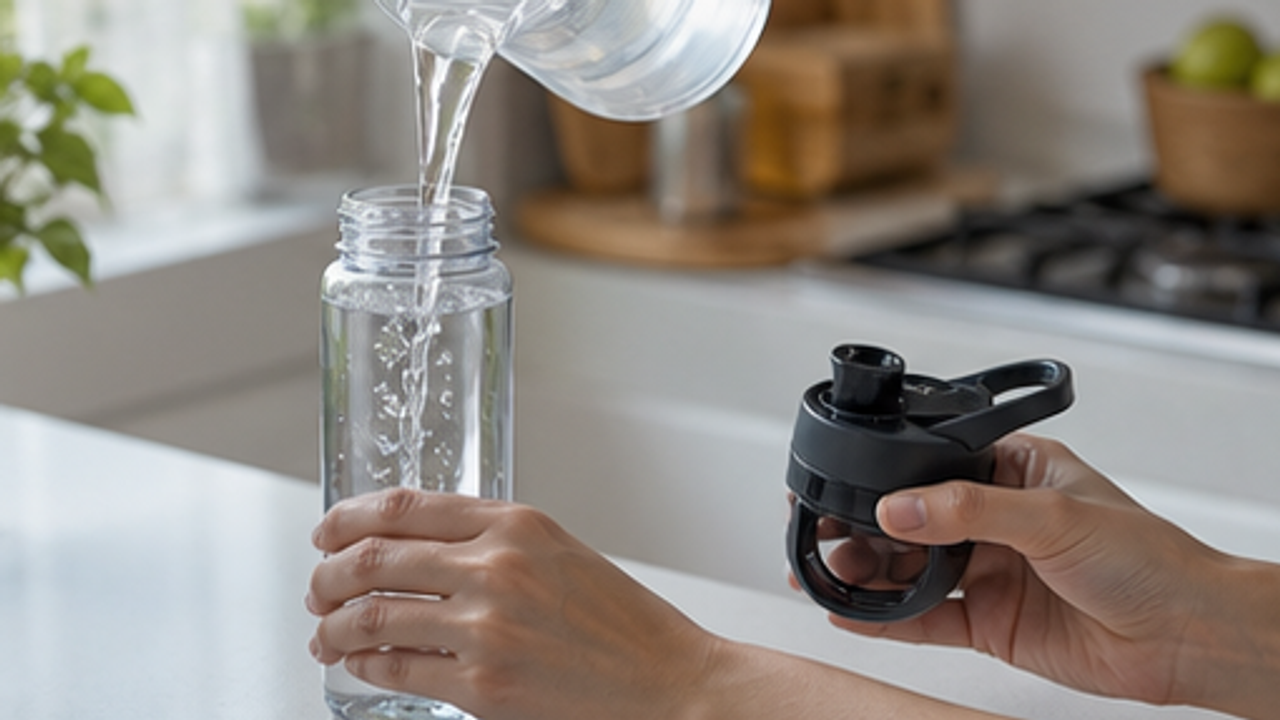
When every part is clean and dry, put the bottle back together, add fresh drinking water, and close the lid.
Checking the gasket before refilling helps prevent leaks.
If the bottle still smells strongly or has mold spots or cracks, stop using it or replace the part.
Same topic
Related guides
Related guides
Cleaning
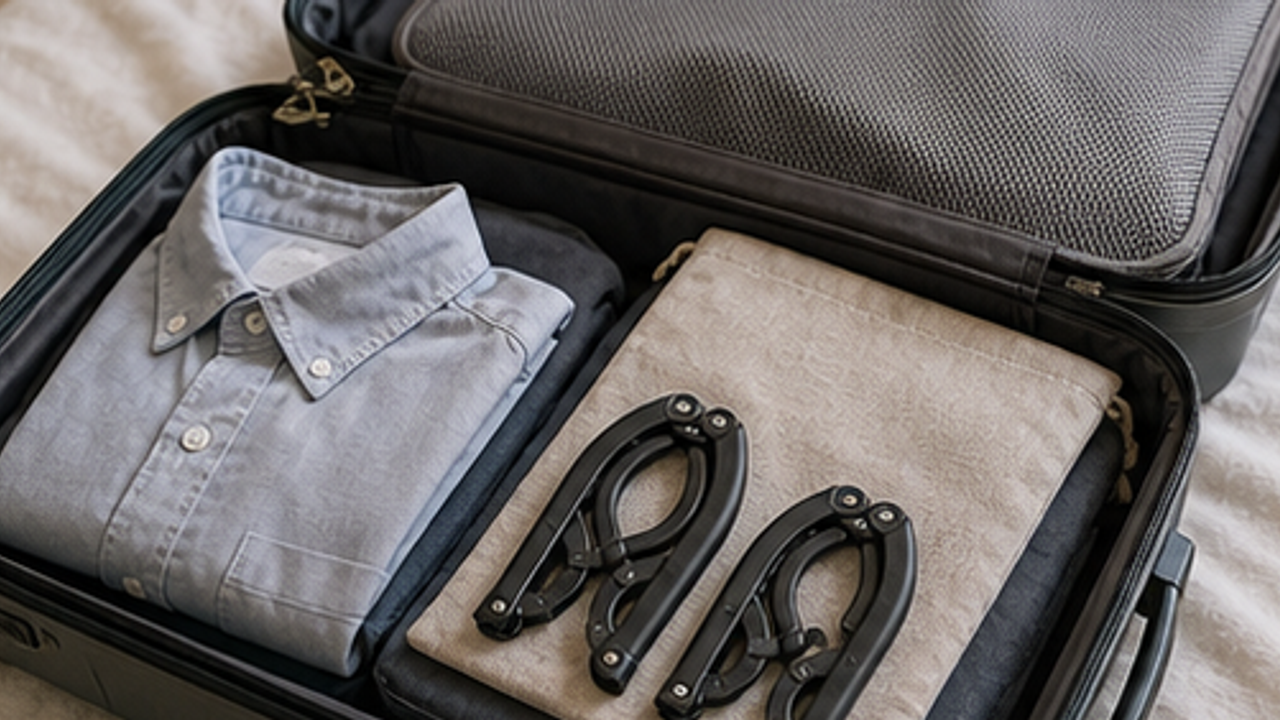
How to Prepare a Travel Folding Hanger Pouch
Give a travel folding hanger pouch one small fixed home so it is easy to use, return, and keep from spreading across drawers, shelves, or counters.
Cleaning
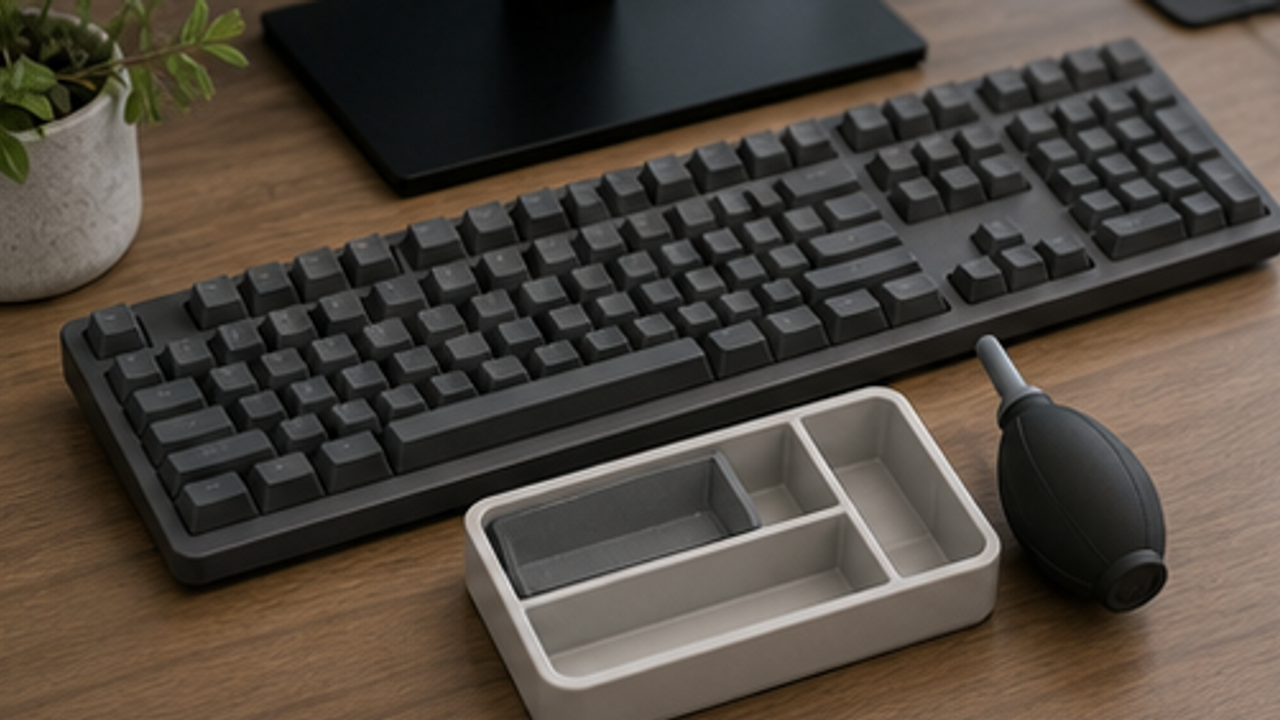
How to Set Up a Desk Keyboard Cleaning Brush Tray
Give a desk keyboard cleaning brush tray one small fixed home so it is easy to use, return, and keep from spreading across drawers, shelves, or counters.
Cleaning
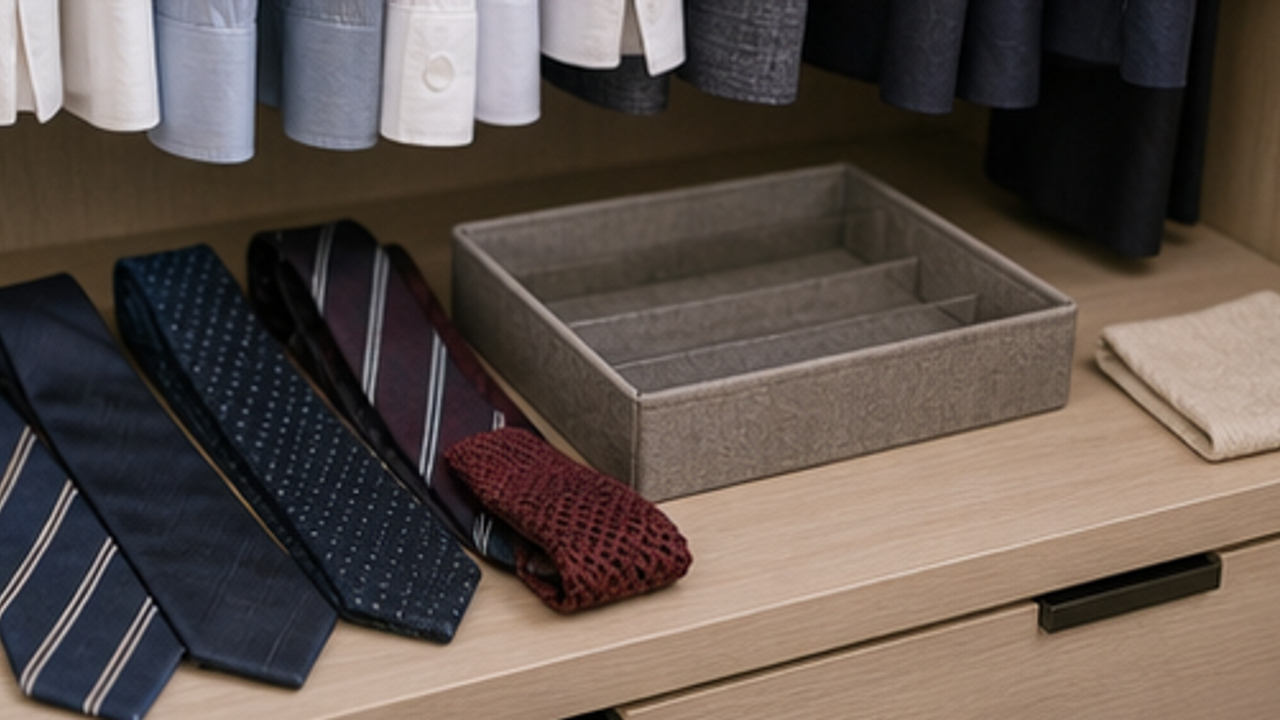
How to Organize Closet Ties in a Roll Tray
Give closet ties in a roll tray one small fixed home so it is easy to use, return, and keep from spreading across drawers, shelves, or counters.
Cleaning
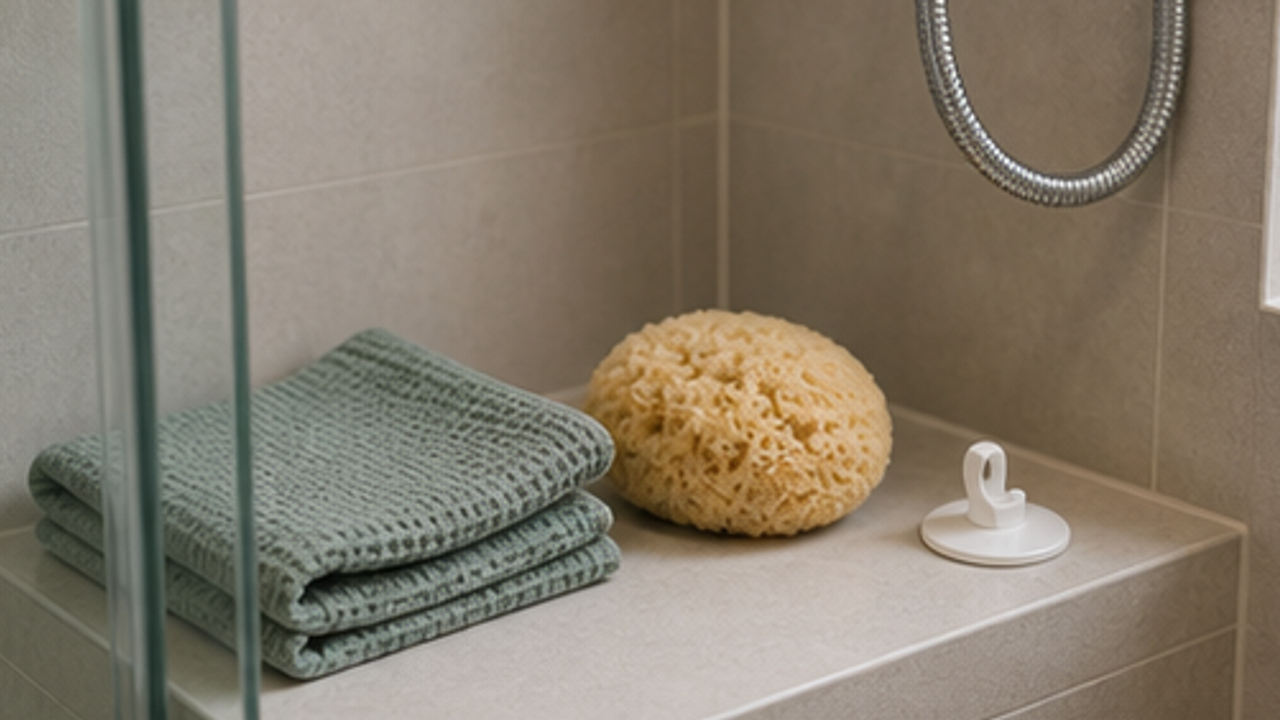
How to Set Up a Bathroom Bath Sponge Drying Hook
Give a bathroom bath sponge drying hook one small fixed home so it is easy to use, return, and keep from spreading across drawers, shelves, or counters.
More from this author
Open
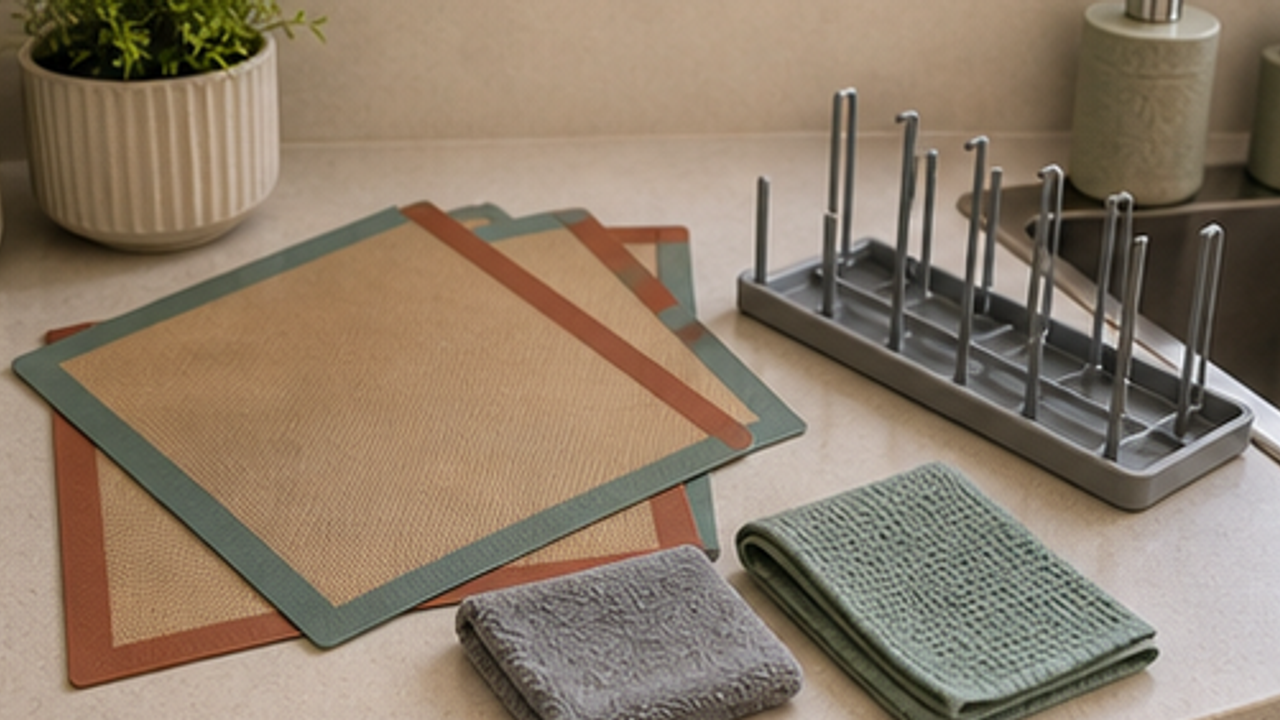
How to Set Up a Kitchen Silicone Baking Mat Drying Rack
Give a kitchen silicone baking mat drying rack one small fixed home so it is easy to use, return, and keep from spreading across drawers, shelves, or counters.
Open
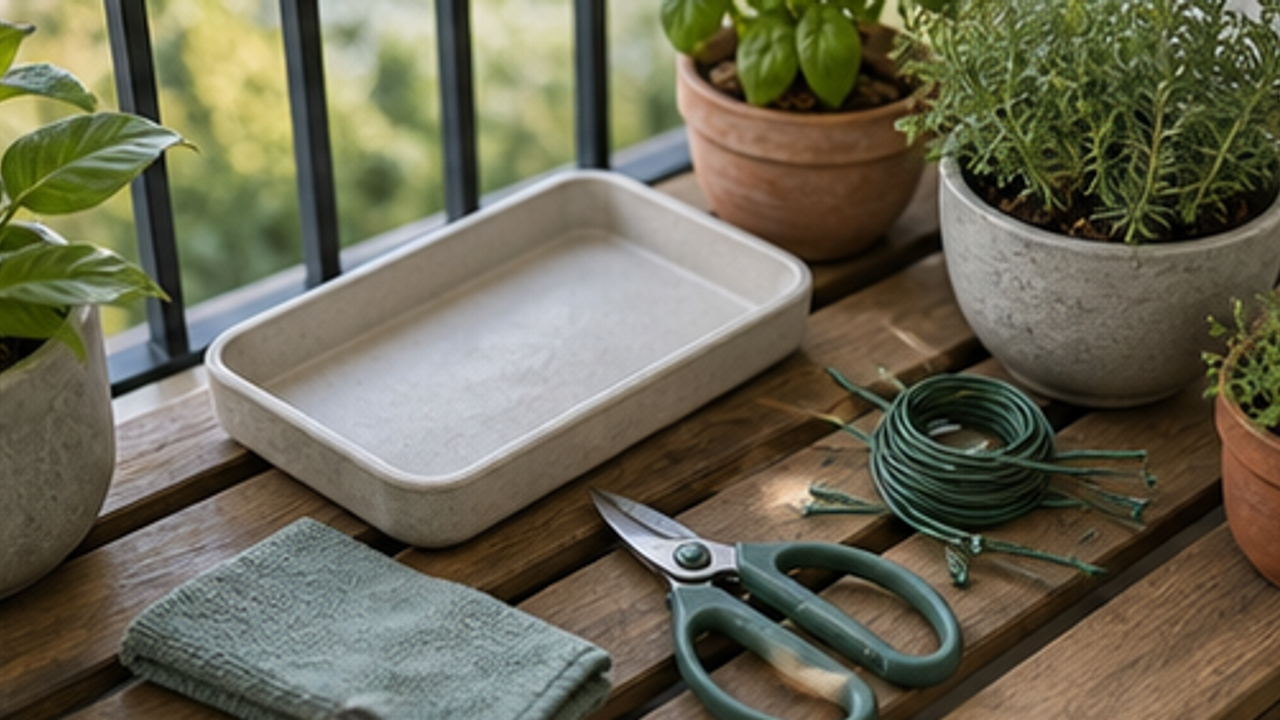
How to Set Up a Balcony Plant Pruning Tool Tray
Give a balcony plant pruning tool tray one small fixed home so it is easy to use, return, and keep from spreading across drawers, shelves, or counters.
Open
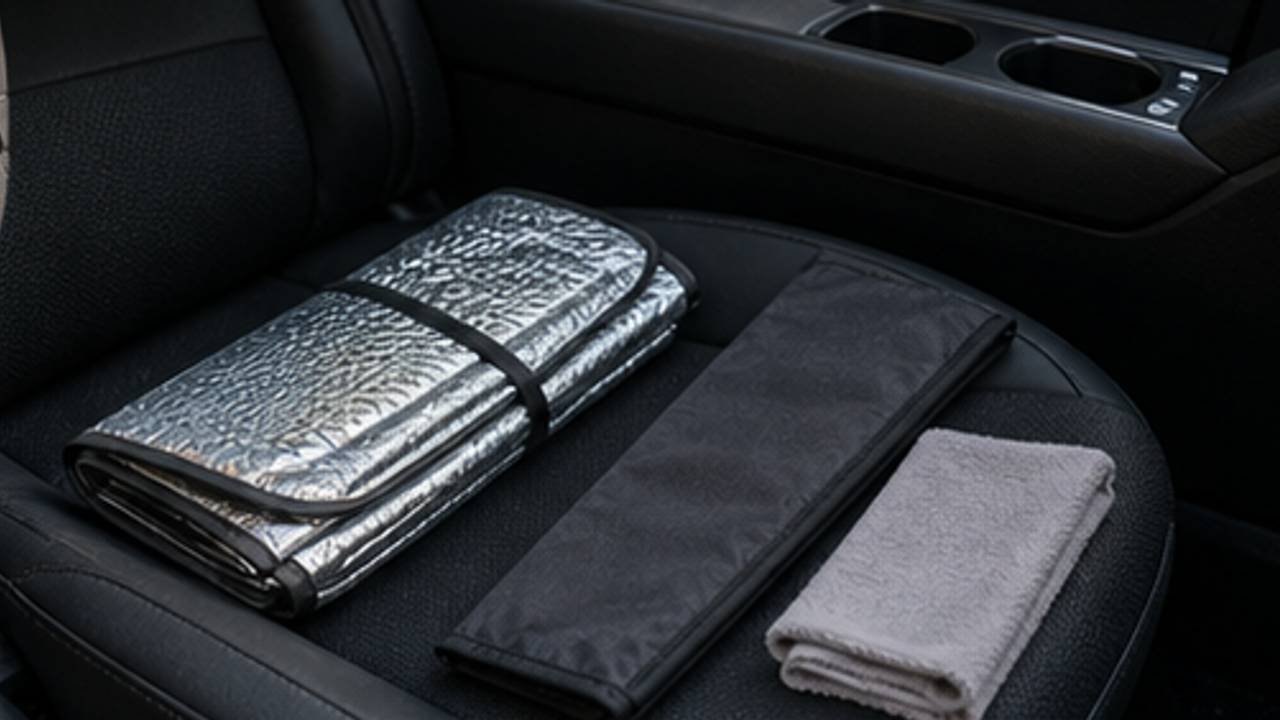
How to Organize a Car Folding Sunshade Sleeve
Give a car folding sunshade sleeve one small fixed home so it is easy to use, return, and keep from spreading across drawers, shelves, or counters.
Life Reactions
How this way feels to you
My Life Trial
Log it after trying
Comments
0 Comments
No comments yet.