How to Cut Onions Without Crying

Crying while cutting onions is not about toughing it out. It is about reducing irritation, pressure, and exposure time. This home-kitchen method is simple: chill the onion, keep the root intact, use a sharp knife, then finish with cold water.
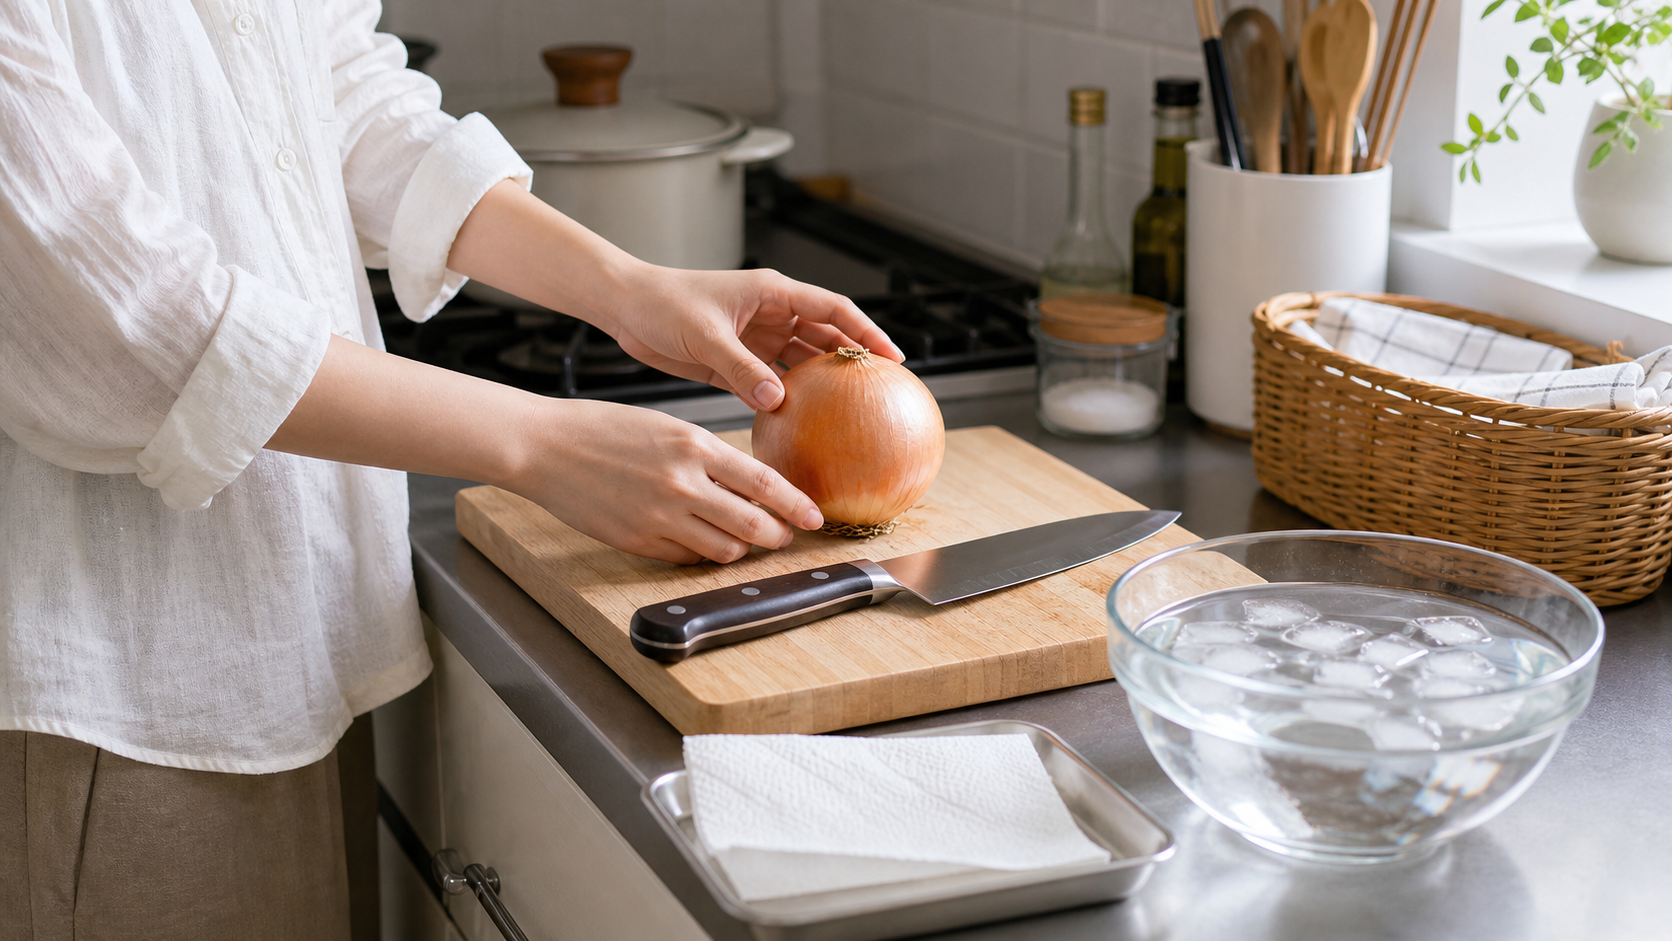
Set Up First
Place the onion, a sharp chef’s knife, cutting board, bowl of cold water, and paper towel or kitchen towel on the counter. Dry the board, keep the knife within reach, and put the cold water beside you.
The longer you pause to find things, the more onion fumes spread. Preparing everything first makes the cutting faster and calmer.
Make sure the cutting board is stable. Put a damp cloth underneath if it slides.
Chill the Onion
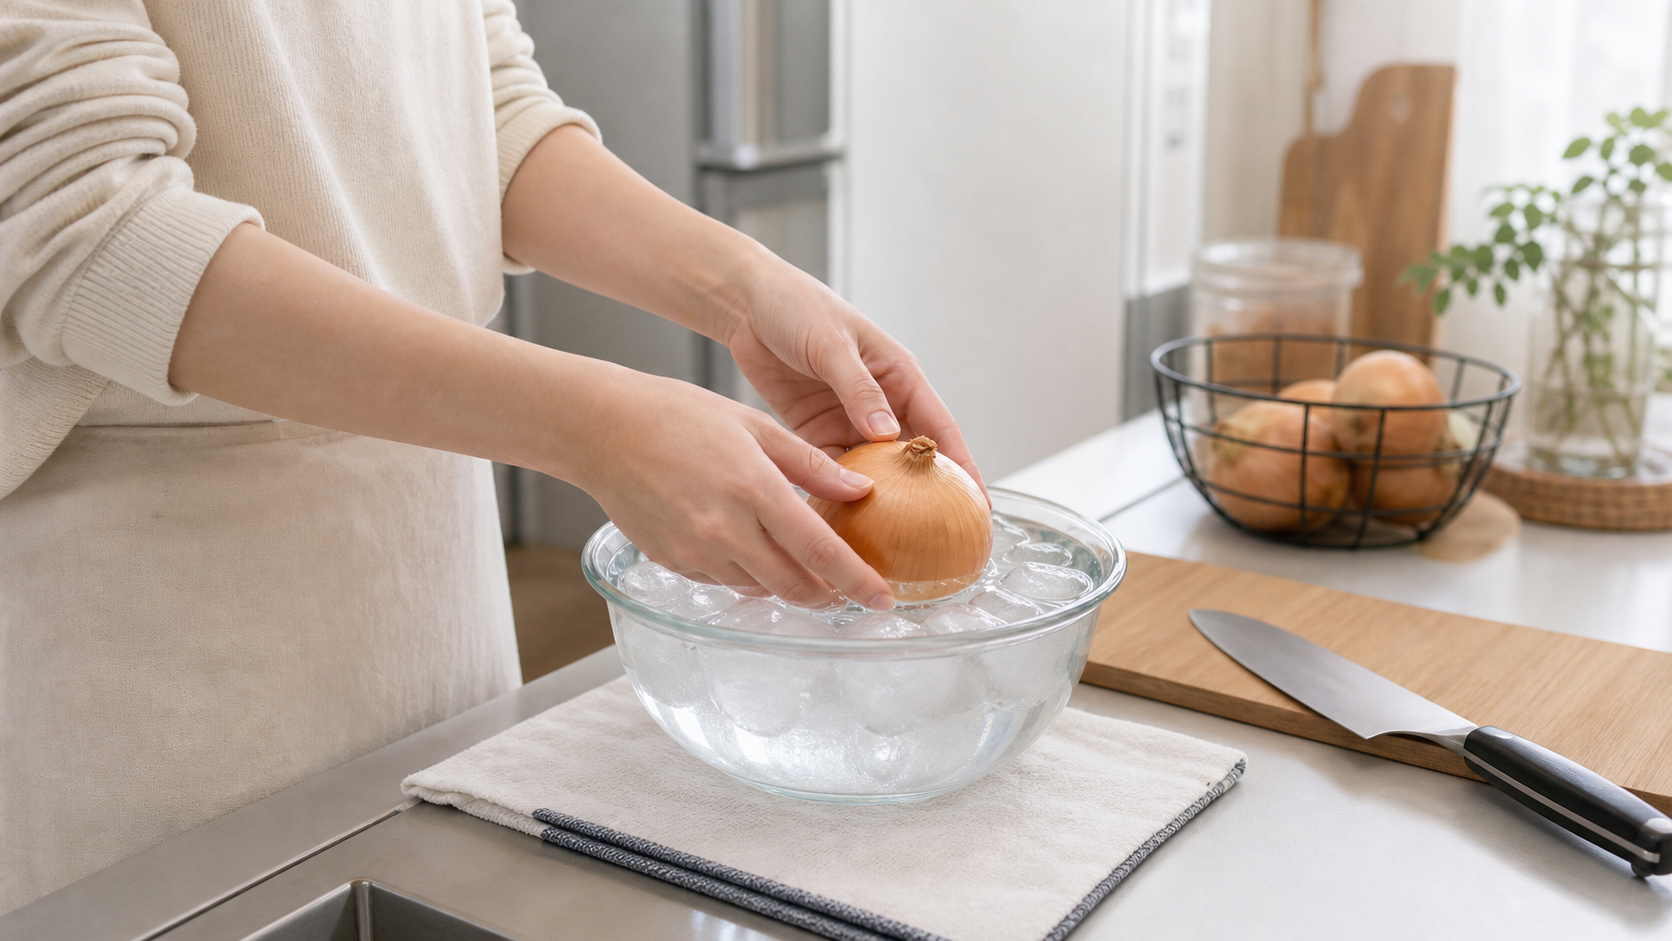
Put the whole onion in ice water for 5 to 10 minutes, or chill it in the refrigerator for 15 minutes. Dry the outside before cutting.
Cold slows down the release of the irritating compounds, so less reaches your eyes when the onion is opened. Drying the surface also keeps the knife from slipping.
Do not freeze it hard; a frozen onion is harder and less safe to cut.
Trim Only the Top
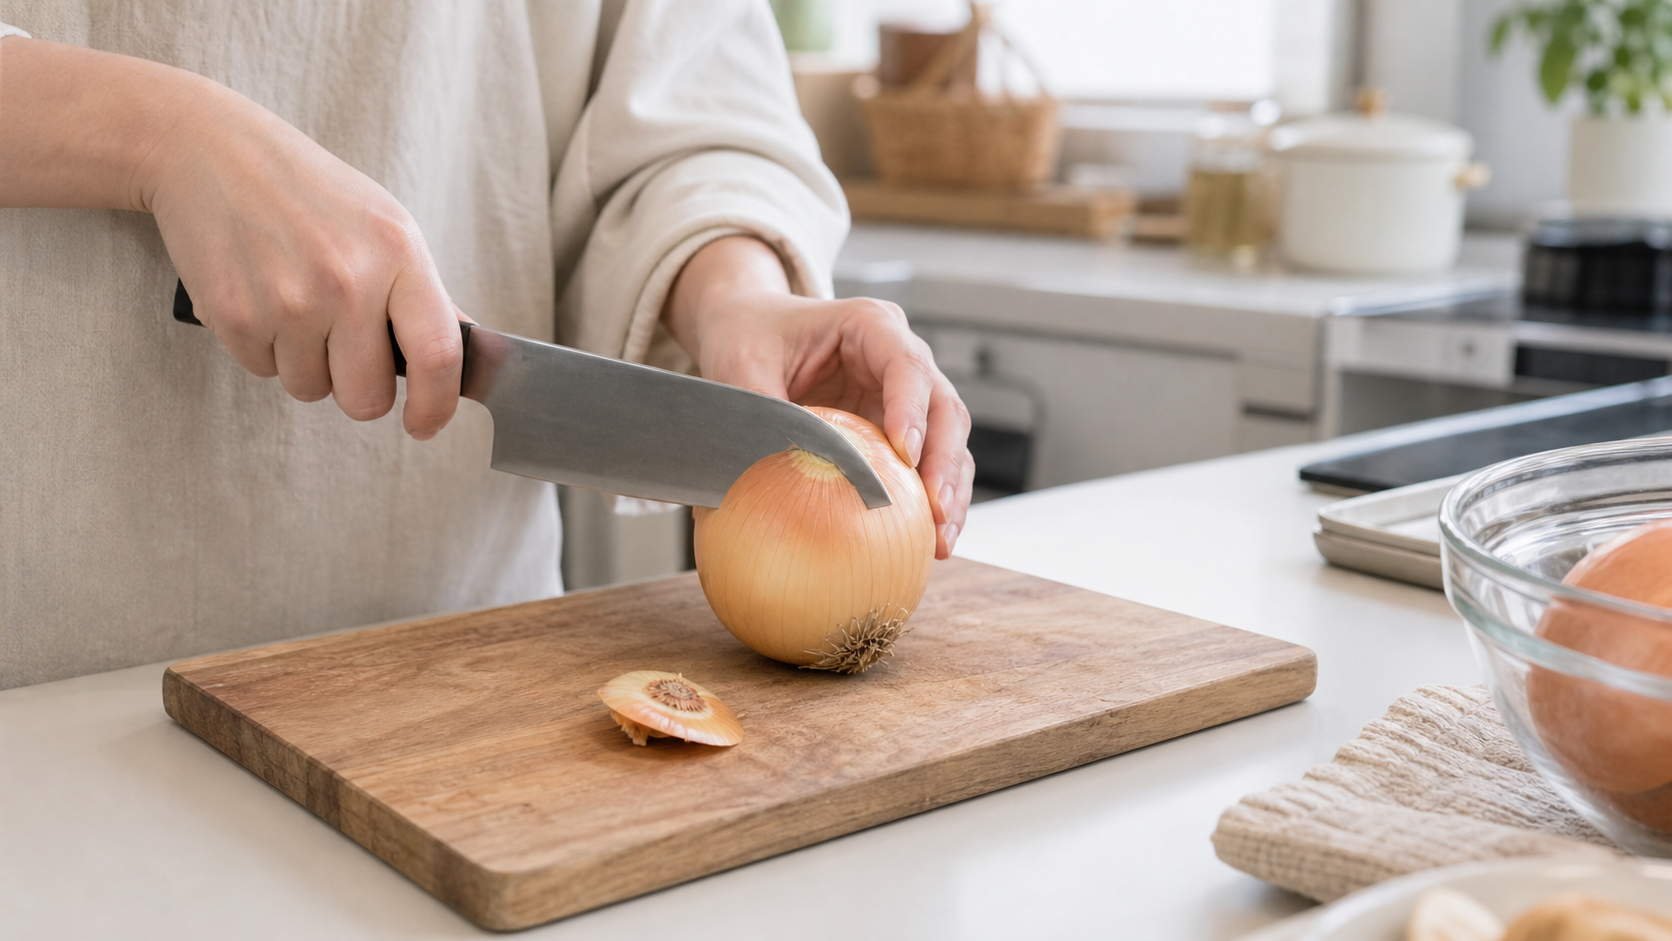
Cut off the dry stem end first, but do not cut off the root end yet. Keep the hairy root side intact.
The root area holds more of the strong compounds. Cutting it too early releases more fumes. Keeping it intact also holds the onion layers together.
Use one clean downward cut instead of sawing back and forth.
Halve and Peel
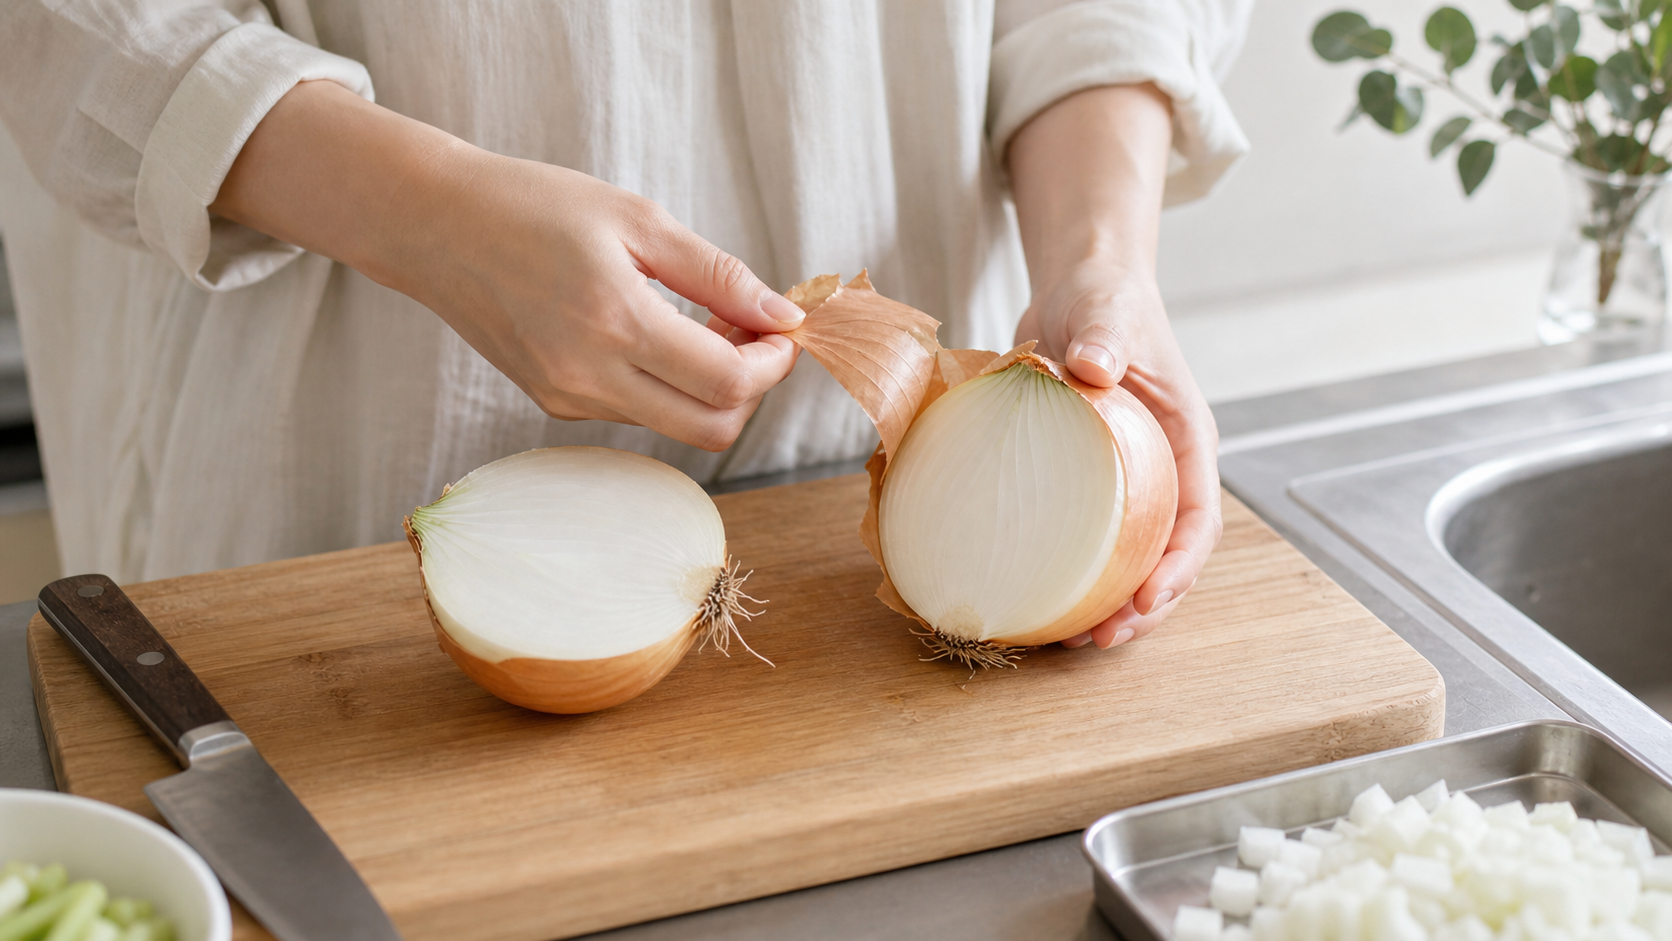
Cut the onion in half from the top toward the root, keeping the root attached. Peel away the papery skin and any tough outer layer.
Halving makes the onion steadier and easier to peel. With the root still attached, the layers stay together for cleaner slicing or dicing.
If the skin is slippery, hold it with paper towel while peeling.
Slice Along the Grain
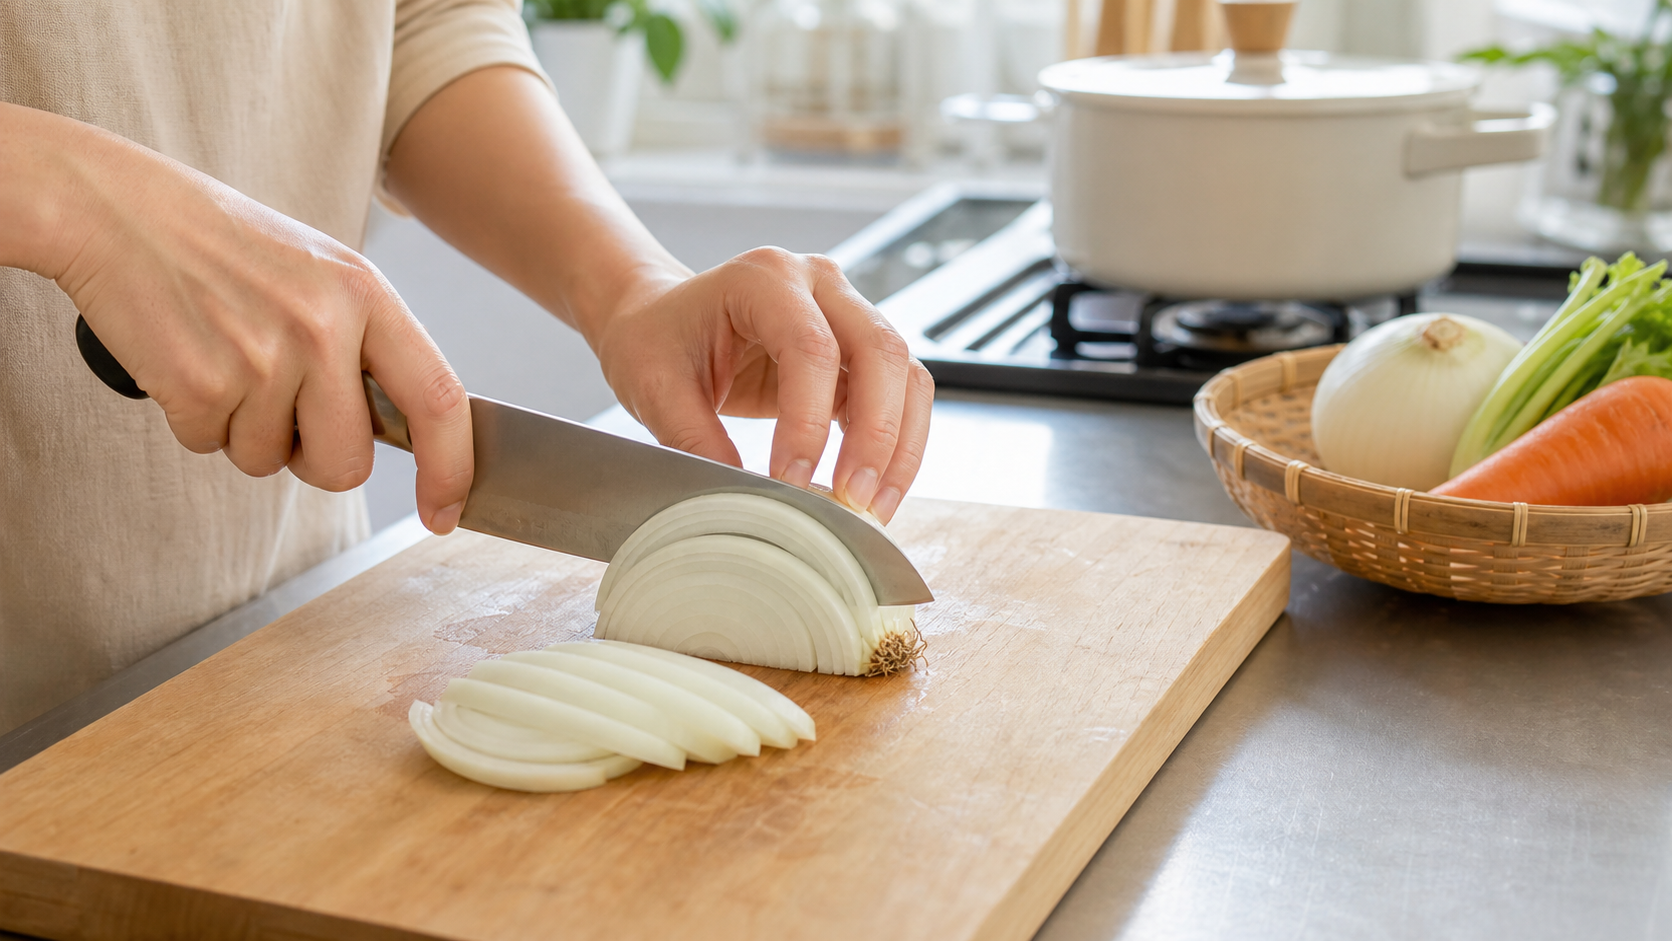
Place one onion half cut-side down. Curl your fingertips safely, then slice from the top toward the root, stopping just before the root so it stays connected.
A sharp knife cuts cleanly instead of crushing the onion. Less crushing means less juice spraying out, which means less eye irritation.
Sharpen the knife first if it feels dull; do not force it down.
Dip in Cold Water
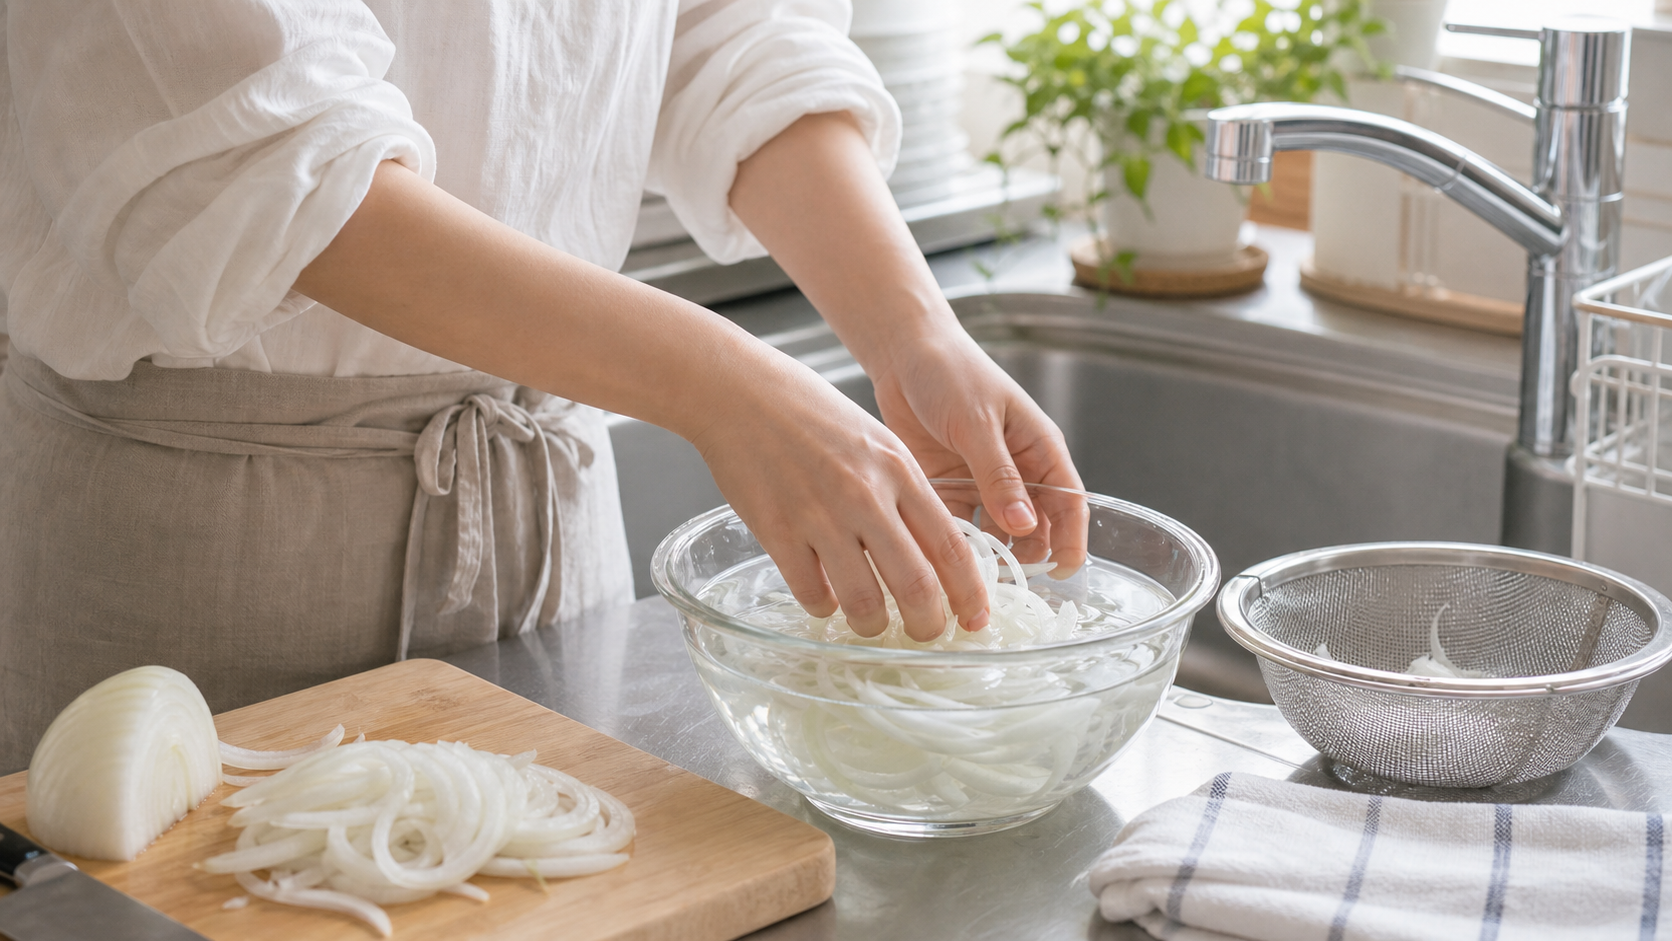
Put the sliced or diced onion into cold water right away and loosen the pieces gently. Soak for 1 to 2 minutes, or only 30 seconds if you want more onion bite.
Cold water rinses away some irritating juice and softens the sharpness. This is especially helpful for salads and raw onion dishes.
Do not soak too long or the onion flavor will fade.
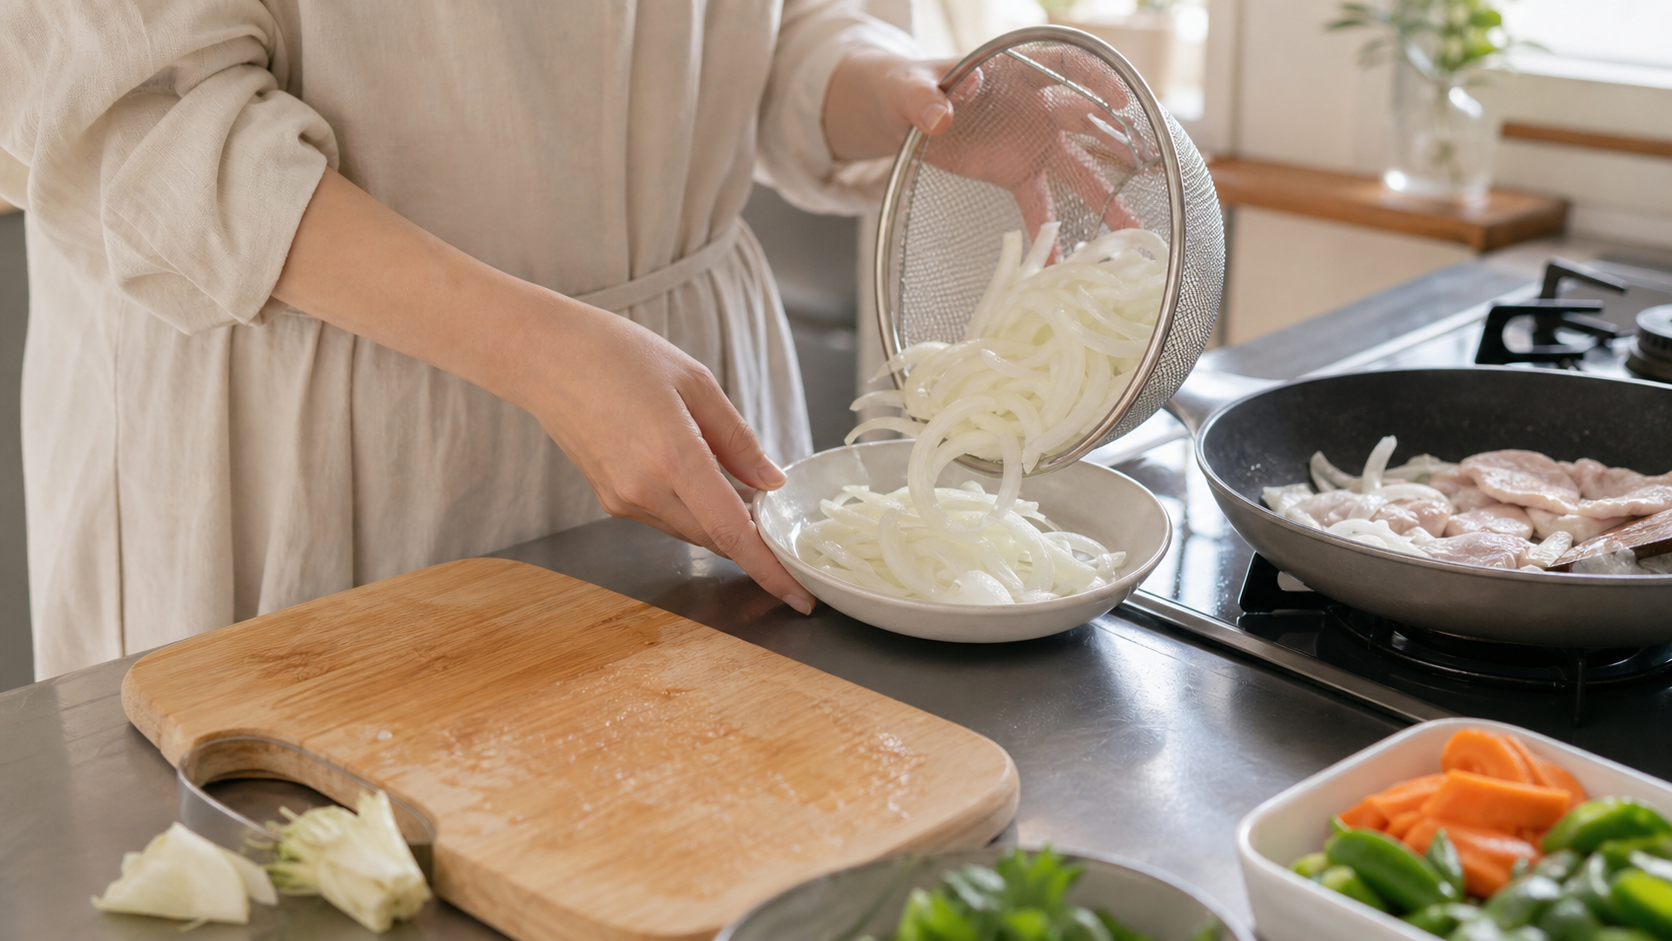
Drain Before Cooking
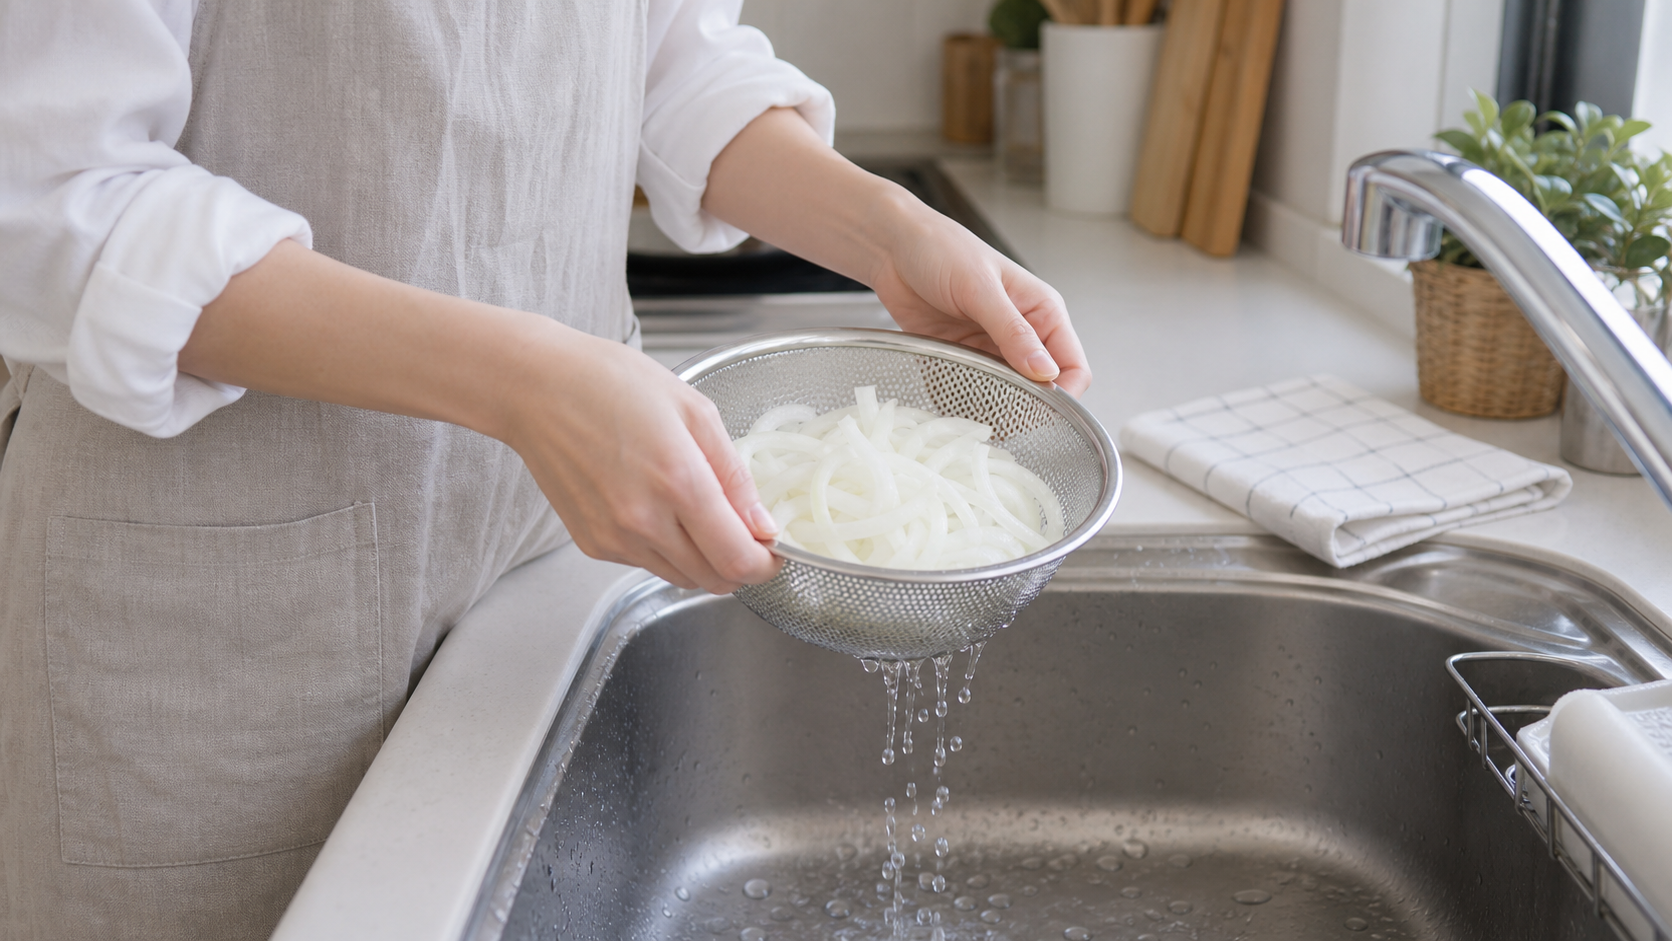
Pour the onion into a strainer, shake it gently, then spread it on paper towel to remove surface water.
Too much water stops browning in a pan and thins out salad dressing. Drained onion stays crisp and is easier to cook with.
Do not squeeze the onion hard; squeezing can make the flavor stronger.
Clean the Smell Away
After cutting, rinse the knife and board with cold water, then wash them with dish soap. If your hands smell, rub them on a stainless spoon or faucet under running water.
Leftover onion juice keeps releasing odor and can affect the next ingredient. Quick cleaning keeps the kitchen fresher and prevents old onion smell from lingering.
Do not leave onion scraps sitting on the cutting board.
Same topic
Related guides
Related guides
Cleaning
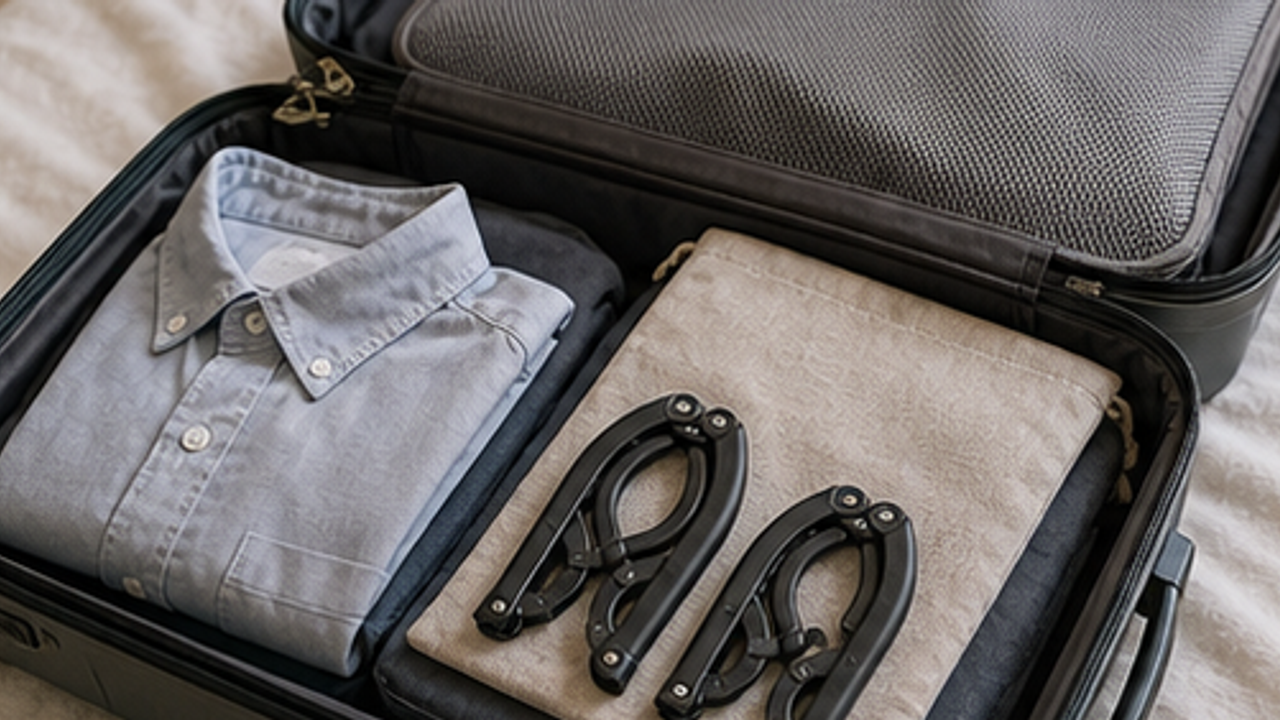
How to Prepare a Travel Folding Hanger Pouch
Give a travel folding hanger pouch one small fixed home so it is easy to use, return, and keep from spreading across drawers, shelves, or counters.
Cleaning
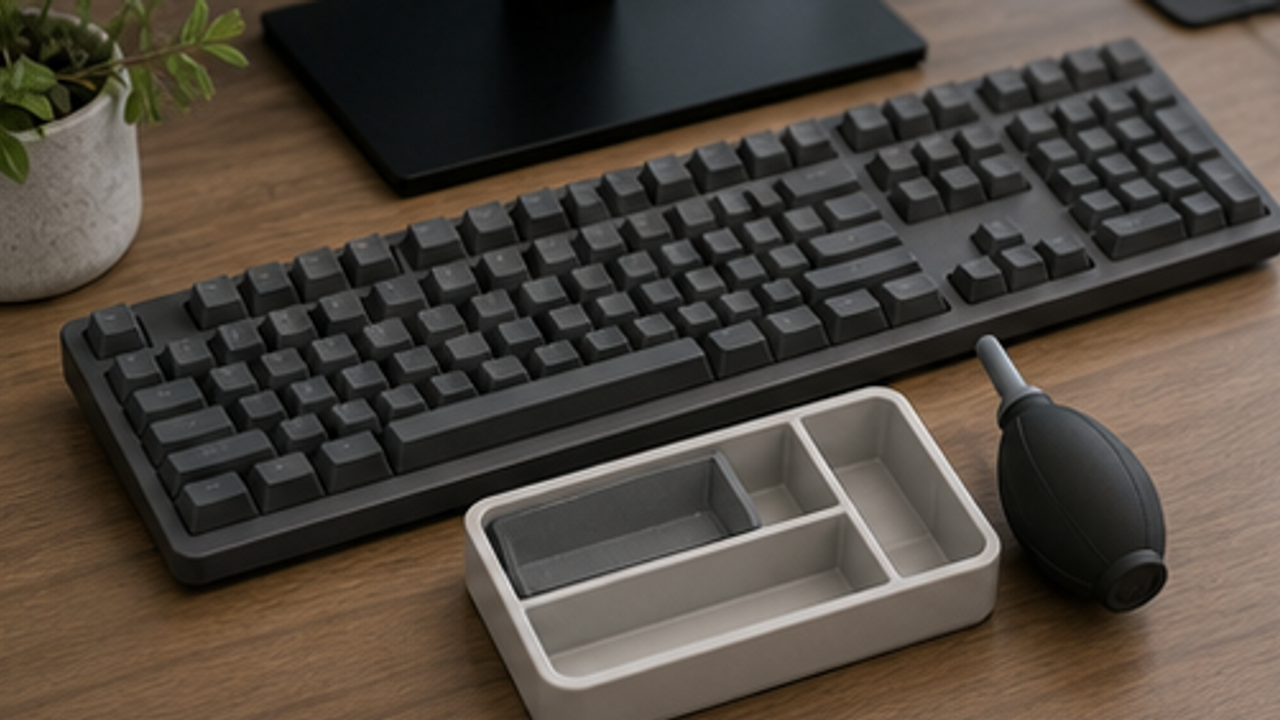
How to Set Up a Desk Keyboard Cleaning Brush Tray
Give a desk keyboard cleaning brush tray one small fixed home so it is easy to use, return, and keep from spreading across drawers, shelves, or counters.
Cleaning
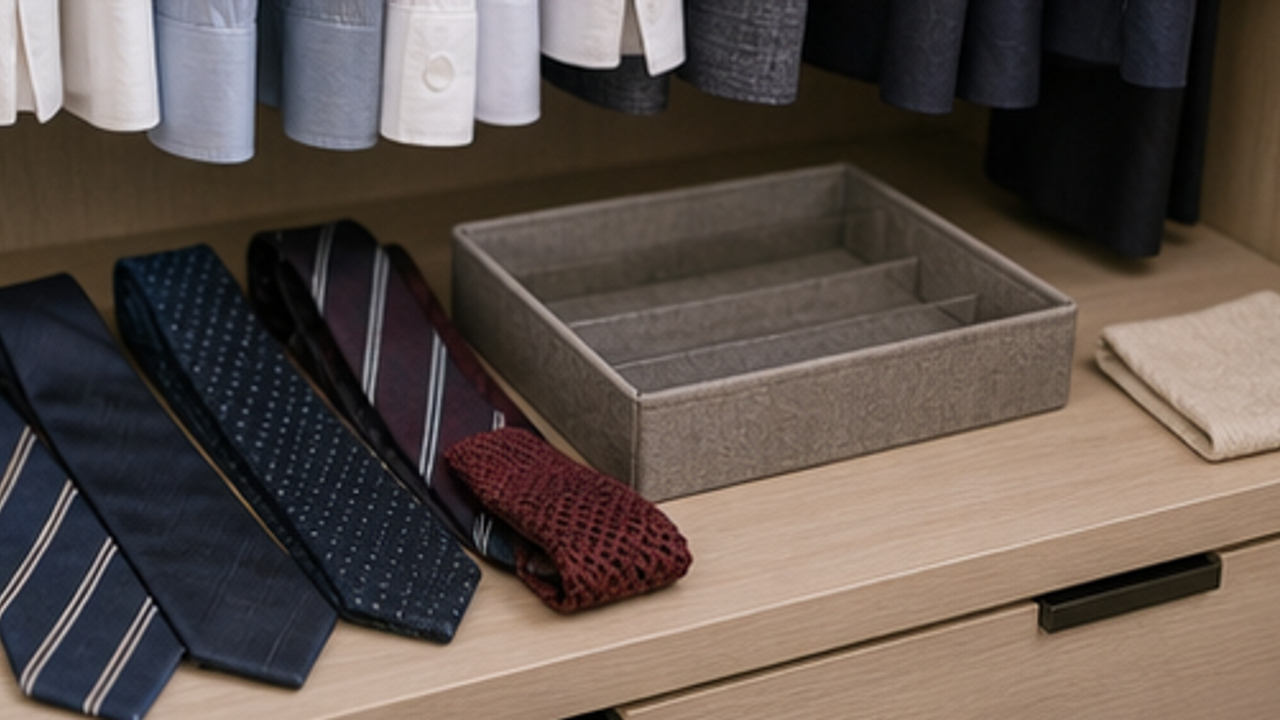
How to Organize Closet Ties in a Roll Tray
Give closet ties in a roll tray one small fixed home so it is easy to use, return, and keep from spreading across drawers, shelves, or counters.
Cleaning
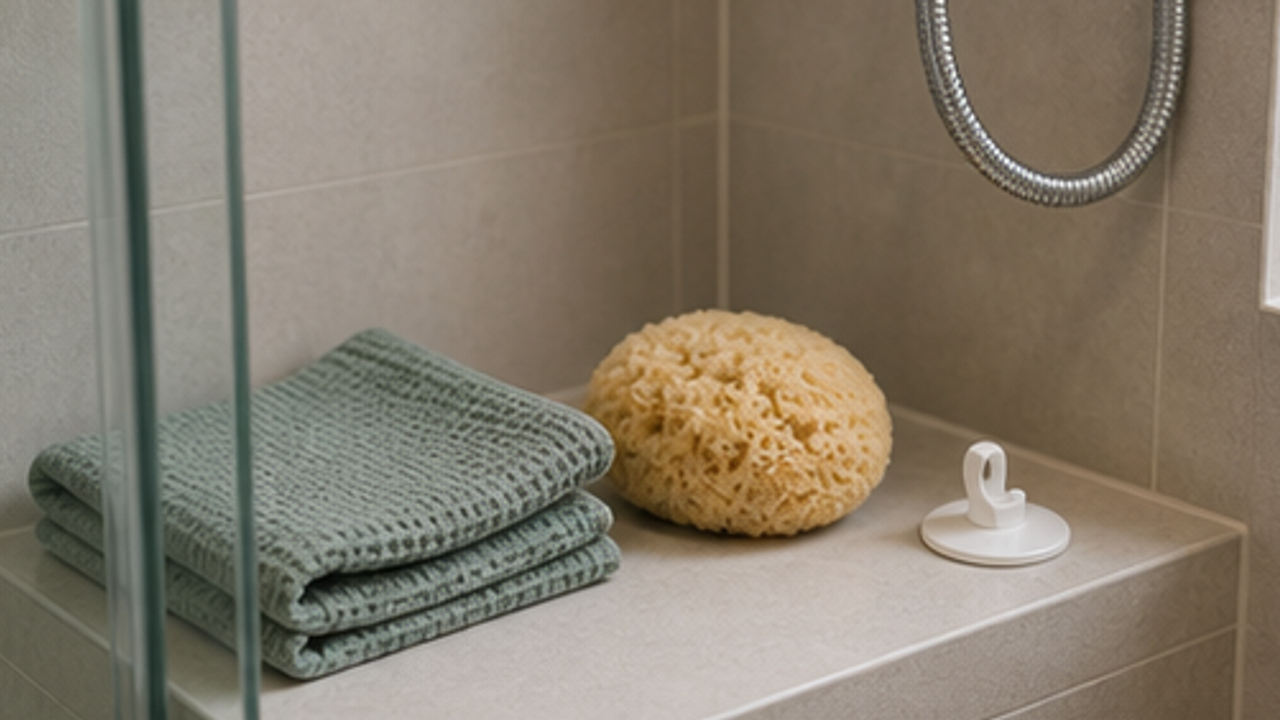
How to Set Up a Bathroom Bath Sponge Drying Hook
Give a bathroom bath sponge drying hook one small fixed home so it is easy to use, return, and keep from spreading across drawers, shelves, or counters.
More from this author
Open
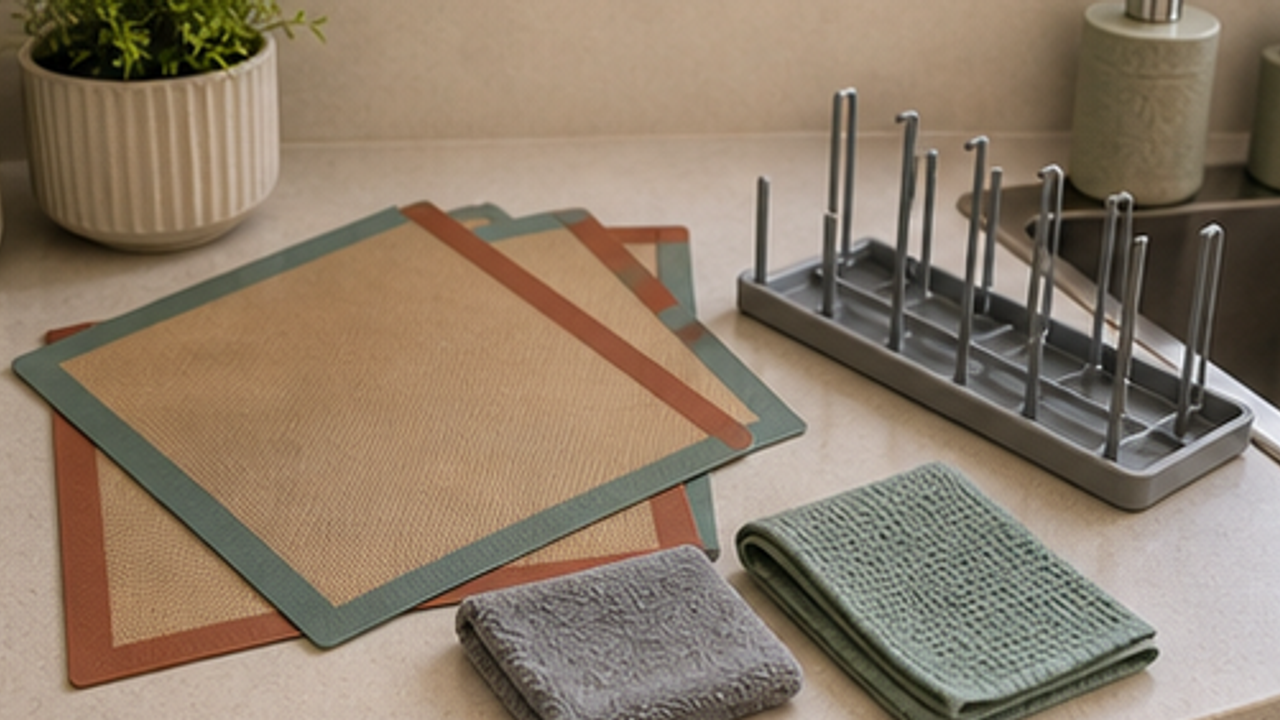
How to Set Up a Kitchen Silicone Baking Mat Drying Rack
Give a kitchen silicone baking mat drying rack one small fixed home so it is easy to use, return, and keep from spreading across drawers, shelves, or counters.
Open
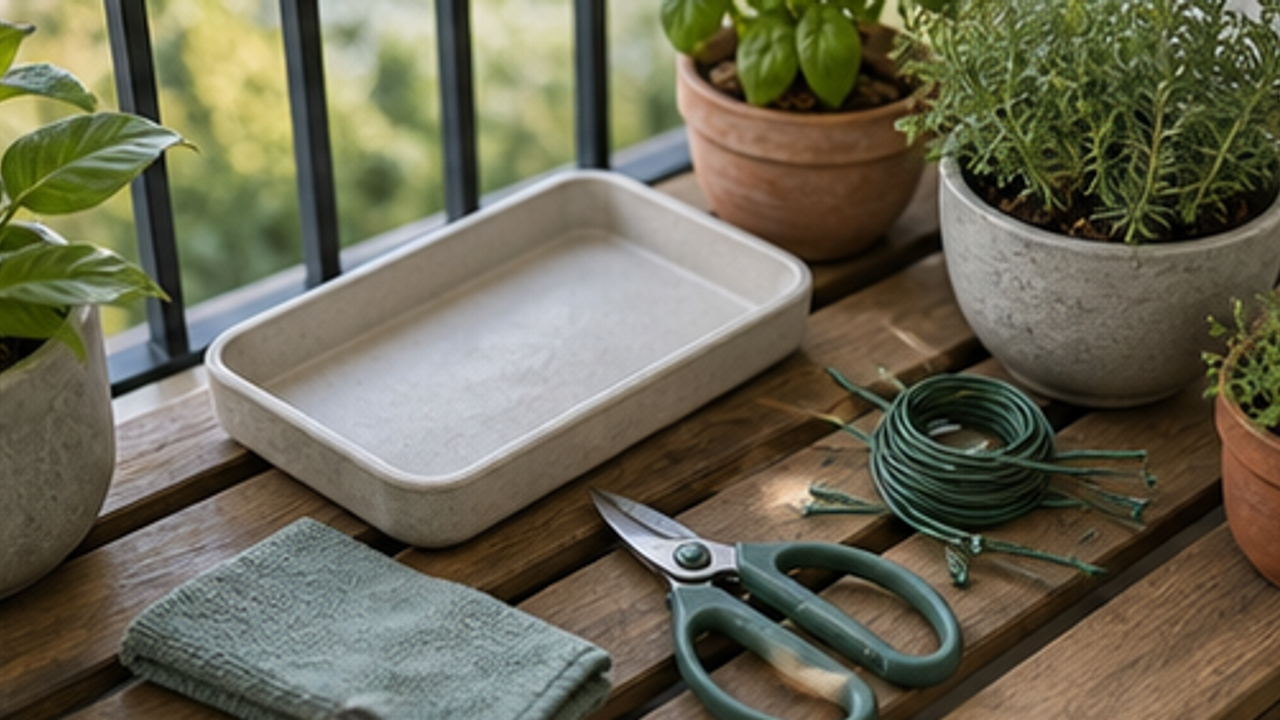
How to Set Up a Balcony Plant Pruning Tool Tray
Give a balcony plant pruning tool tray one small fixed home so it is easy to use, return, and keep from spreading across drawers, shelves, or counters.
Open
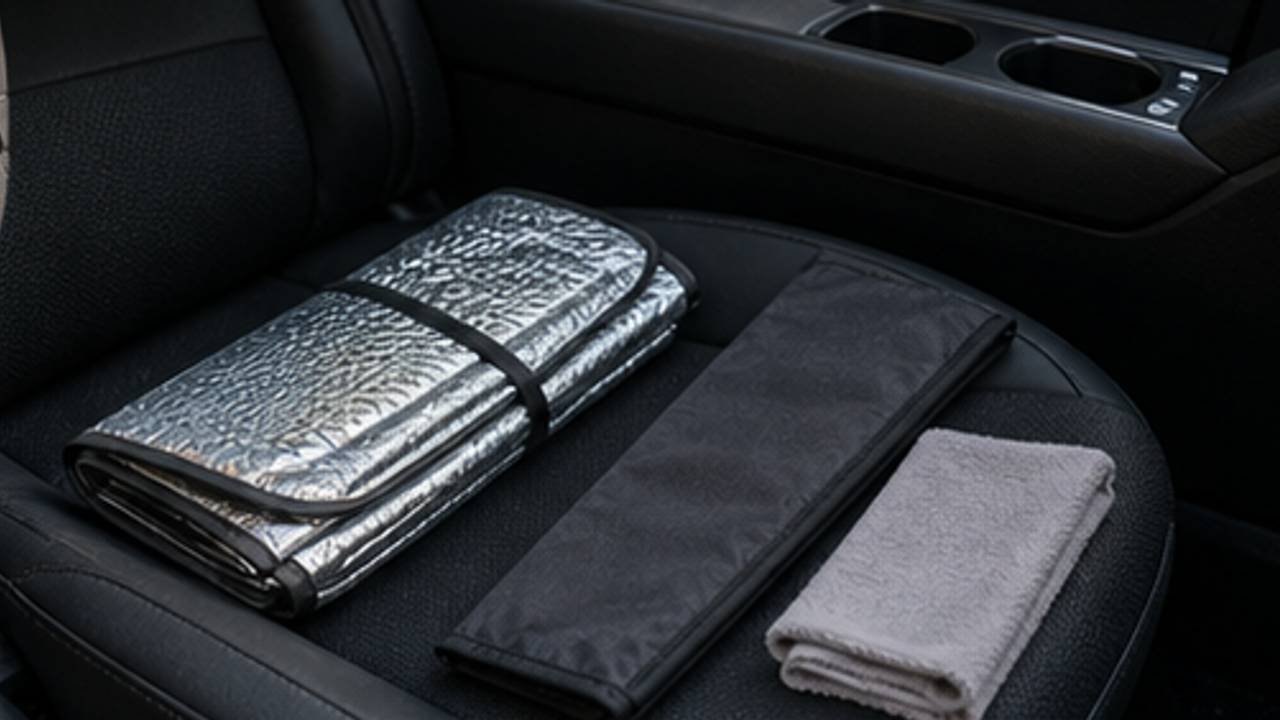
How to Organize a Car Folding Sunshade Sleeve
Give a car folding sunshade sleeve one small fixed home so it is easy to use, return, and keep from spreading across drawers, shelves, or counters.
Life Reactions
How this way feels to you
My Life Trial
Log it after trying
Comments
0 Comments
No comments yet.