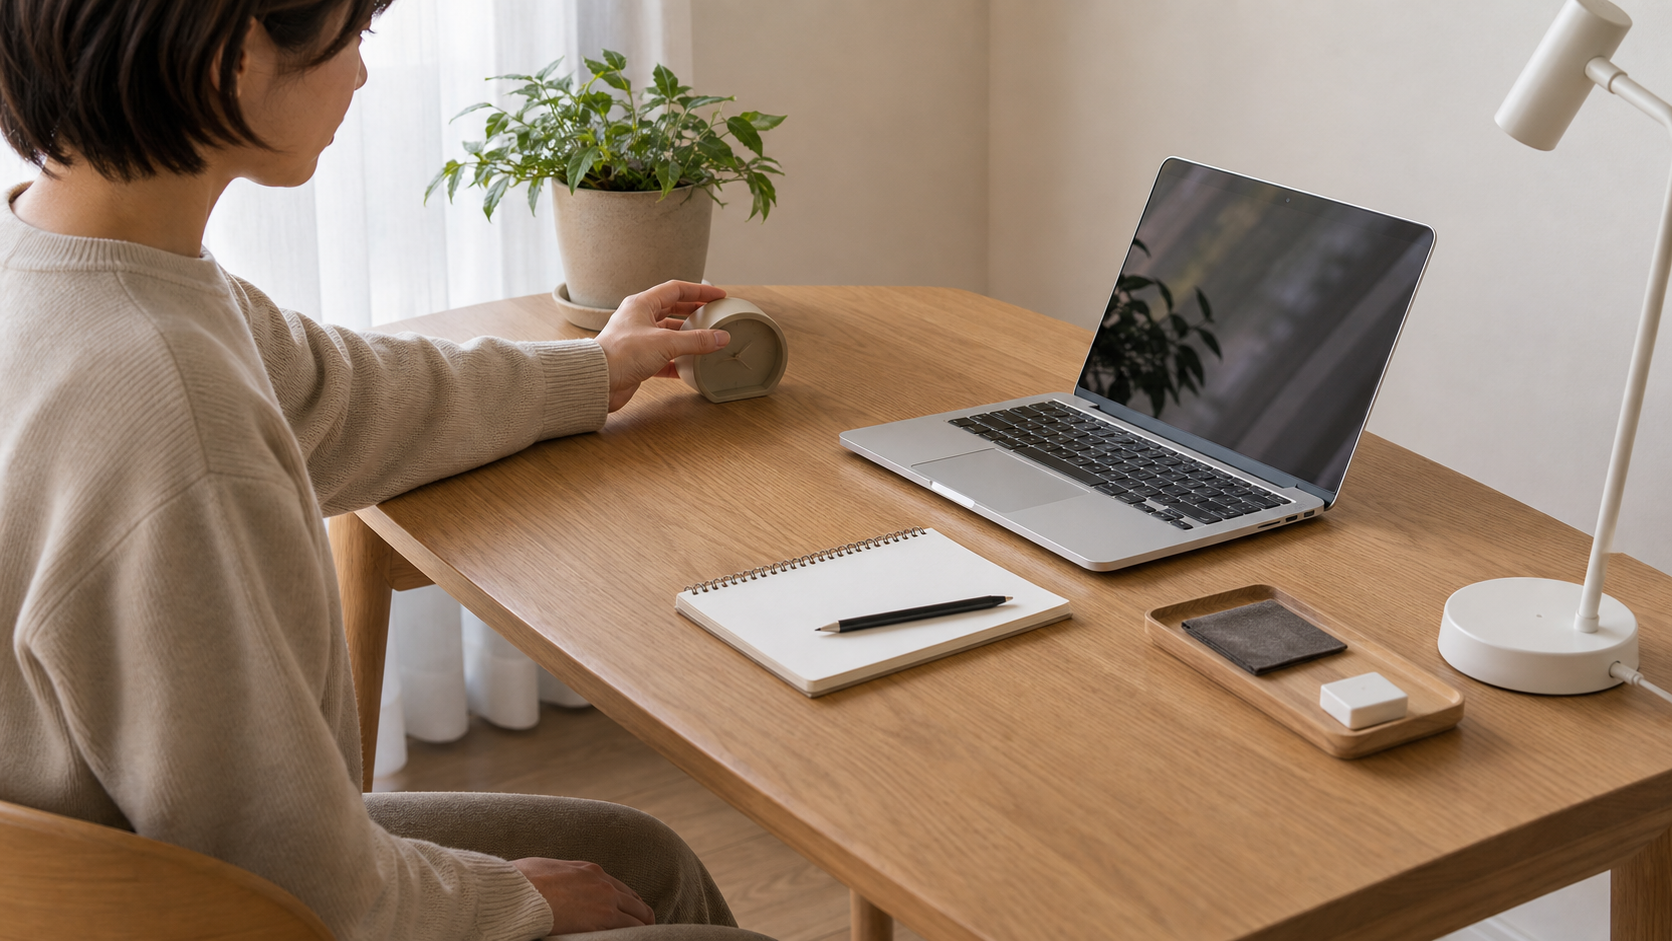
How to Build a Minimalist Desk You Can Reset Every Day

For desks that keep filling with papers, cables, cups, and small items. This guide is not about making the desk empty; it is about keeping only what you truly use and creating a daily reset state.
Clear the entire desktop first
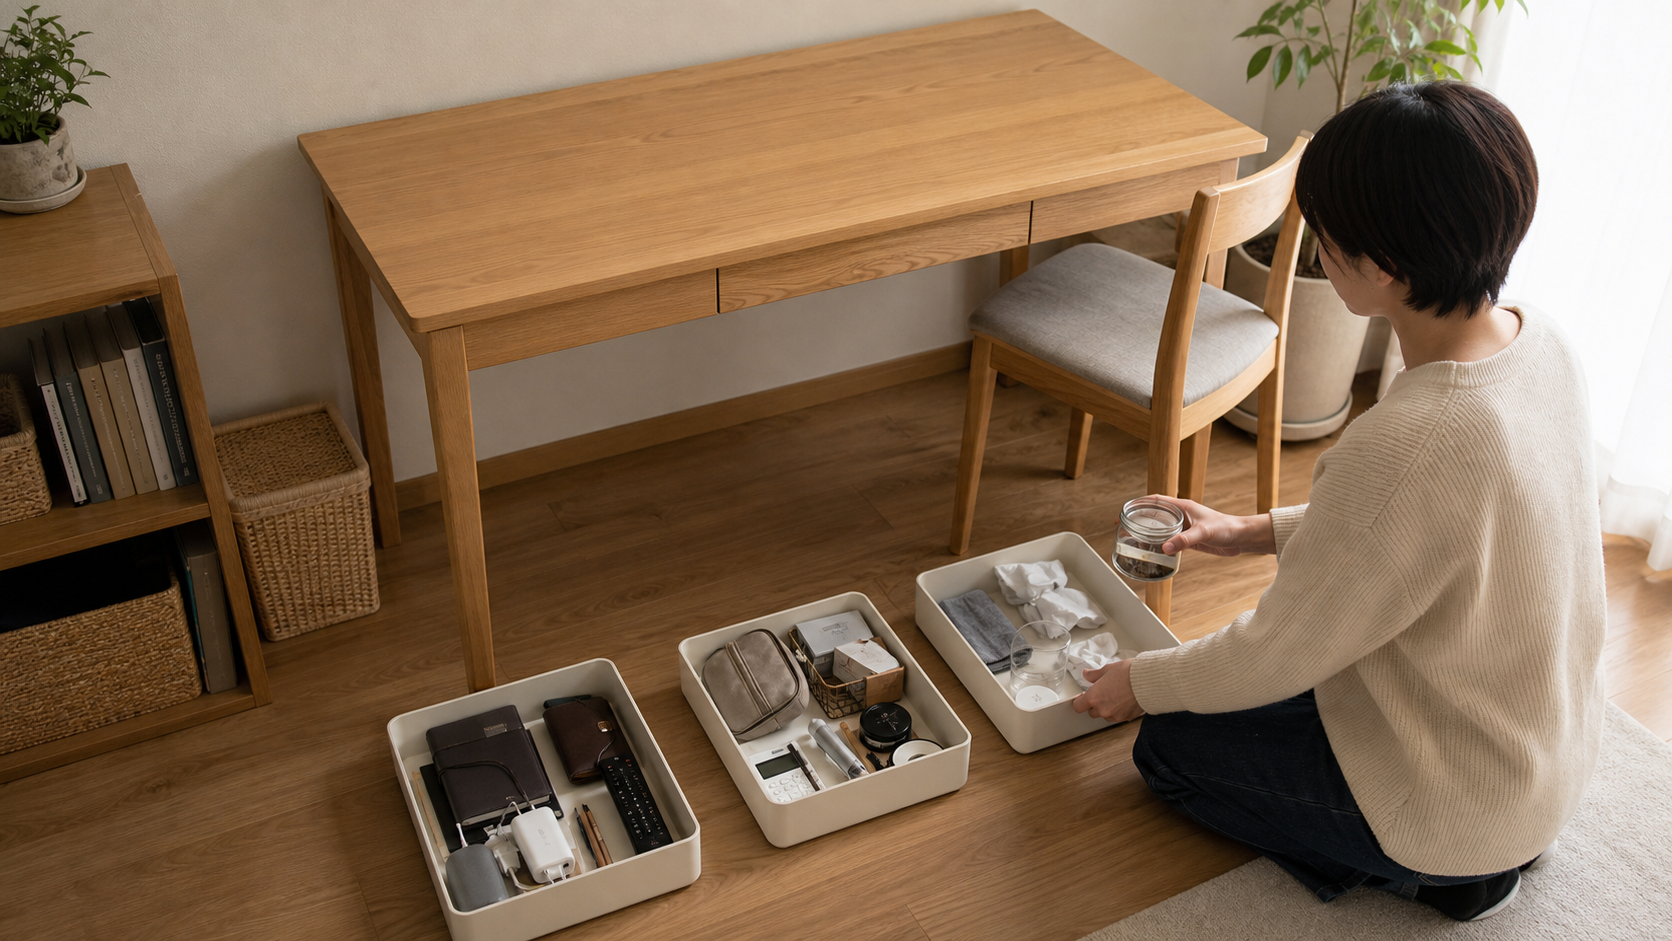
Remove everything from the desk and sort it into three groups: daily use, occasional use, and discard. Before cleaning, see what has been occupying the surface.
A full reset lets you decide what the desk is for instead of letting old clutter decide.
Do not spend too long remembering every item; sort quickly.
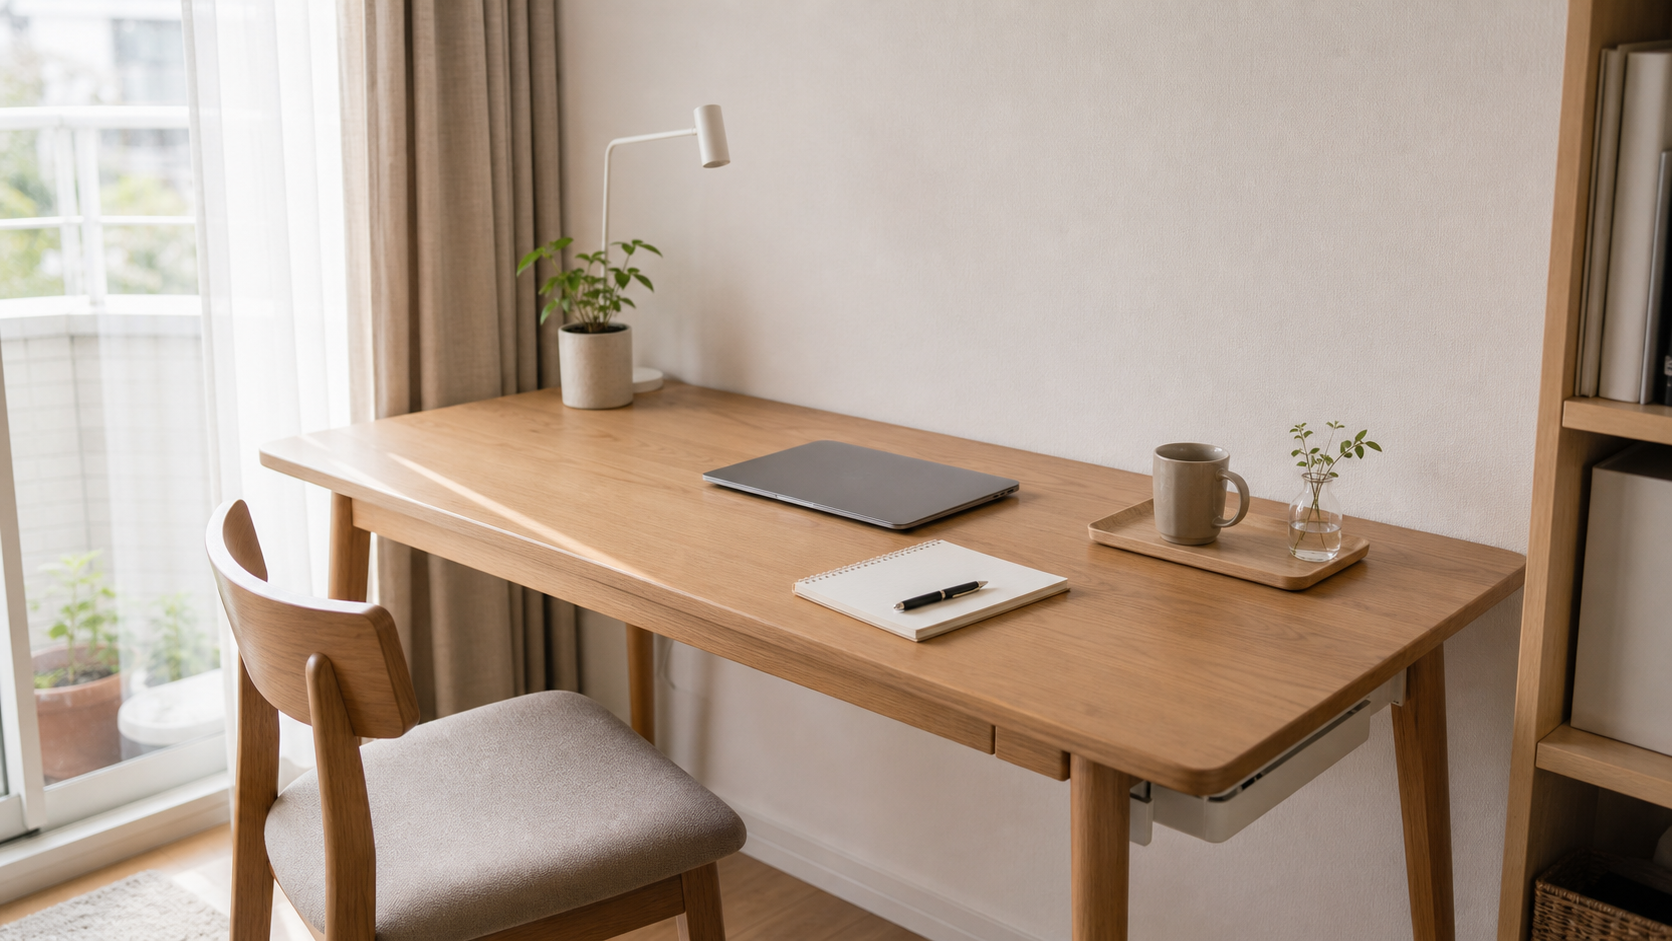
Put back only three core items

Return only the laptop, one notebook, and one pen. Leave everything else off the desk and see whether these cover most of your work.
The fewer core items you keep, the easier the desk is to reset daily.
If your work needs a special tool, add one, but do not refill the whole surface.
Store backup stationery in drawer dividers
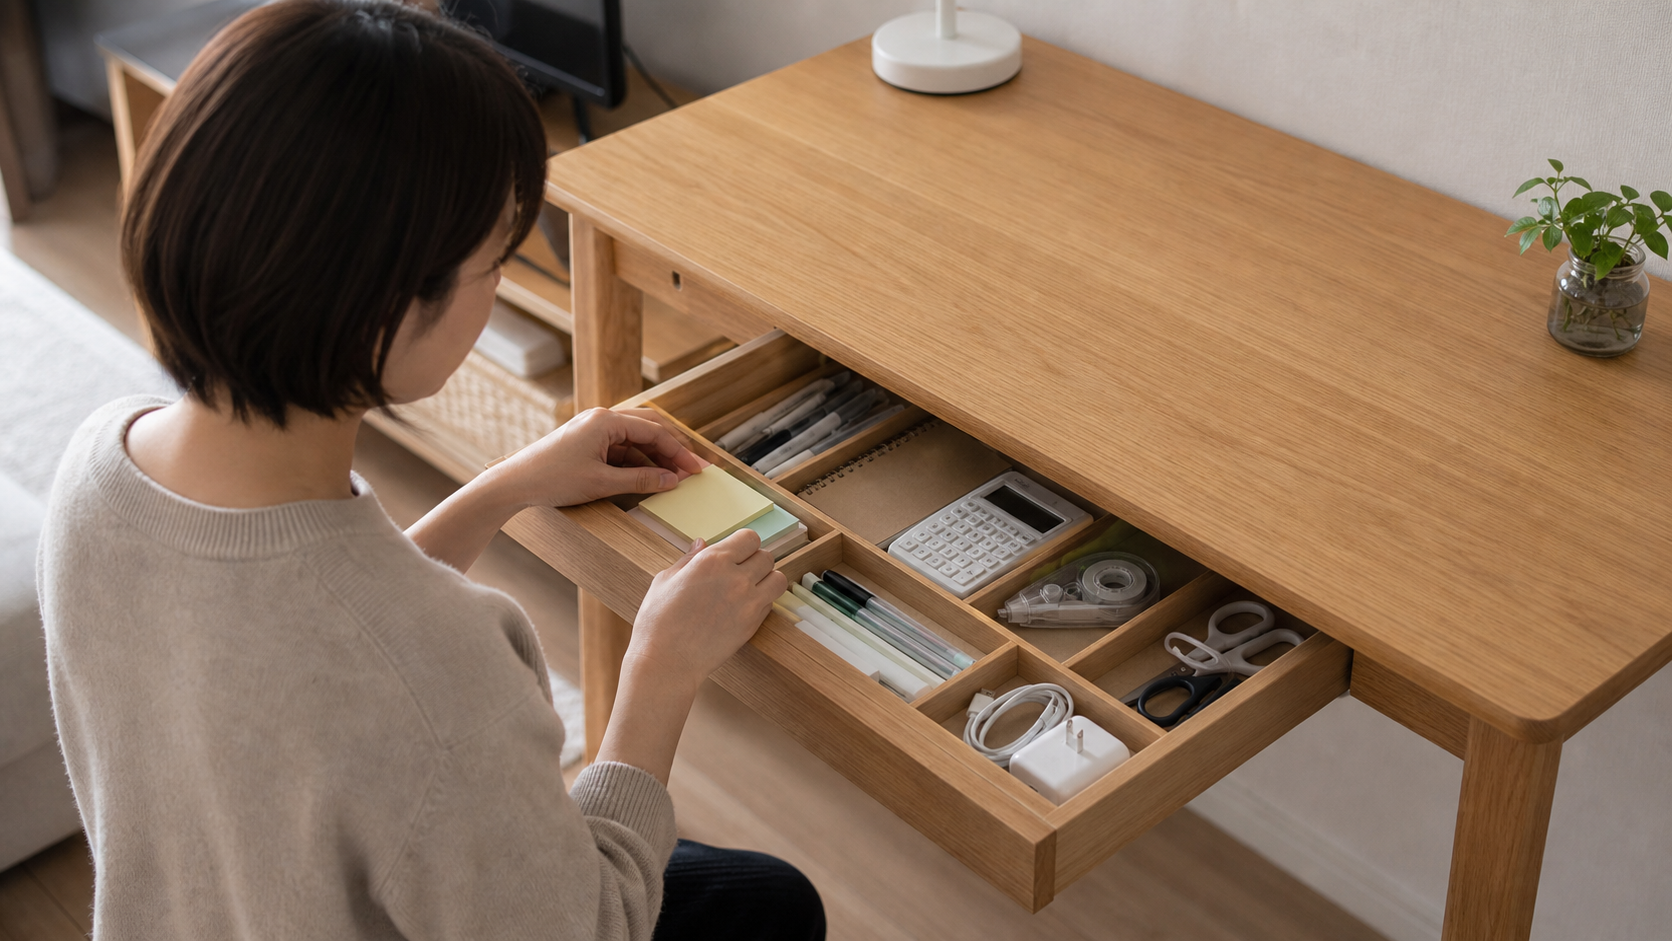
Put spare pens, sticky notes, tape, scissors, and chargers into drawer dividers. Keep only the pen and notebook in use on the desk.
Backups belong in the drawer so the desktop does not become a stationery shop.
Do not throw all stationery into one messy pile.
Route cables through one fixed path
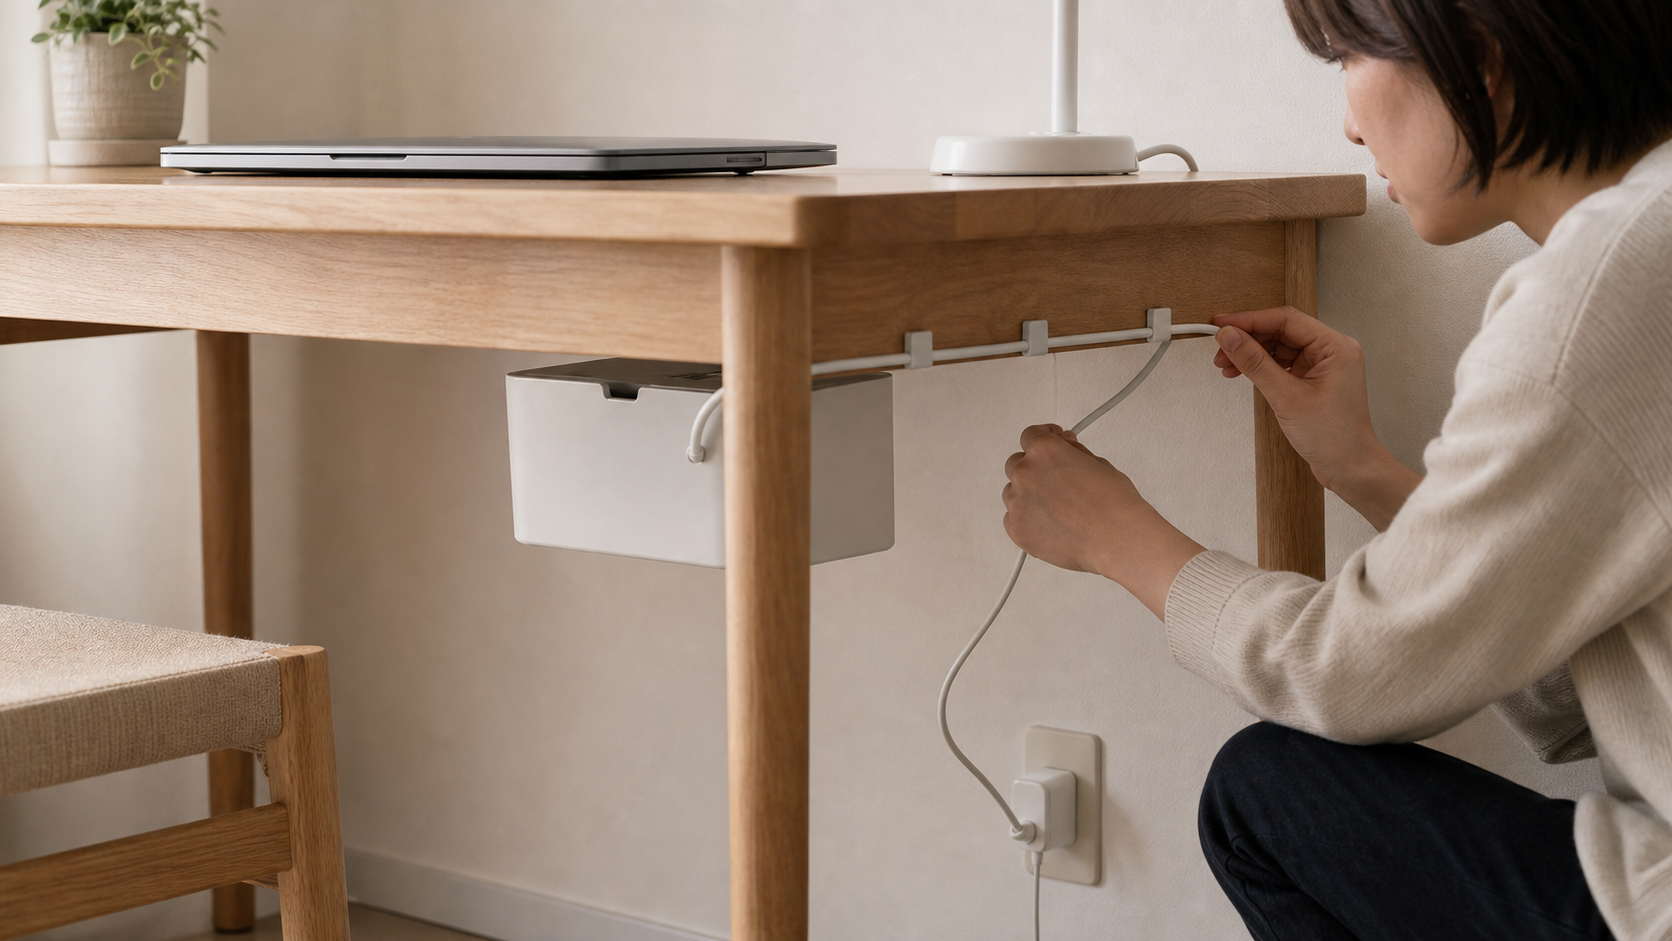
Run laptop, lamp, and charging cables along the desk edge, into a cable box, or through clips. Keep only the short active cable visible.
Messy cables make even a sparse desk feel tense.
Do not place a hot power strip inside a fully sealed box.
Give daily small items one tray
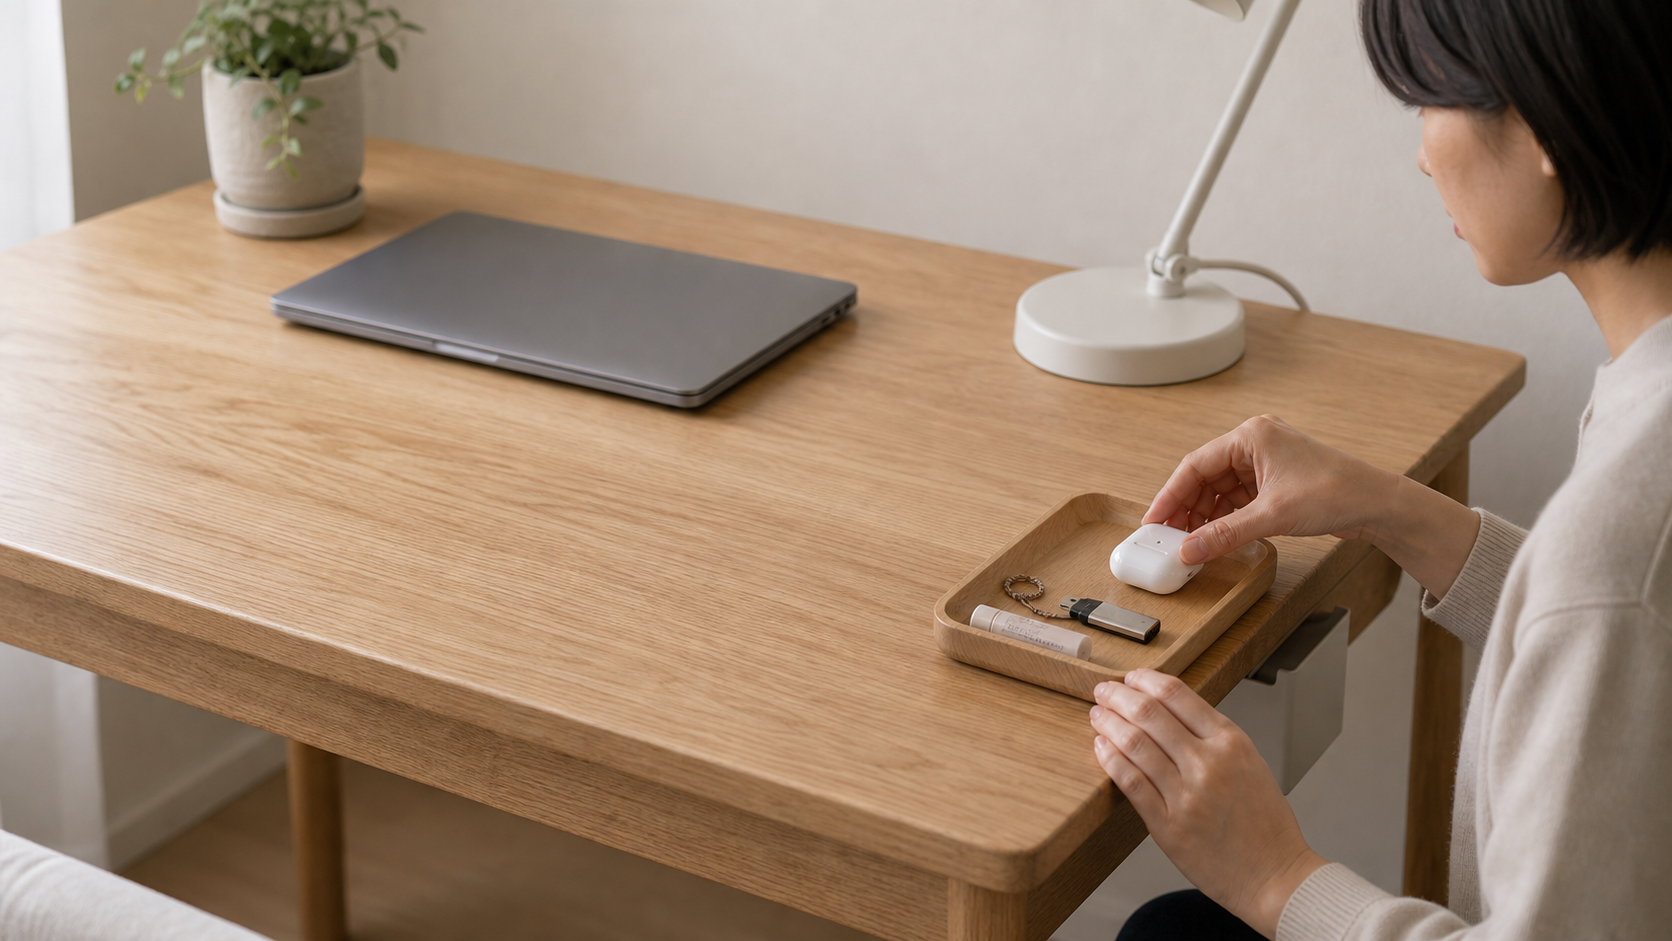
Earbuds, lip balm, USB drives, and eye drops go into one shallow tray at the desk edge, away from the main work zone.
Small items can stay, but they need to appear as one group.
When the tray is full, clear it. Do not let it become a clutter pile.
Keep papers in one slim folder
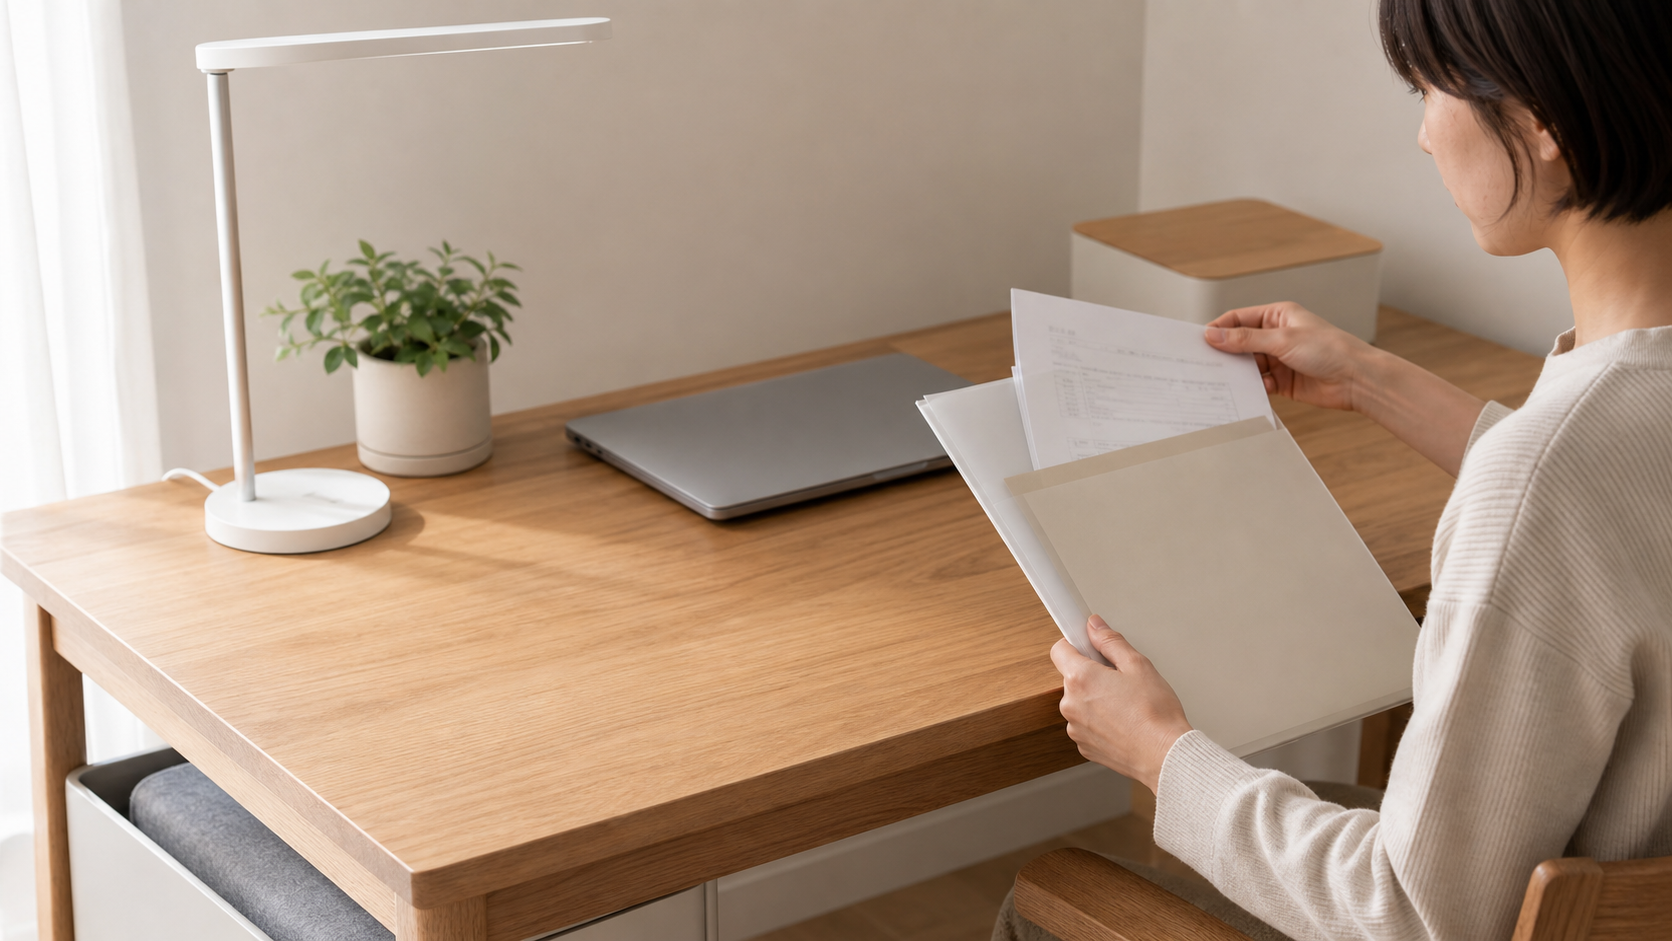
Allow loose papers to enter only one slim folder. Bills, notes, and printouts go there until your weekly review.
Paper spreads quickly; one folder calms the desk immediately.
Keep important documents separate from trash.
Wipe the empty surface daily
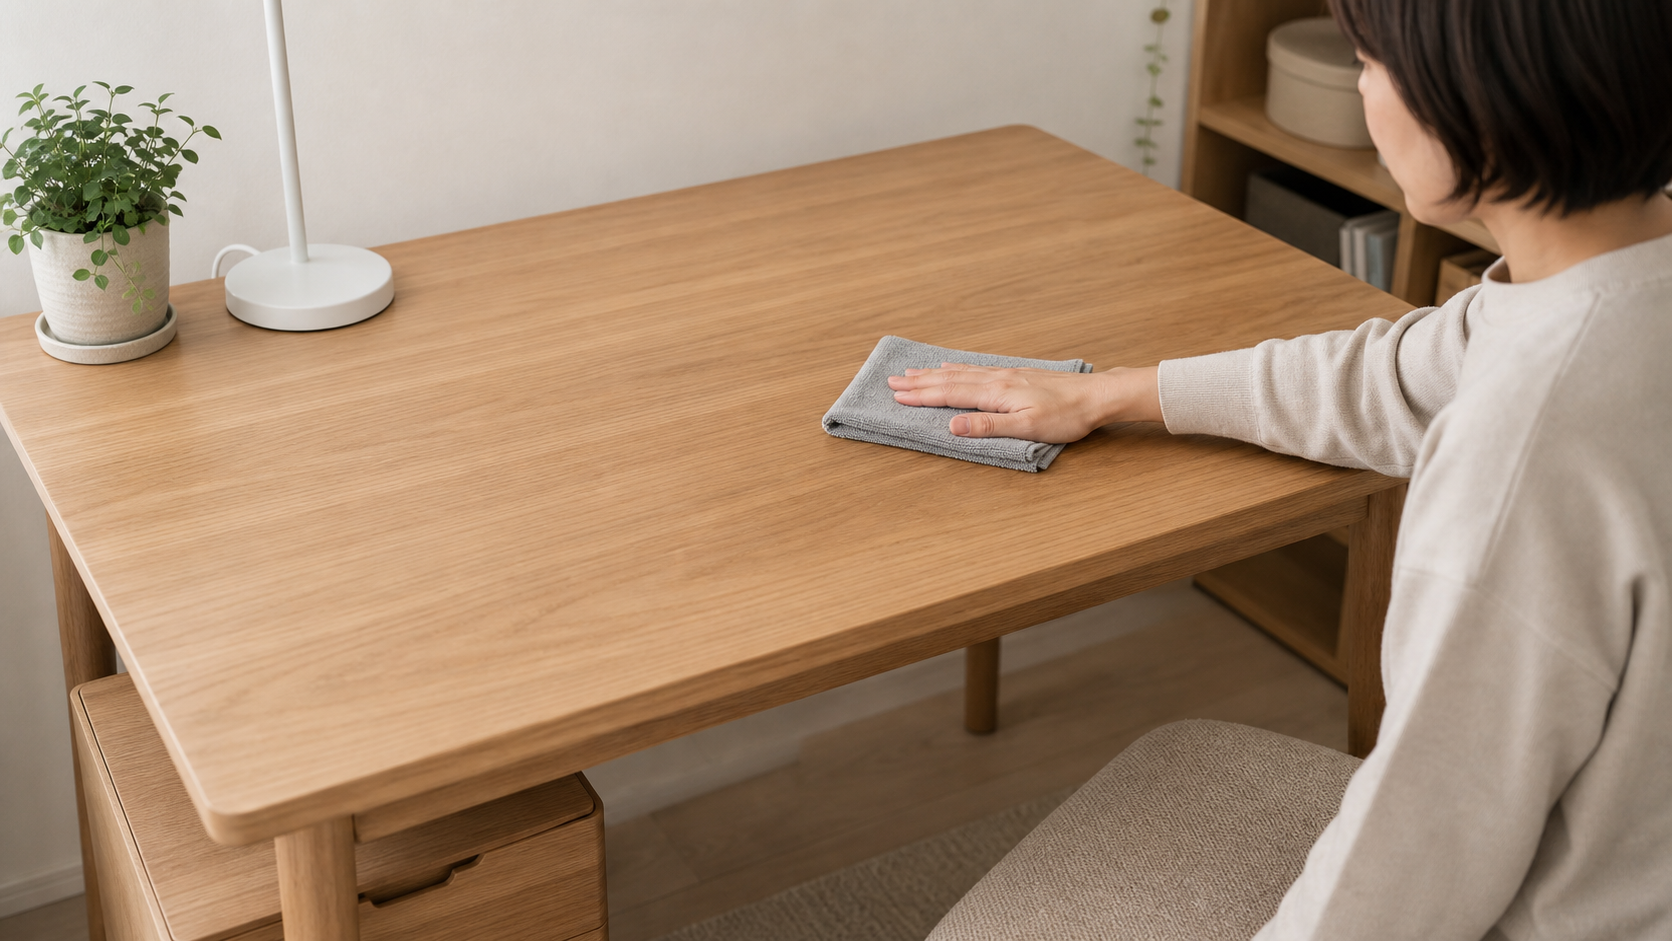
Once the desk is mostly clear, wipe the open surface. Cup rings, dust, and crumbs make a minimalist desk look neglected.
Minimalism is not only fewer objects; the remaining surface should feel clean.
Keep it under one minute. Do not turn it into deep cleaning.
Reset the desk when work ends
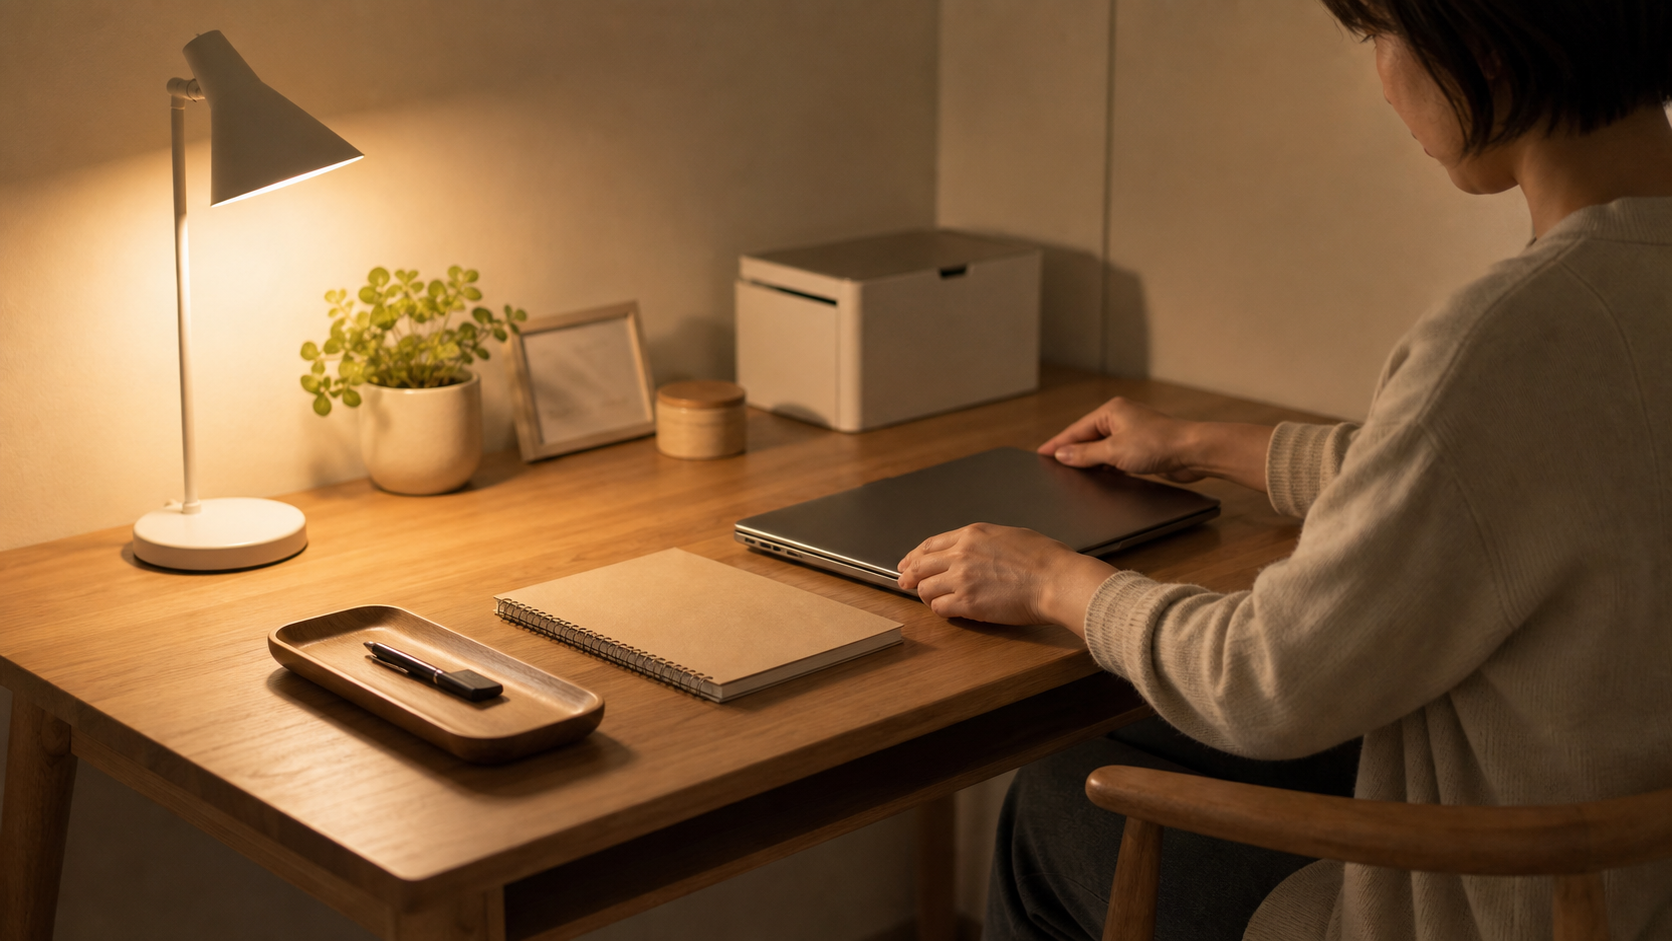
Before leaving, close the laptop, stack the notebook, return the pen to the tray, and take cups to the kitchen. Use the same order every day.
A fixed closing ritual lets tomorrow start without cleanup first.
Do not leave it for tomorrow; tomorrow will feel heavier.
Remove one unused item each week
On the weekend, look at the desk and drawer and remove one item you did not use all week. Put it in a backup box if you are unsure.
A minimalist desk is reduced gradually, not finished in one day.
Do not discard too aggressively; move items away first.
Same topic
Related guides
Related guides
Cleaning
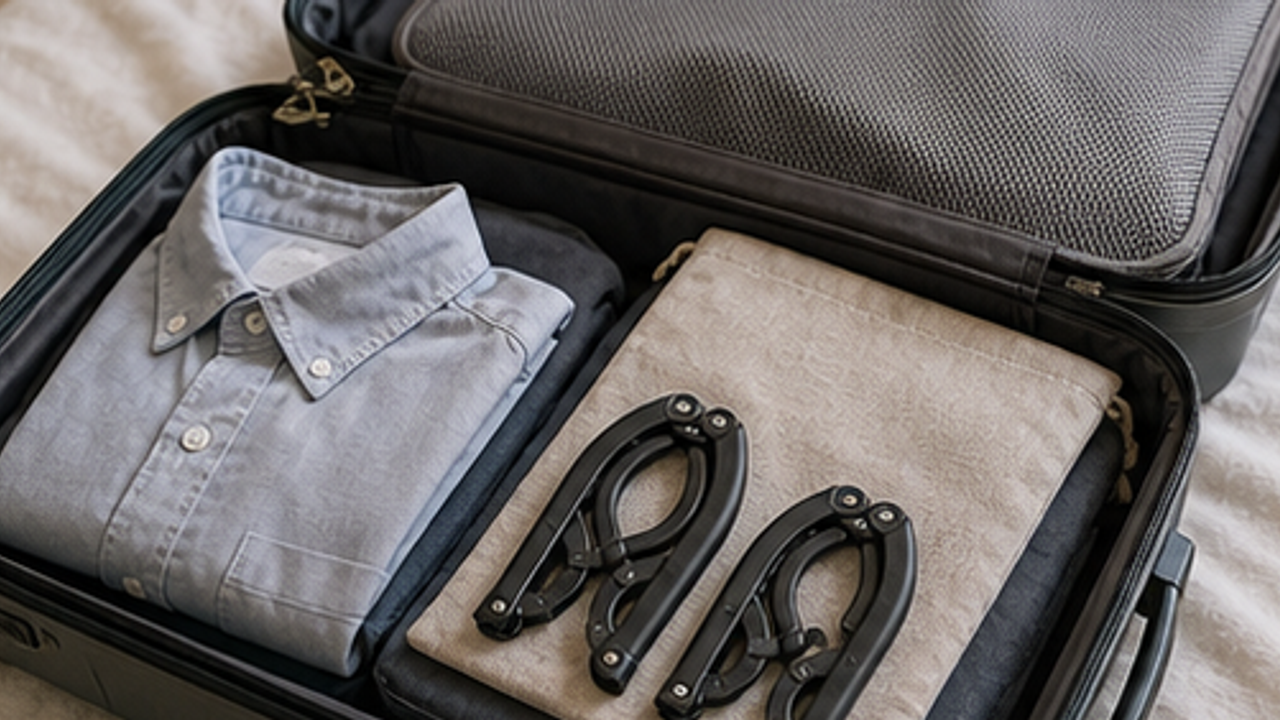
How to Prepare a Travel Folding Hanger Pouch
Give a travel folding hanger pouch one small fixed home so it is easy to use, return, and keep from spreading across drawers, shelves, or counters.
Cleaning
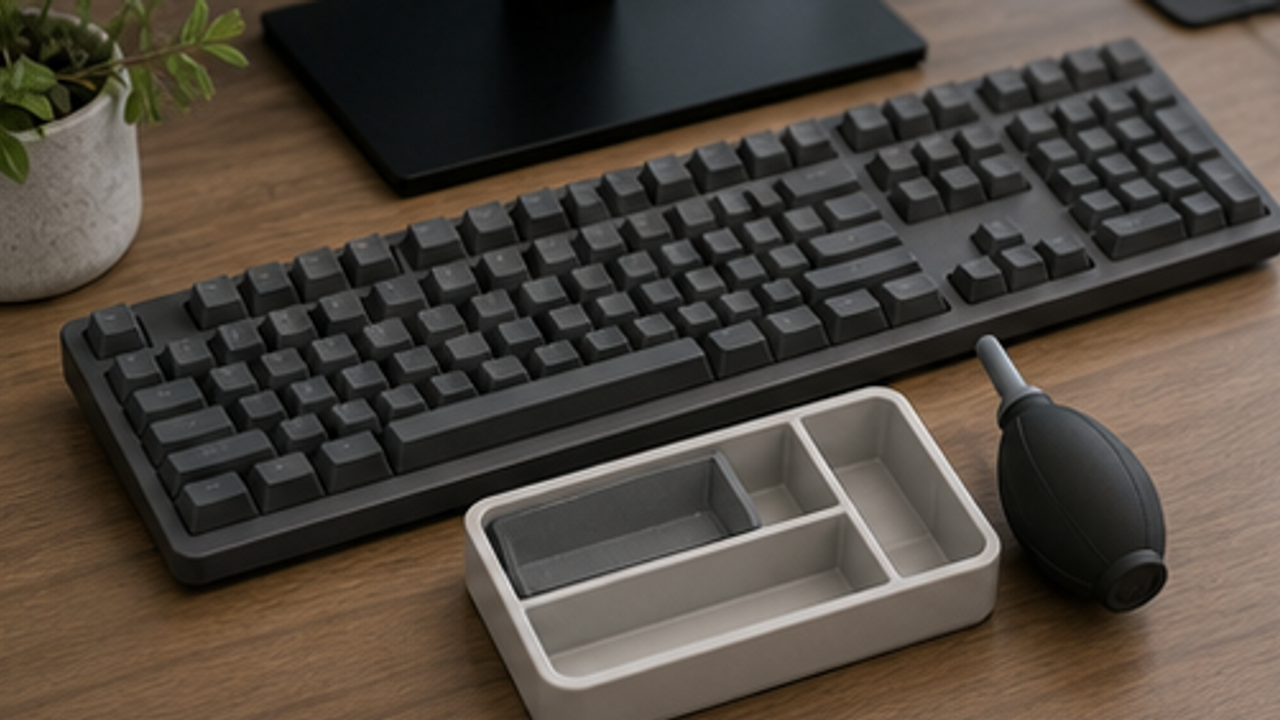
How to Set Up a Desk Keyboard Cleaning Brush Tray
Give a desk keyboard cleaning brush tray one small fixed home so it is easy to use, return, and keep from spreading across drawers, shelves, or counters.
Cleaning
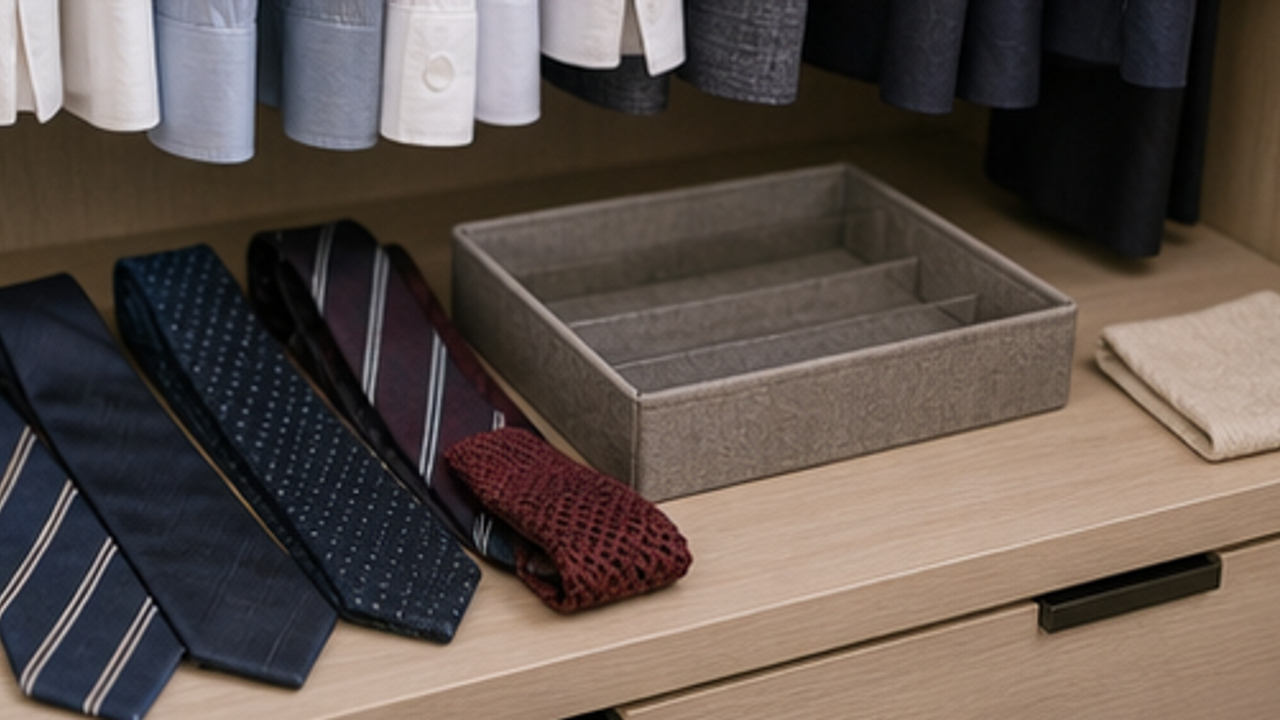
How to Organize Closet Ties in a Roll Tray
Give closet ties in a roll tray one small fixed home so it is easy to use, return, and keep from spreading across drawers, shelves, or counters.
Cleaning
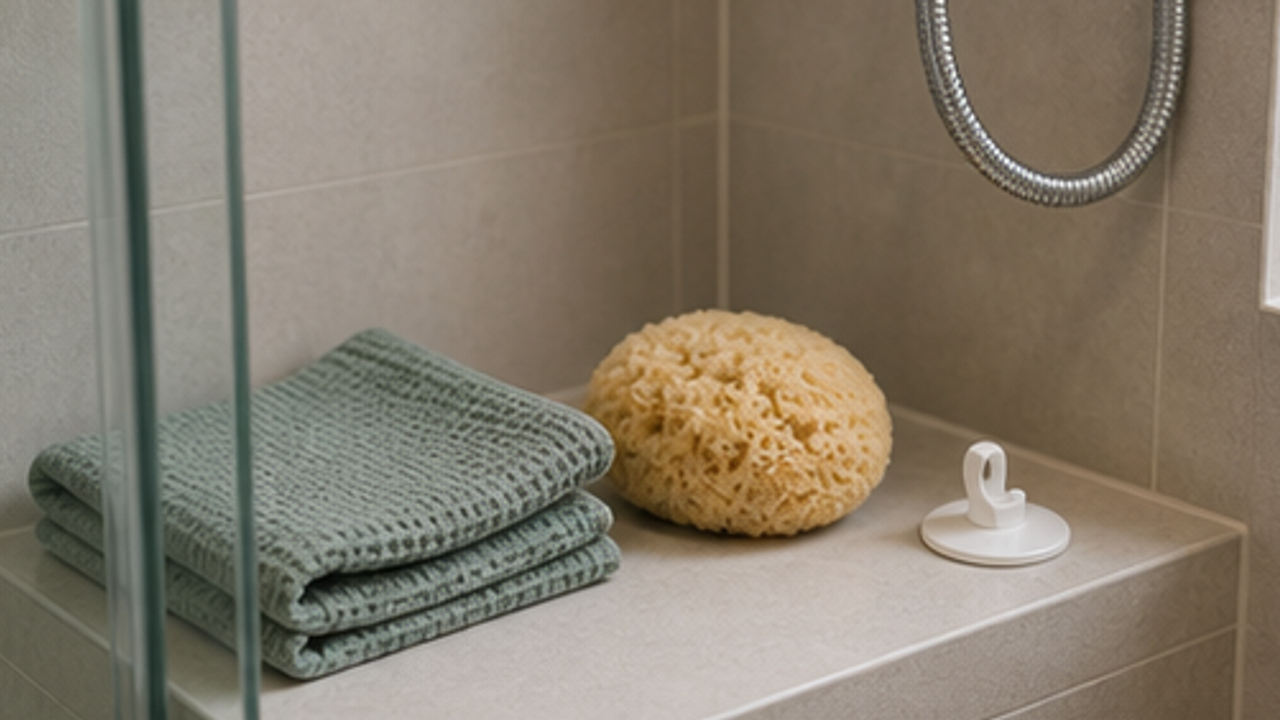
How to Set Up a Bathroom Bath Sponge Drying Hook
Give a bathroom bath sponge drying hook one small fixed home so it is easy to use, return, and keep from spreading across drawers, shelves, or counters.
More from this author
Open
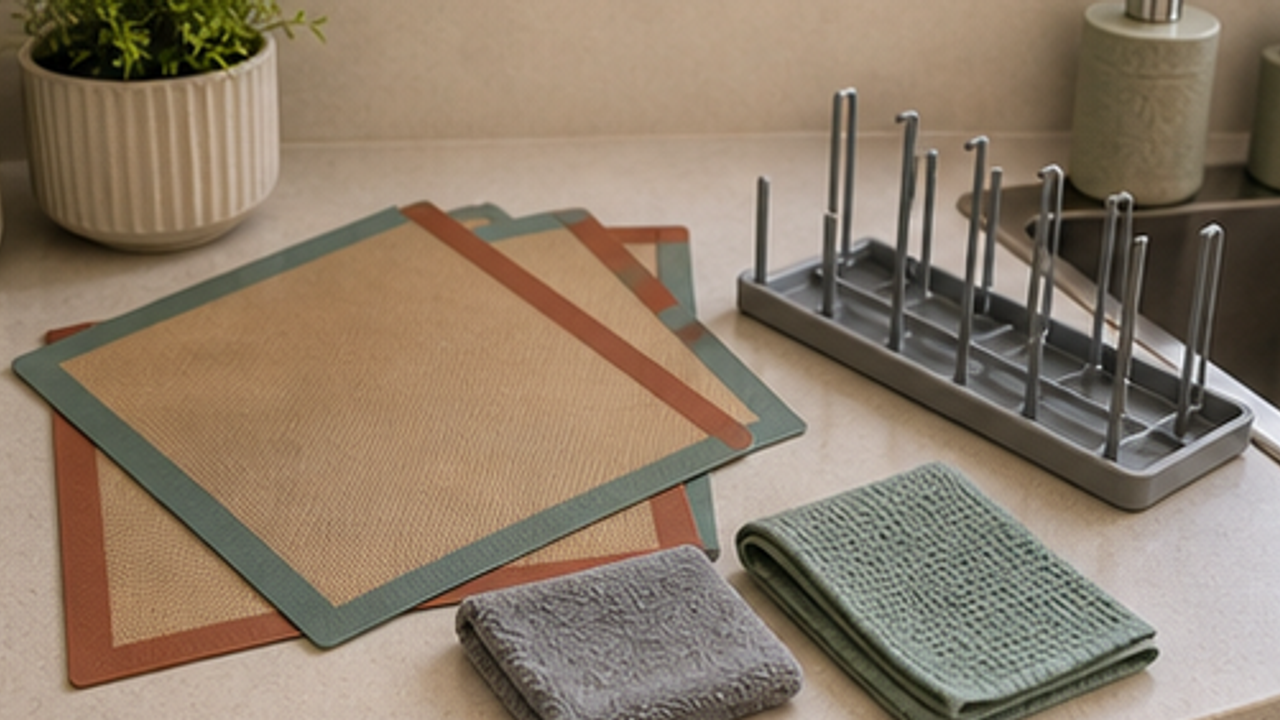
How to Set Up a Kitchen Silicone Baking Mat Drying Rack
Give a kitchen silicone baking mat drying rack one small fixed home so it is easy to use, return, and keep from spreading across drawers, shelves, or counters.
Open
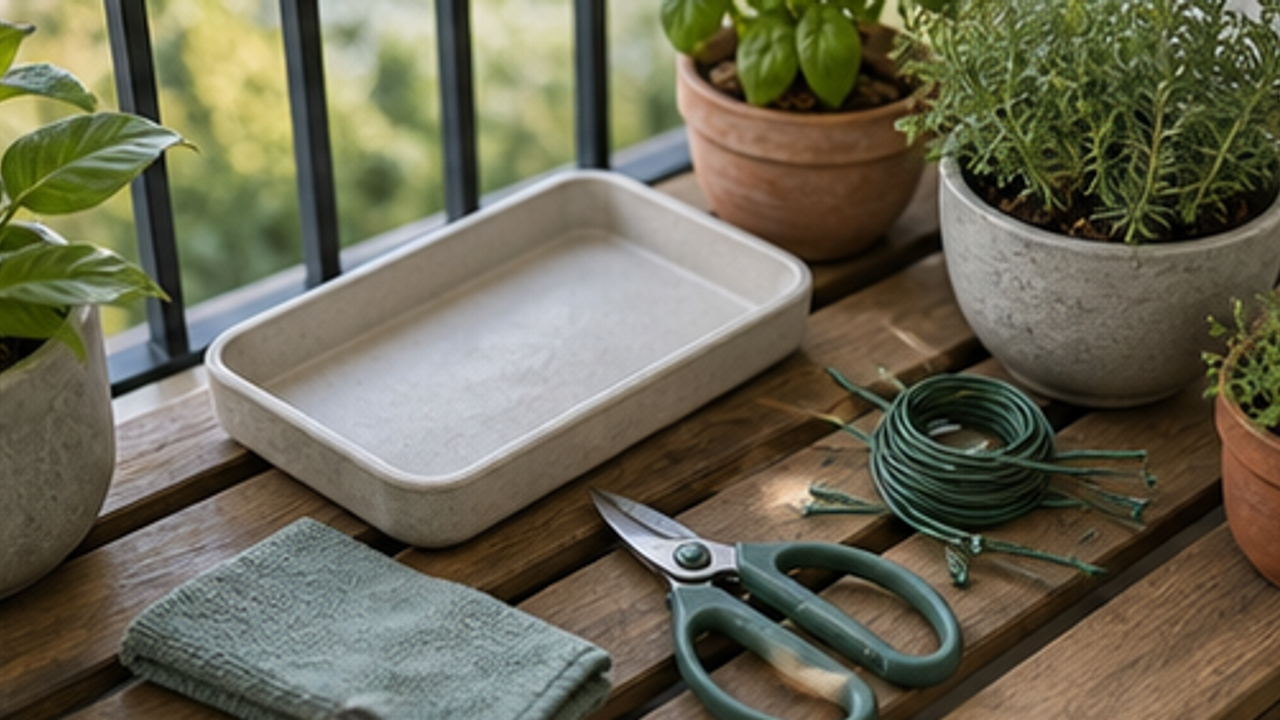
How to Set Up a Balcony Plant Pruning Tool Tray
Give a balcony plant pruning tool tray one small fixed home so it is easy to use, return, and keep from spreading across drawers, shelves, or counters.
Open
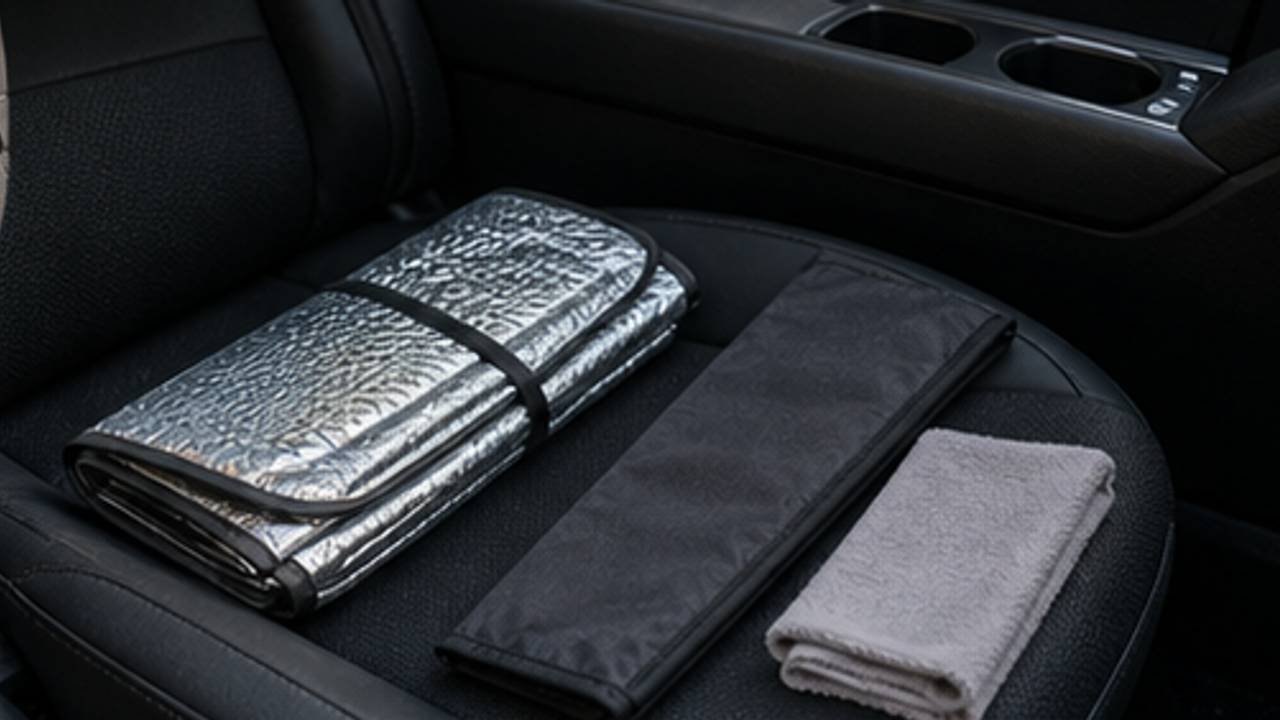
How to Organize a Car Folding Sunshade Sleeve
Give a car folding sunshade sleeve one small fixed home so it is easy to use, return, and keep from spreading across drawers, shelves, or counters.
Life Reactions
How this way feels to you
My Life Trial
Log it after trying
Comments
0 Comments
No comments yet.