How to Use a Humidifier Properly

A humidifier works best when placement, water, mist level, and cleaning are handled well. Small habits make the room more comfortable and the device easier to maintain.

Place it in a stable open spot
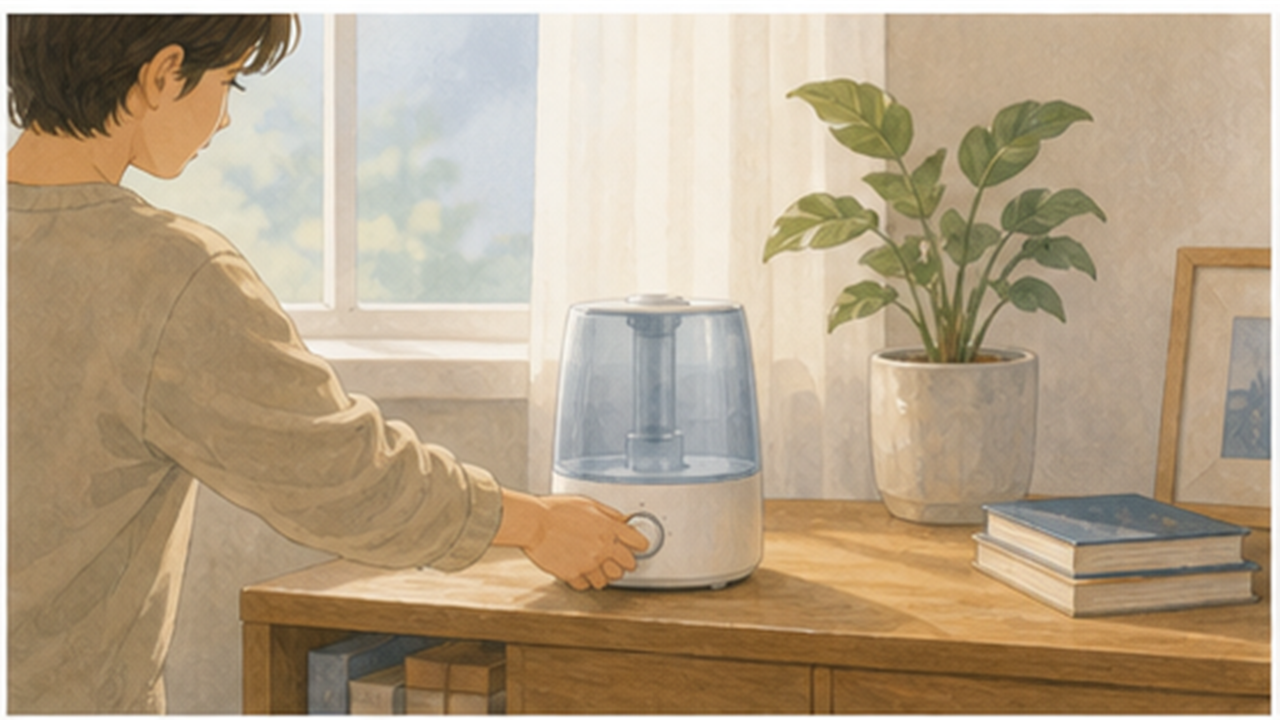
For step 1, focus on “Place it in a stable open spot.” Keep the action small and clear: prepare what you need, handle only this part, then move on once it is done.
This step reduces confusion later. It may look small, but it prevents rework and helps you keep a steady pace.
Do not keep the room overly humid. If the tank smells odd, clean it before use.
Rinse the tank before first use
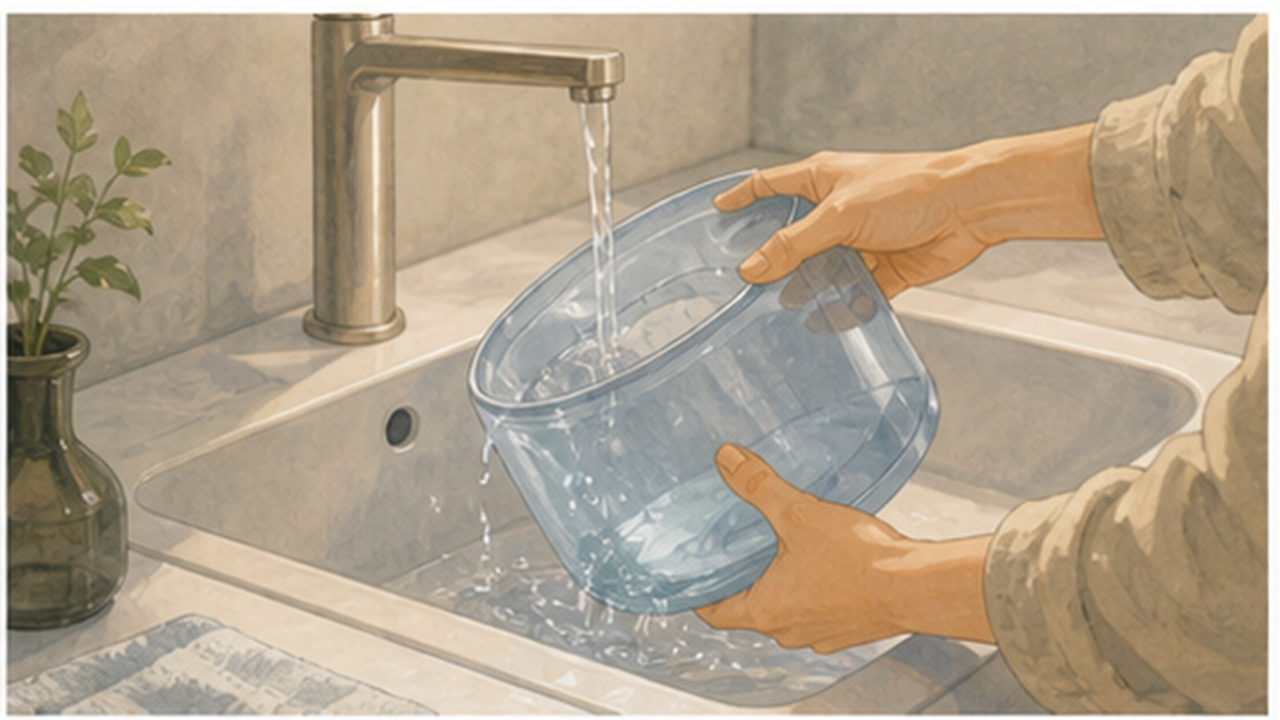
For step 2, focus on “Rinse the tank before first use.” Keep the action small and clear: prepare what you need, handle only this part, then move on once it is done.
This step reduces confusion later. It may look small, but it prevents rework and helps you keep a steady pace.
Do not keep the room overly humid. If the tank smells odd, clean it before use.
Fill it with clean water
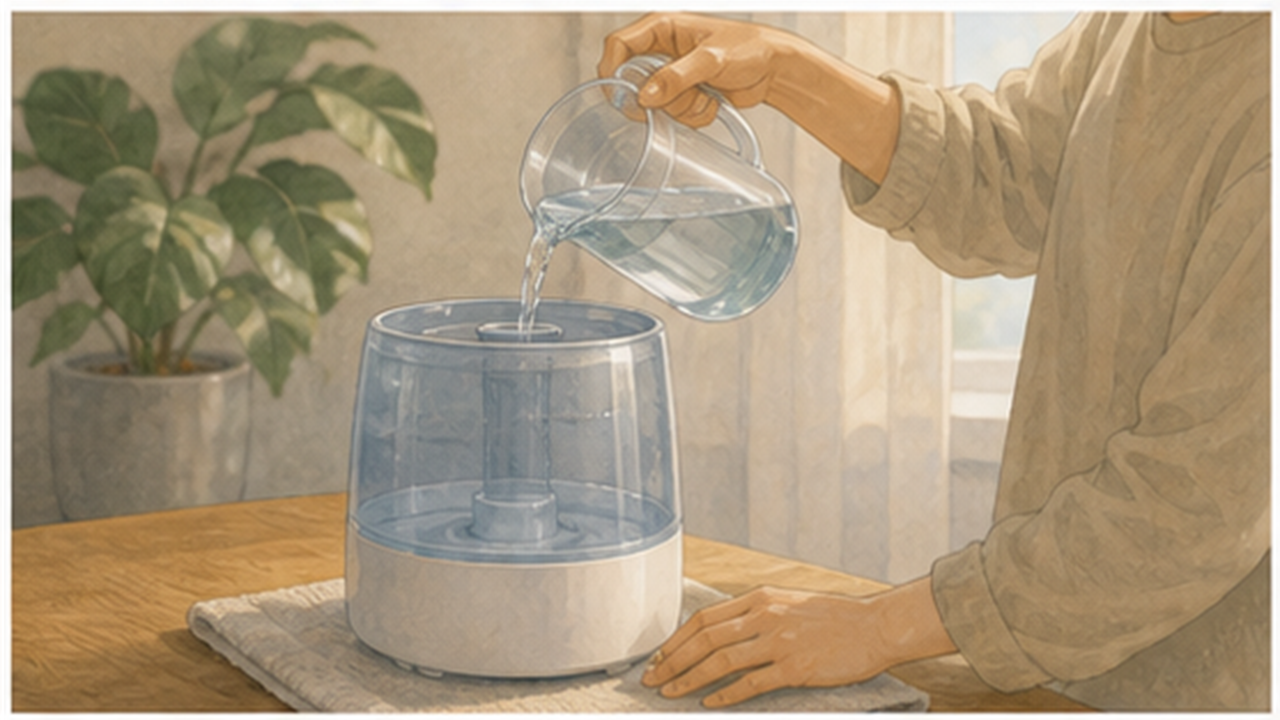
For step 3, focus on “Fill it with clean water.” Keep the action small and clear: prepare what you need, handle only this part, then move on once it is done.
This step reduces confusion later. It may look small, but it prevents rework and helps you keep a steady pace.
Do not keep the room overly humid. If the tank smells odd, clean it before use.
Reattach the tank correctly
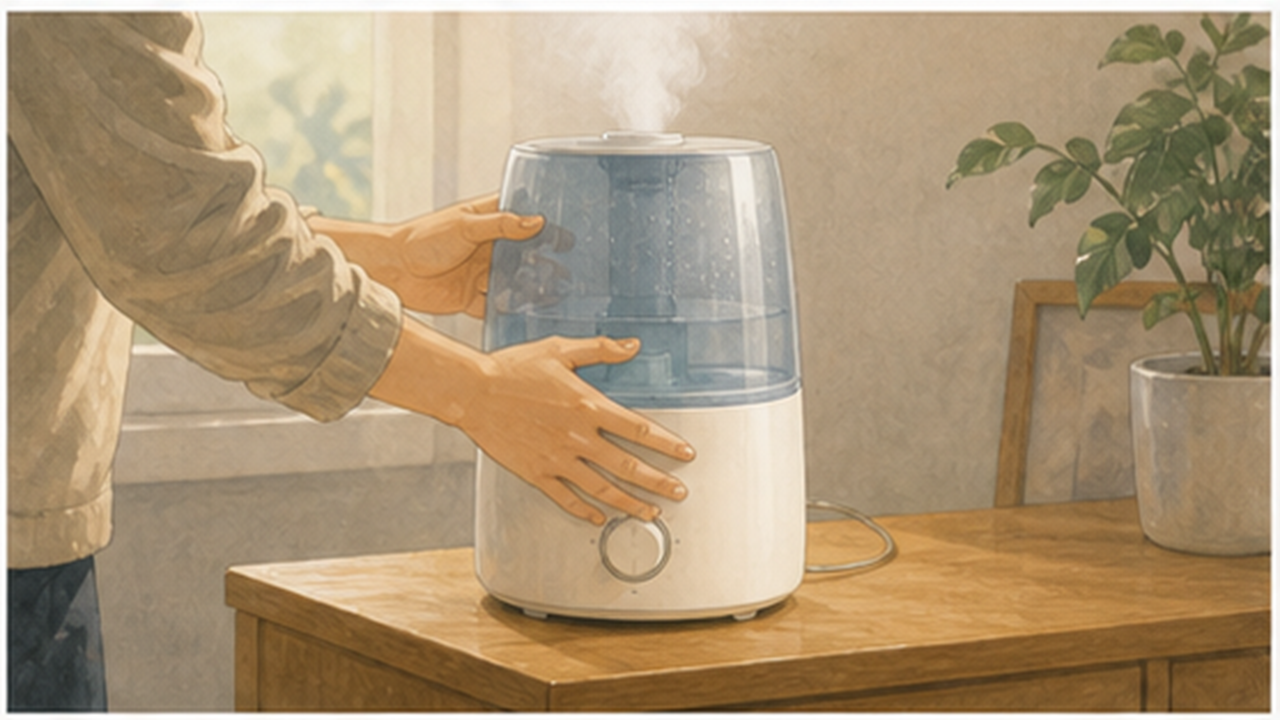
For step 4, focus on “Reattach the tank correctly.” Keep the action small and clear: prepare what you need, handle only this part, then move on once it is done.
This step reduces confusion later. It may look small, but it prevents rework and helps you keep a steady pace.
Do not keep the room overly humid. If the tank smells odd, clean it before use.
Start with a low mist setting
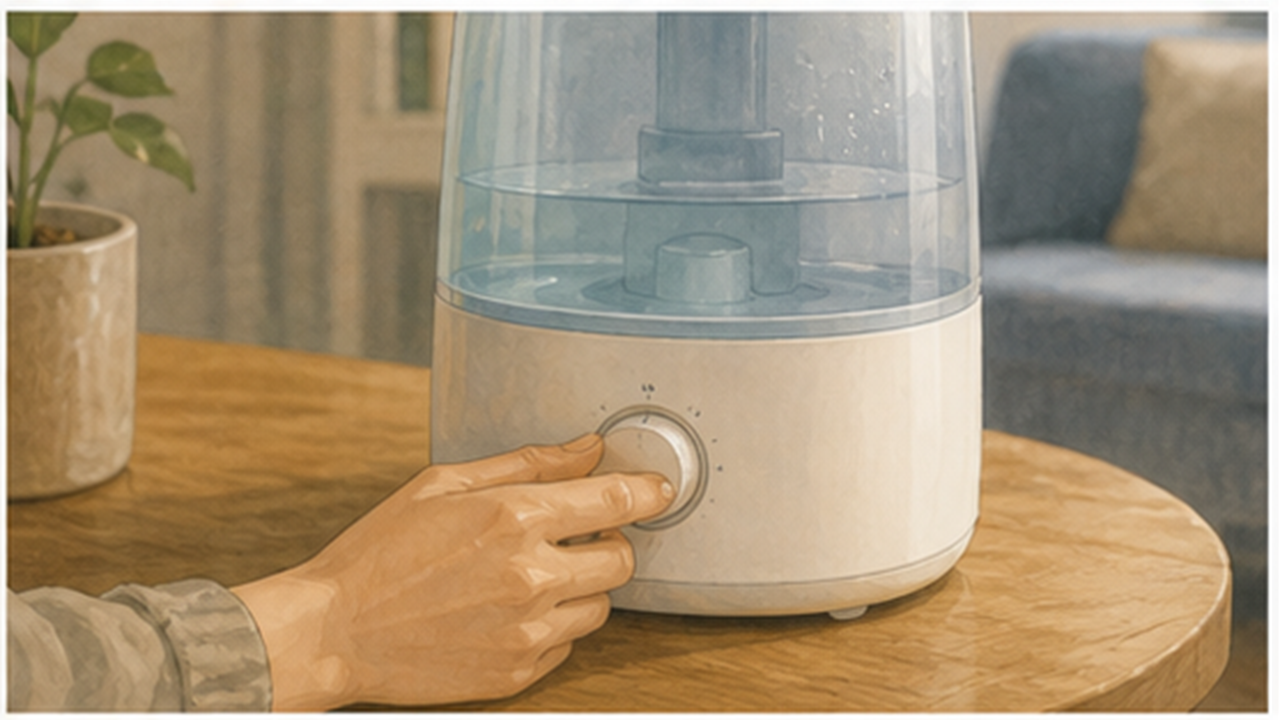
For step 5, focus on “Start with a low mist setting.” Keep the action small and clear: prepare what you need, handle only this part, then move on once it is done.
This step reduces confusion later. It may look small, but it prevents rework and helps you keep a steady pace.
Do not keep the room overly humid. If the tank smells odd, clean it before use.
Watch for excess moisture
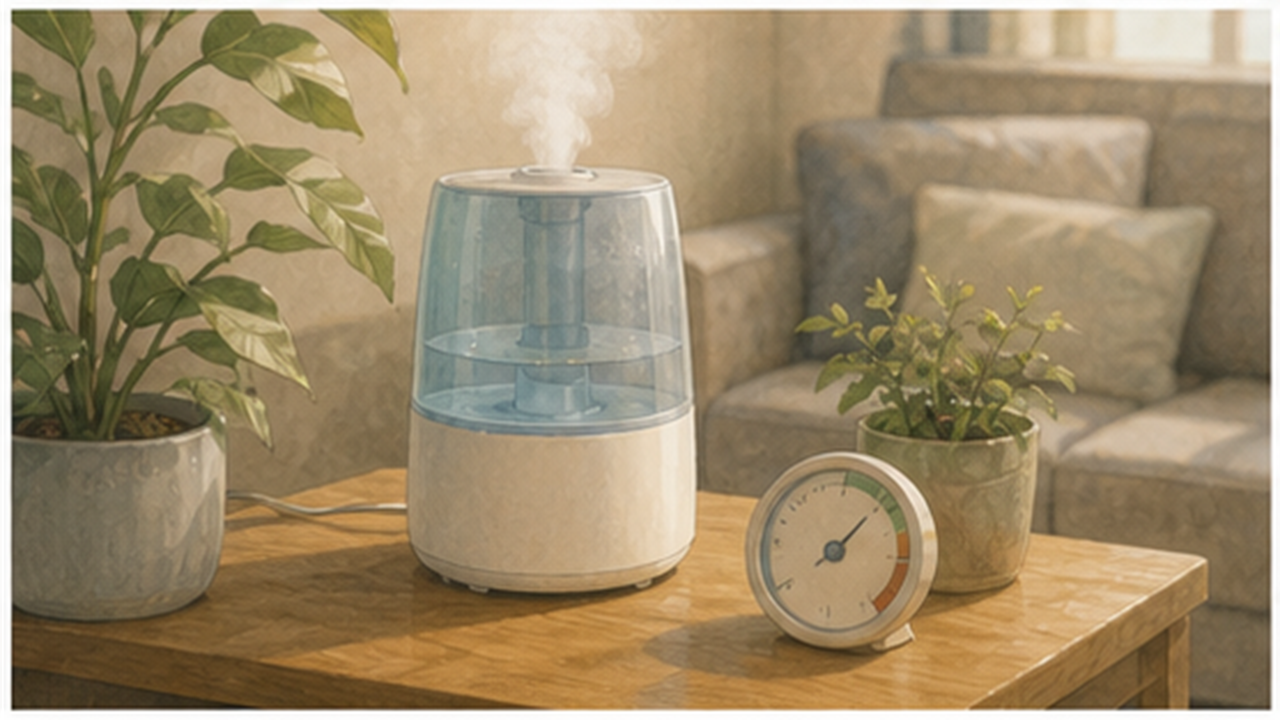
For step 6, focus on “Watch for excess moisture.” Keep the action small and clear: prepare what you need, handle only this part, then move on once it is done.
This step reduces confusion later. It may look small, but it prevents rework and helps you keep a steady pace.
Do not keep the room overly humid. If the tank smells odd, clean it before use.
Empty and dry it daily
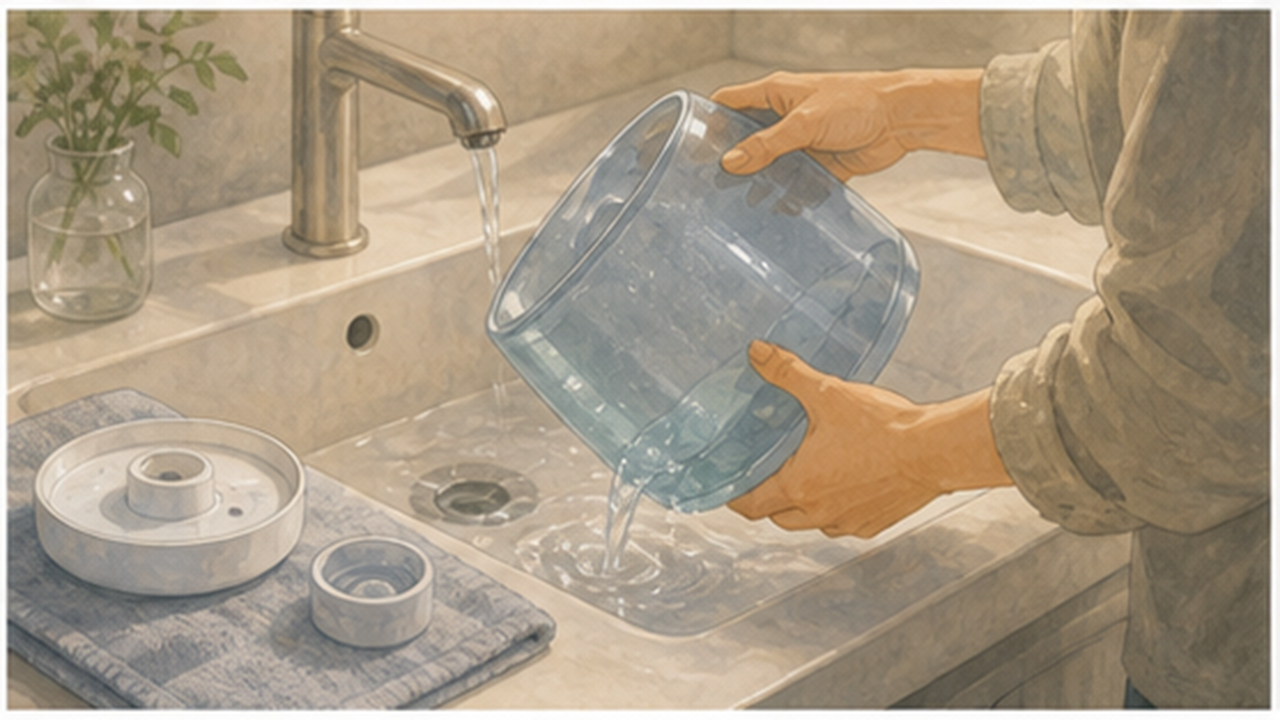
For step 7, focus on “Empty and dry it daily.” Keep the action small and clear: prepare what you need, handle only this part, then move on once it is done.
This step reduces confusion later. It may look small, but it prevents rework and helps you keep a steady pace.
Do not keep the room overly humid. If the tank smells odd, clean it before use.
Clean the tank and mist outlet regularly
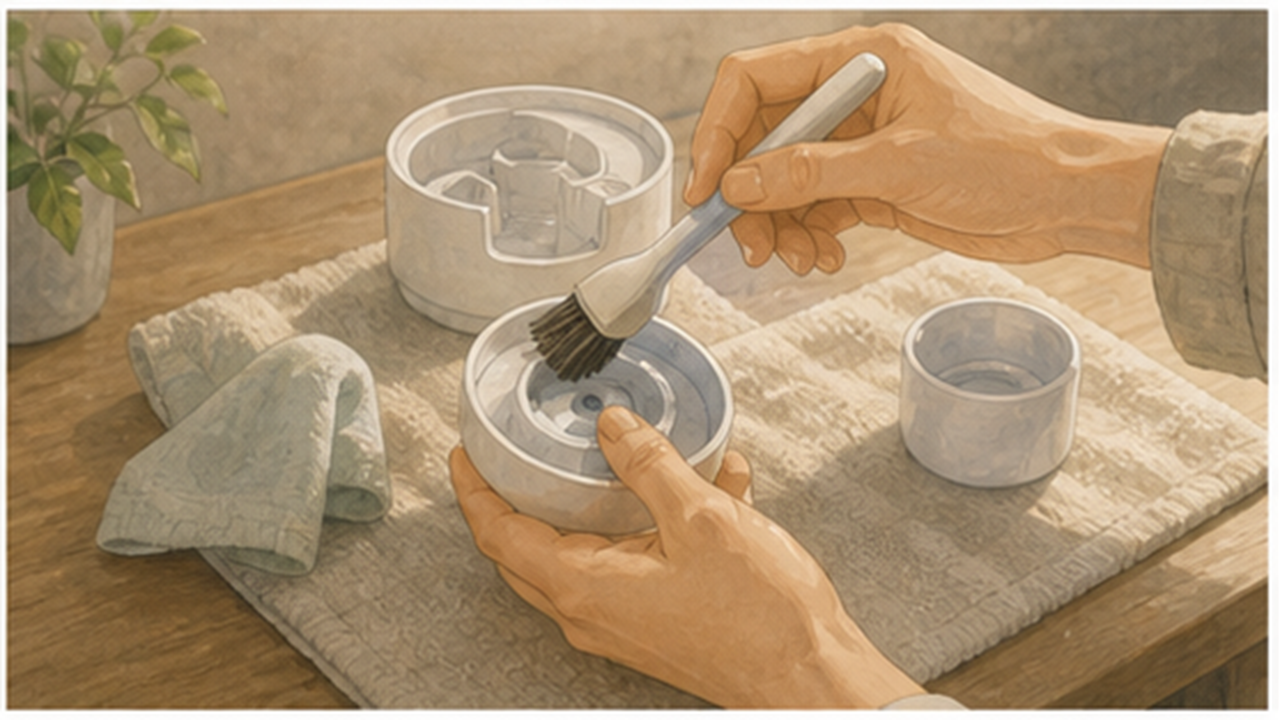
For step 8, focus on “Clean the tank and mist outlet regularly.” Keep the action small and clear: prepare what you need, handle only this part, then move on once it is done.
This step reduces confusion later. It may look small, but it prevents rework and helps you keep a steady pace.
Do not keep the room overly humid. If the tank smells odd, clean it before use.
Same topic
Related guides
Related guides
Cleaning
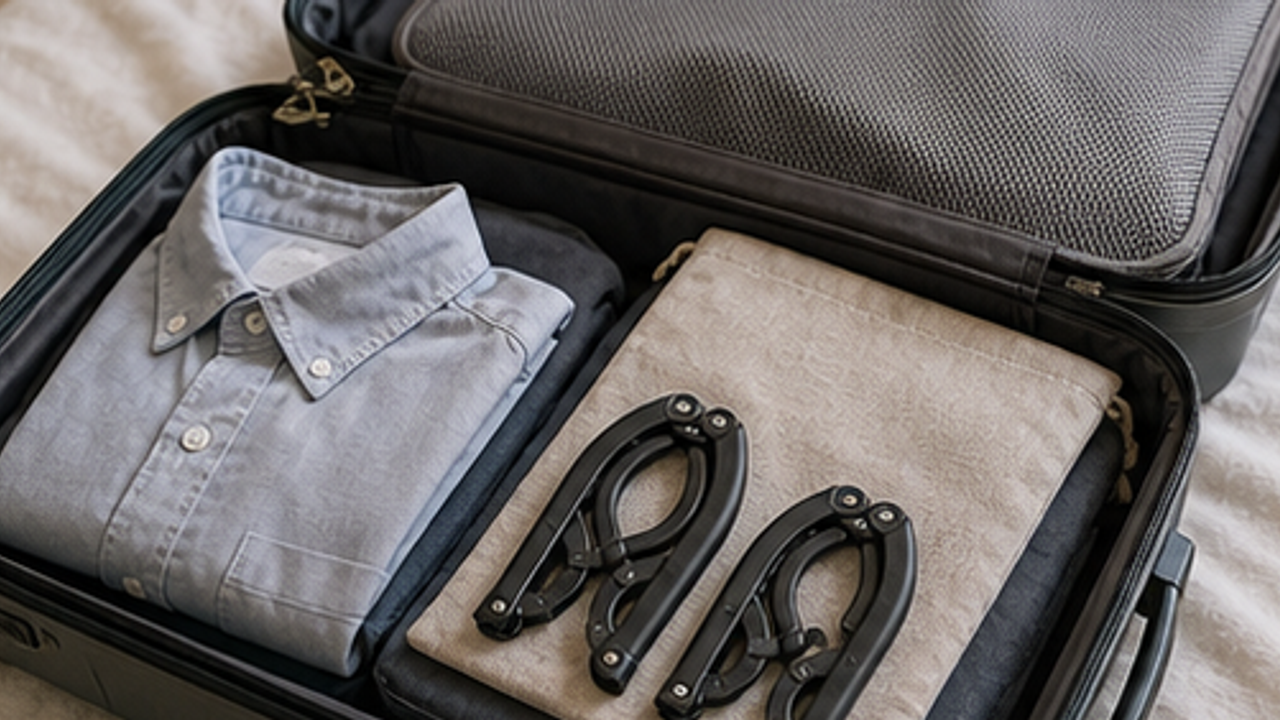
How to Prepare a Travel Folding Hanger Pouch
Give a travel folding hanger pouch one small fixed home so it is easy to use, return, and keep from spreading across drawers, shelves, or counters.
Cleaning
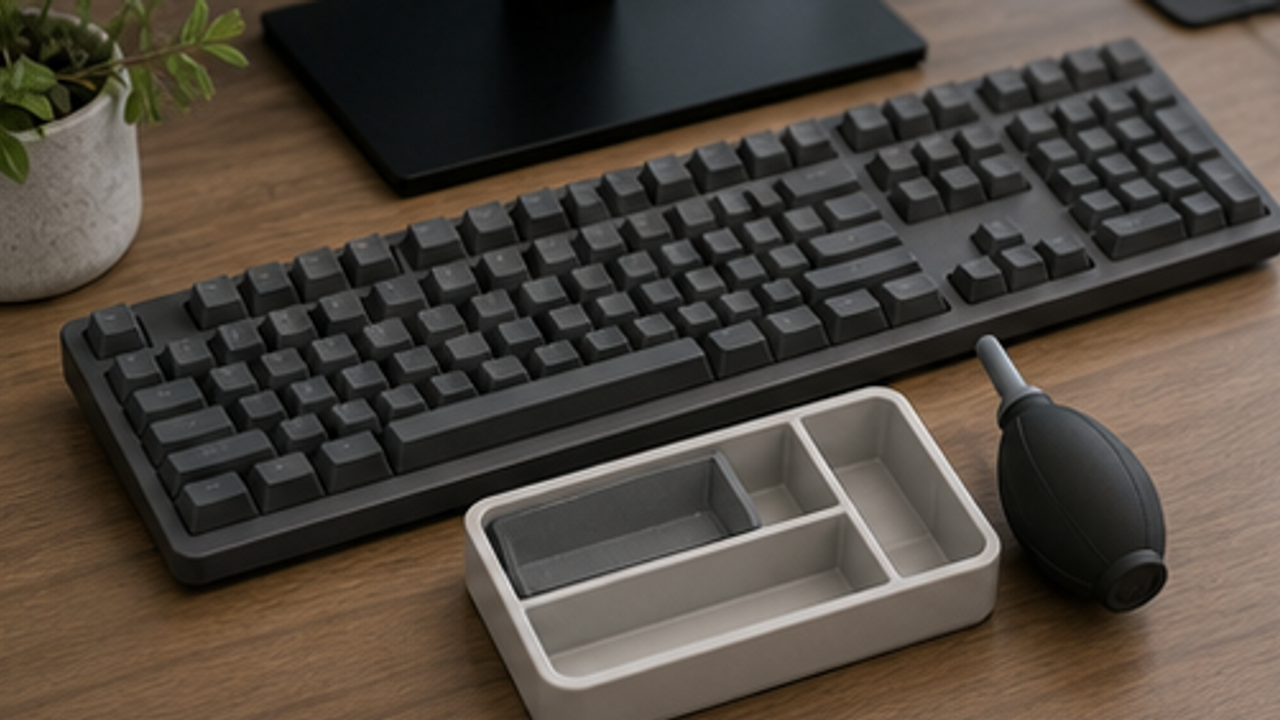
How to Set Up a Desk Keyboard Cleaning Brush Tray
Give a desk keyboard cleaning brush tray one small fixed home so it is easy to use, return, and keep from spreading across drawers, shelves, or counters.
Cleaning
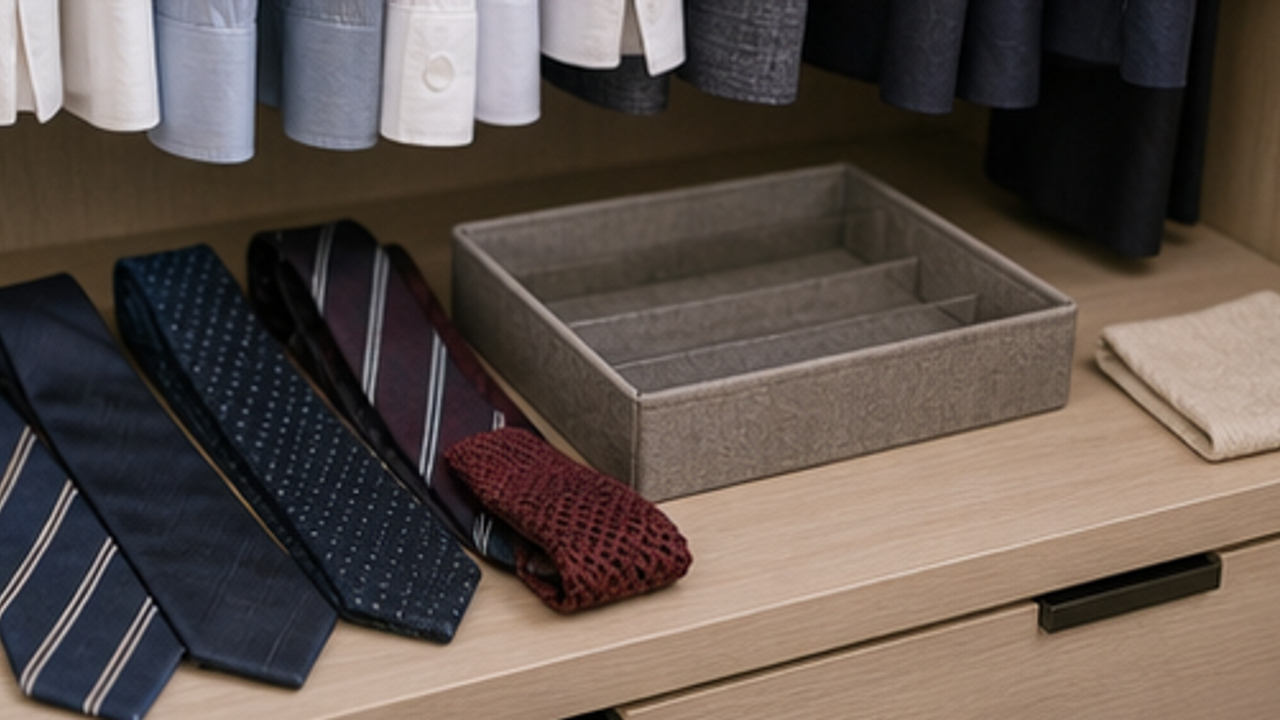
How to Organize Closet Ties in a Roll Tray
Give closet ties in a roll tray one small fixed home so it is easy to use, return, and keep from spreading across drawers, shelves, or counters.
Cleaning
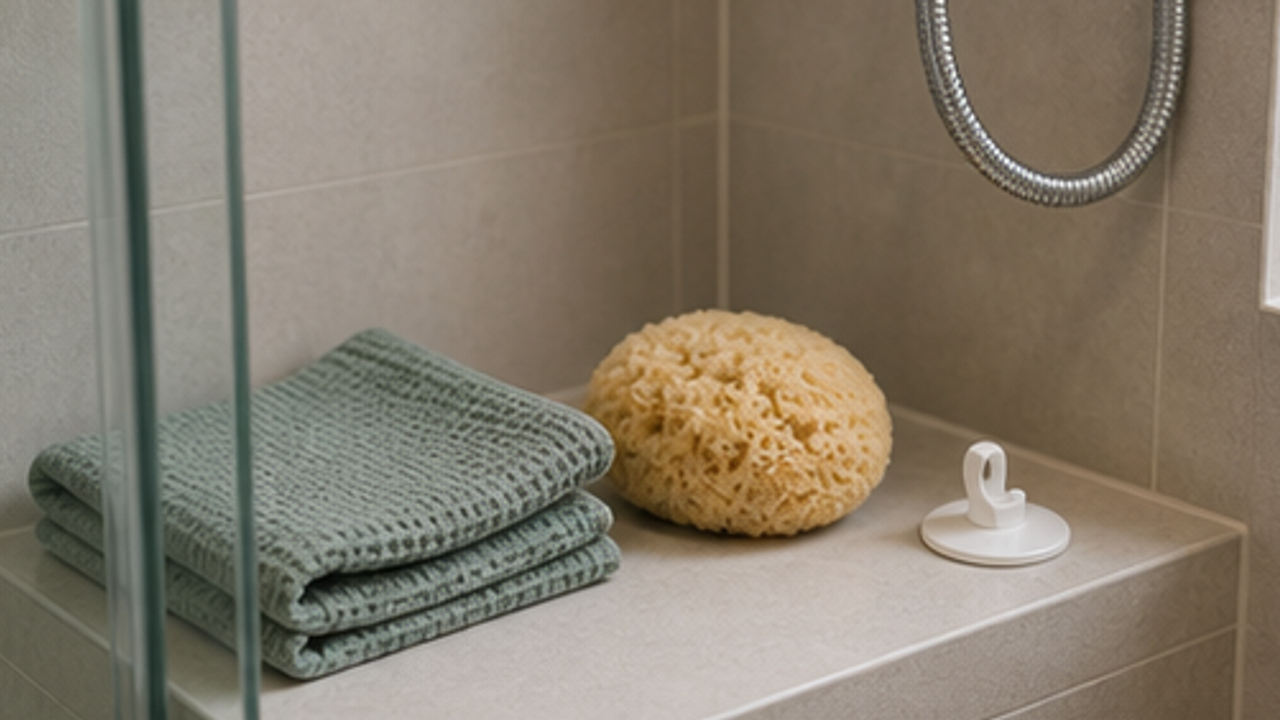
How to Set Up a Bathroom Bath Sponge Drying Hook
Give a bathroom bath sponge drying hook one small fixed home so it is easy to use, return, and keep from spreading across drawers, shelves, or counters.
More from this author
Open
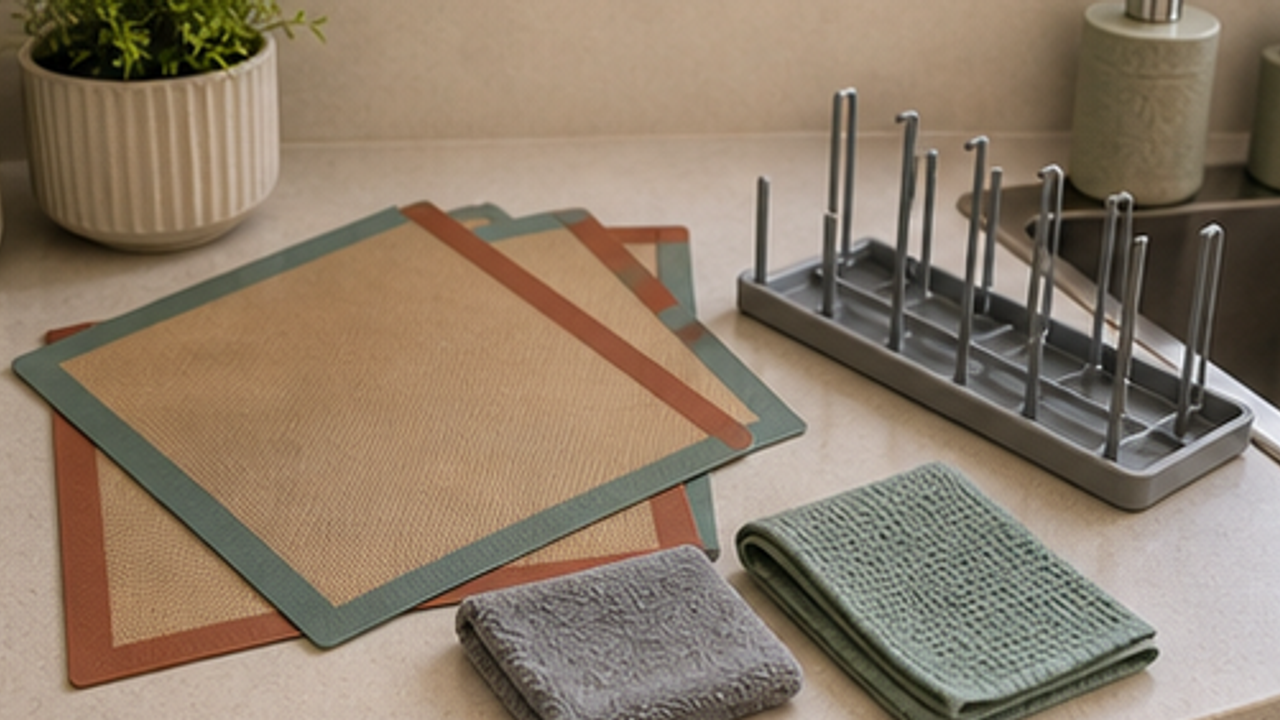
How to Set Up a Kitchen Silicone Baking Mat Drying Rack
Give a kitchen silicone baking mat drying rack one small fixed home so it is easy to use, return, and keep from spreading across drawers, shelves, or counters.
Open
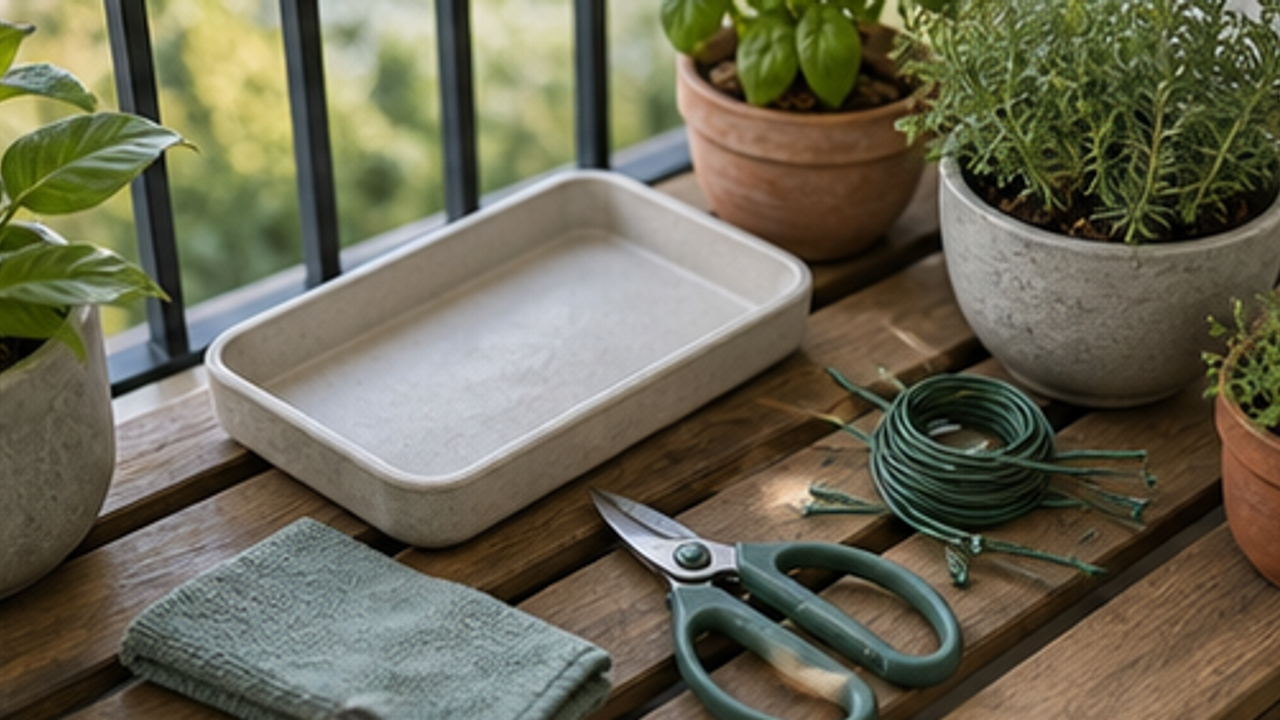
How to Set Up a Balcony Plant Pruning Tool Tray
Give a balcony plant pruning tool tray one small fixed home so it is easy to use, return, and keep from spreading across drawers, shelves, or counters.
Open
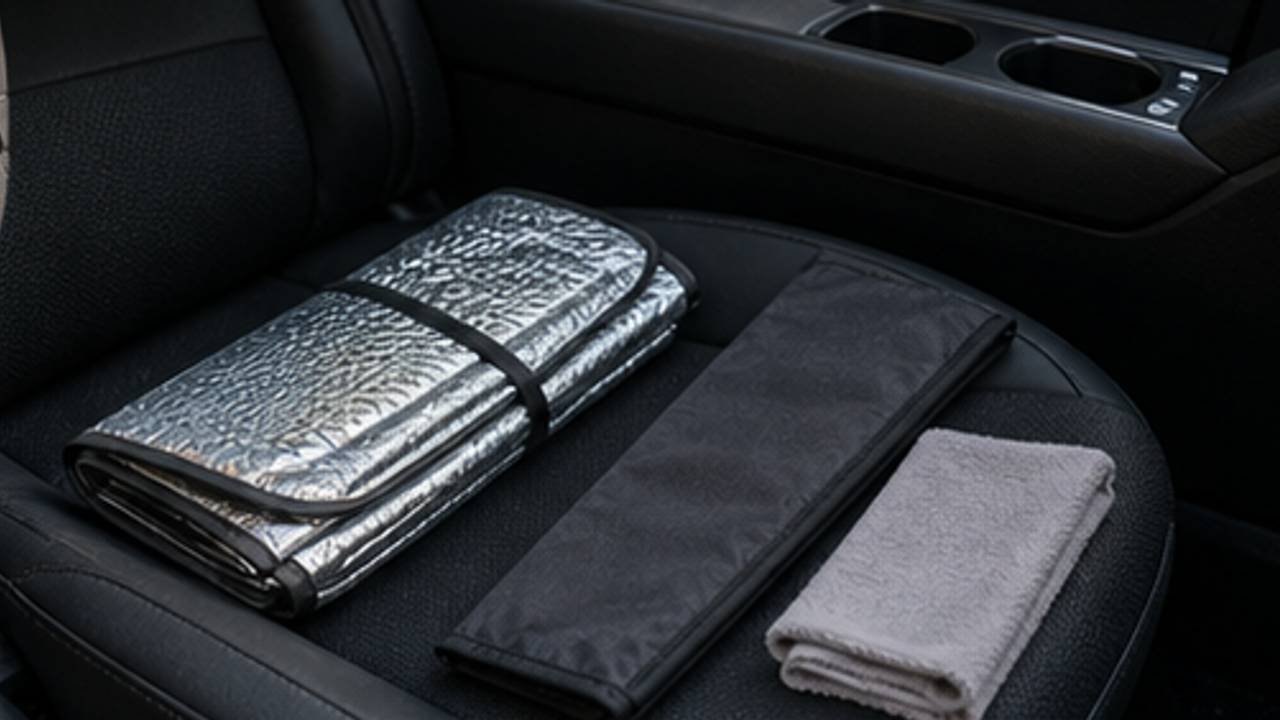
How to Organize a Car Folding Sunshade Sleeve
Give a car folding sunshade sleeve one small fixed home so it is easy to use, return, and keep from spreading across drawers, shelves, or counters.
Life Reactions
How this way feels to you
My Life Trial
Log it after trying
Comments
0 Comments
No comments yet.