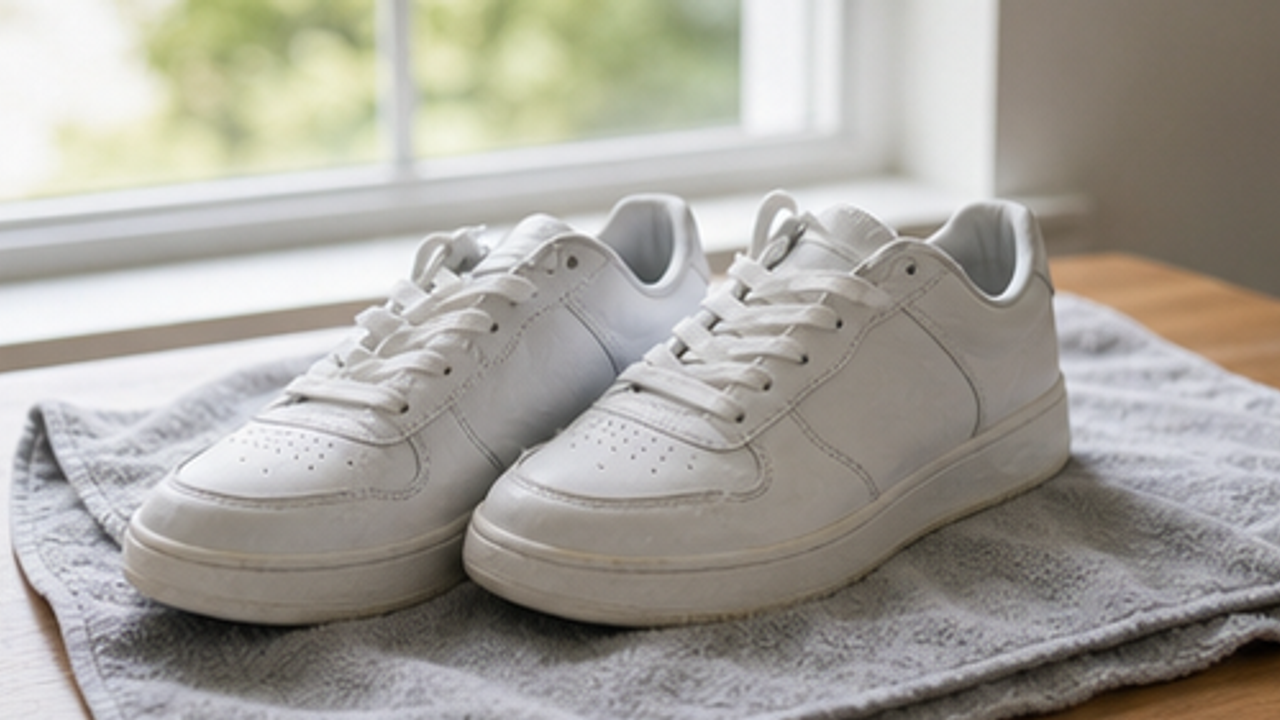
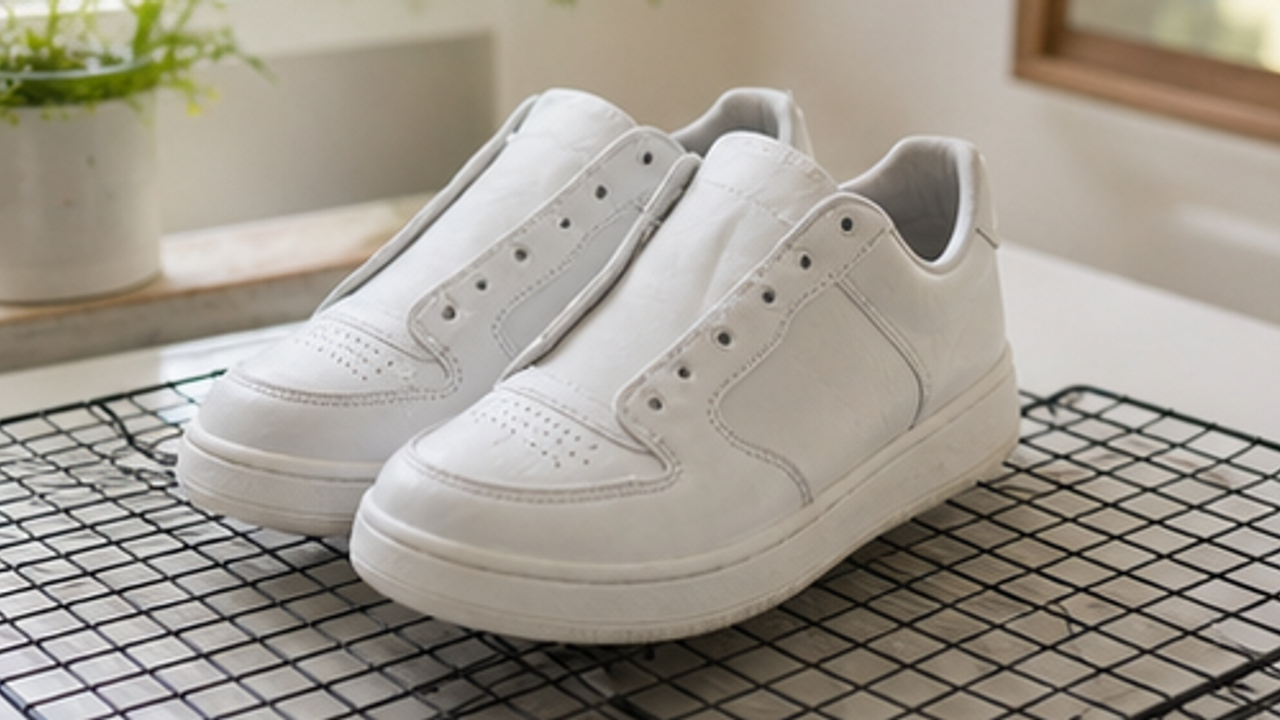
How to Refresh Sneakers Safely at Home

Use mild soap, soft brushes, and patient air drying to clean sneakers without damaging their shape.
Remove the laces
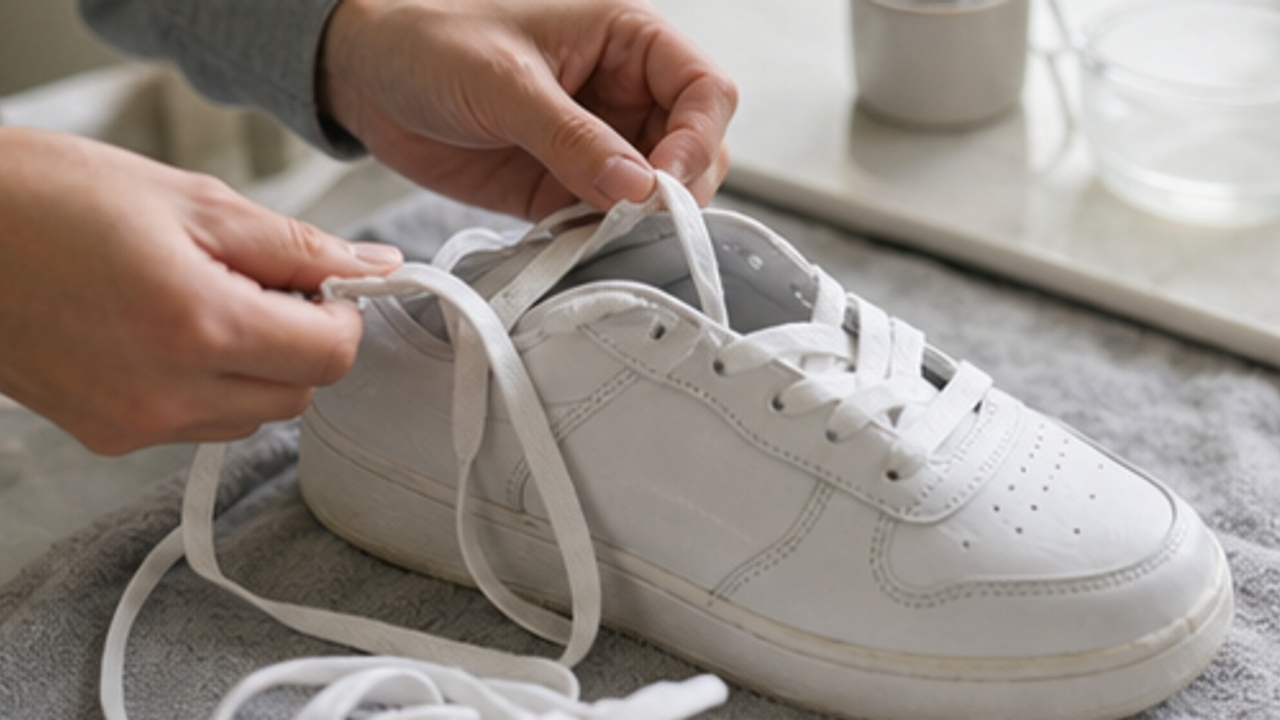
Step 1 focuses on remove the laces so the process stays simple and repeatable. Work slowly, keep the area clean, and move to the next step only when this part is settled.
This keeps the tutorial practical by turning the task into one visible action instead of a vague intention.
Check that your tools and materials are clean and suitable before starting.
Brush away dry dirt
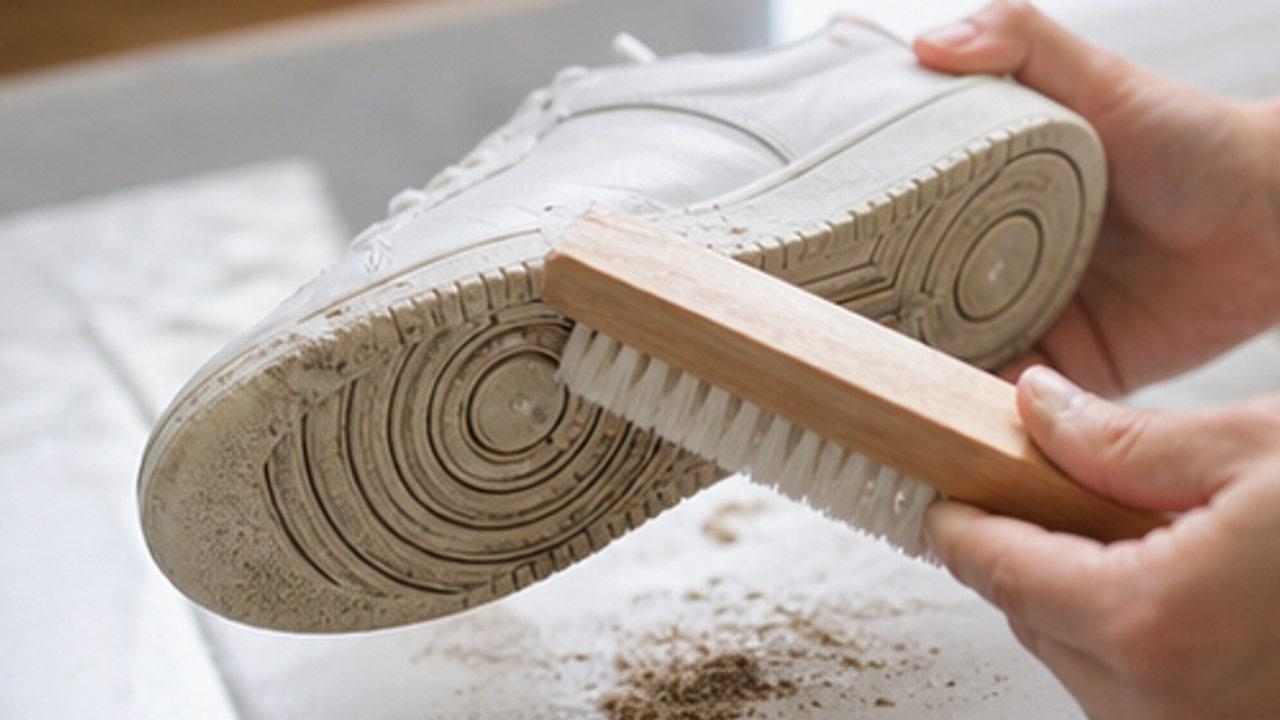
Step 2 focuses on brush away dry dirt so the process stays simple and repeatable. Work slowly, keep the area clean, and move to the next step only when this part is settled.
This keeps the tutorial practical by turning the task into one visible action instead of a vague intention.
Stop and adjust if anything feels unsafe, unstable, or likely to cause damage.
Mix mild soapy water
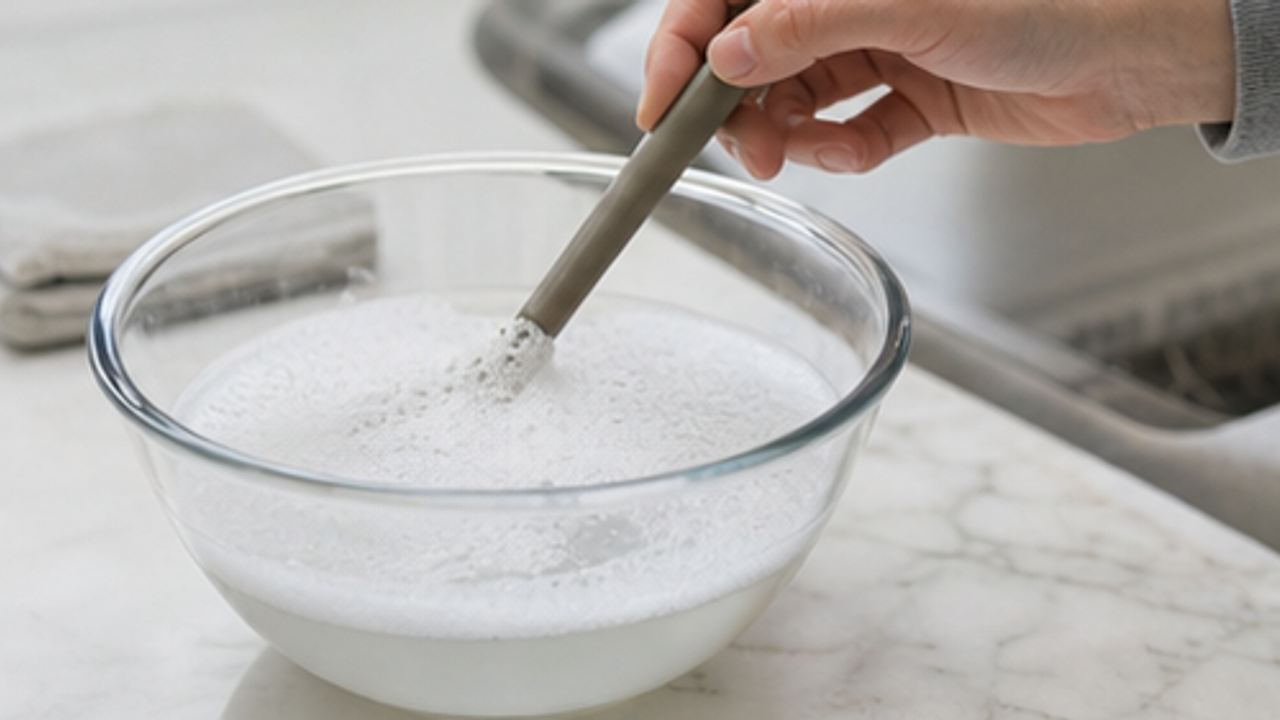
Step 3 focuses on mix mild soapy water so the process stays simple and repeatable. Work slowly, keep the area clean, and move to the next step only when this part is settled.
This keeps the tutorial practical by turning the task into one visible action instead of a vague intention.
Stop and adjust if anything feels unsafe, unstable, or likely to cause damage.
Scrub the uppers gently
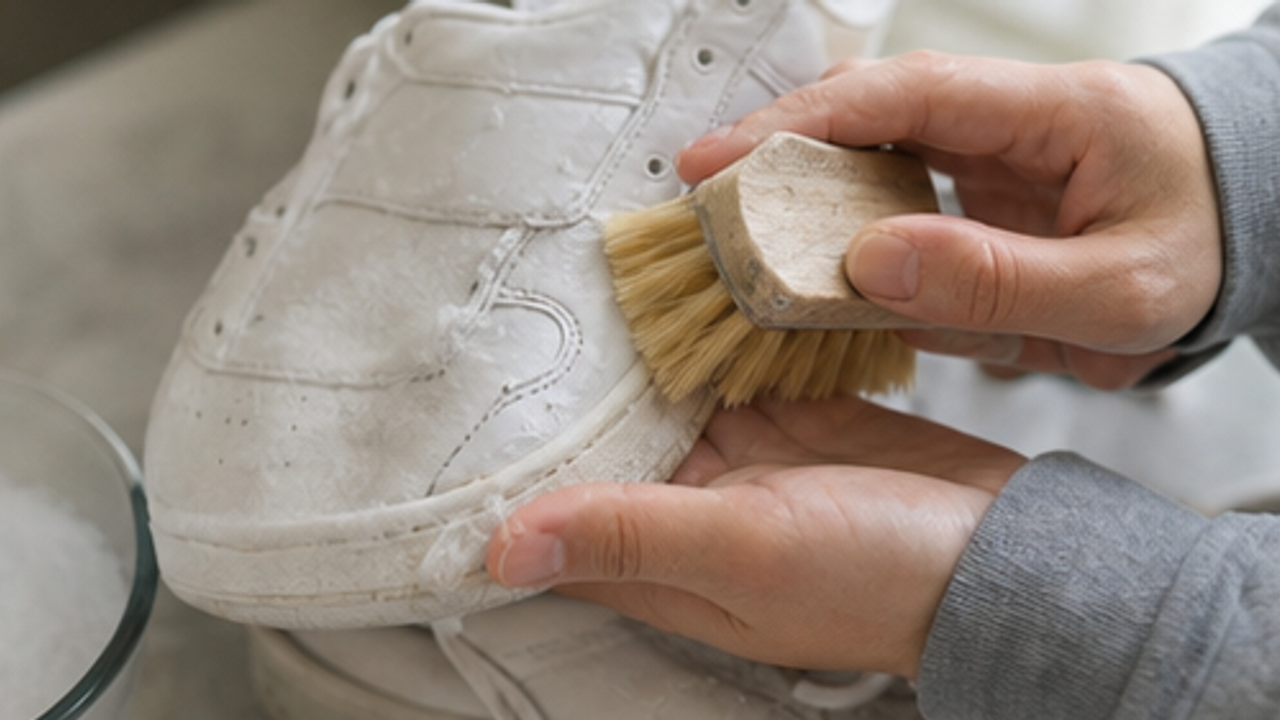
Step 4 focuses on scrub the uppers gently so the process stays simple and repeatable. Work slowly, keep the area clean, and move to the next step only when this part is settled.
This keeps the tutorial practical by turning the task into one visible action instead of a vague intention.
Stop and adjust if anything feels unsafe, unstable, or likely to cause damage.
Clean the soles
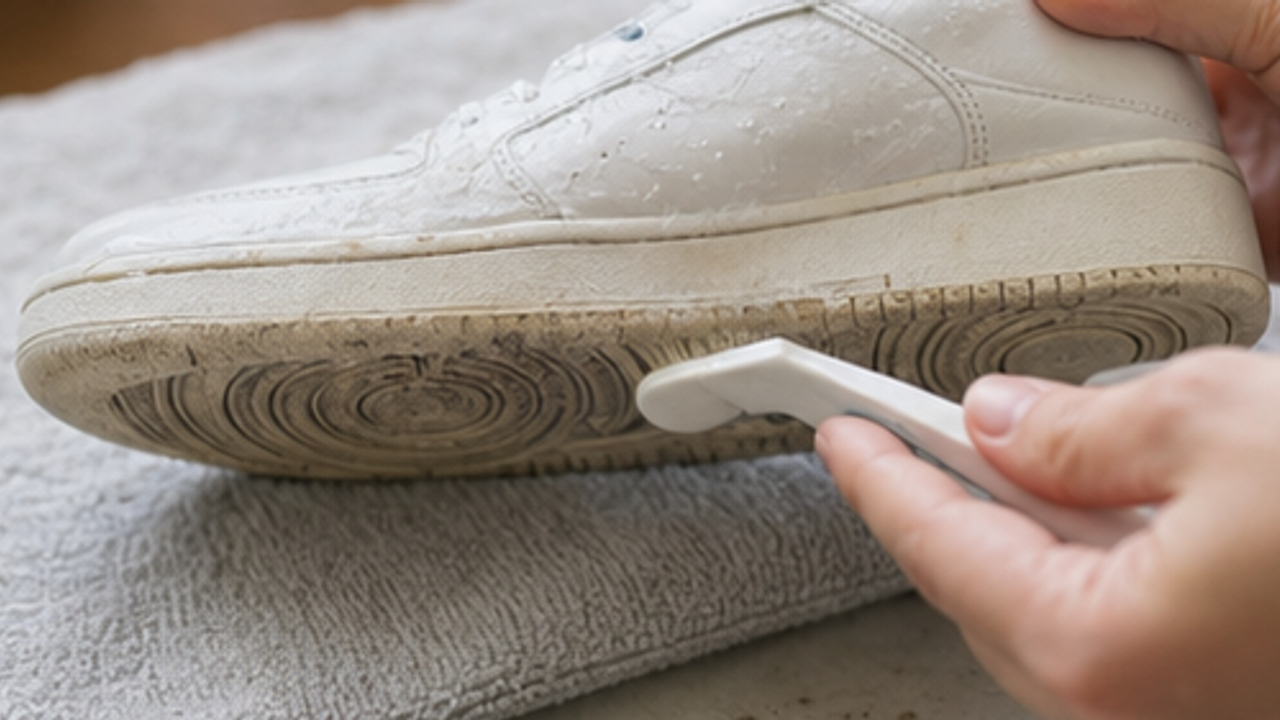
Step 5 focuses on clean the soles so the process stays simple and repeatable. Work slowly, keep the area clean, and move to the next step only when this part is settled.
This keeps the tutorial practical by turning the task into one visible action instead of a vague intention.
Stop and adjust if anything feels unsafe, unstable, or likely to cause damage.
Wipe with a damp cloth
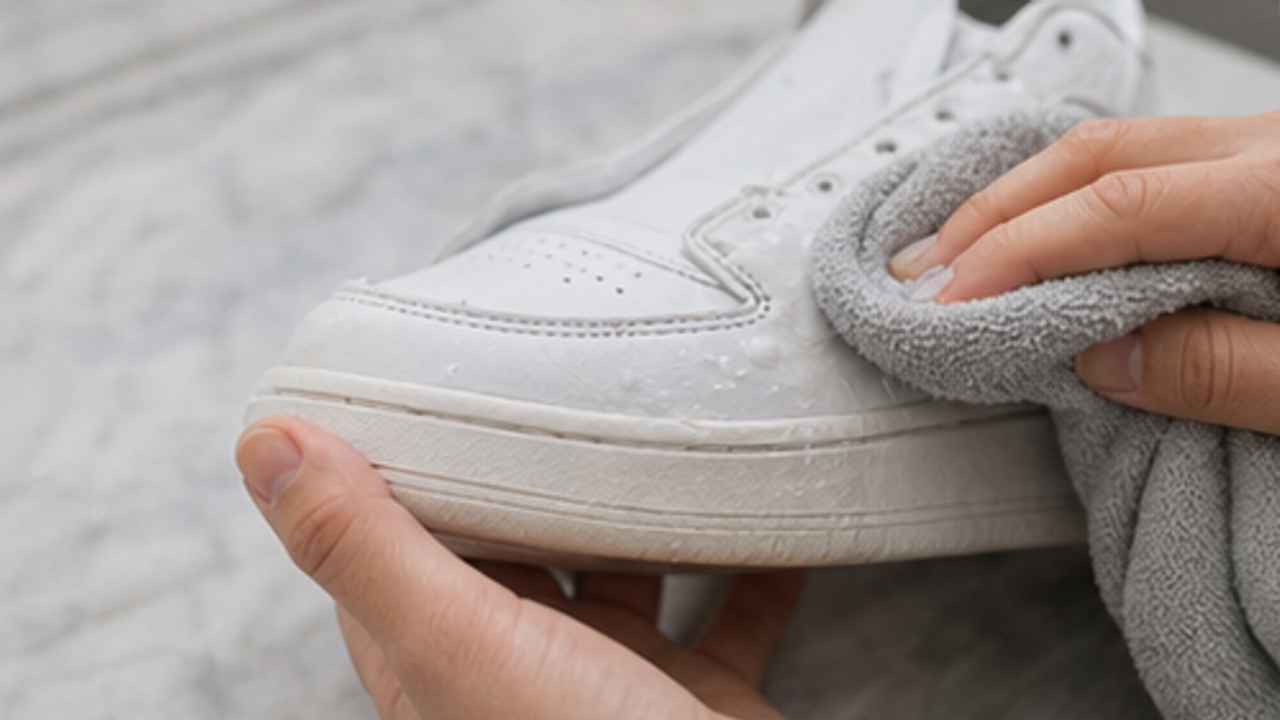
Step 6 focuses on wipe with a damp cloth so the process stays simple and repeatable. Work slowly, keep the area clean, and move to the next step only when this part is settled.
This keeps the tutorial practical by turning the task into one visible action instead of a vague intention.
Stop and adjust if anything feels unsafe, unstable, or likely to cause damage.
Support the shape
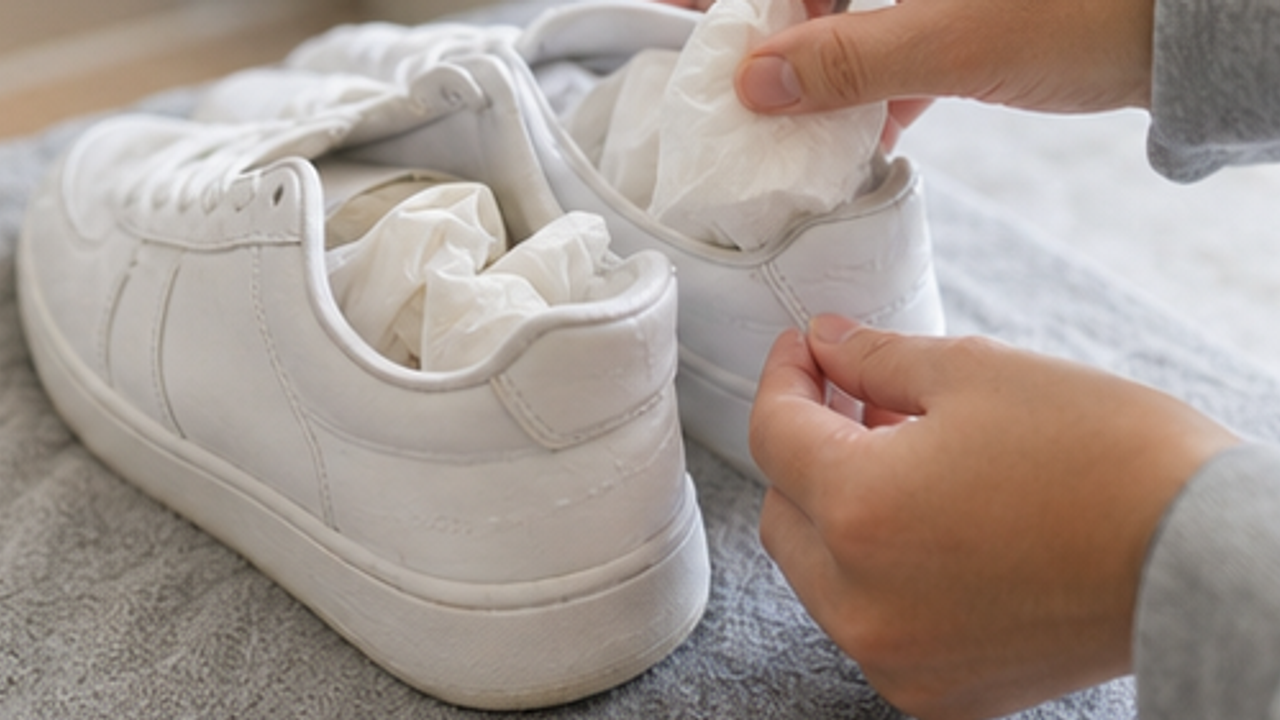
Step 7 focuses on support the shape so the process stays simple and repeatable. Work slowly, keep the area clean, and move to the next step only when this part is settled.
This keeps the tutorial practical by turning the task into one visible action instead of a vague intention.
Stop and adjust if anything feels unsafe, unstable, or likely to cause damage.
Air dry completely
Step 8 focuses on air dry completely so the process stays simple and repeatable. Work slowly, keep the area clean, and move to the next step only when this part is settled.
This keeps the tutorial practical by turning the task into one visible action instead of a vague intention.
Stop and adjust if anything feels unsafe, unstable, or likely to cause damage.
Same topic
Related guides
Related guides
Cleaning
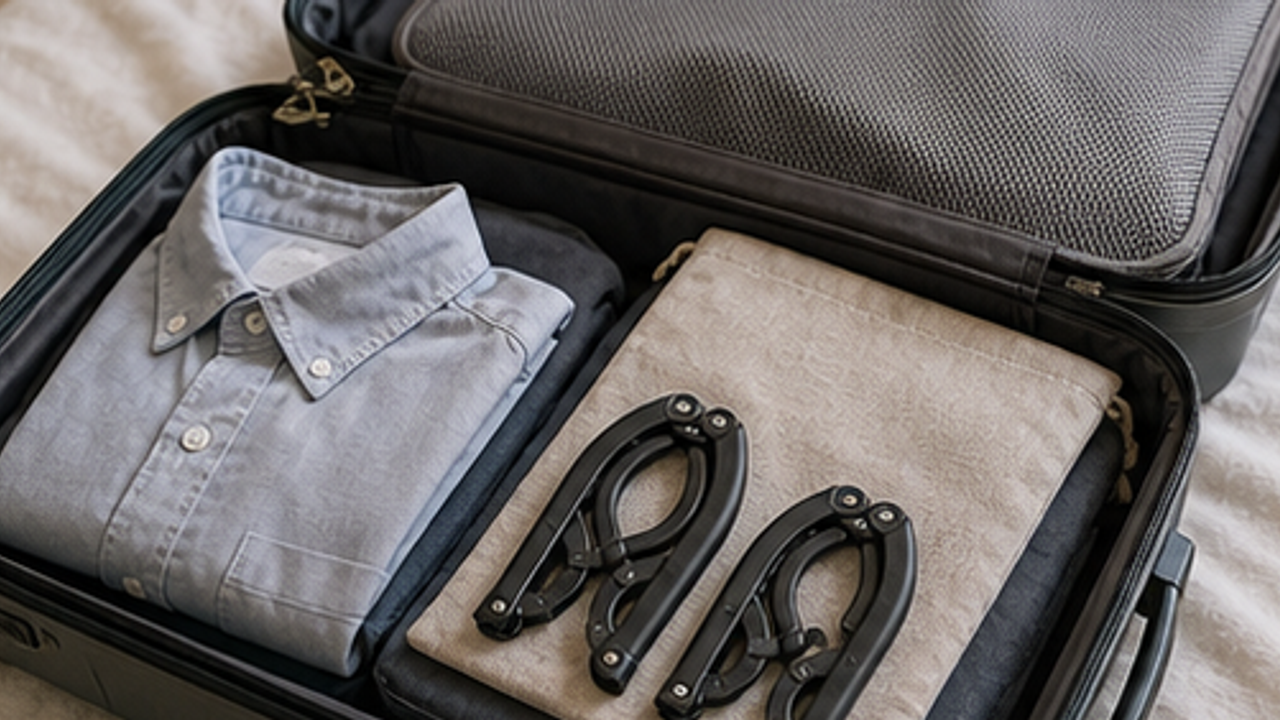
How to Prepare a Travel Folding Hanger Pouch
Give a travel folding hanger pouch one small fixed home so it is easy to use, return, and keep from spreading across drawers, shelves, or counters.
Cleaning
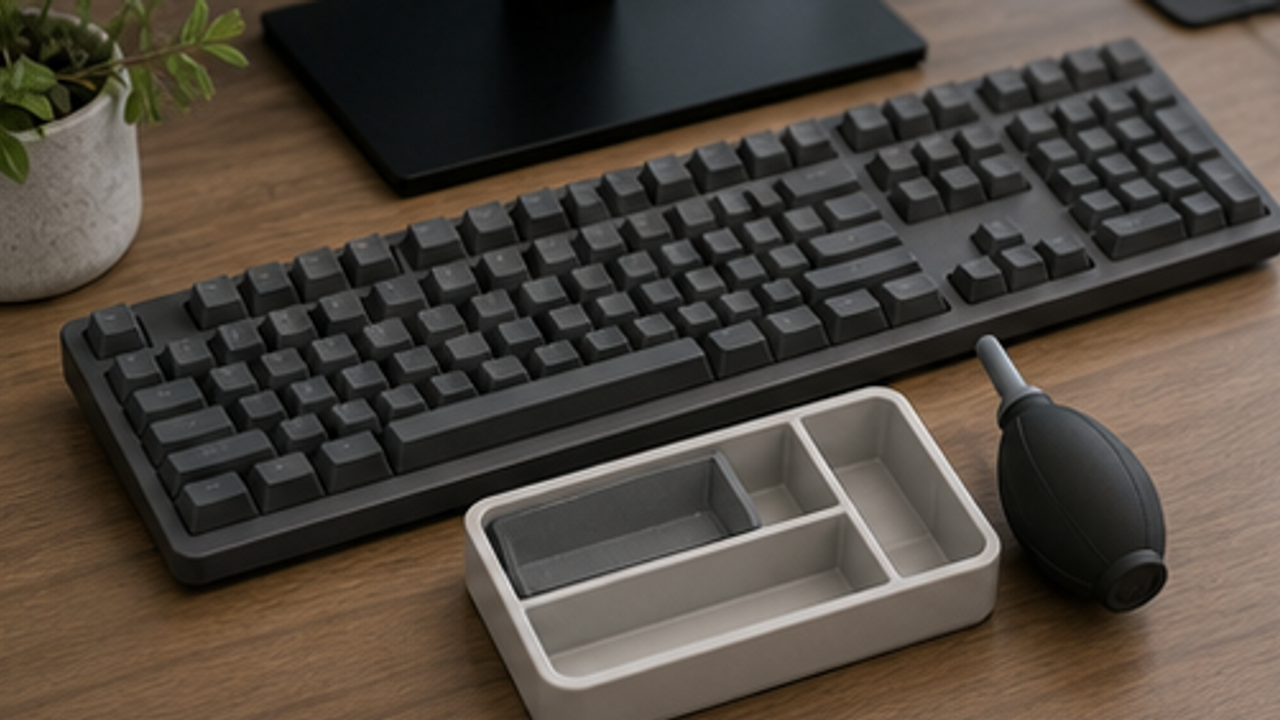
How to Set Up a Desk Keyboard Cleaning Brush Tray
Give a desk keyboard cleaning brush tray one small fixed home so it is easy to use, return, and keep from spreading across drawers, shelves, or counters.
Cleaning
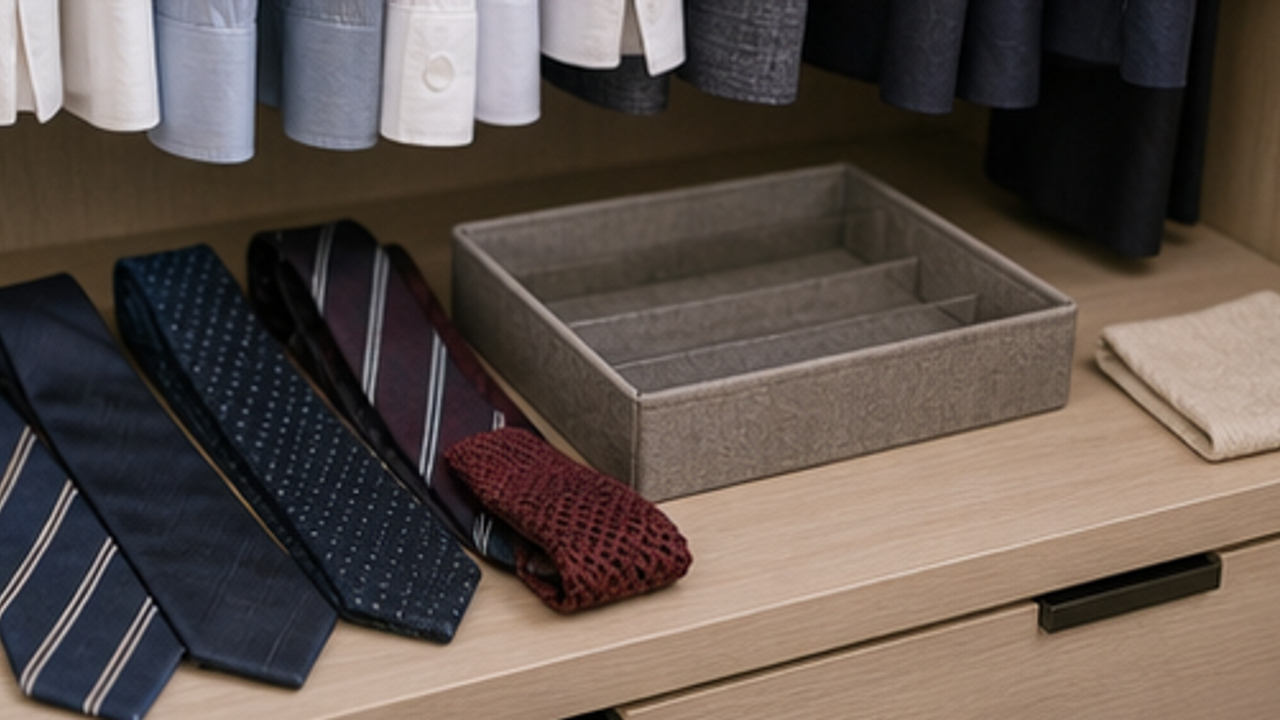
How to Organize Closet Ties in a Roll Tray
Give closet ties in a roll tray one small fixed home so it is easy to use, return, and keep from spreading across drawers, shelves, or counters.
Cleaning
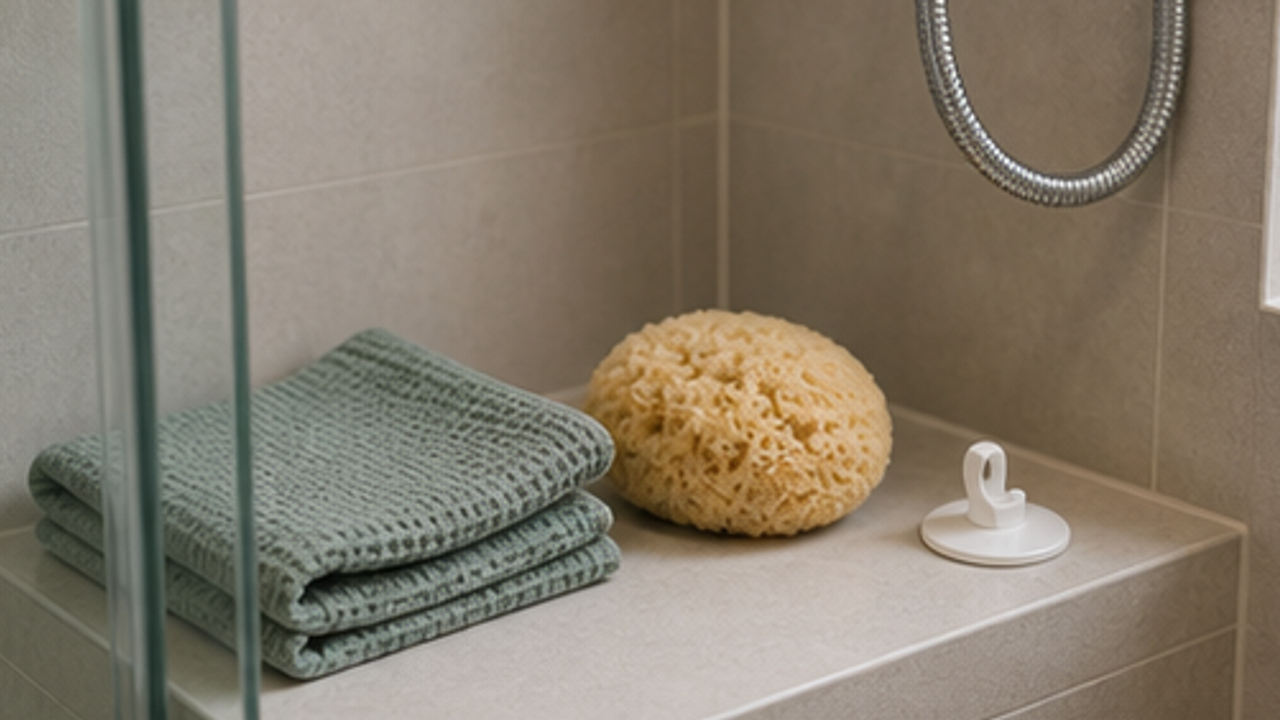
How to Set Up a Bathroom Bath Sponge Drying Hook
Give a bathroom bath sponge drying hook one small fixed home so it is easy to use, return, and keep from spreading across drawers, shelves, or counters.
More from this author
Open
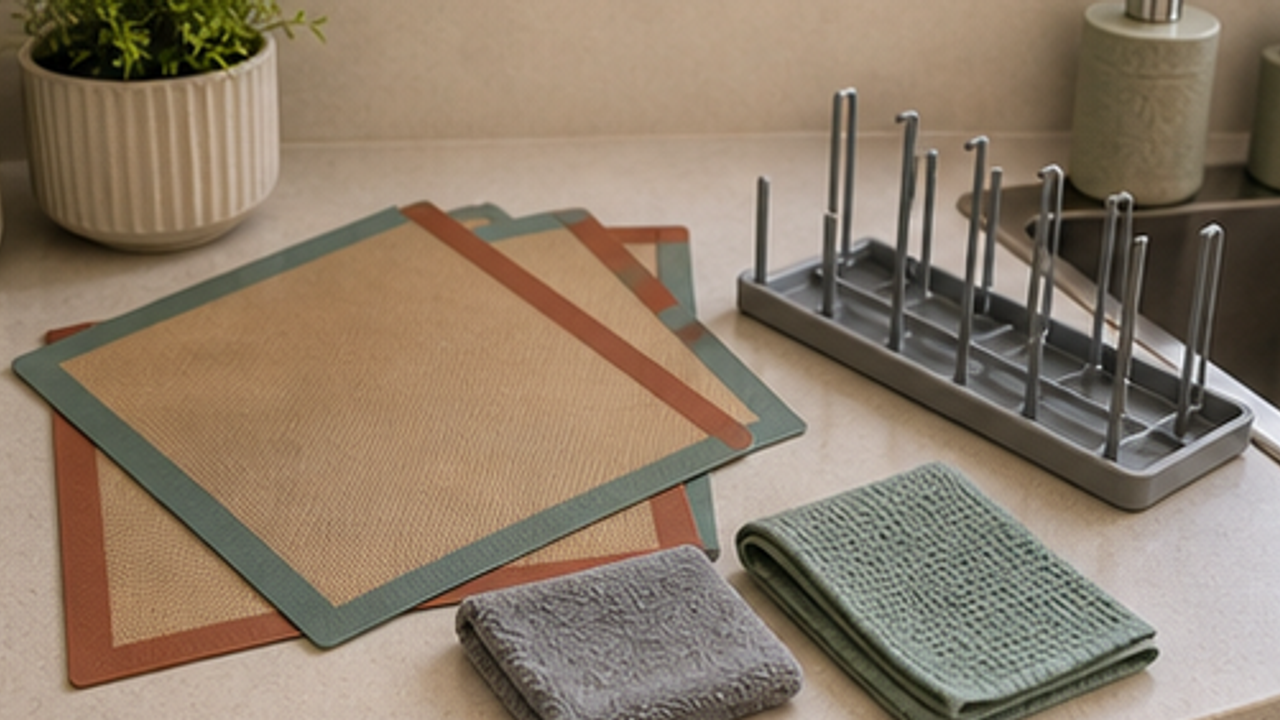
How to Set Up a Kitchen Silicone Baking Mat Drying Rack
Give a kitchen silicone baking mat drying rack one small fixed home so it is easy to use, return, and keep from spreading across drawers, shelves, or counters.
Open
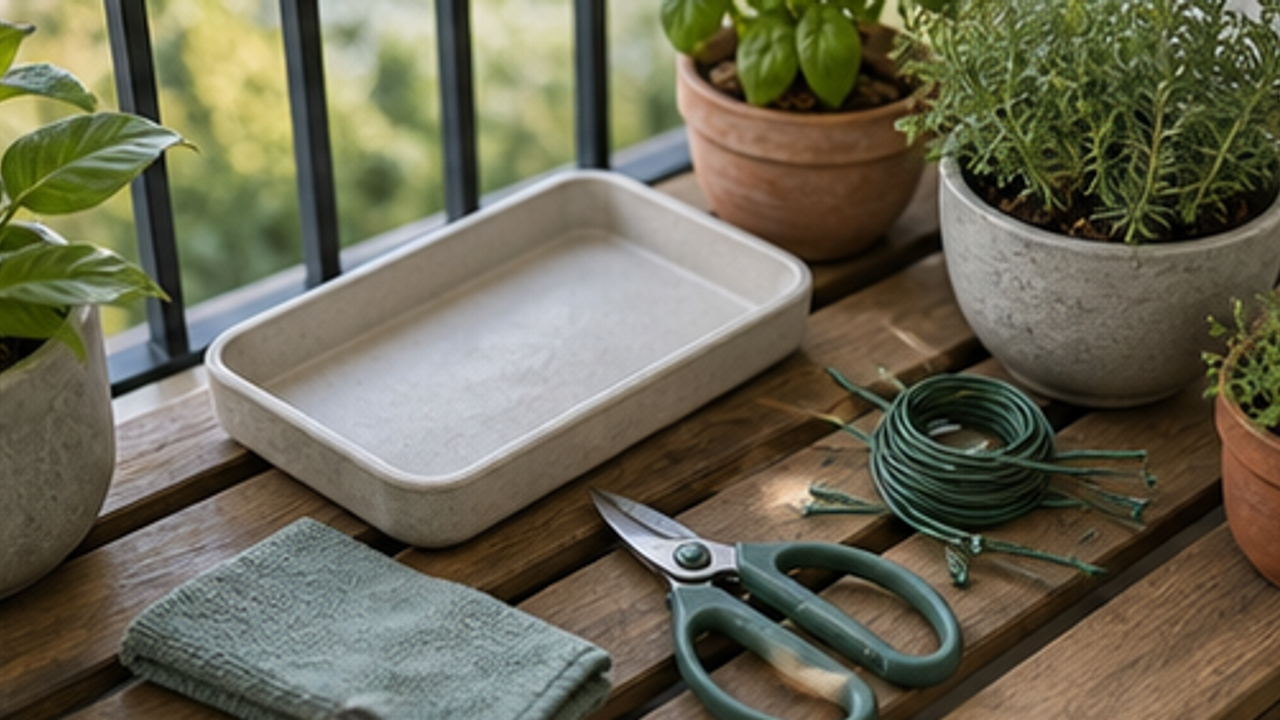
How to Set Up a Balcony Plant Pruning Tool Tray
Give a balcony plant pruning tool tray one small fixed home so it is easy to use, return, and keep from spreading across drawers, shelves, or counters.
Open
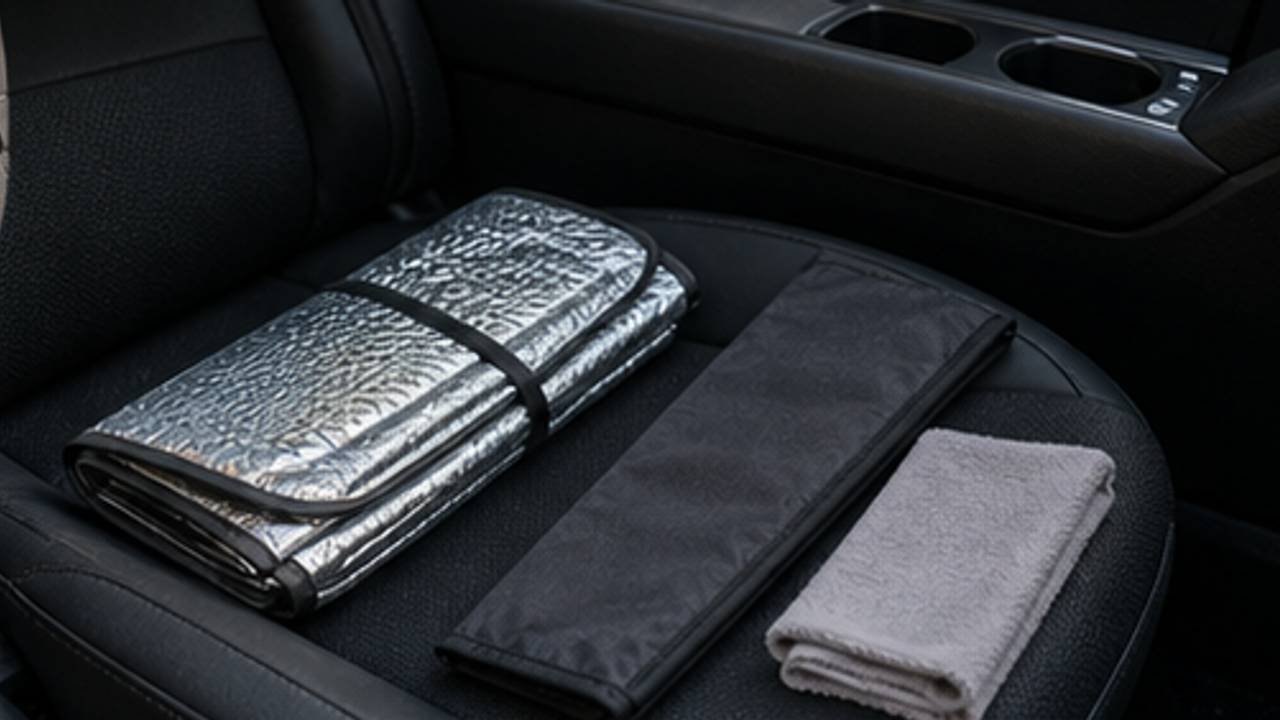
How to Organize a Car Folding Sunshade Sleeve
Give a car folding sunshade sleeve one small fixed home so it is easy to use, return, and keep from spreading across drawers, shelves, or counters.
Life Reactions
How this way feels to you
My Life Trial
Log it after trying
Comments
0 Comments
No comments yet.