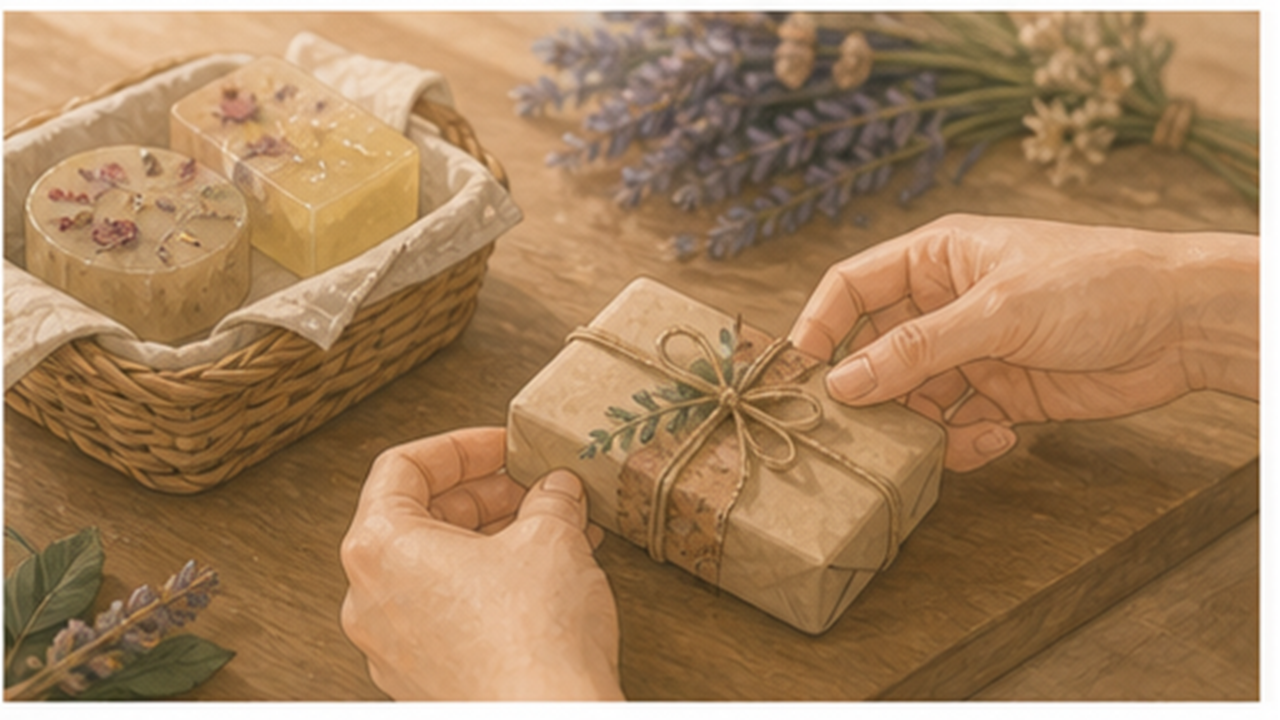
How to Make Soap with Melt-and-Pour Soap Base

Melt-and-pour soap is a friendly first soap project. You do not need to handle lye; the craft is about clean tools, gentle melting, color, scent, and patient cooling.
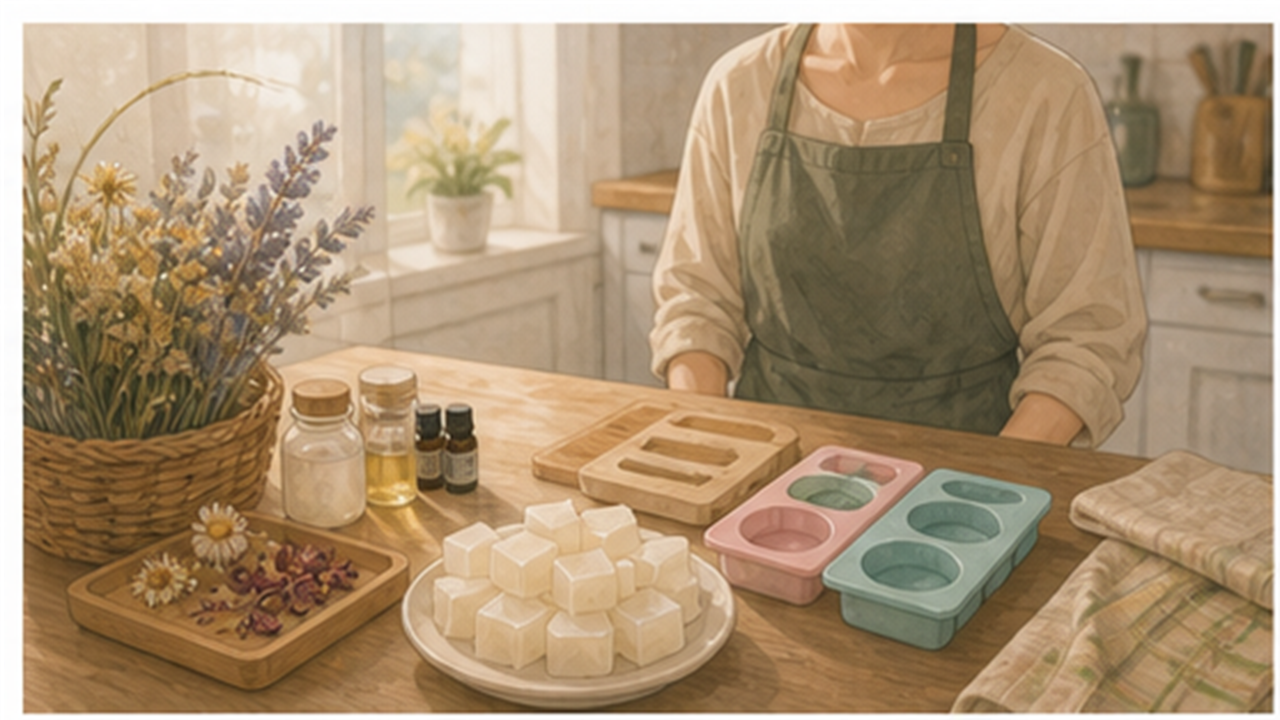
Prepare clean tools and soap base
For step 1, focus on “Prepare clean tools and soap base.” Keep the action small and clear: prepare what you need, handle only this part, then move on once it is done.
This step reduces confusion later. It may look small, but it prevents rework and helps you keep a steady pace.
Melted soap is hot. Use heat-safe containers; this is melt-and-pour soap, not lye soapmaking.
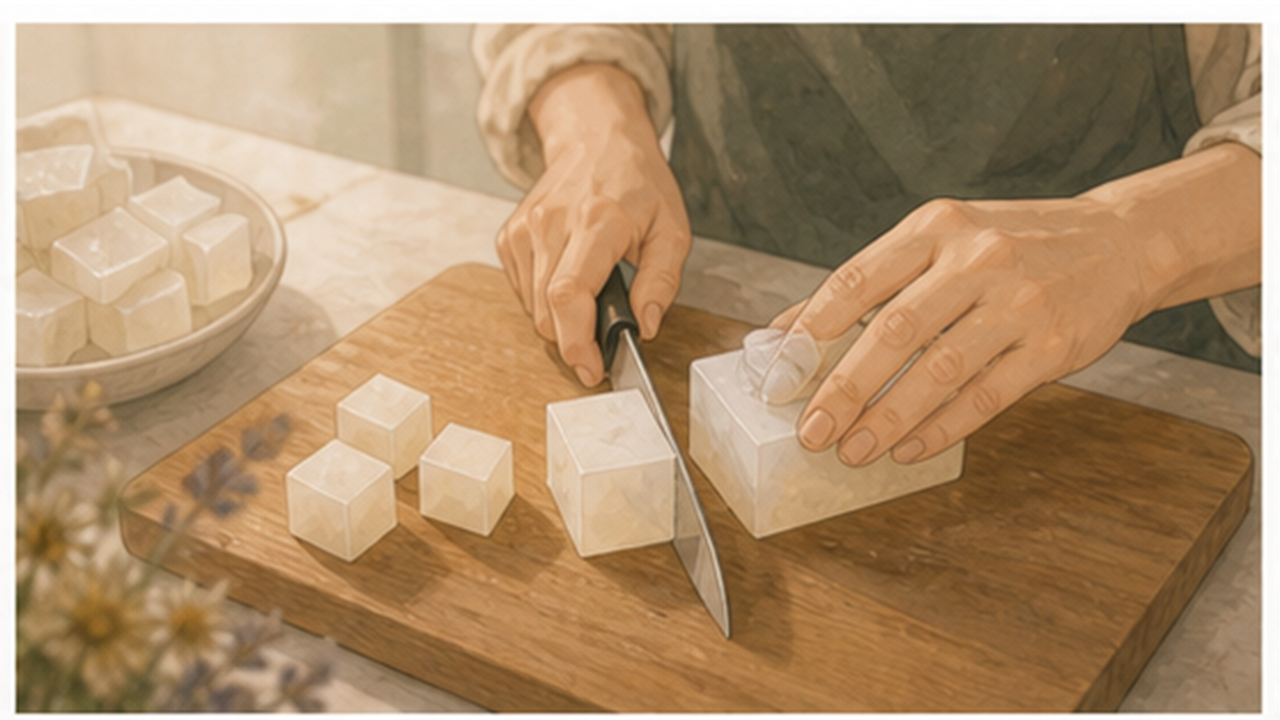
Cut the base into small cubes
For step 2, focus on “Cut the base into small cubes.” Keep the action small and clear: prepare what you need, handle only this part, then move on once it is done.
This step reduces confusion later. It may look small, but it prevents rework and helps you keep a steady pace.
Melted soap is hot. Use heat-safe containers; this is melt-and-pour soap, not lye soapmaking.
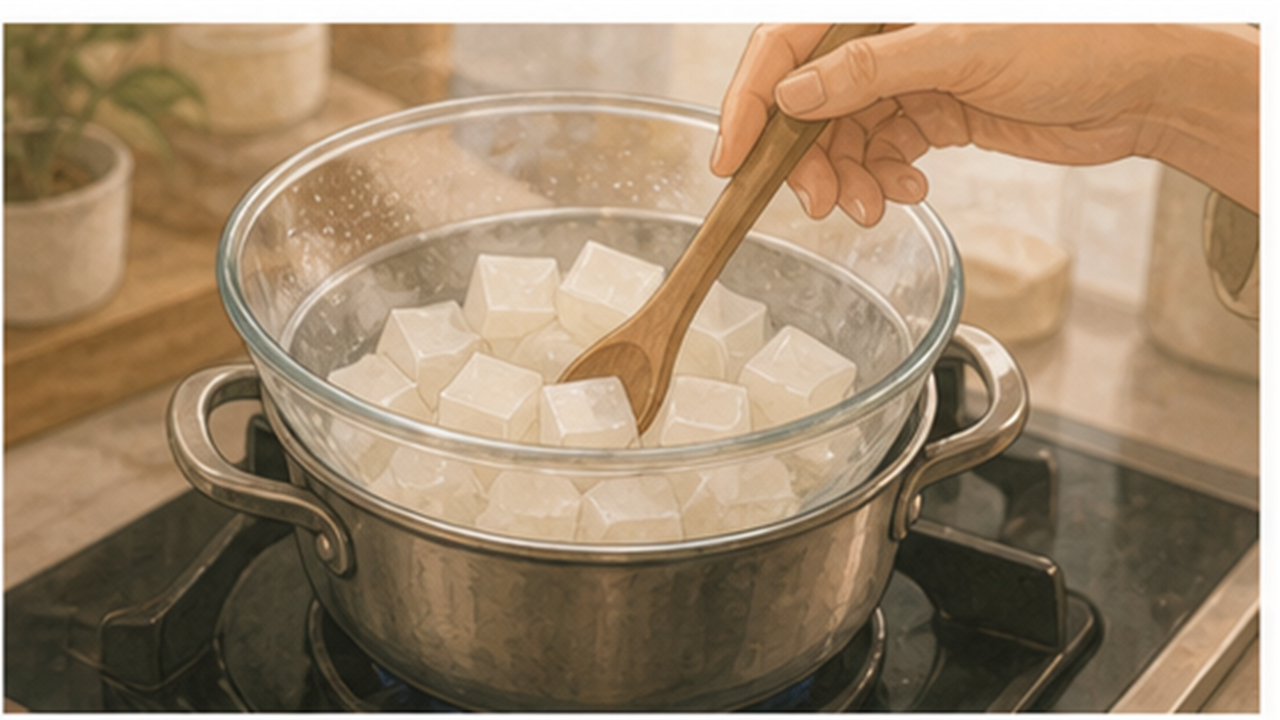
Melt it slowly with gentle heat
For step 3, focus on “Melt it slowly with gentle heat.” Keep the action small and clear: prepare what you need, handle only this part, then move on once it is done.
This step reduces confusion later. It may look small, but it prevents rework and helps you keep a steady pace.
Melted soap is hot. Use heat-safe containers; this is melt-and-pour soap, not lye soapmaking.
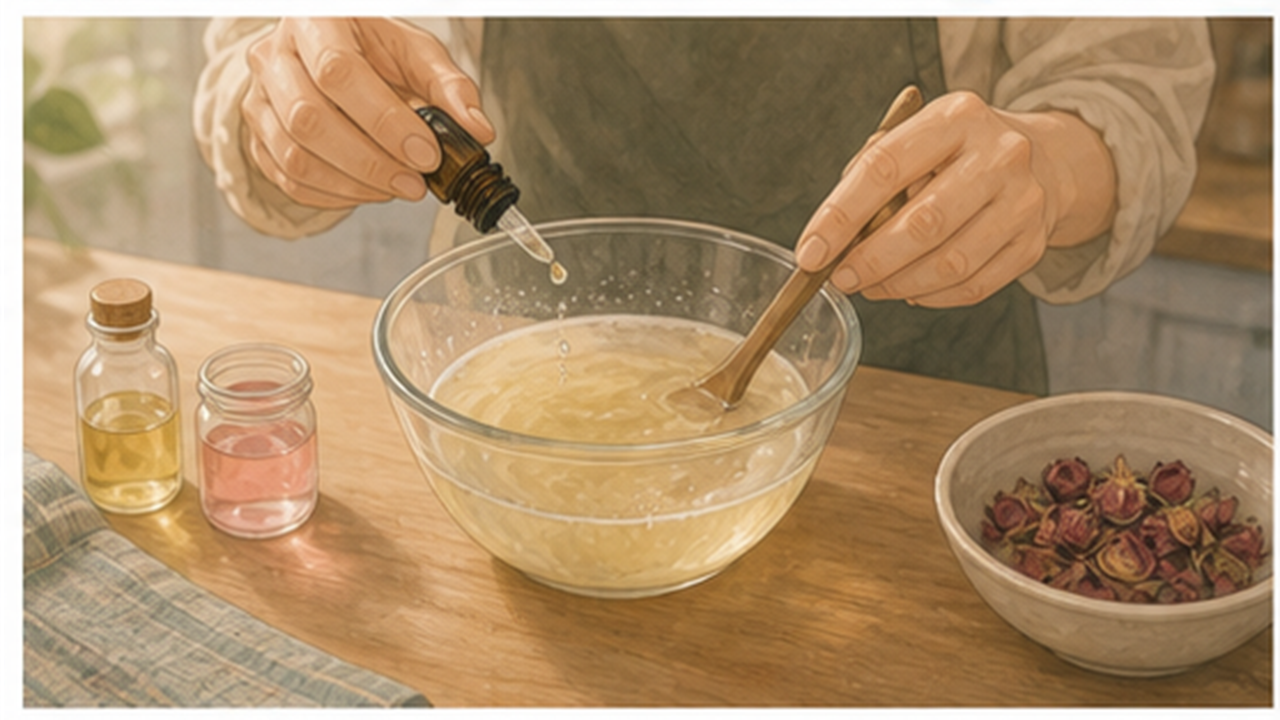
Add a little color and scent

For step 4, focus on “Add a little color and scent.” Keep the action small and clear: prepare what you need, handle only this part, then move on once it is done.
This step reduces confusion later. It may look small, but it prevents rework and helps you keep a steady pace.
Melted soap is hot. Use heat-safe containers; this is melt-and-pour soap, not lye soapmaking.
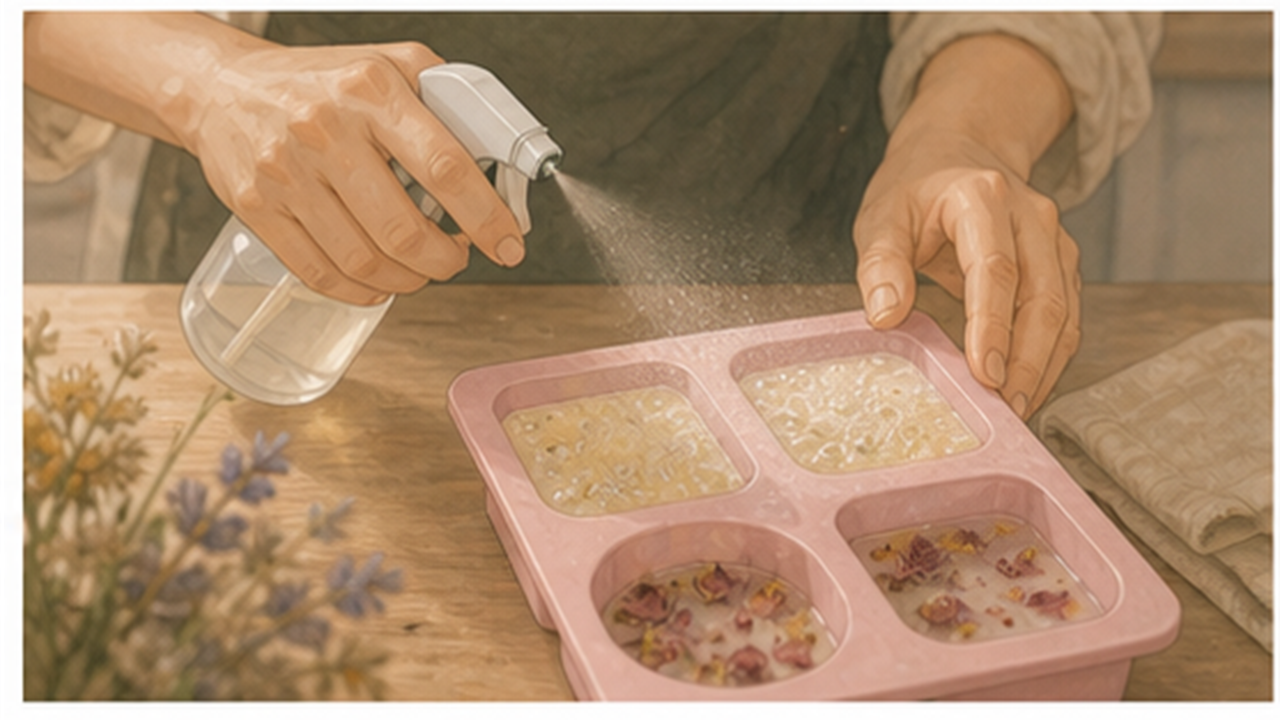
Place decorations in the mold
For step 5, focus on “Place decorations in the mold.” Keep the action small and clear: prepare what you need, handle only this part, then move on once it is done.
This step reduces confusion later. It may look small, but it prevents rework and helps you keep a steady pace.
Melted soap is hot. Use heat-safe containers; this is melt-and-pour soap, not lye soapmaking.
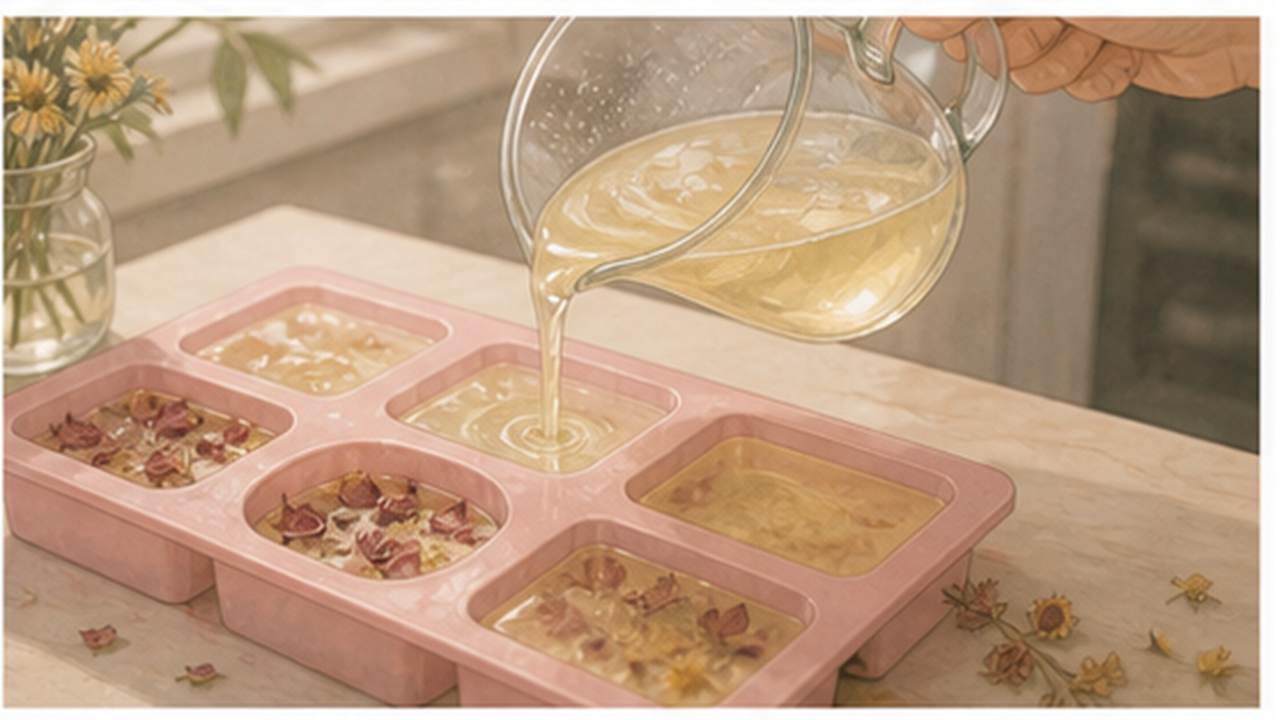
Pour the melted soap slowly
For step 6, focus on “Pour the melted soap slowly.” Keep the action small and clear: prepare what you need, handle only this part, then move on once it is done.
This step reduces confusion later. It may look small, but it prevents rework and helps you keep a steady pace.
Melted soap is hot. Use heat-safe containers; this is melt-and-pour soap, not lye soapmaking.
Remove small surface bubbles
For step 7, focus on “Remove small surface bubbles.” Keep the action small and clear: prepare what you need, handle only this part, then move on once it is done.
This step reduces confusion later. It may look small, but it prevents rework and helps you keep a steady pace.
Melted soap is hot. Use heat-safe containers; this is melt-and-pour soap, not lye soapmaking.
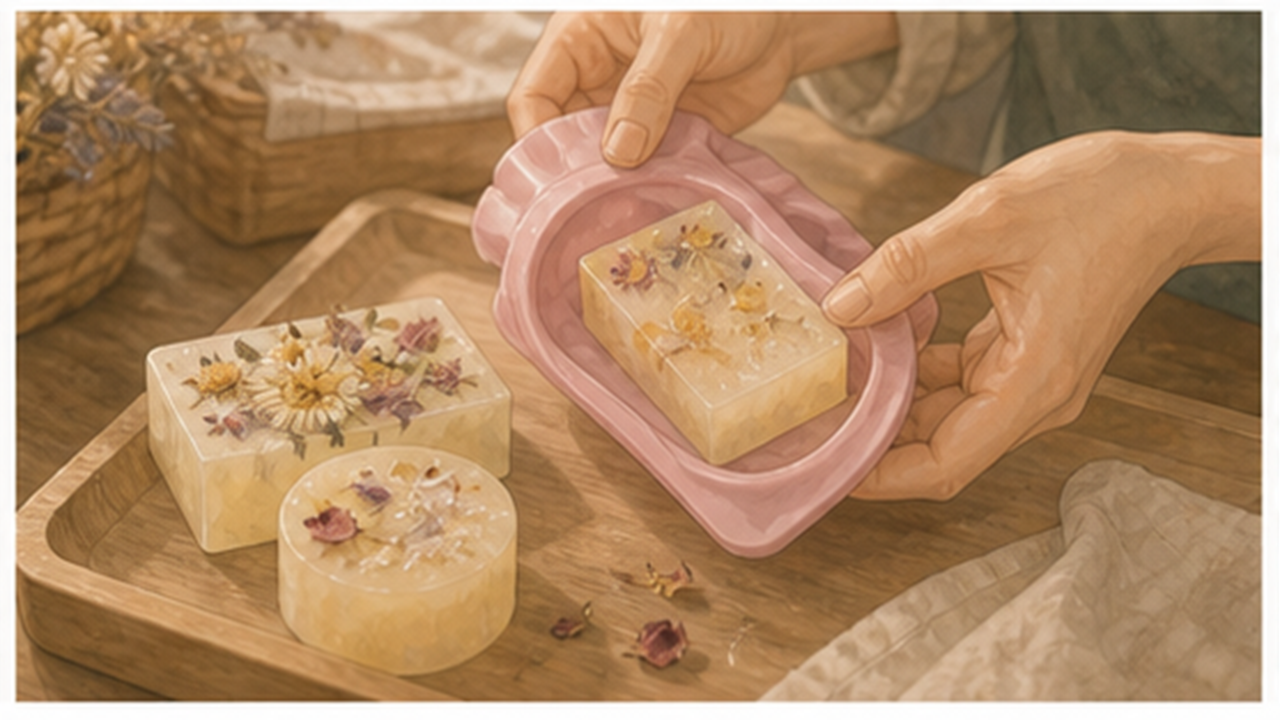
Unmold after it fully cools
For step 8, focus on “Unmold after it fully cools.” Keep the action small and clear: prepare what you need, handle only this part, then move on once it is done.
This step reduces confusion later. It may look small, but it prevents rework and helps you keep a steady pace.
Melted soap is hot. Use heat-safe containers; this is melt-and-pour soap, not lye soapmaking.
Same topic
Related guides
Related guides
Study & Work
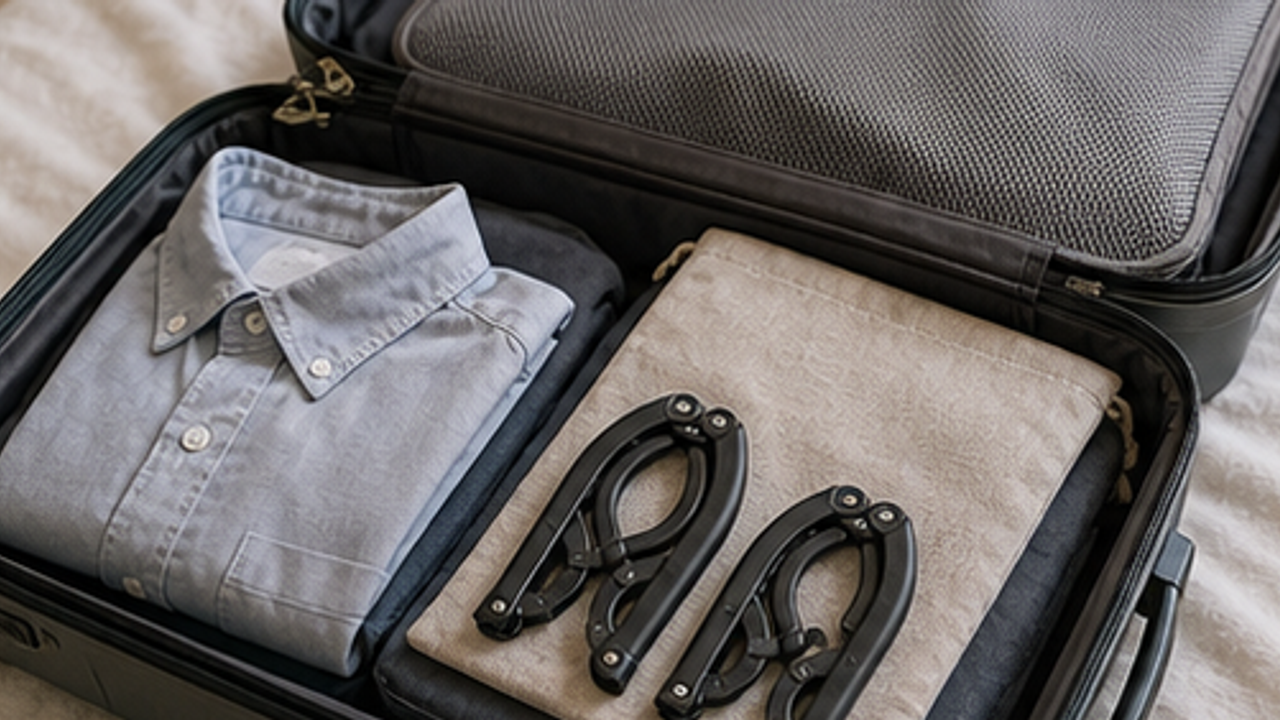
How to Prepare a Travel Folding Hanger Pouch
Give a travel folding hanger pouch one small fixed home so it is easy to use, return, and keep from spreading across drawers, shelves, or counters.
Study & Work
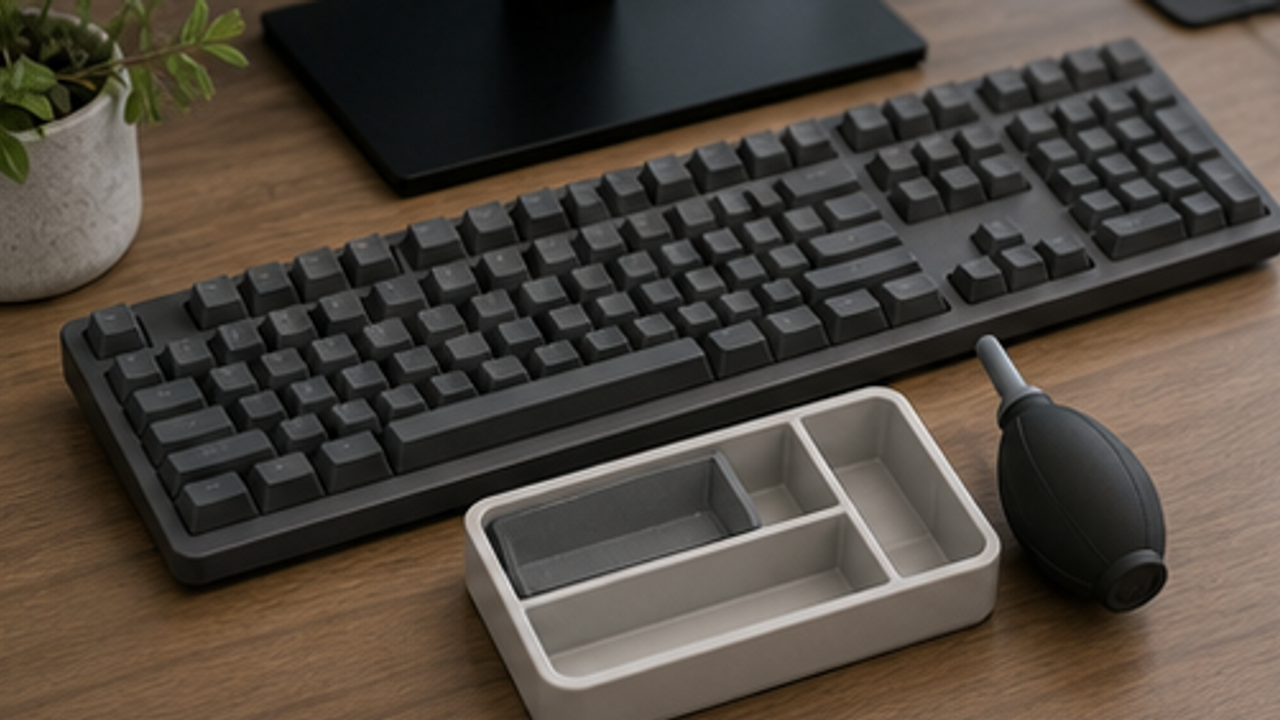
How to Set Up a Desk Keyboard Cleaning Brush Tray
Give a desk keyboard cleaning brush tray one small fixed home so it is easy to use, return, and keep from spreading across drawers, shelves, or counters.
Study & Work
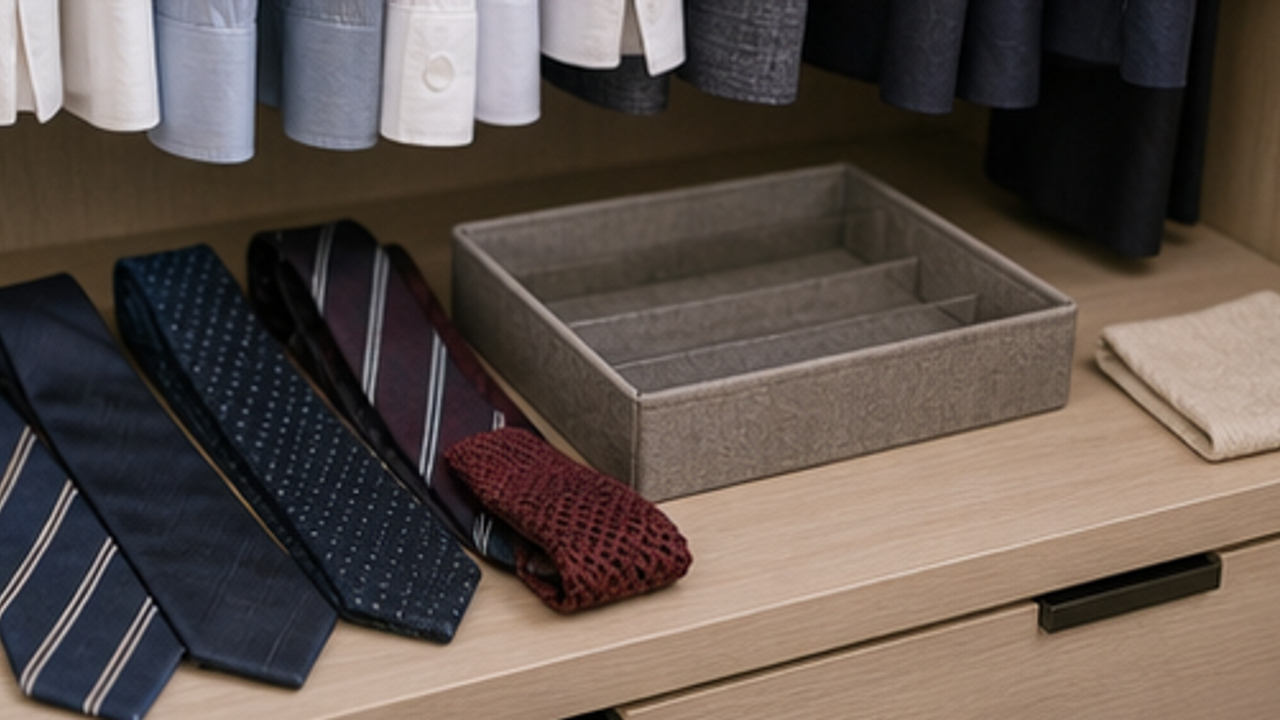
How to Organize Closet Ties in a Roll Tray
Give closet ties in a roll tray one small fixed home so it is easy to use, return, and keep from spreading across drawers, shelves, or counters.
Study & Work
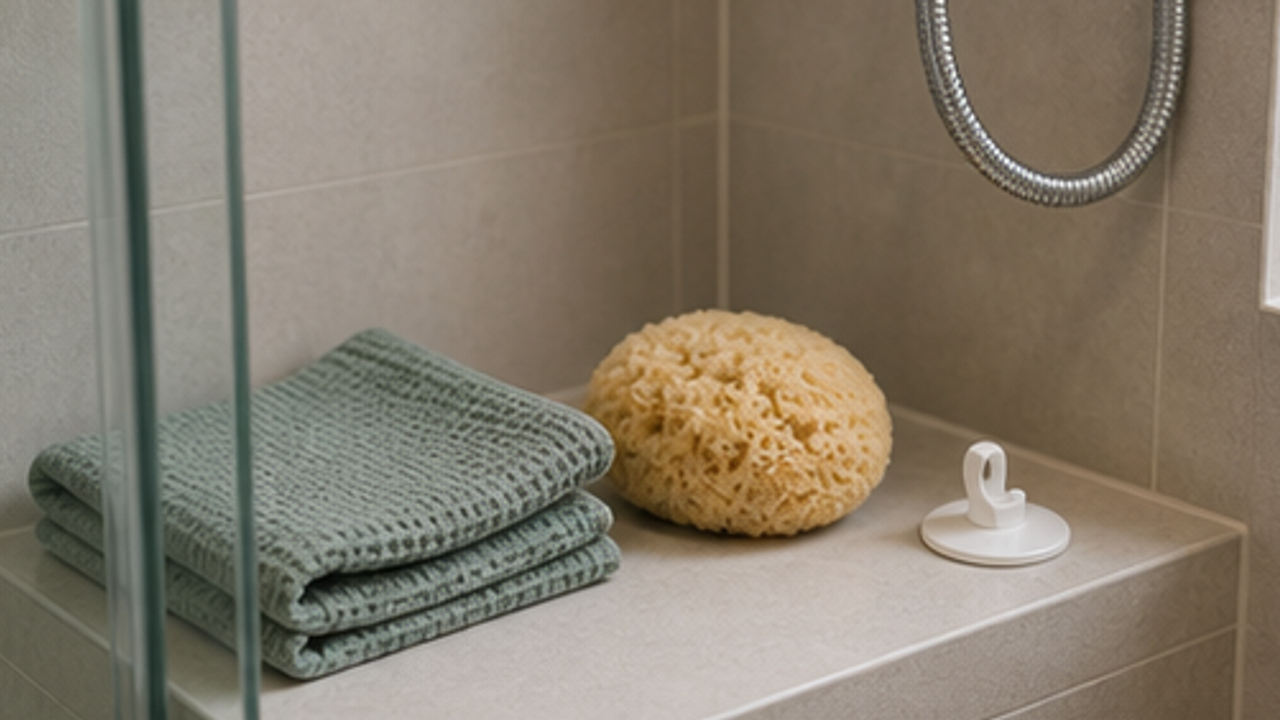
How to Set Up a Bathroom Bath Sponge Drying Hook
Give a bathroom bath sponge drying hook one small fixed home so it is easy to use, return, and keep from spreading across drawers, shelves, or counters.
More from this author
Open
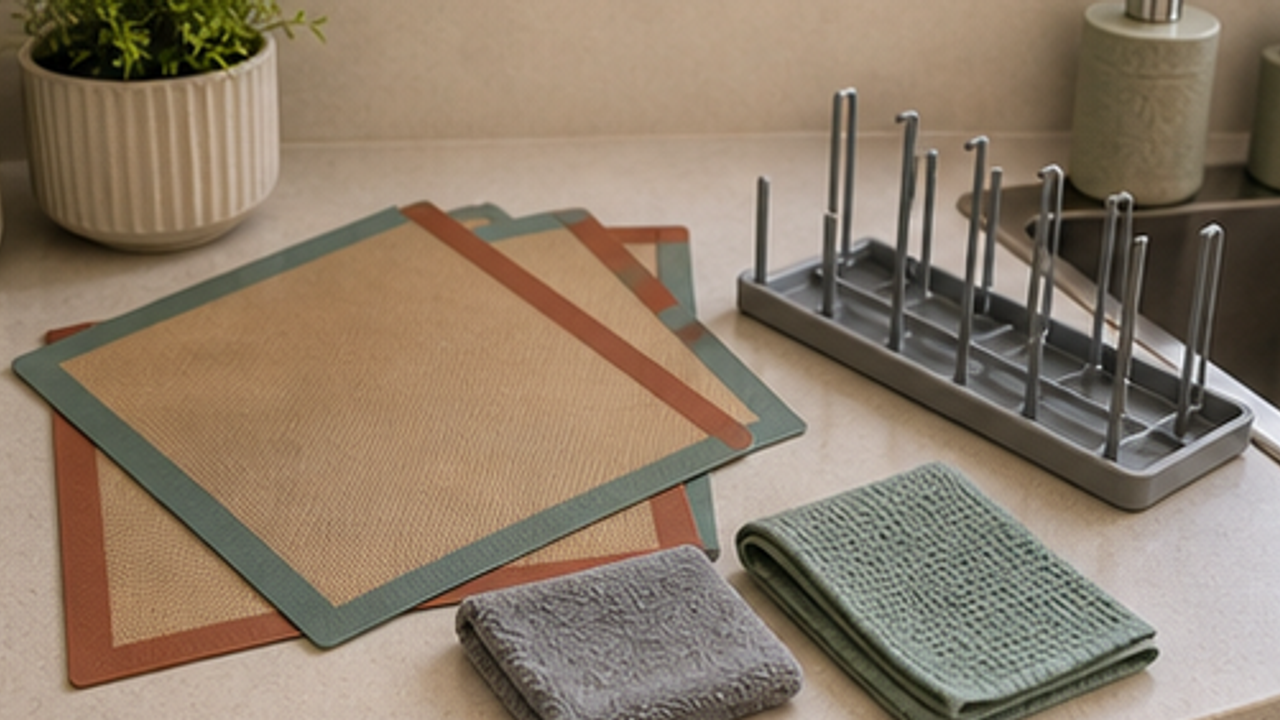
How to Set Up a Kitchen Silicone Baking Mat Drying Rack
Give a kitchen silicone baking mat drying rack one small fixed home so it is easy to use, return, and keep from spreading across drawers, shelves, or counters.
Open
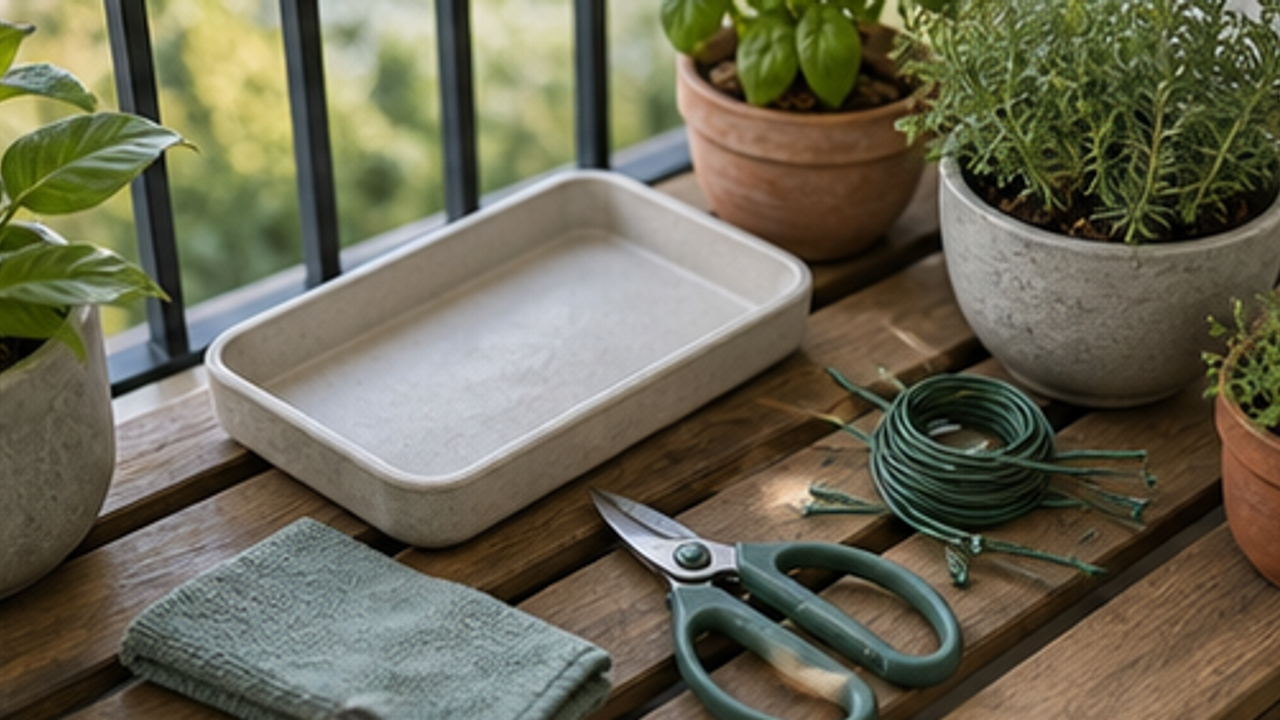
How to Set Up a Balcony Plant Pruning Tool Tray
Give a balcony plant pruning tool tray one small fixed home so it is easy to use, return, and keep from spreading across drawers, shelves, or counters.
Open
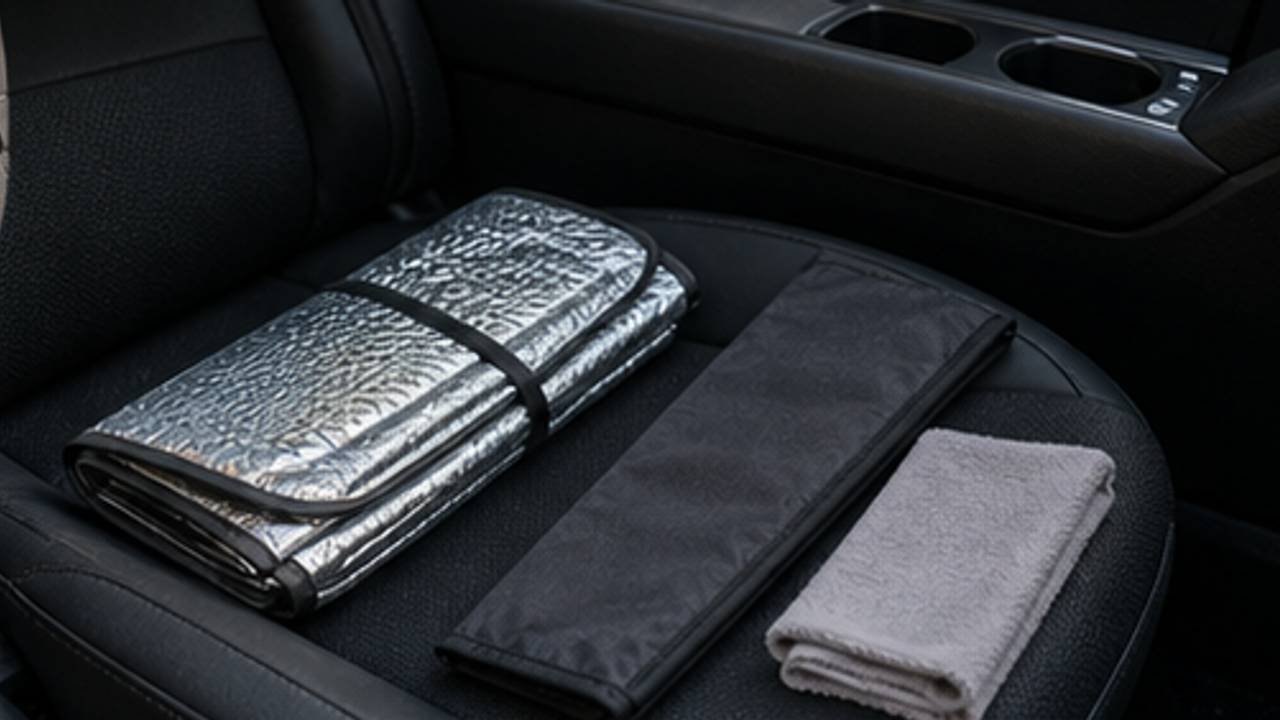
How to Organize a Car Folding Sunshade Sleeve
Give a car folding sunshade sleeve one small fixed home so it is easy to use, return, and keep from spreading across drawers, shelves, or counters.
Life Reactions
How this way feels to you
My Life Trial
Log it after trying
Comments
0 Comments
No comments yet.