How to Assemble a Laundry Stain Pre-Treatment Caddy

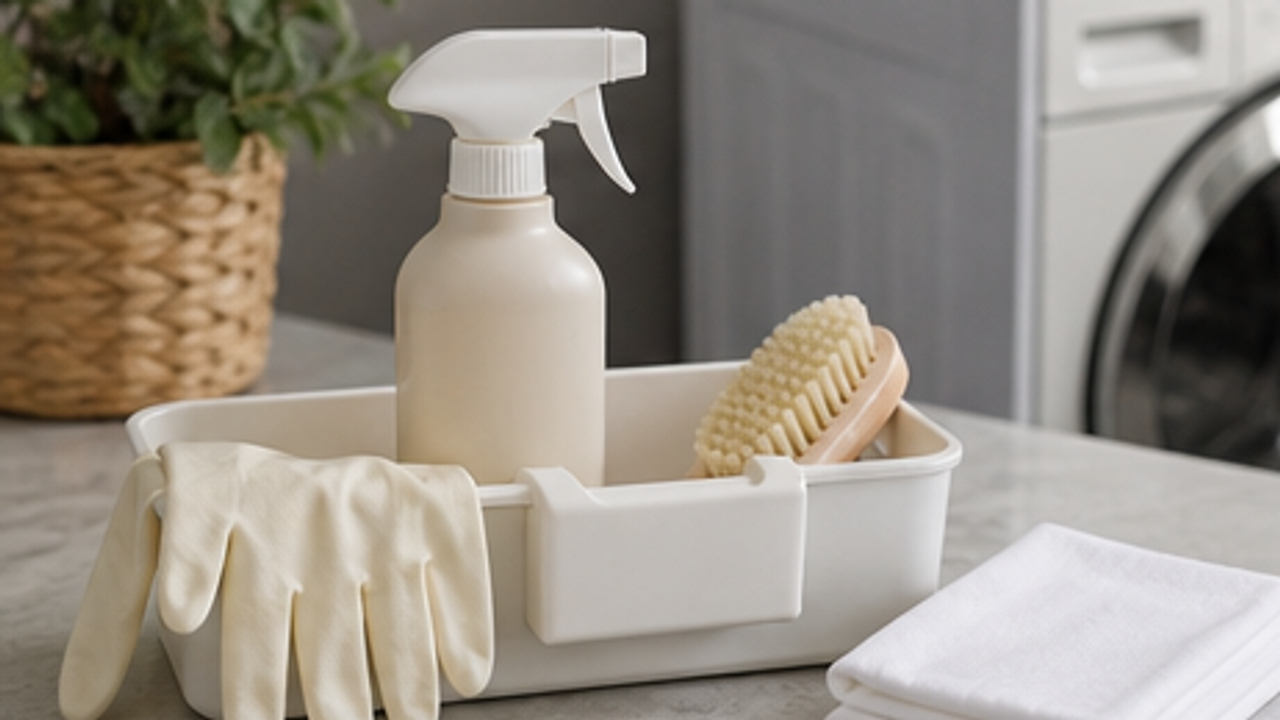
Keep gloves, a soft brush, white cloths, and pre-treatment supplies in one caddy so stains can be handled quickly.
Choose a washable tray
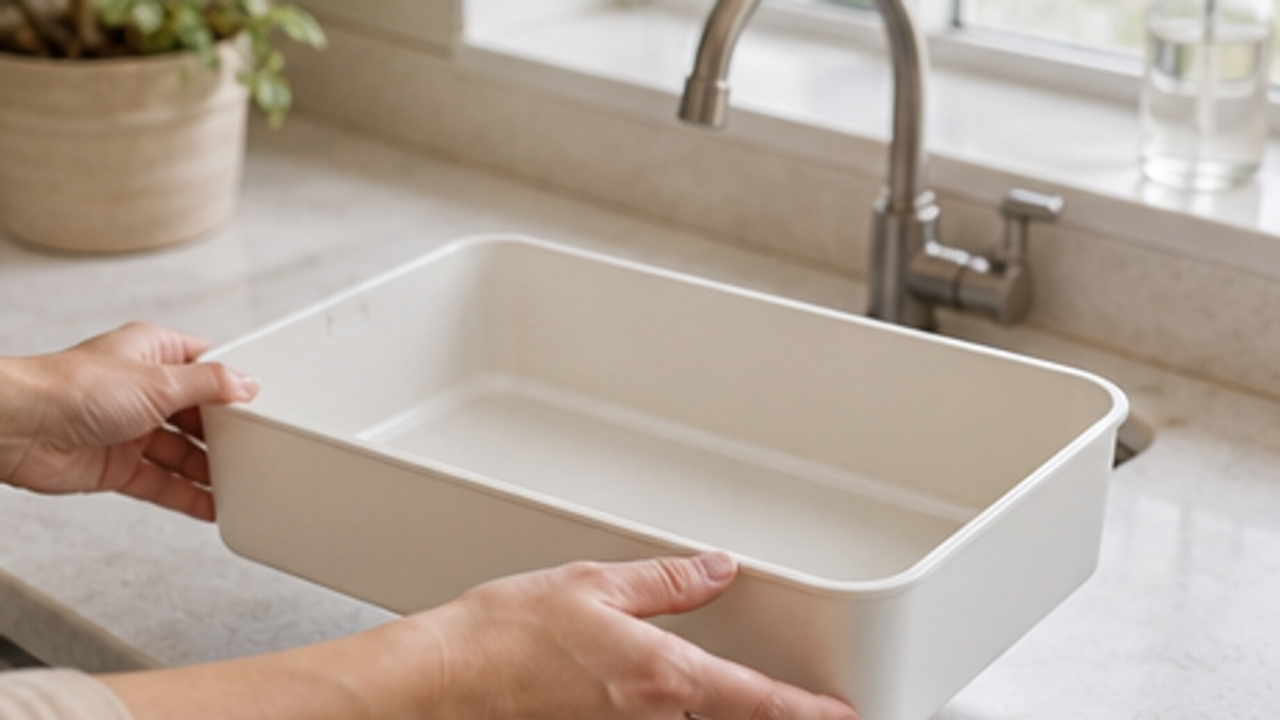
Place a washable tray or caddy near the laundry sink.
Stain tools get wet, so the container should be easy to rinse.
Do not place it directly under an electrical outlet.
Add gloves and a soft brush
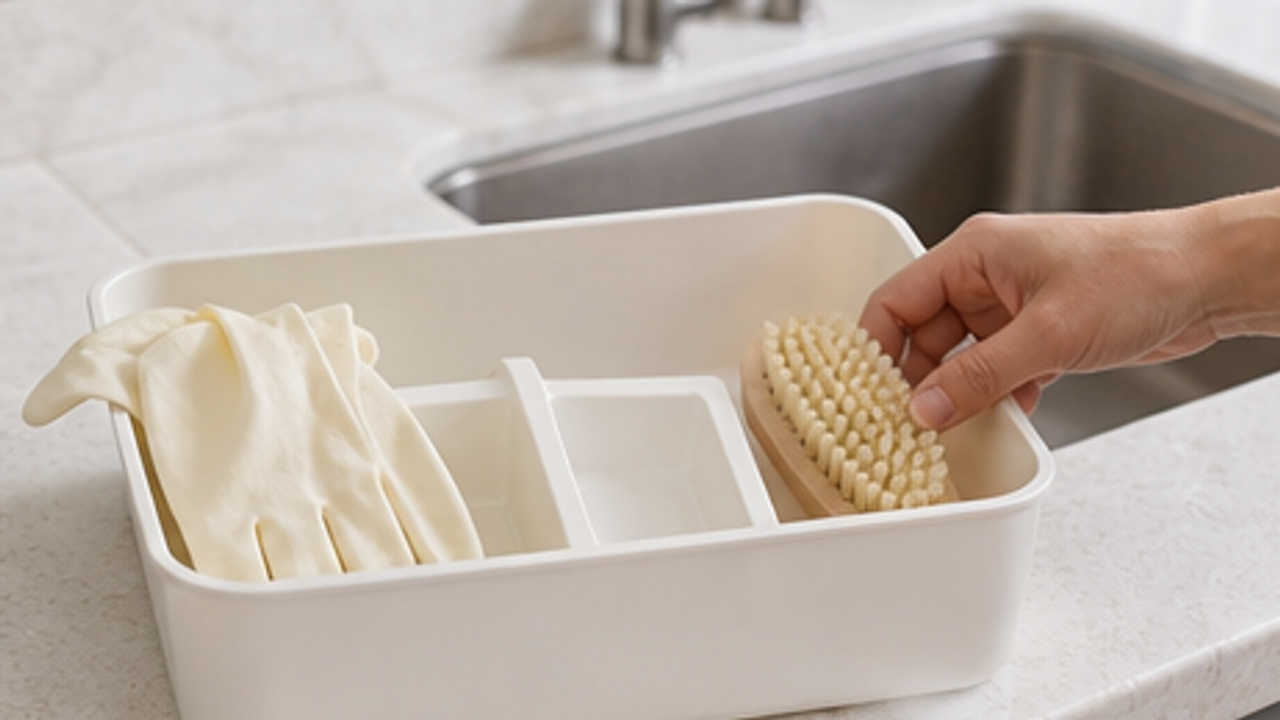
Put reusable gloves and a soft brush on one side of the caddy.
Gloves protect your hands, and a soft brush is gentler on fabric.
Do not scrub delicate fabric with a stiff brush.
Add a pre-treatment bottle
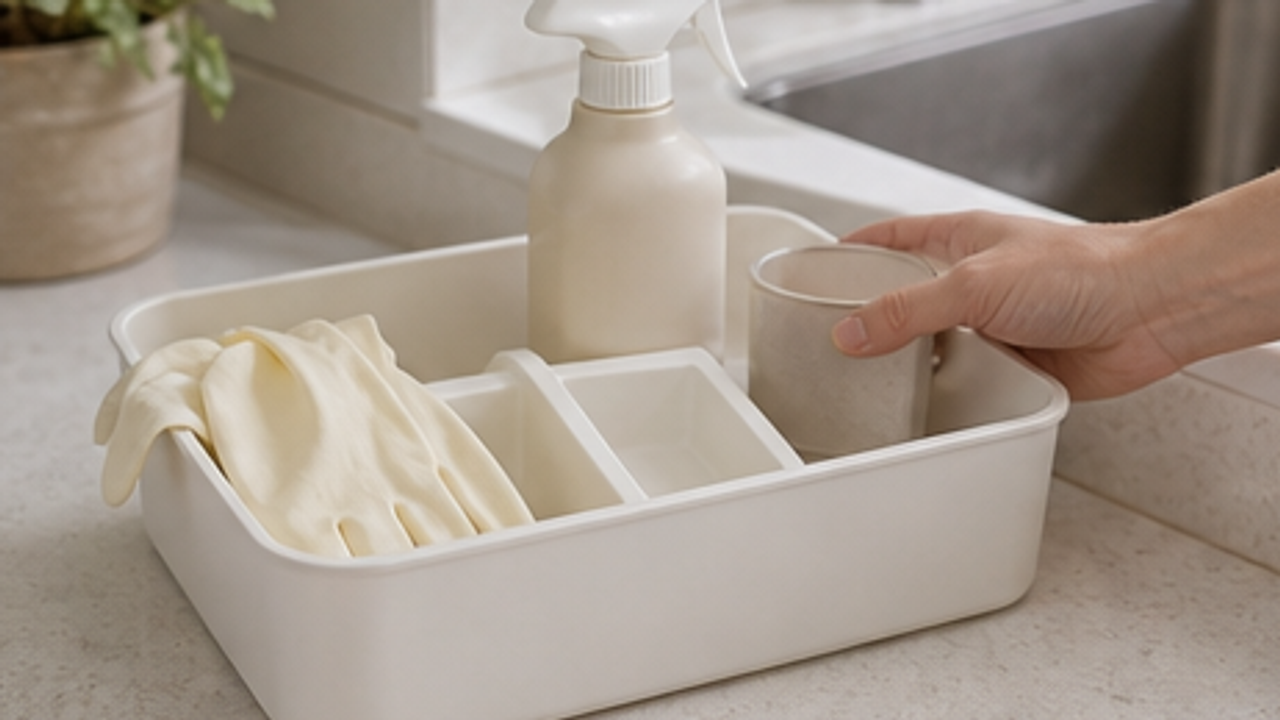
Stand a plain spray bottle or usual pre-treatment product upright in the caddy.
Upright storage reduces leaks and makes supply levels easy to see.
Never mix different cleaners together.
Keep white absorbent cloths
Add a few white cotton cloths or small towel pieces for blotting.
White cloths are less likely to transfer dye to clothing.
Dark cloths may bleed color and are poor for light garments.
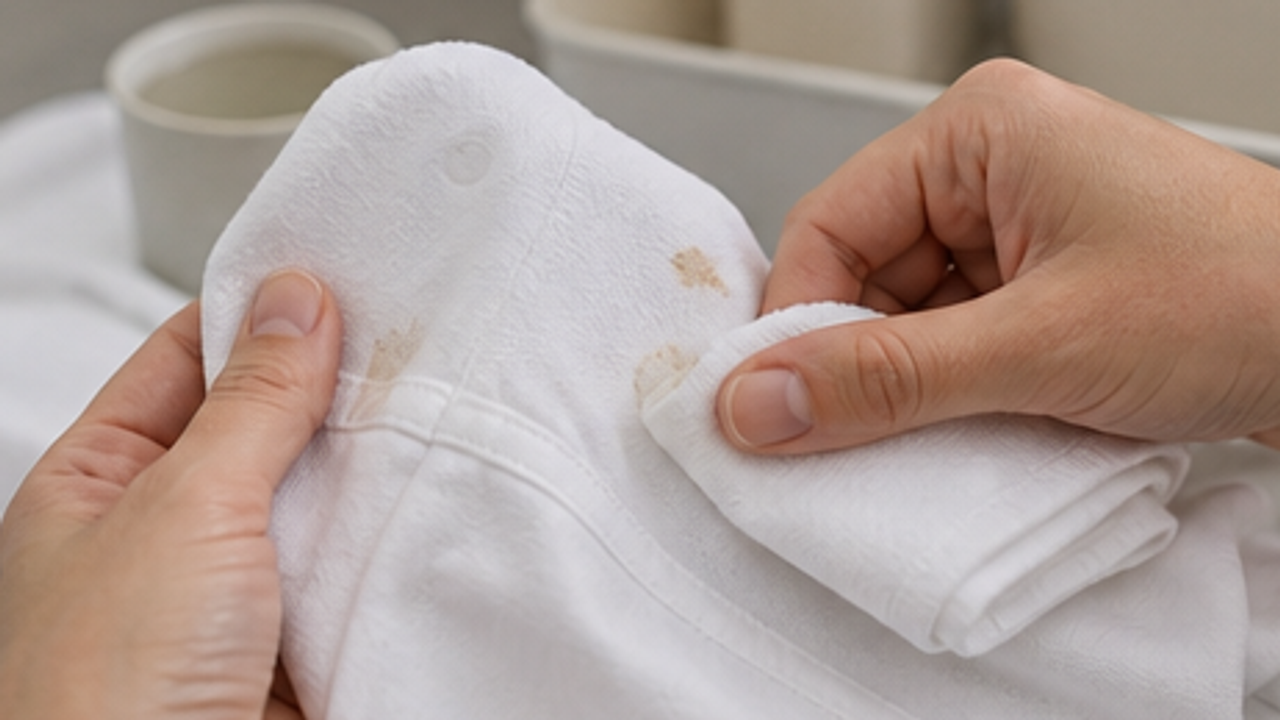
Test on an inside seam
Apply a tiny amount on an inside seam and watch for color change.
Testing first lowers the risk of fading or damage.
Do not treat expensive or dry-clean-only garments yourself.
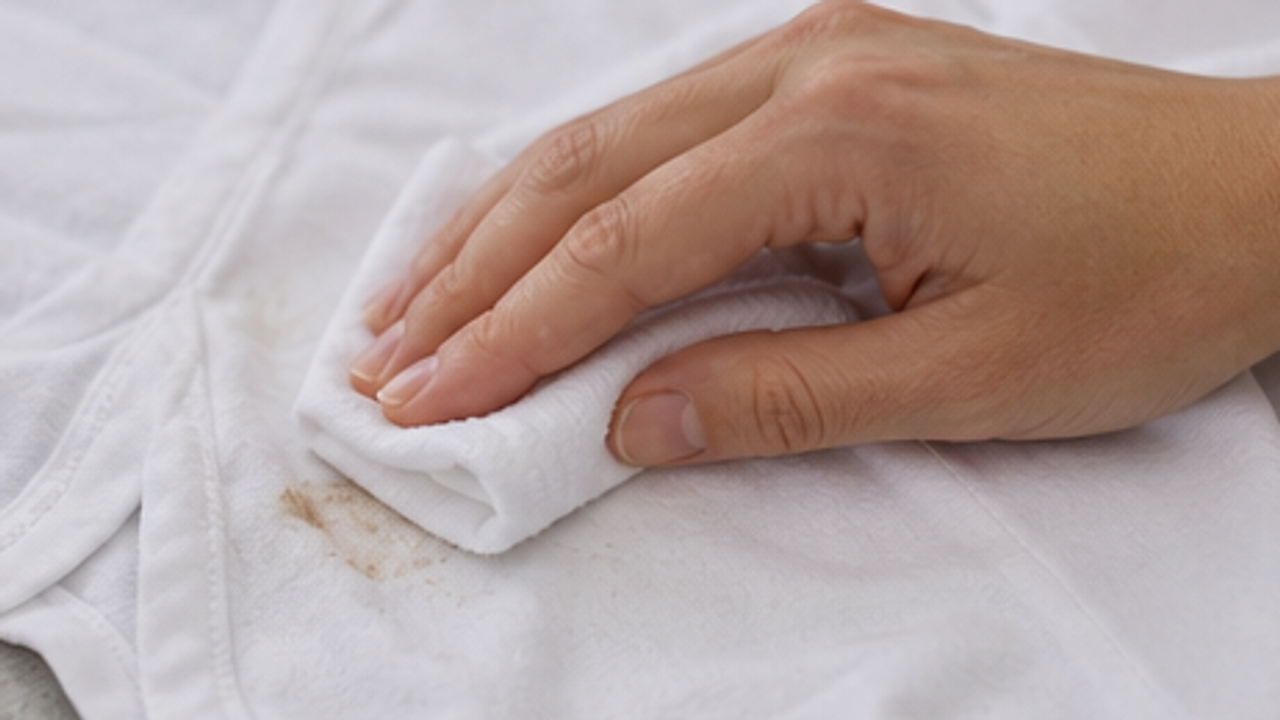
Blot the stained area
Press with a white cloth from the outside of the stain inward instead of rubbing hard.
Blotting lifts residue while reducing spread.
Stop if the stain may involve unknown chemicals.
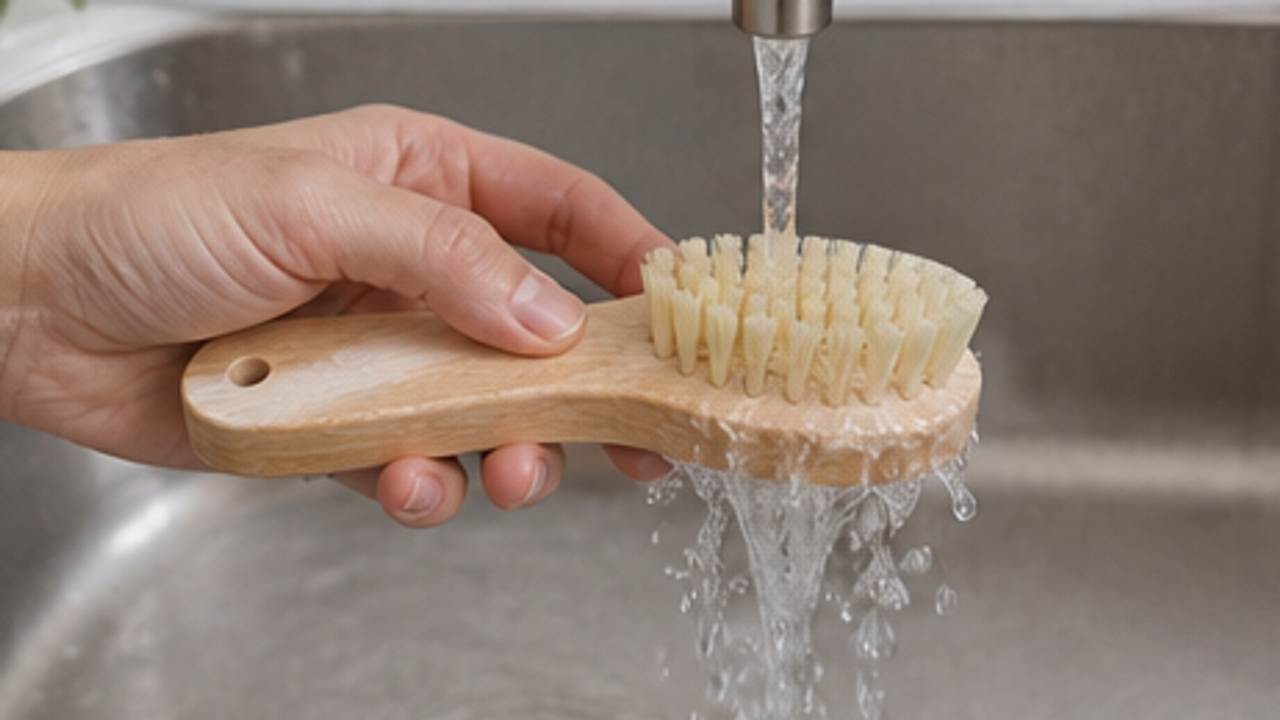
Rinse brush and cloth

Rinse the brush and cloth right after treating the stain.
Clean tools will not transfer old residue next time.
Avoid splashing cleaner water into your eyes.
Air dry and store high
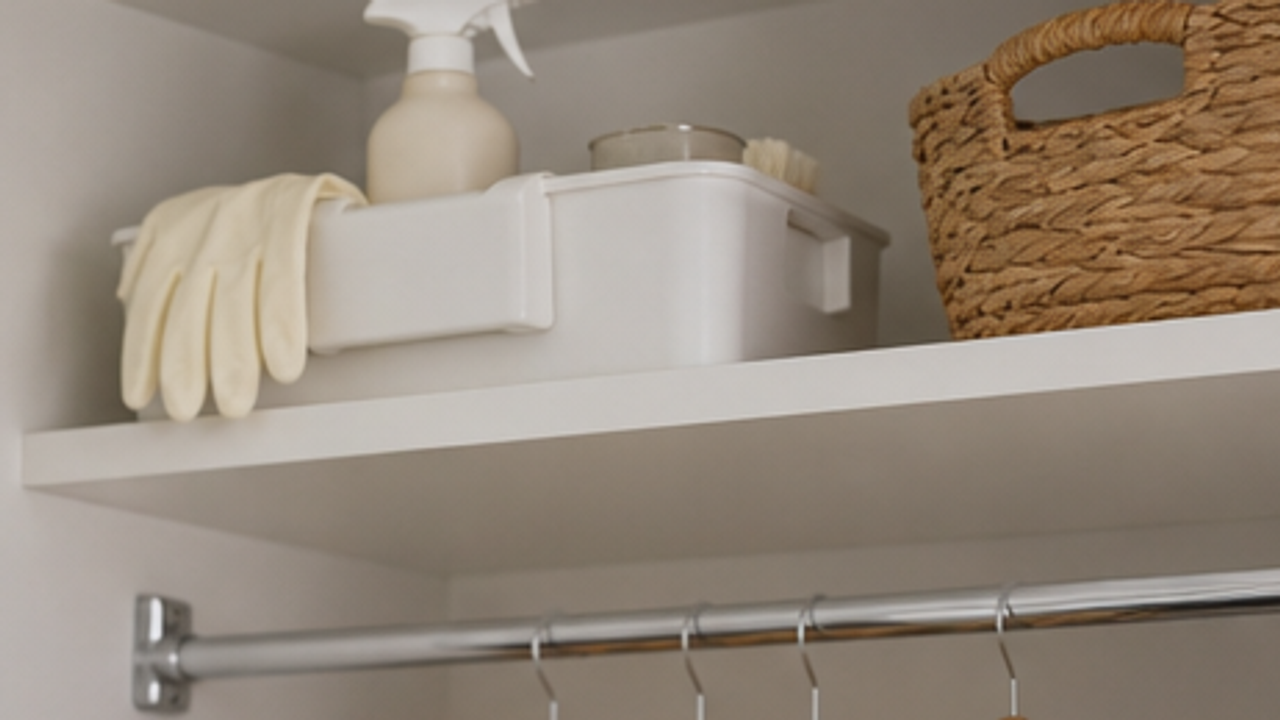
Spread the brush, cloth, and gloves to dry, then store the caddy on a high shelf.
Dry storage reduces odors and keeps supplies out of reach.
Always keep cleaning supplies away from children and pets.
Same topic
Related guides
Related guides
Cleaning
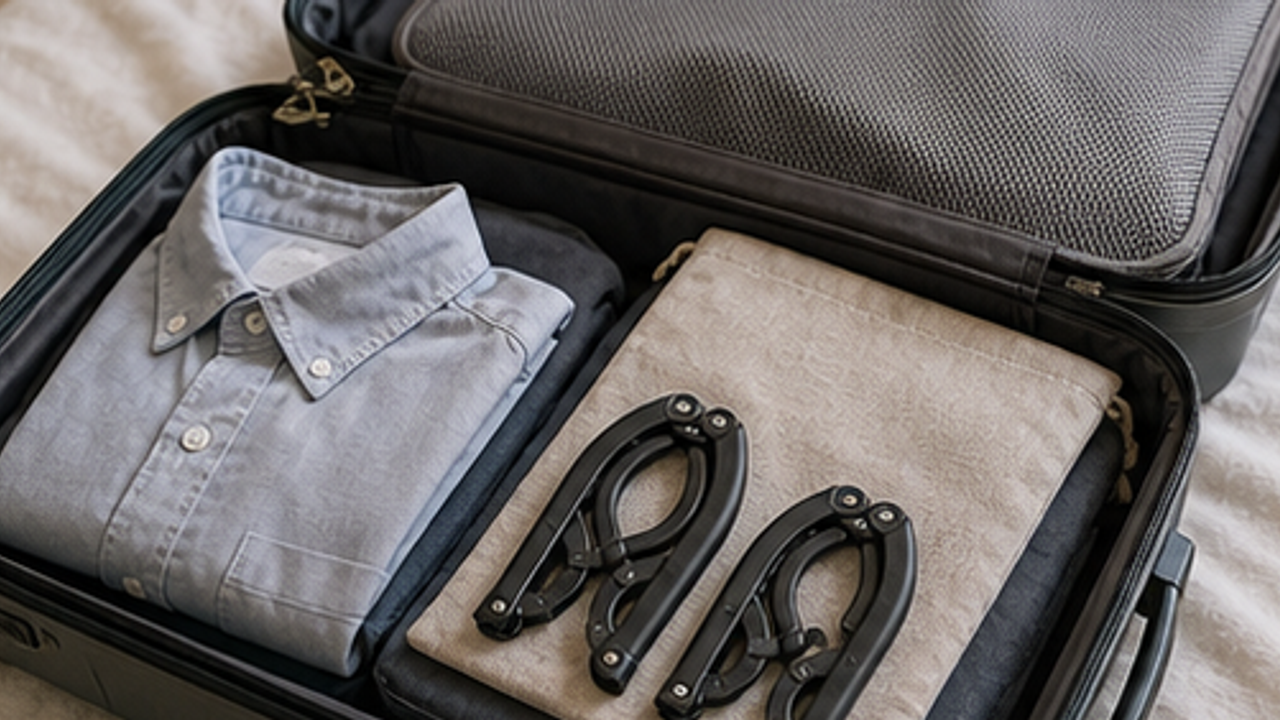
How to Prepare a Travel Folding Hanger Pouch
Give a travel folding hanger pouch one small fixed home so it is easy to use, return, and keep from spreading across drawers, shelves, or counters.
Cleaning
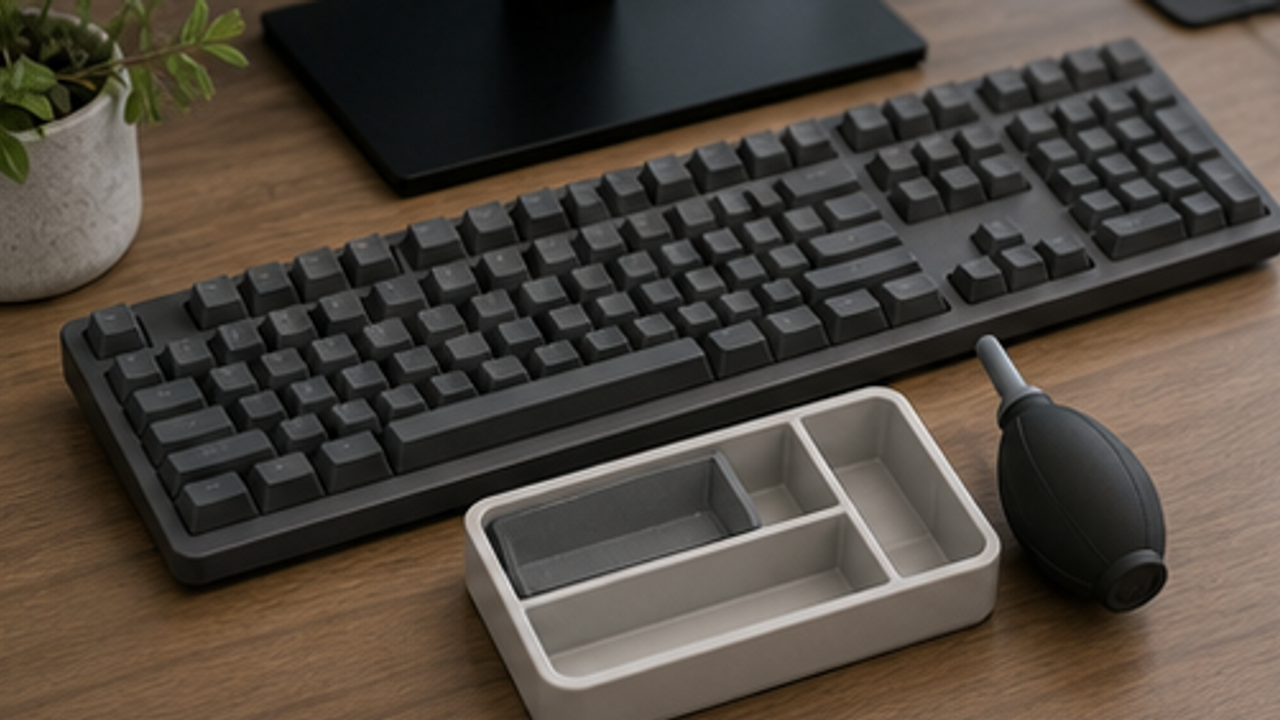
How to Set Up a Desk Keyboard Cleaning Brush Tray
Give a desk keyboard cleaning brush tray one small fixed home so it is easy to use, return, and keep from spreading across drawers, shelves, or counters.
Cleaning
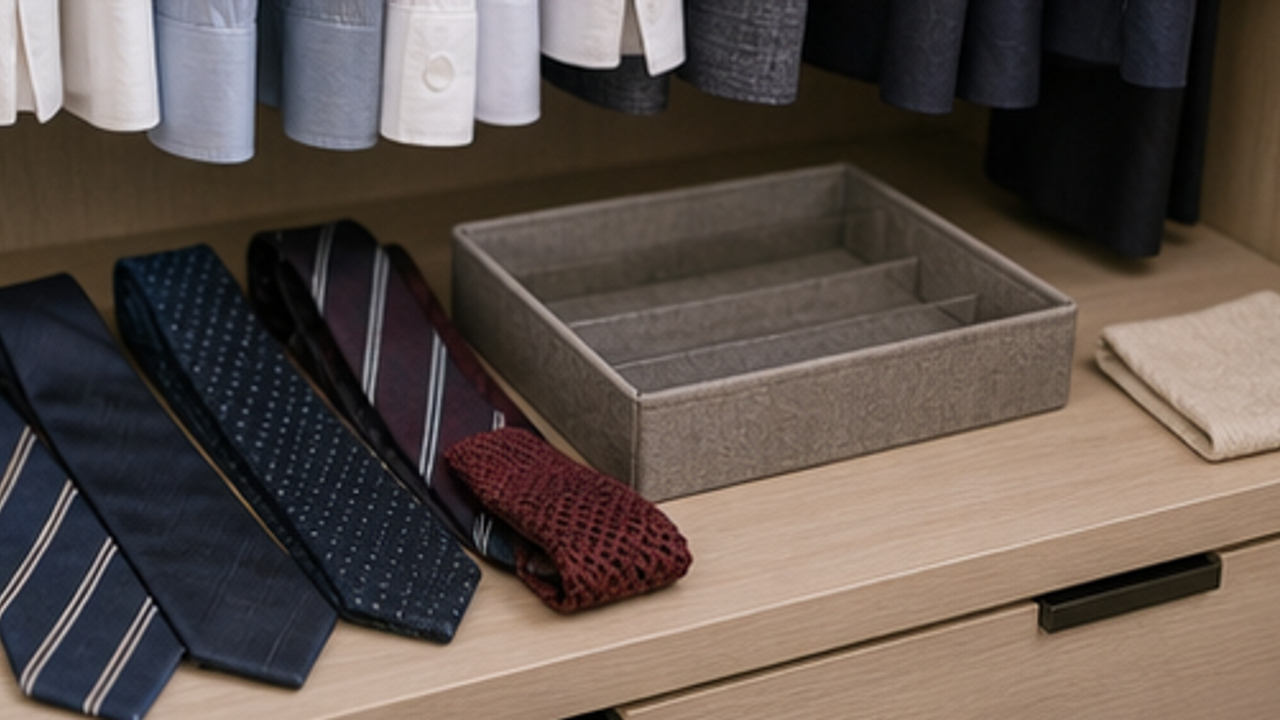
How to Organize Closet Ties in a Roll Tray
Give closet ties in a roll tray one small fixed home so it is easy to use, return, and keep from spreading across drawers, shelves, or counters.
Cleaning
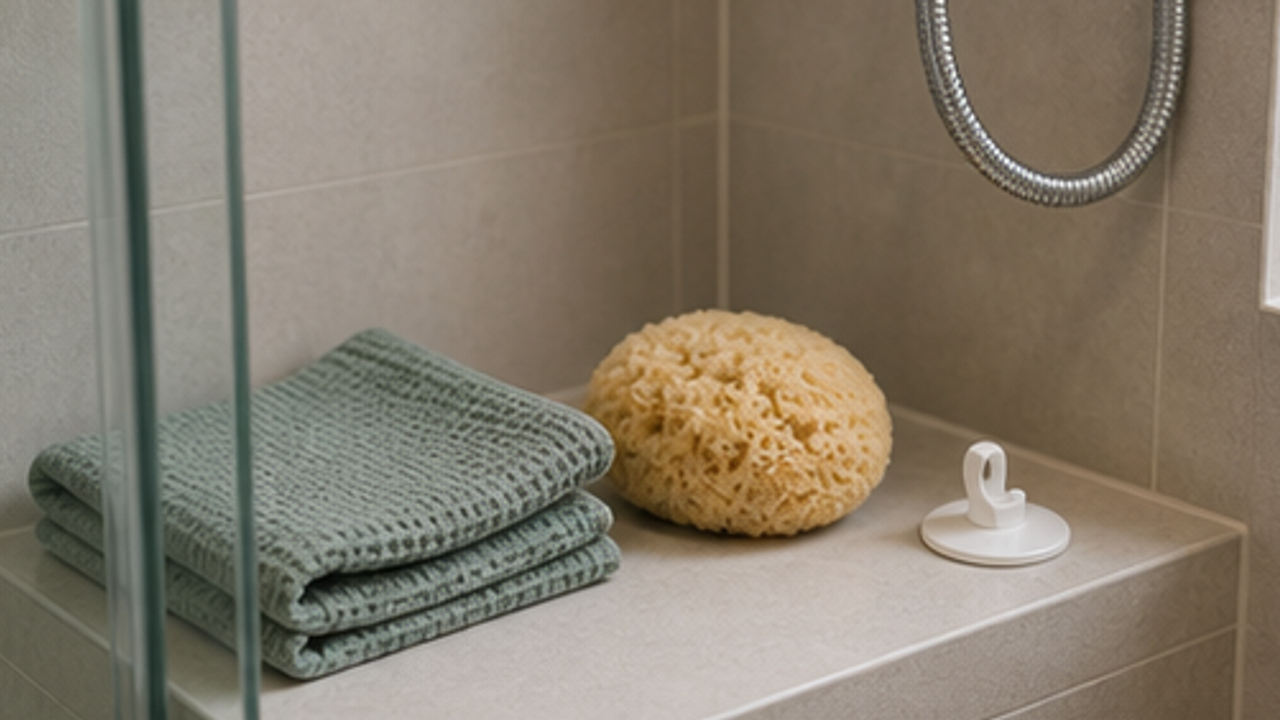
How to Set Up a Bathroom Bath Sponge Drying Hook
Give a bathroom bath sponge drying hook one small fixed home so it is easy to use, return, and keep from spreading across drawers, shelves, or counters.
More from this author
Open
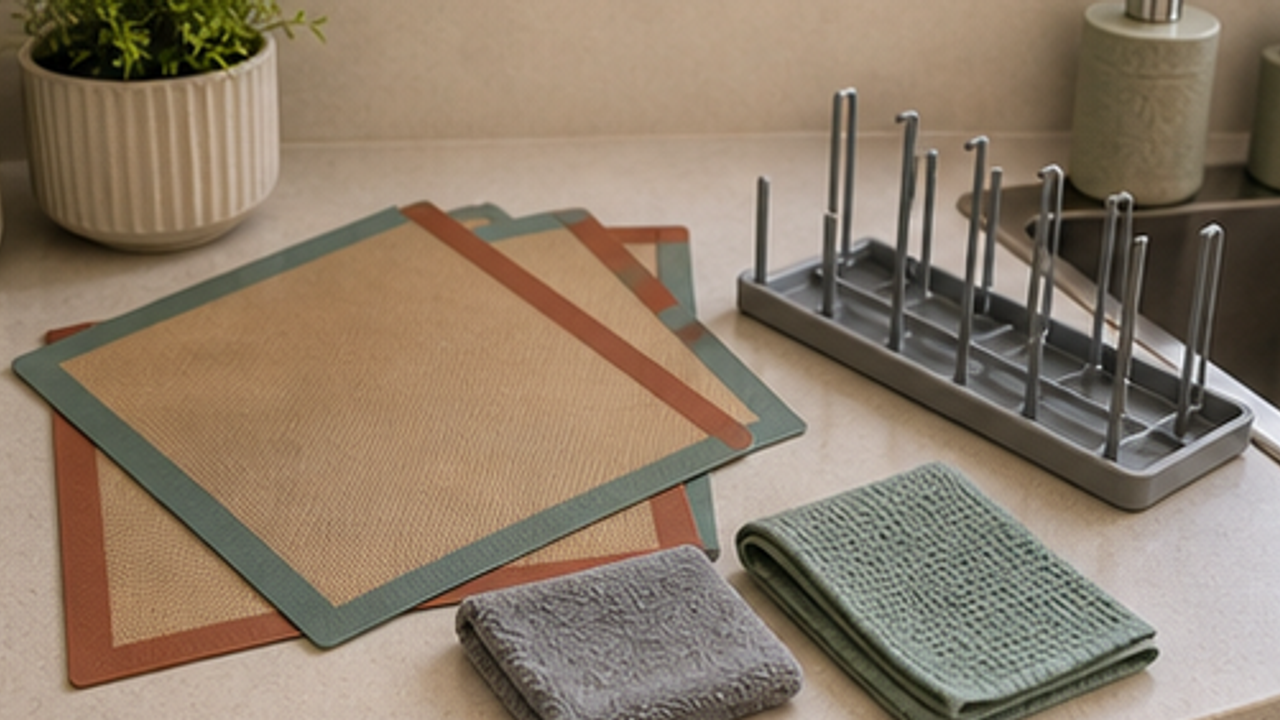
How to Set Up a Kitchen Silicone Baking Mat Drying Rack
Give a kitchen silicone baking mat drying rack one small fixed home so it is easy to use, return, and keep from spreading across drawers, shelves, or counters.
Open
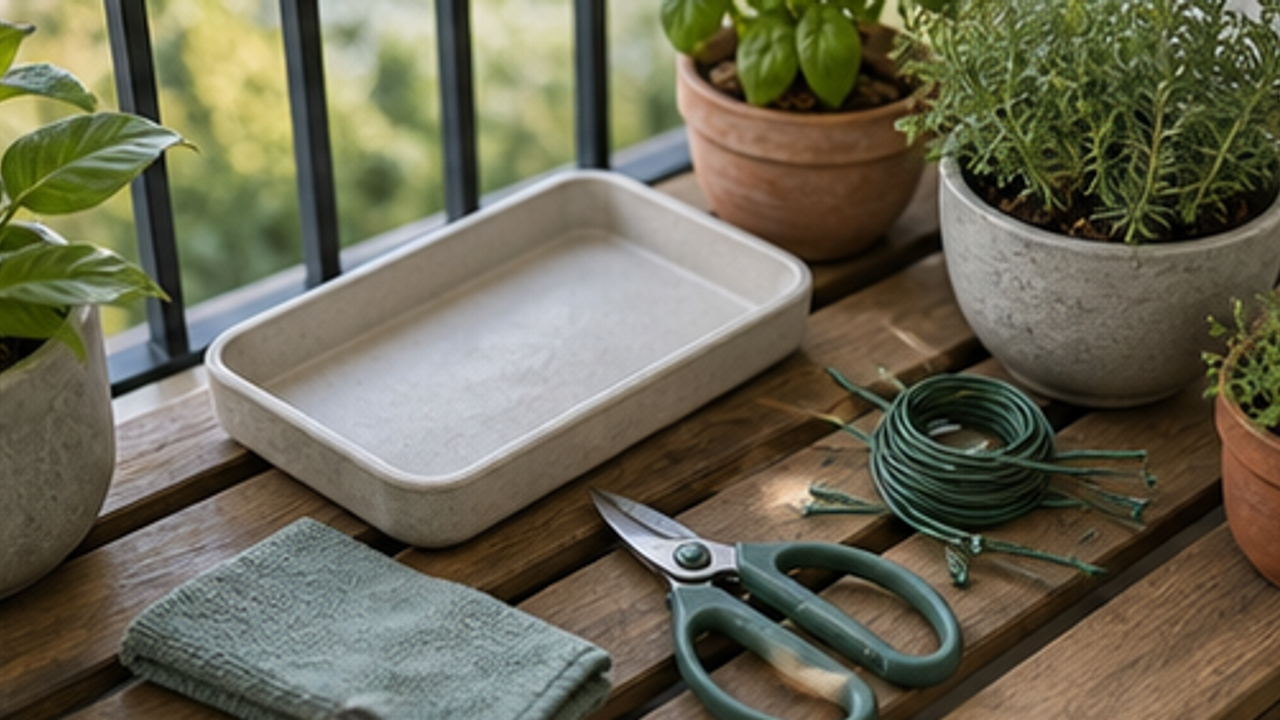
How to Set Up a Balcony Plant Pruning Tool Tray
Give a balcony plant pruning tool tray one small fixed home so it is easy to use, return, and keep from spreading across drawers, shelves, or counters.
Open
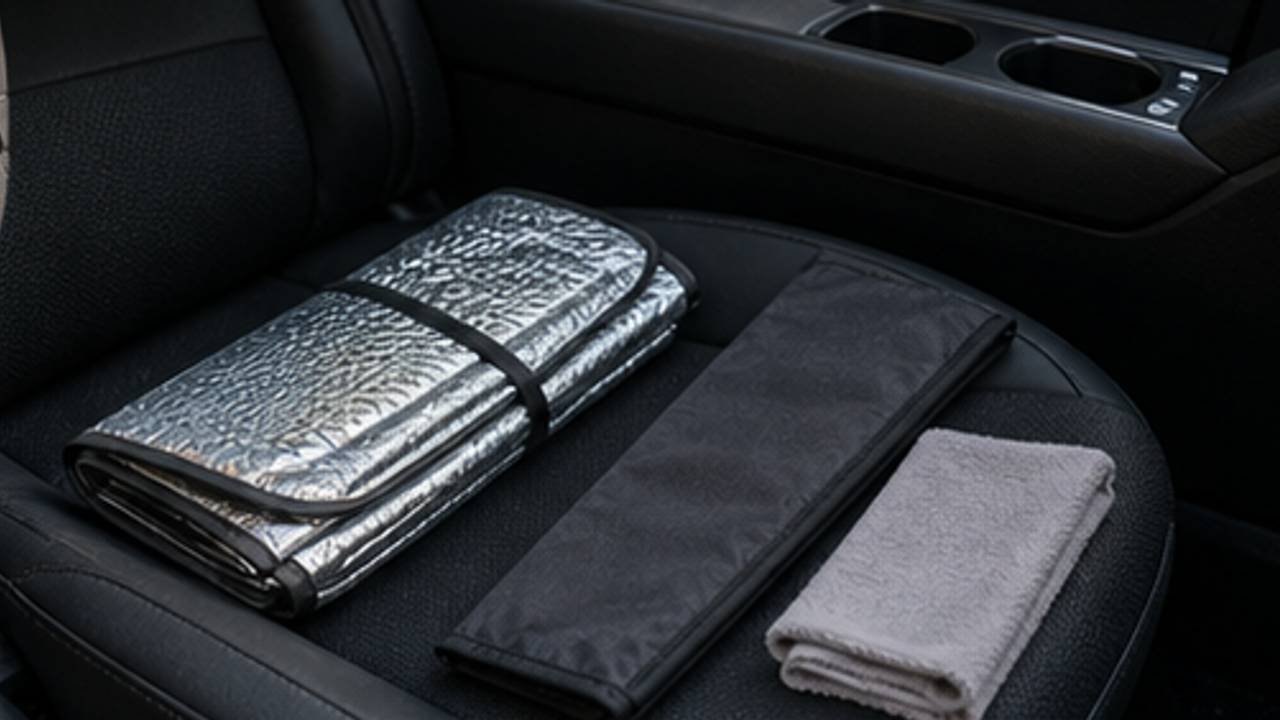
How to Organize a Car Folding Sunshade Sleeve
Give a car folding sunshade sleeve one small fixed home so it is easy to use, return, and keep from spreading across drawers, shelves, or counters.
Life Reactions
How this way feels to you
My Life Trial
Log it after trying
Comments
0 Comments
No comments yet.