How to Sew a Button Back onto a Shirt

Repair a loose or missing shirt button with basic thread, a needle, and a secure finishing knot.

Gather sewing tools

Step 1 focuses on gather sewing tools so the process stays simple and repeatable. Work slowly, keep the area clean, and move to the next step only when this part is settled.
This keeps the tutorial practical by turning the task into one visible action instead of a vague intention.
Check that your tools and materials are clean and suitable before starting.
Thread the needle
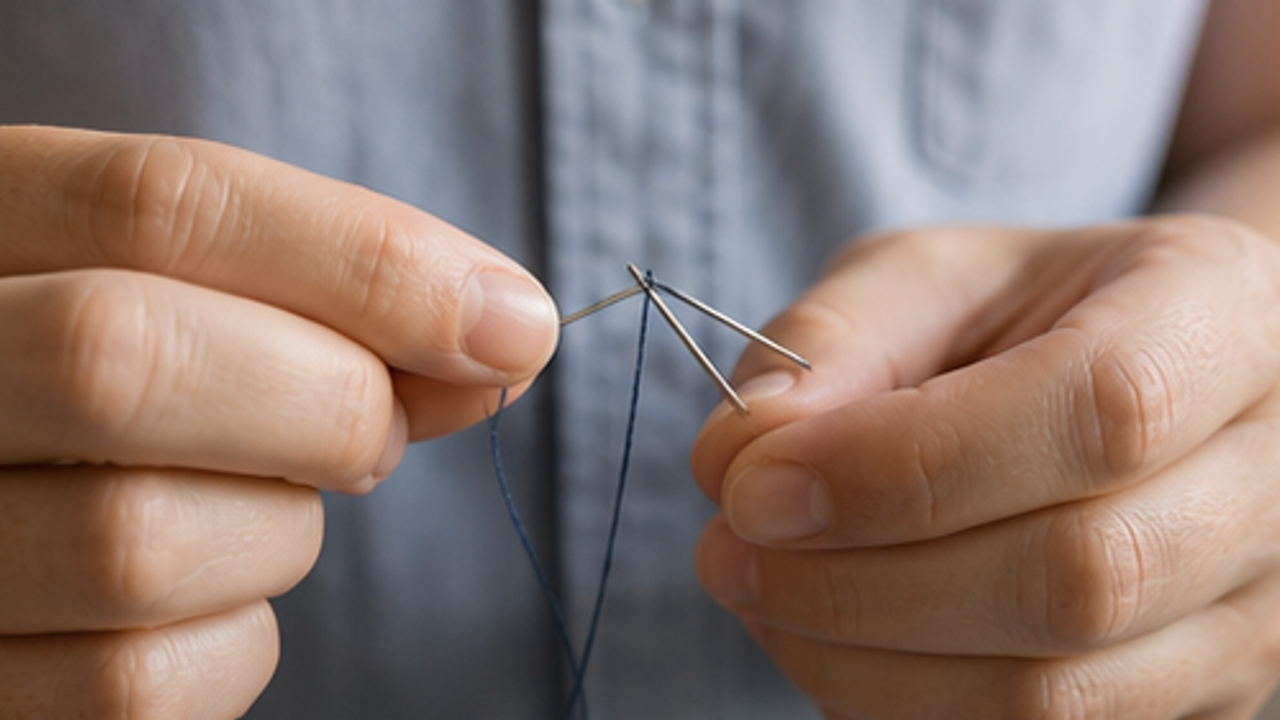
Step 2 focuses on thread the needle so the process stays simple and repeatable. Work slowly, keep the area clean, and move to the next step only when this part is settled.
This keeps the tutorial practical by turning the task into one visible action instead of a vague intention.
Stop and adjust if anything feels unsafe, unstable, or likely to cause damage.
Place the button
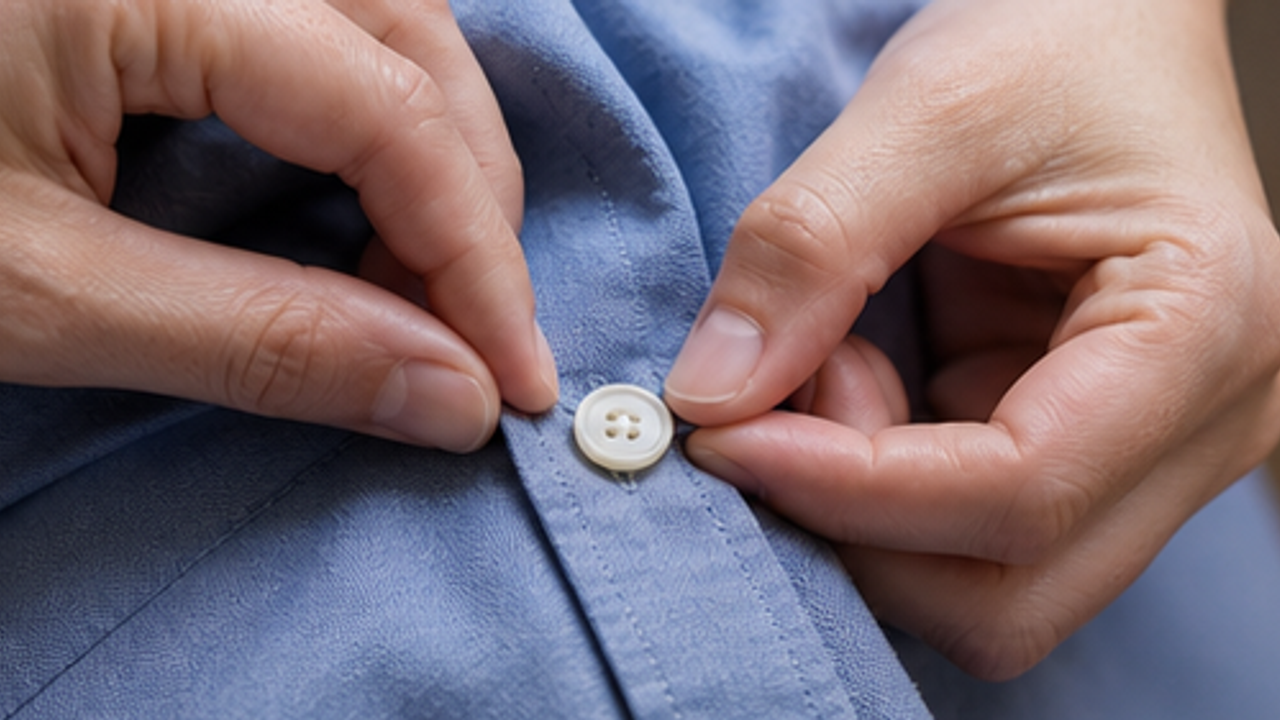
Step 3 focuses on place the button so the process stays simple and repeatable. Work slowly, keep the area clean, and move to the next step only when this part is settled.
This keeps the tutorial practical by turning the task into one visible action instead of a vague intention.
Stop and adjust if anything feels unsafe, unstable, or likely to cause damage.
Make first stitches
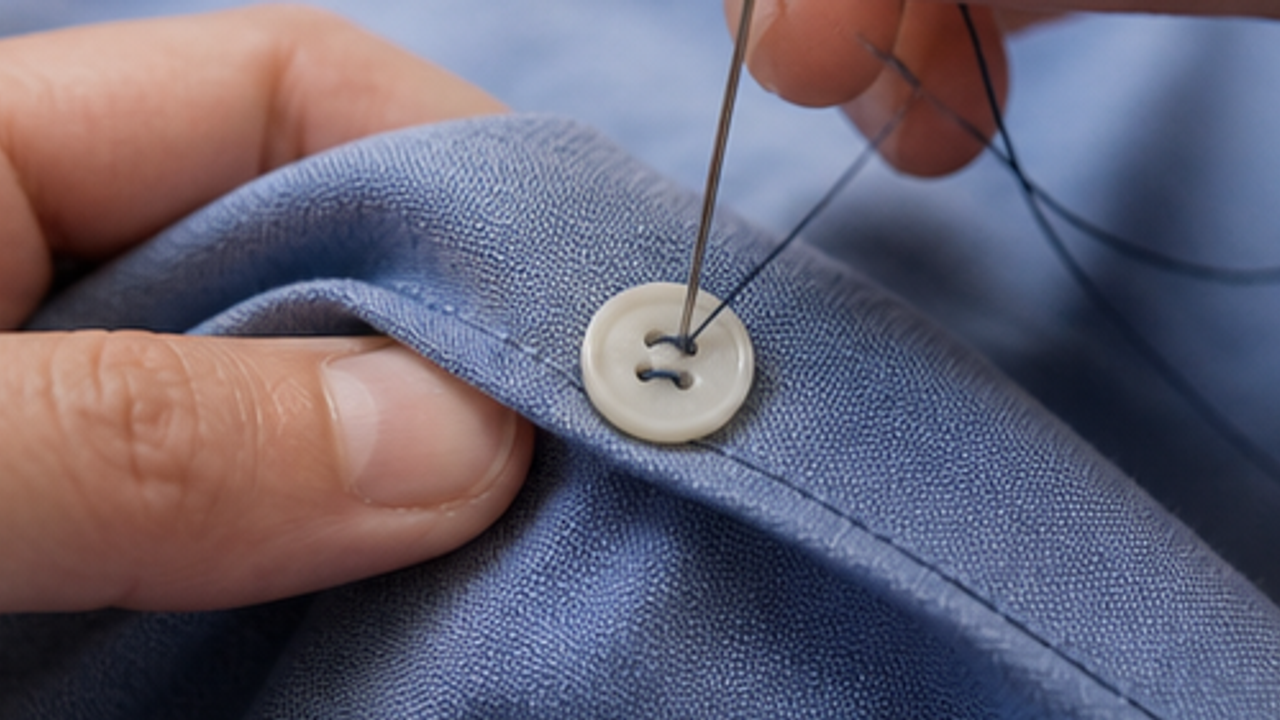
Step 4 focuses on make first stitches so the process stays simple and repeatable. Work slowly, keep the area clean, and move to the next step only when this part is settled.
This keeps the tutorial practical by turning the task into one visible action instead of a vague intention.
Stop and adjust if anything feels unsafe, unstable, or likely to cause damage.
Build a thread shank
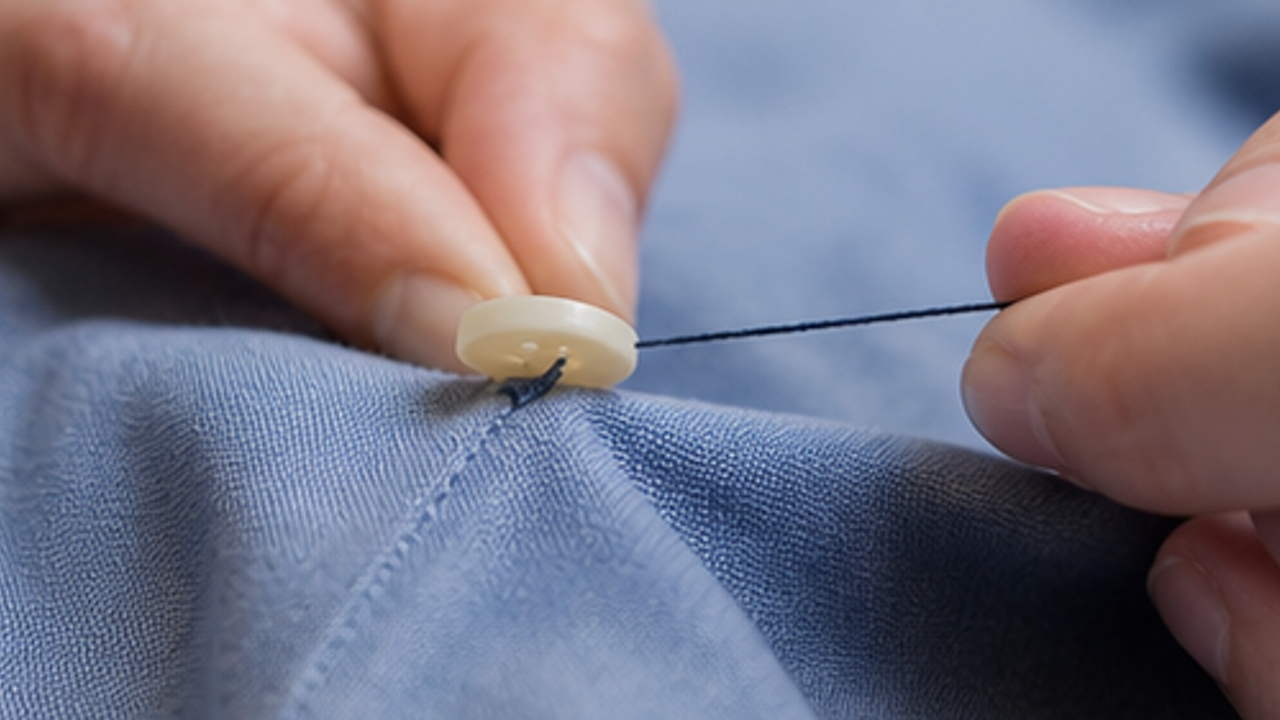
Step 5 focuses on build a thread shank so the process stays simple and repeatable. Work slowly, keep the area clean, and move to the next step only when this part is settled.
This keeps the tutorial practical by turning the task into one visible action instead of a vague intention.
Stop and adjust if anything feels unsafe, unstable, or likely to cause damage.
Tie the back knot
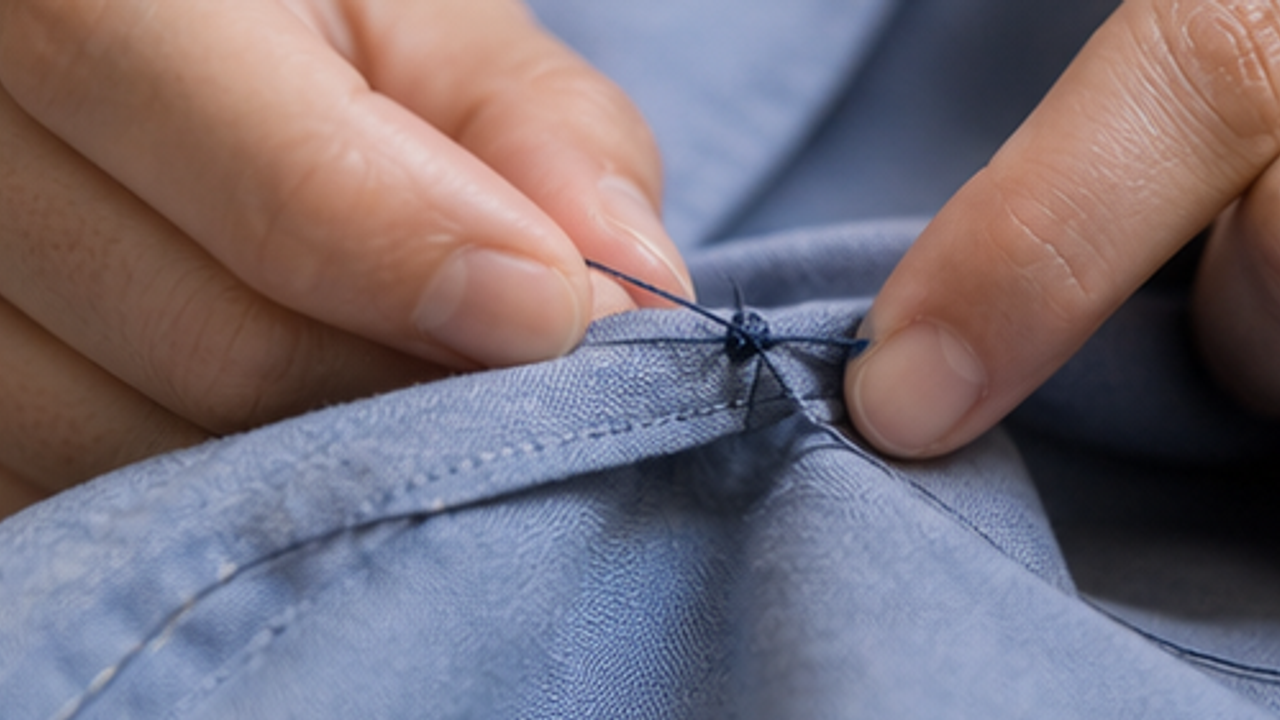
Step 6 focuses on tie the back knot so the process stays simple and repeatable. Work slowly, keep the area clean, and move to the next step only when this part is settled.
This keeps the tutorial practical by turning the task into one visible action instead of a vague intention.
Stop and adjust if anything feels unsafe, unstable, or likely to cause damage.
Trim extra thread
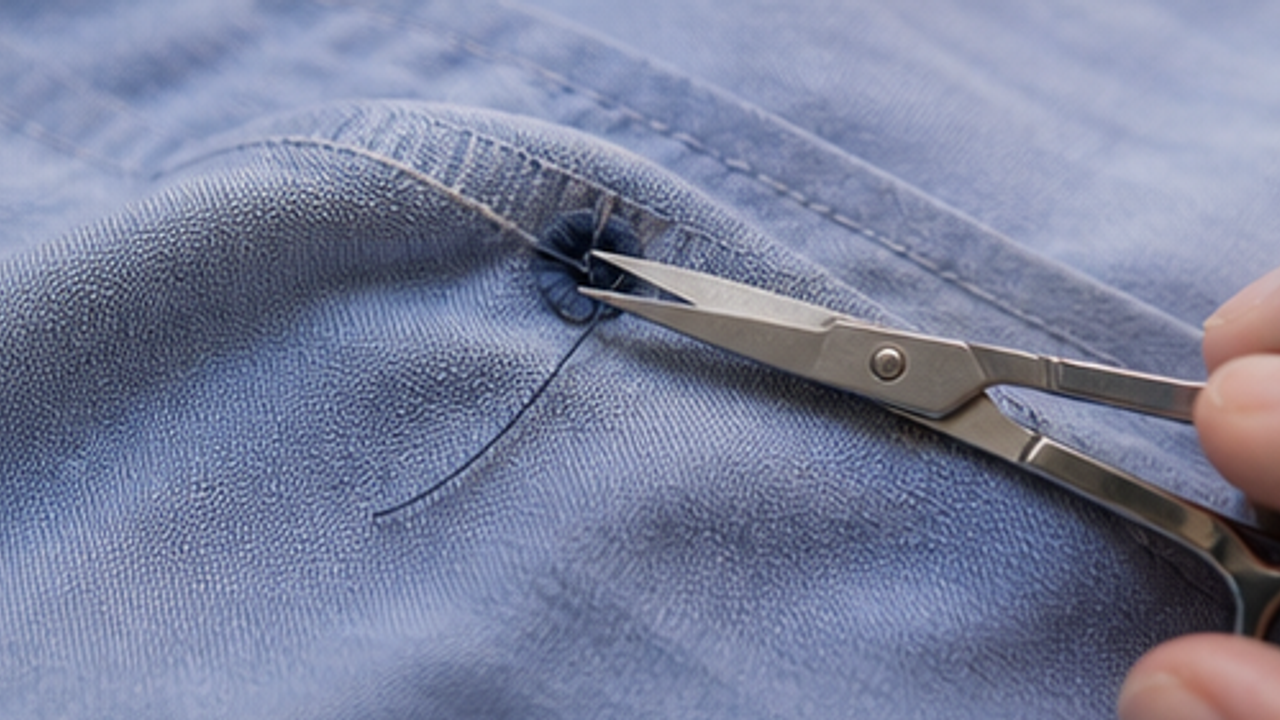
Step 7 focuses on trim extra thread so the process stays simple and repeatable. Work slowly, keep the area clean, and move to the next step only when this part is settled.
This keeps the tutorial practical by turning the task into one visible action instead of a vague intention.
Stop and adjust if anything feels unsafe, unstable, or likely to cause damage.
Test the closure
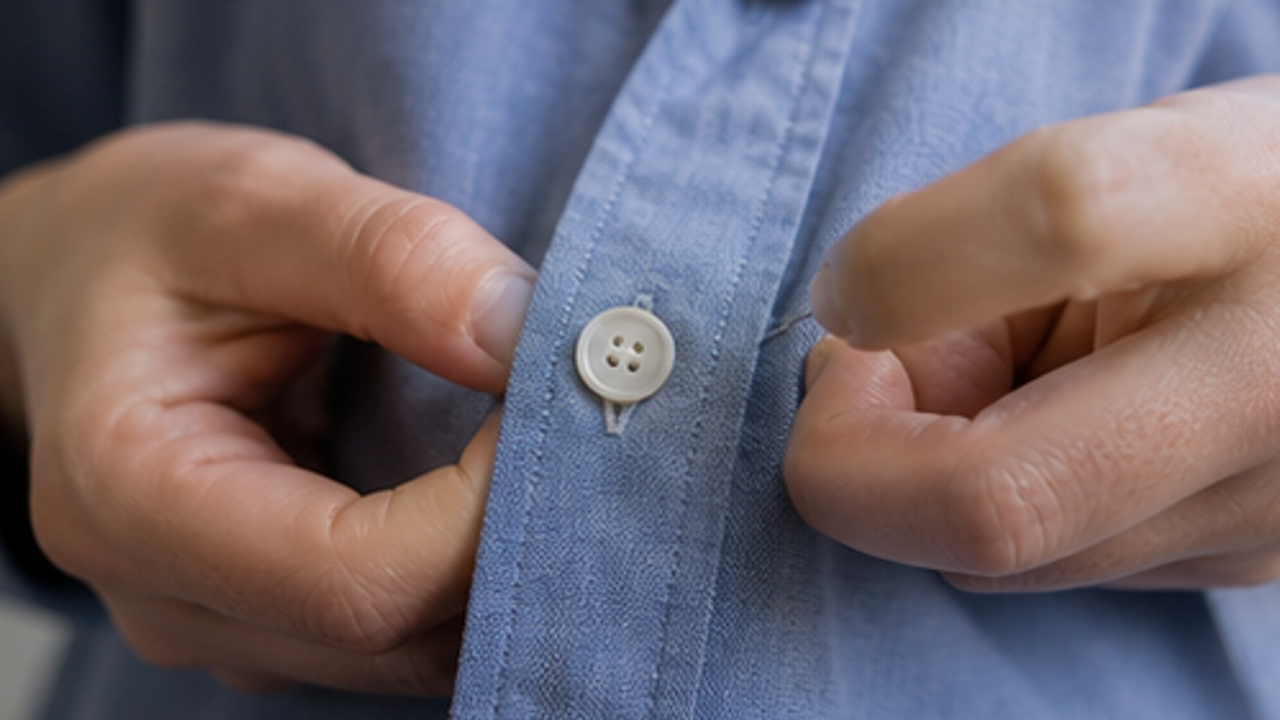
Step 8 focuses on test the closure so the process stays simple and repeatable. Work slowly, keep the area clean, and move to the next step only when this part is settled.
This keeps the tutorial practical by turning the task into one visible action instead of a vague intention.
Stop and adjust if anything feels unsafe, unstable, or likely to cause damage.
Same topic
Related guides
Related guides
Study & Work
How to Prepare a Travel Folding Hanger Pouch
Give a travel folding hanger pouch one small fixed home so it is easy to use, return, and keep from spreading across drawers, shelves, or counters.
Study & Work
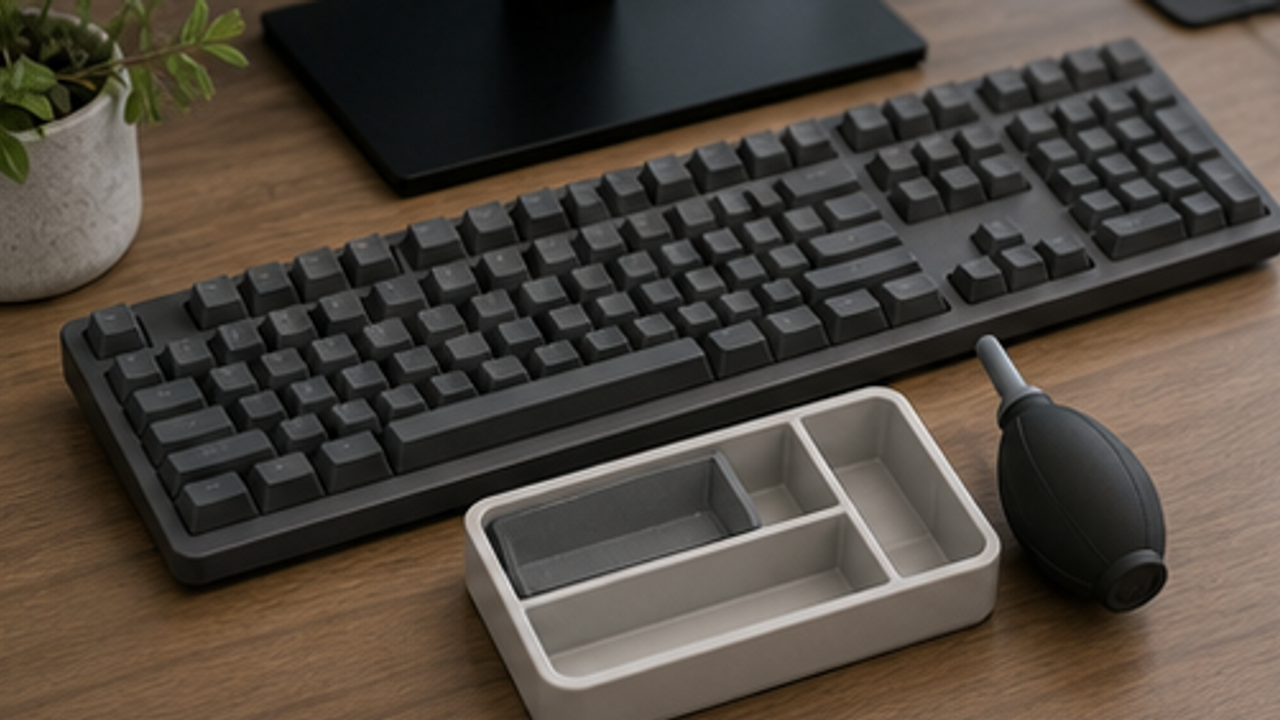
How to Set Up a Desk Keyboard Cleaning Brush Tray
Give a desk keyboard cleaning brush tray one small fixed home so it is easy to use, return, and keep from spreading across drawers, shelves, or counters.

Study & Work
How to Organize Closet Ties in a Roll Tray
Give closet ties in a roll tray one small fixed home so it is easy to use, return, and keep from spreading across drawers, shelves, or counters.
Study & Work
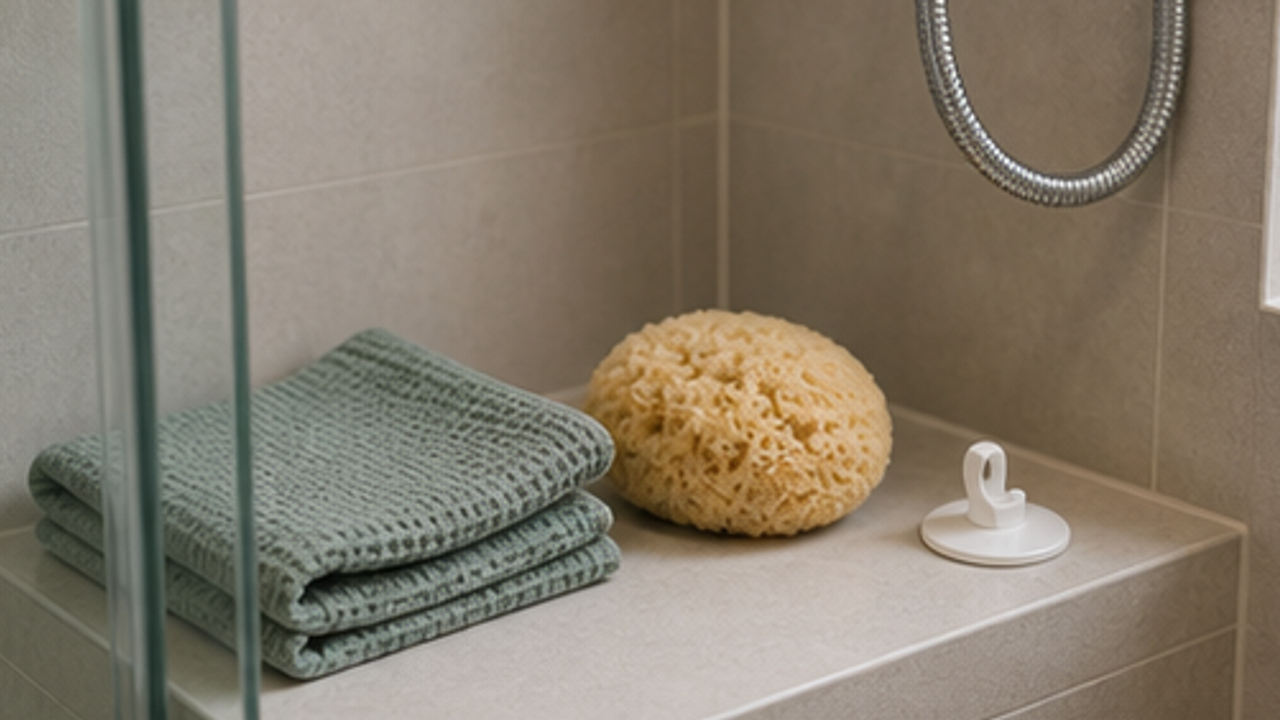
How to Set Up a Bathroom Bath Sponge Drying Hook
Give a bathroom bath sponge drying hook one small fixed home so it is easy to use, return, and keep from spreading across drawers, shelves, or counters.
More from this author
Open
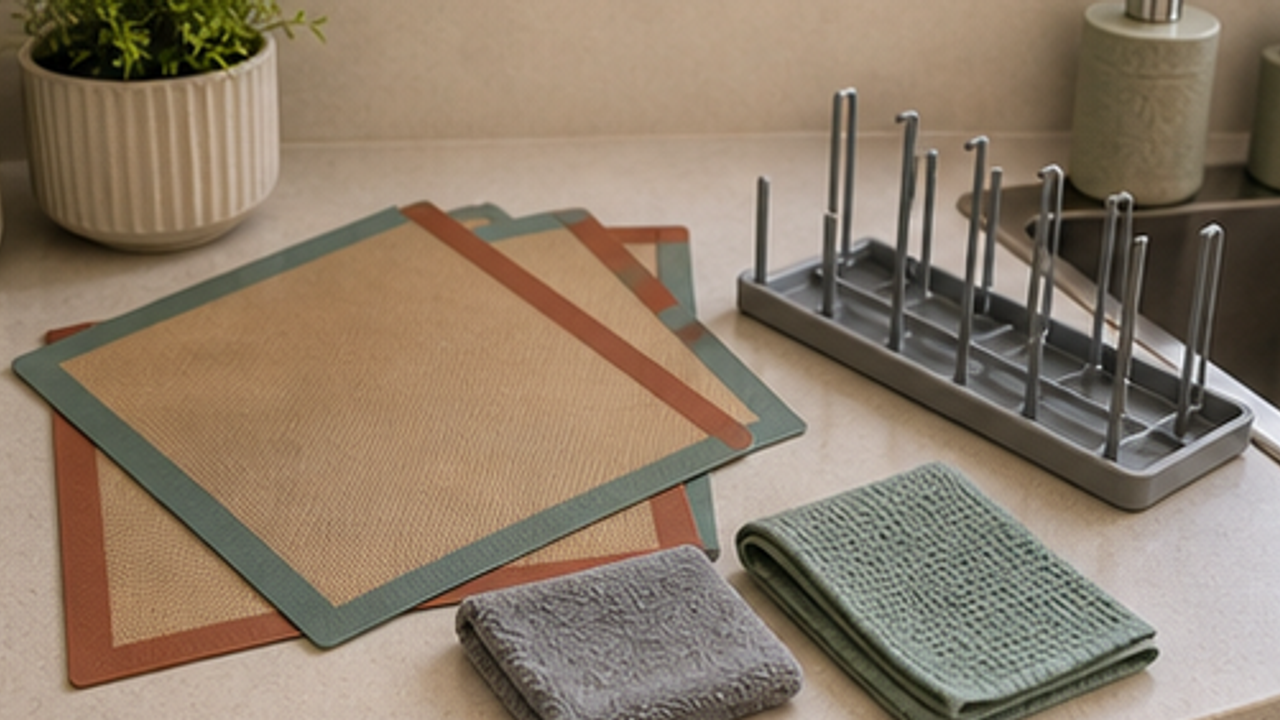
How to Set Up a Kitchen Silicone Baking Mat Drying Rack
Give a kitchen silicone baking mat drying rack one small fixed home so it is easy to use, return, and keep from spreading across drawers, shelves, or counters.
Open
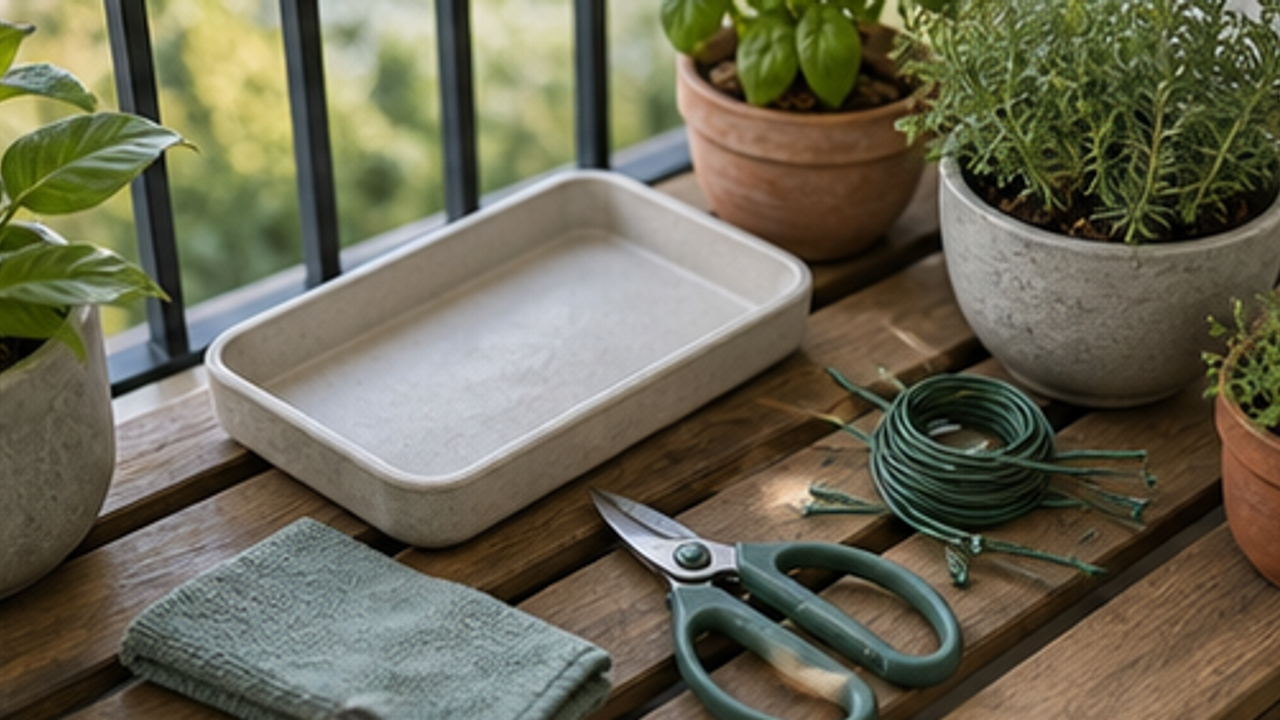
How to Set Up a Balcony Plant Pruning Tool Tray
Give a balcony plant pruning tool tray one small fixed home so it is easy to use, return, and keep from spreading across drawers, shelves, or counters.
Open
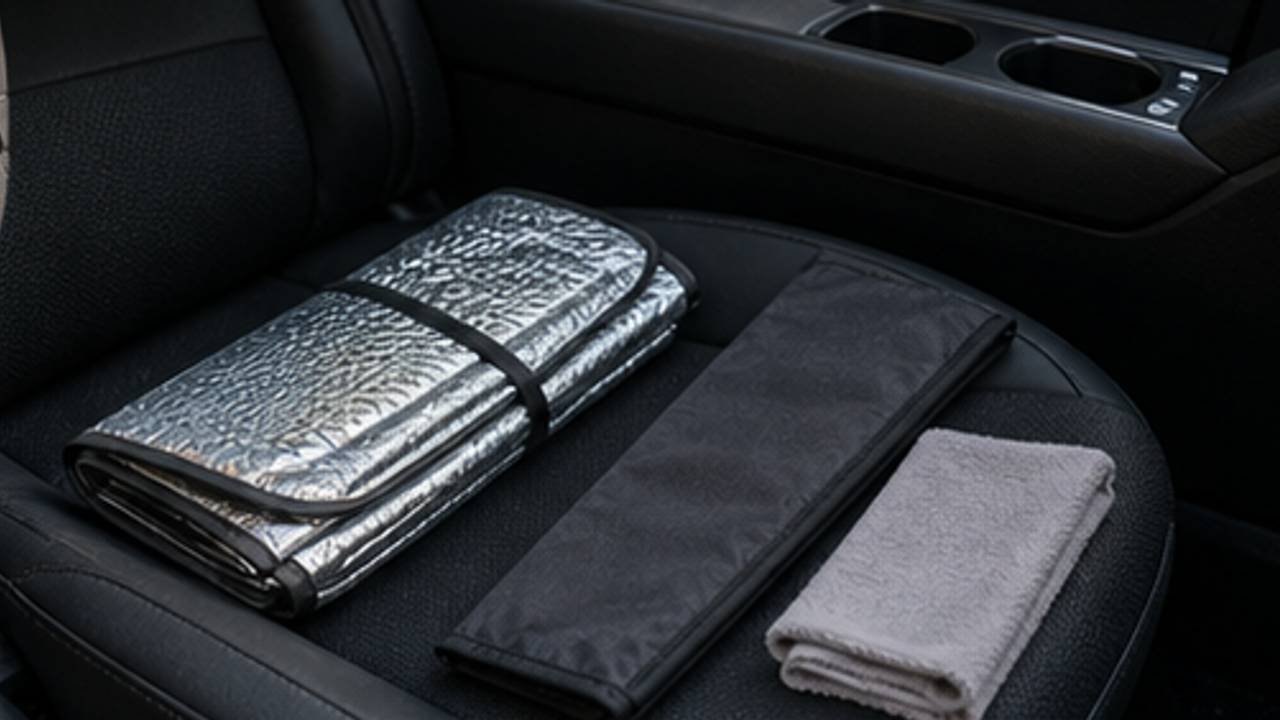
How to Organize a Car Folding Sunshade Sleeve
Give a car folding sunshade sleeve one small fixed home so it is easy to use, return, and keep from spreading across drawers, shelves, or counters.
Life Reactions
How this way feels to you
My Life Trial
Log it after trying
Comments
0 Comments
No comments yet.