Beginner-Friendly Nail Polish Steps

Beginner nail polish usually goes wrong not because your hands are clumsy, but because the nail surface is not clean, the brush holds too much polish, each coat is too thick, or you touch things before it dries. This routine keeps the color even and the edges cleaner.
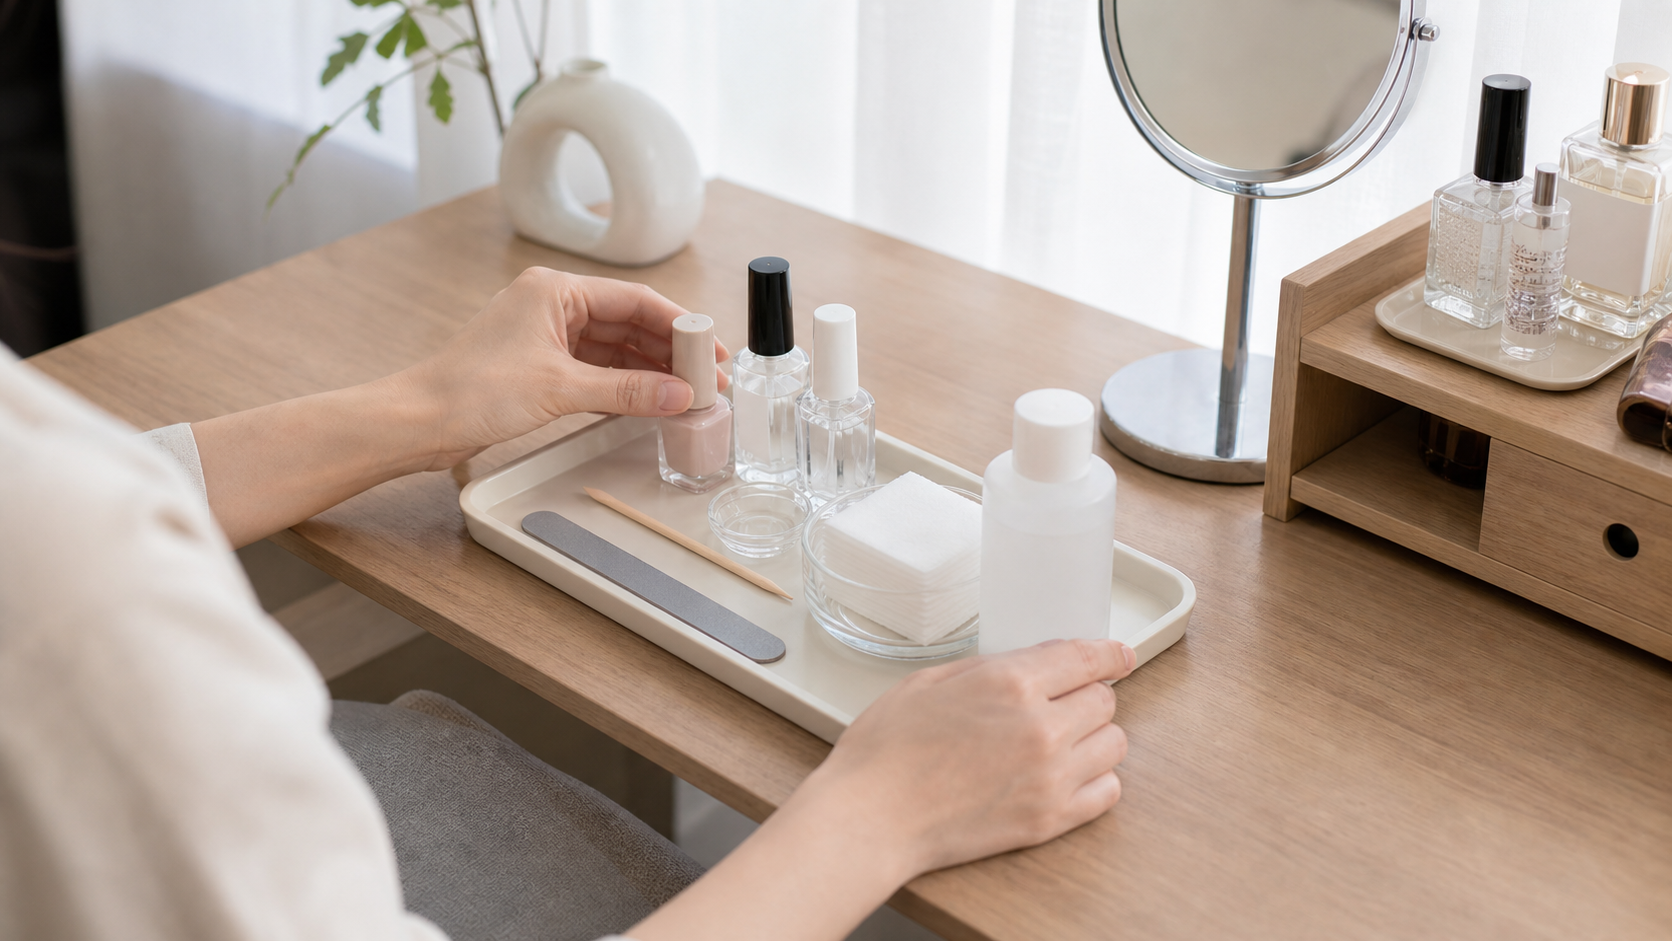
Set Up the Tools
Place nail polish, base coat, top coat, cotton pads, remover, nail file, and cotton swabs on one small tray. Put a tissue on the desk and leave space to rest your hand flat.
Beginners often smudge polish while searching for tools halfway through. Setting everything up first lets you move slowly and keep your hand steady.
Do not paint on a bed or soft sofa; bottles tip over and your hand cannot stay stable.
Shape Short and Soft
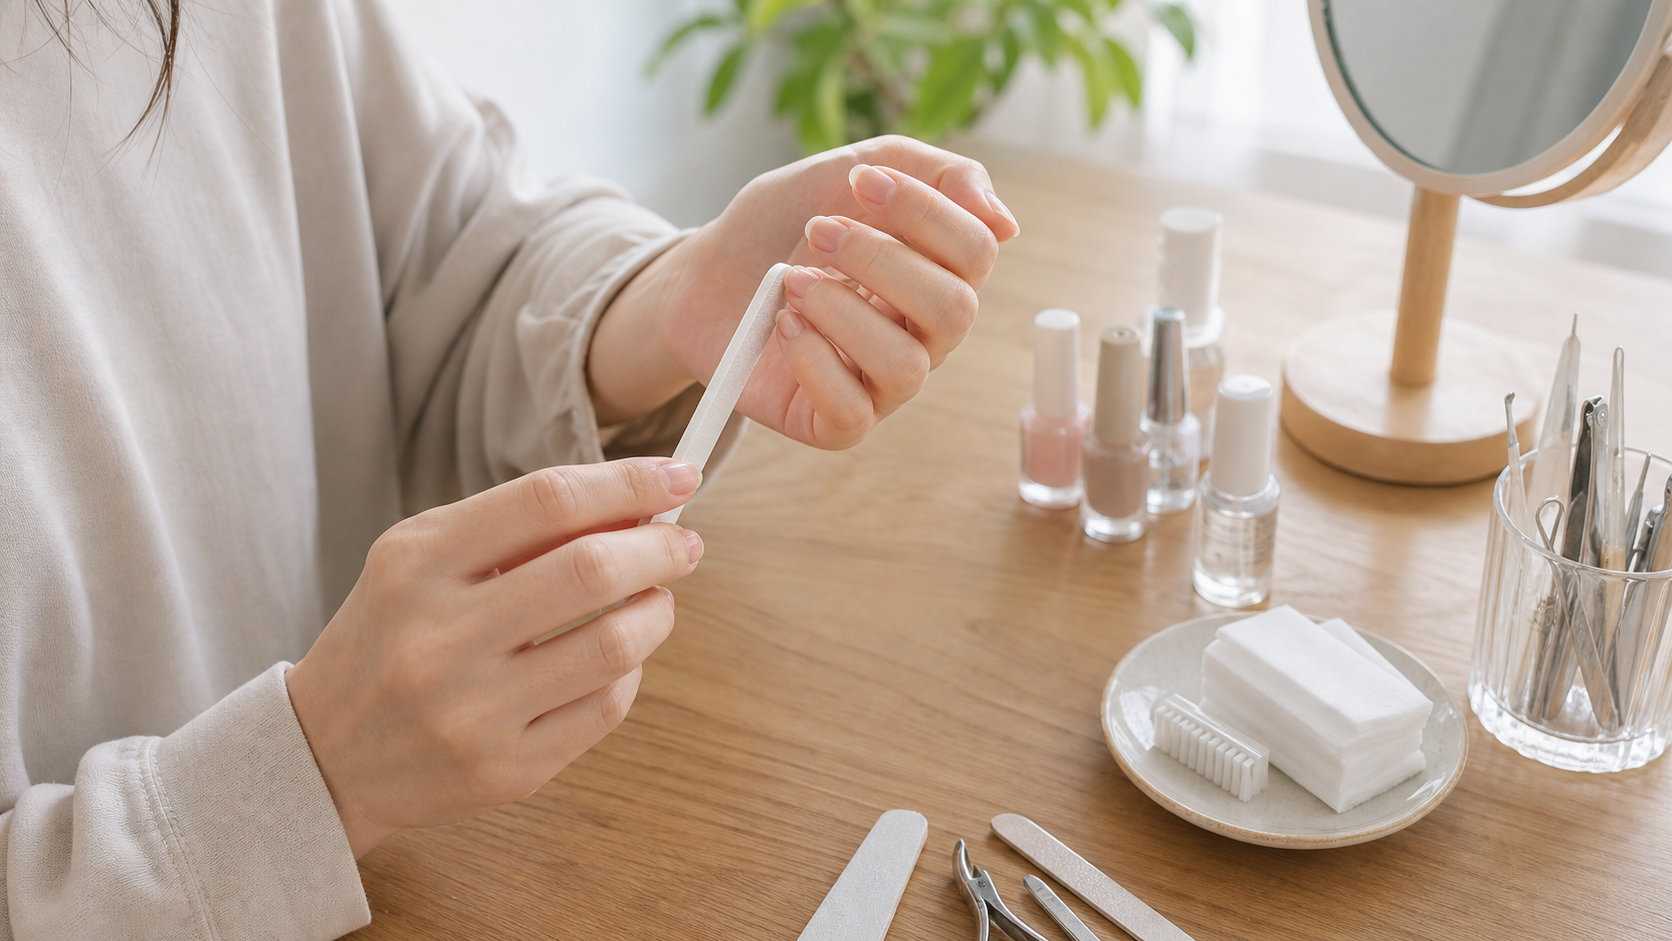
Use a nail file to gently smooth the nail edge. Choose a short round or soft square shape first. File a little at a time instead of sawing hard back and forth.
Shorter, softer edges are beginner-friendly because they catch less on hair and clothes. Smooth edges also make the finished color look cleaner.
Do not cut too close to the skin. If the edge hurts, it is too short.
Clean Oil and Dust
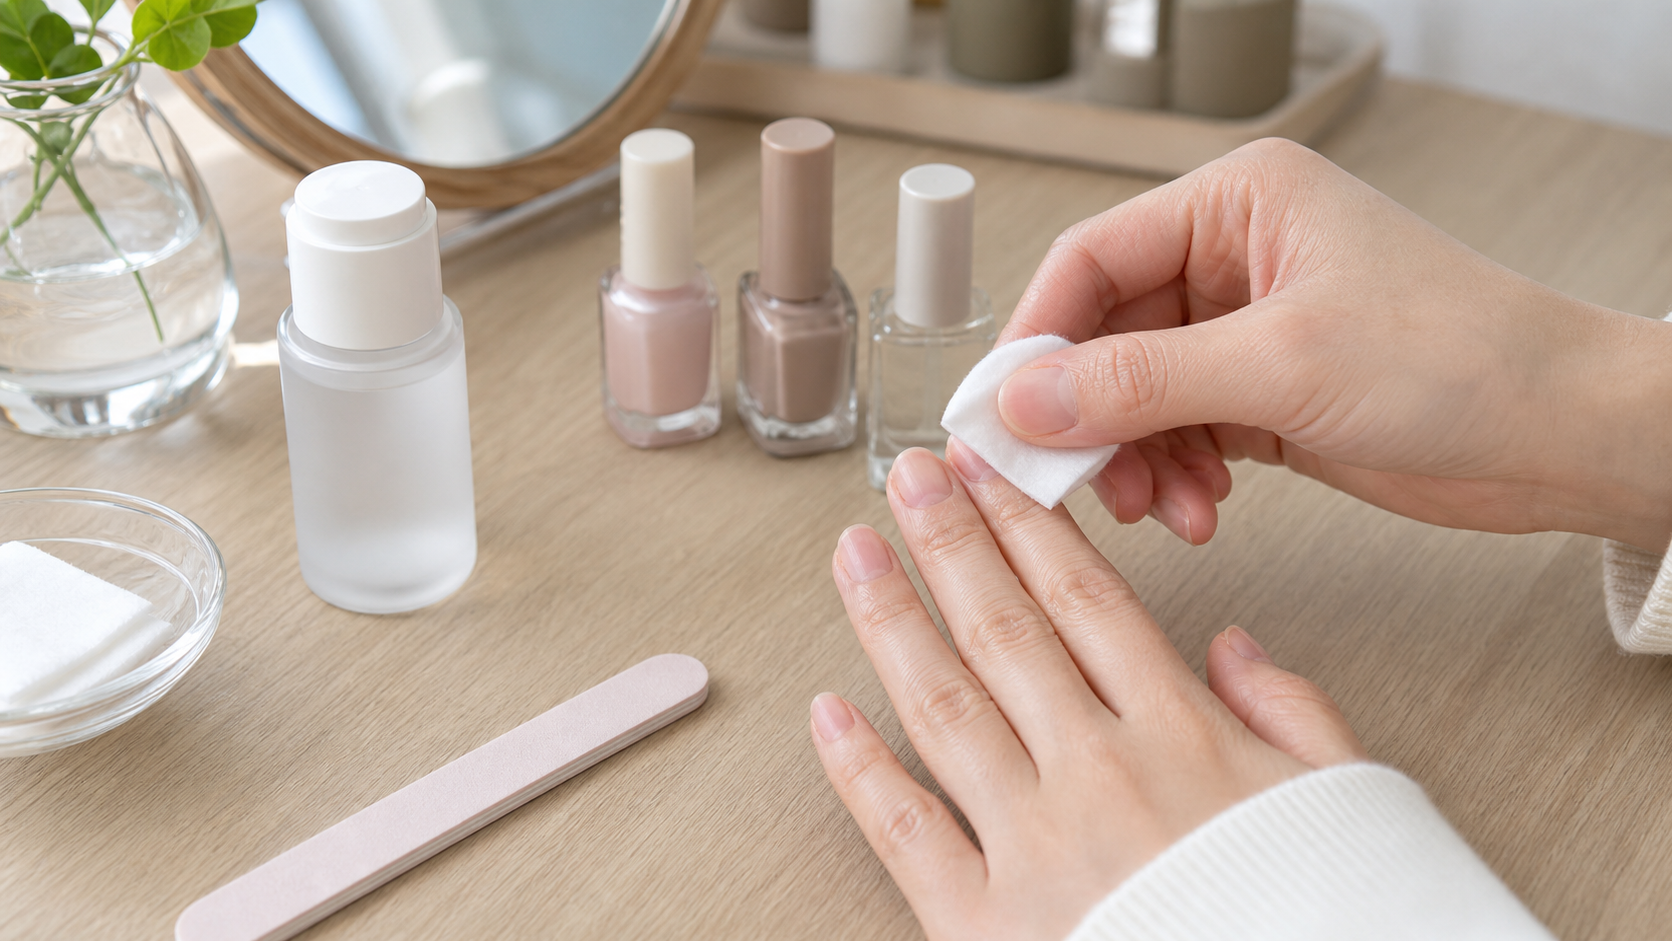
Put a little remover or nail cleanser on a cotton pad and wipe each nail surface gently. Wait about 30 seconds until the nails are fully dry.
Hand cream, oil, and dust stop polish from gripping well and can make it peel in patches. Cleaning first helps the color sit flatter.
Do not touch your face or apply hand cream right after cleaning.
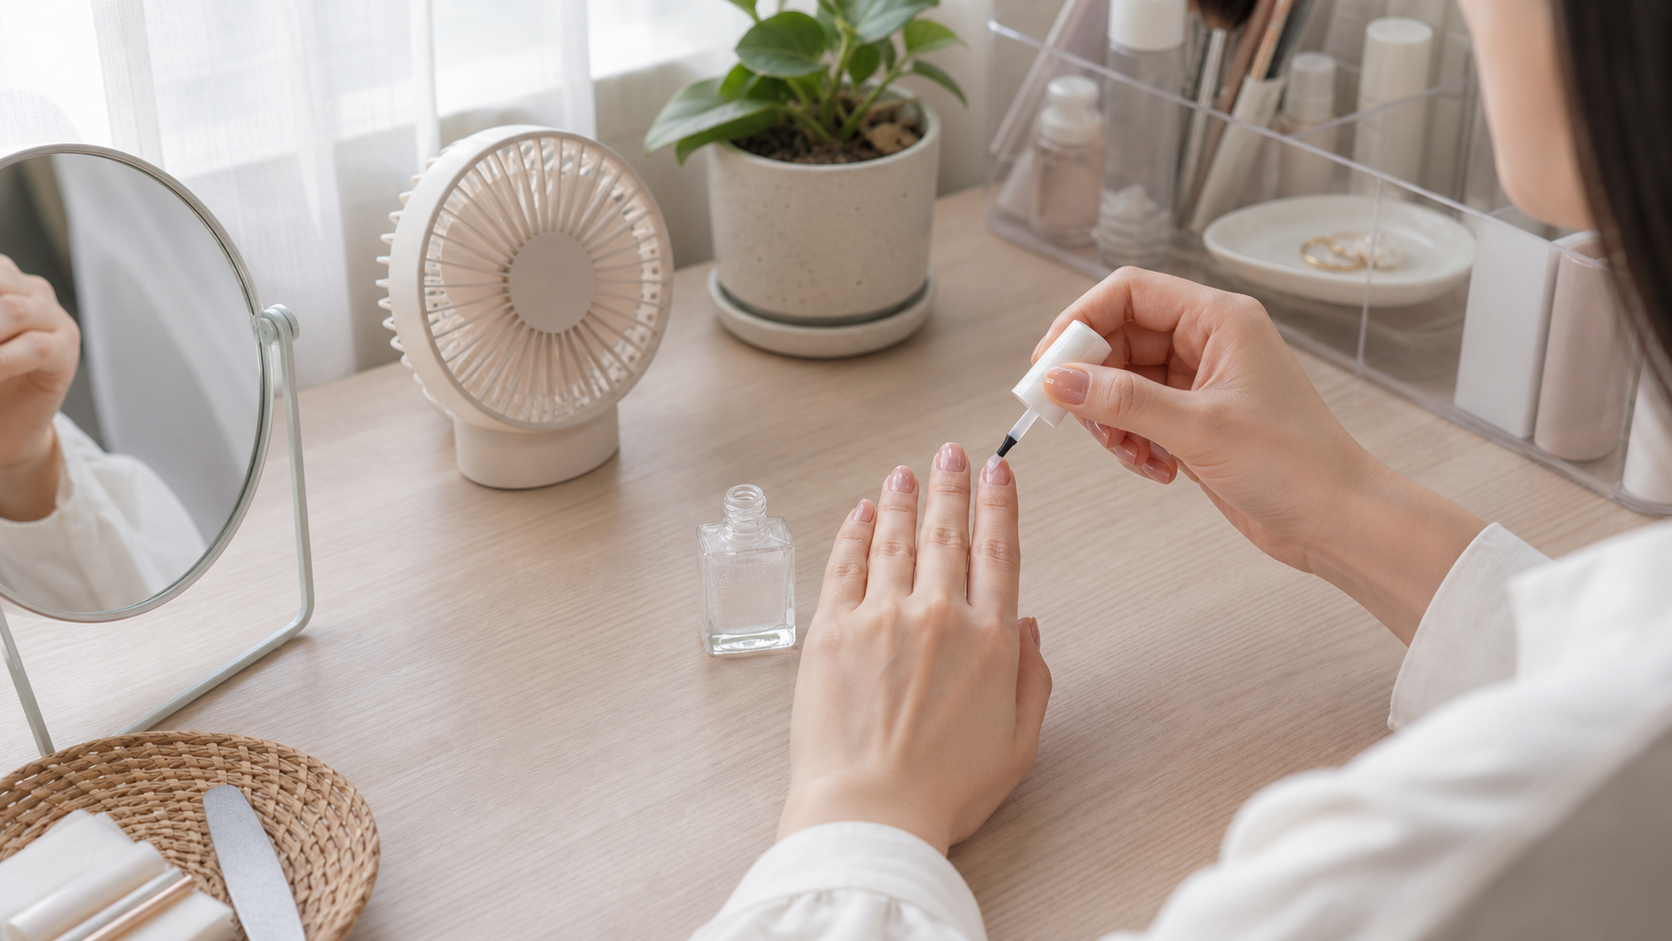
Apply a Thin Base Coat
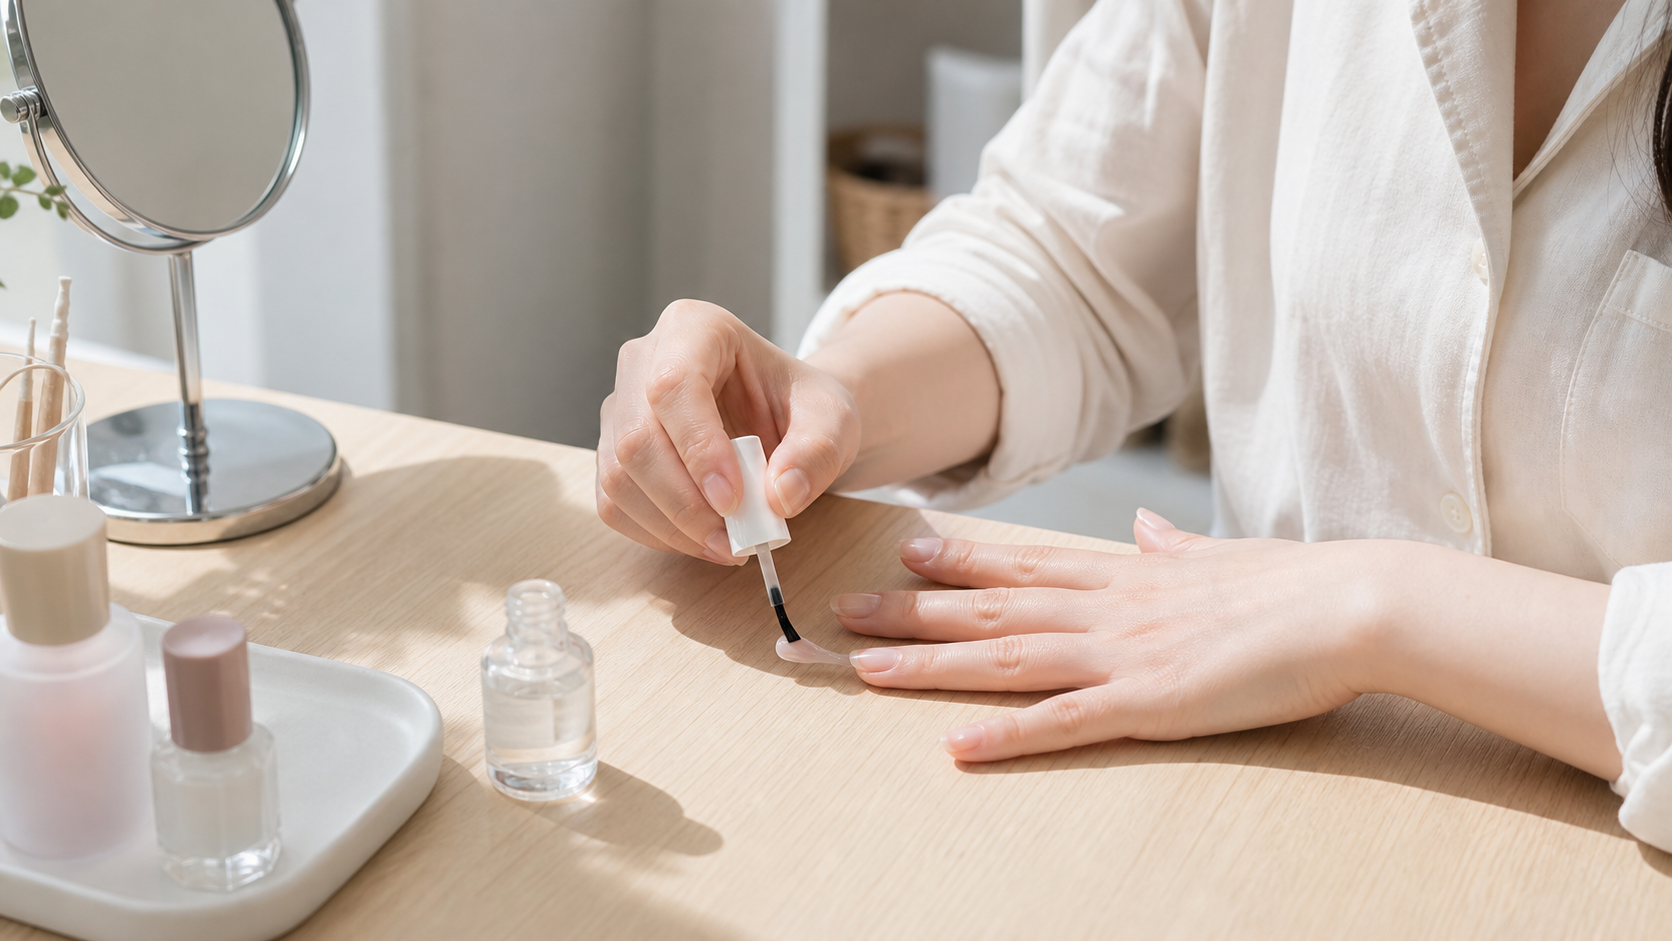
Brush on one very thin layer of base coat. Start in the middle of the nail, then lightly cover both sides. Stop once the nail is covered.
Base coat helps color apply evenly and reduces staining from deeper shades. A thin layer is enough; a thick one dries slowly.
Wait for the base coat to set before adding color.
Wipe the Brush First
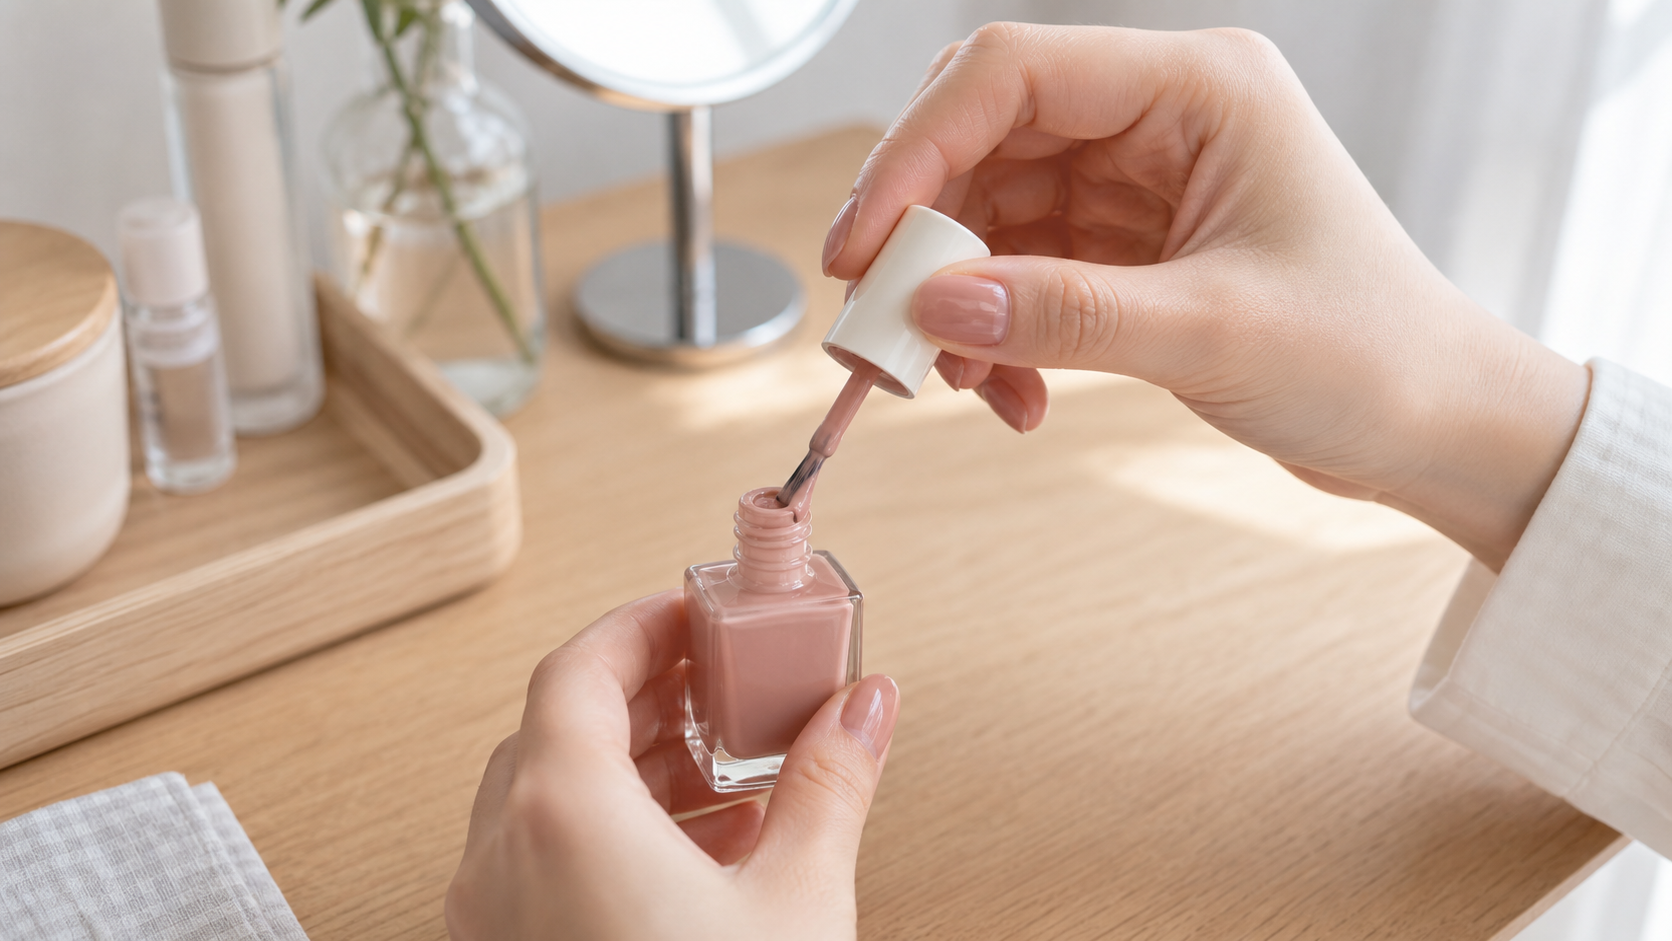
After opening the color polish, wipe one side of the brush on the bottle neck and keep only a small amount on the other side. Start with less polish, not a big drop.
Too much polish on the brush is the main reason beginners flood the edges, create bubbles, or get uneven color. Less polish is easier to control.
Do not flick the brush; polish can splash onto the desk or clothes.
Paint in Three Thin Strokes
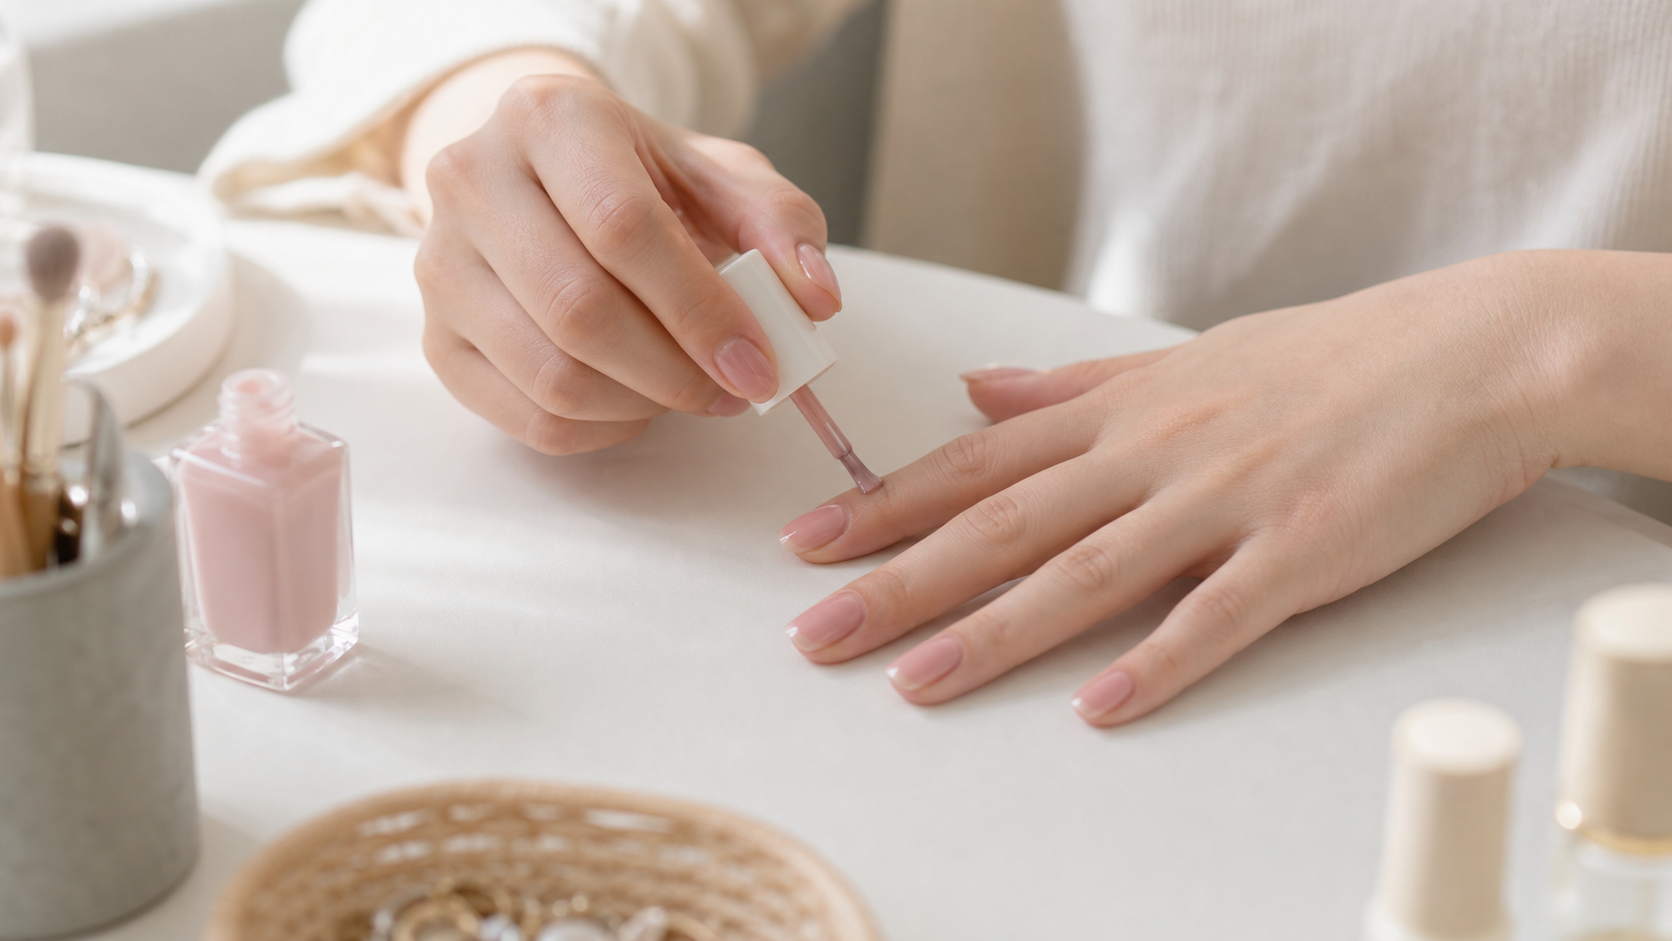
Rest your hand flat. Start slightly above the cuticle, paint one stroke down the middle, then one on each side. Leave a tiny clean gap near the skin.
The three-stroke method spreads color evenly and reduces over-brushing. A tiny gap makes the nail look neater from a normal distance and prevents flooding.
It is okay if the first coat looks sheer. Do not make it thick to cover everything at once.
Clean the Edges Quickly
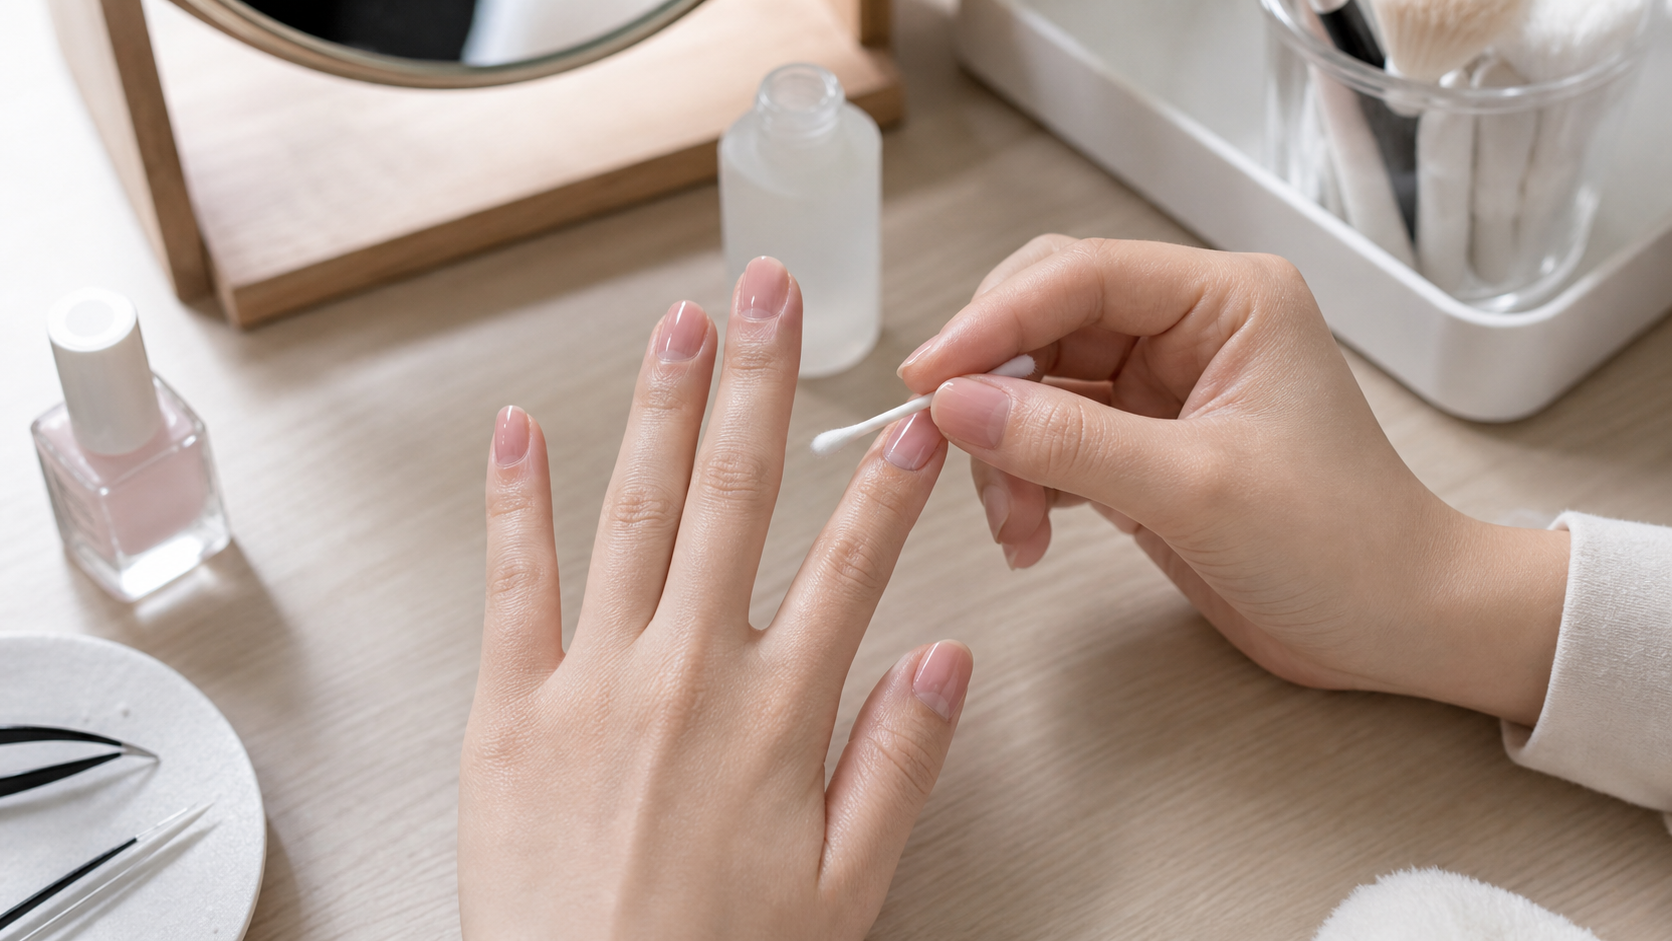
If polish touches the skin or nail edge, dip a cotton swab in a little remover and wipe along the edge gently before it dries.
Small mistakes do not mean starting over. Fixing edges early makes the whole manicure look cleaner and keeps beginners from getting frustrated.
Do not soak the cotton swab; too much remover can erase polish on the nail.
Top Coat and Dry Slowly
When the color is partly dry, apply one layer of top coat and lightly seal the nail tip. Keep both hands flat for 10 to 15 minutes and avoid hair, phone, and clothes.
Top coat adds shine and helps protect the color. The final failure usually happens from touching things too soon, so remember: thin coats, clean edges, top coat, and patient drying.
Avoid hot water and picking at things for about an hour so the surface does not dent.
Same topic
Related guides
Related guides
Cleaning
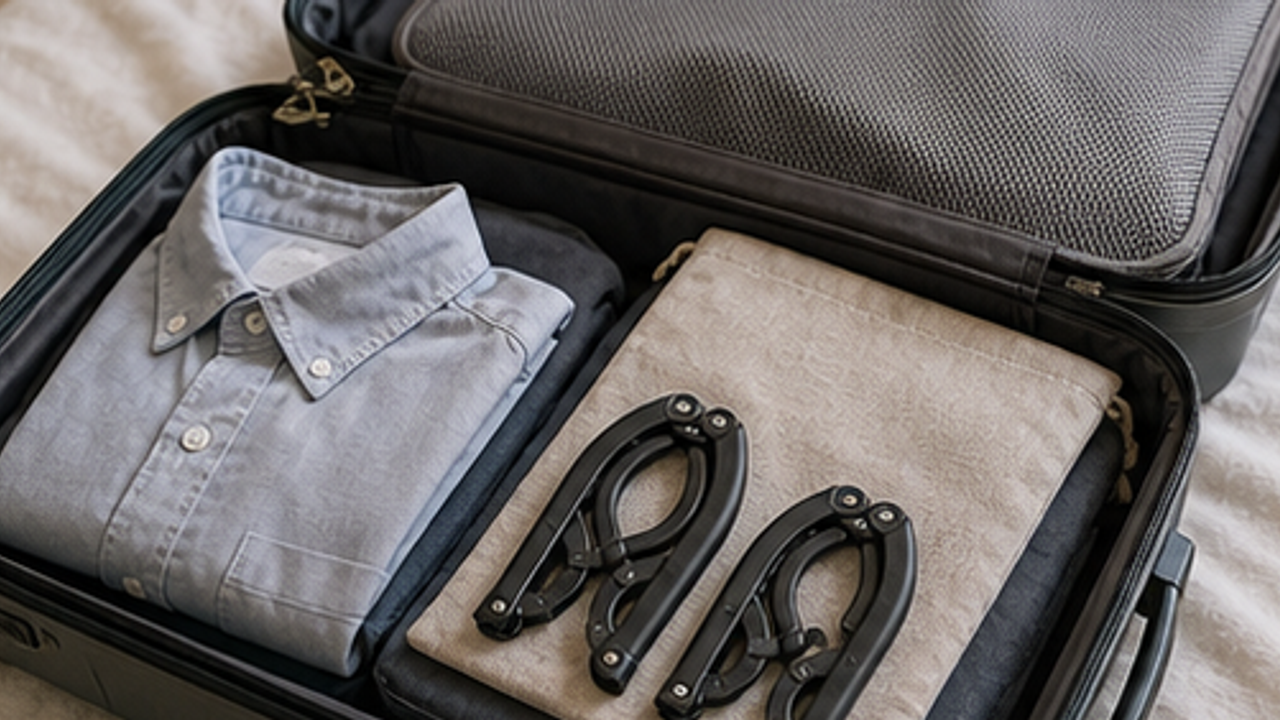
How to Prepare a Travel Folding Hanger Pouch
Give a travel folding hanger pouch one small fixed home so it is easy to use, return, and keep from spreading across drawers, shelves, or counters.
Cleaning
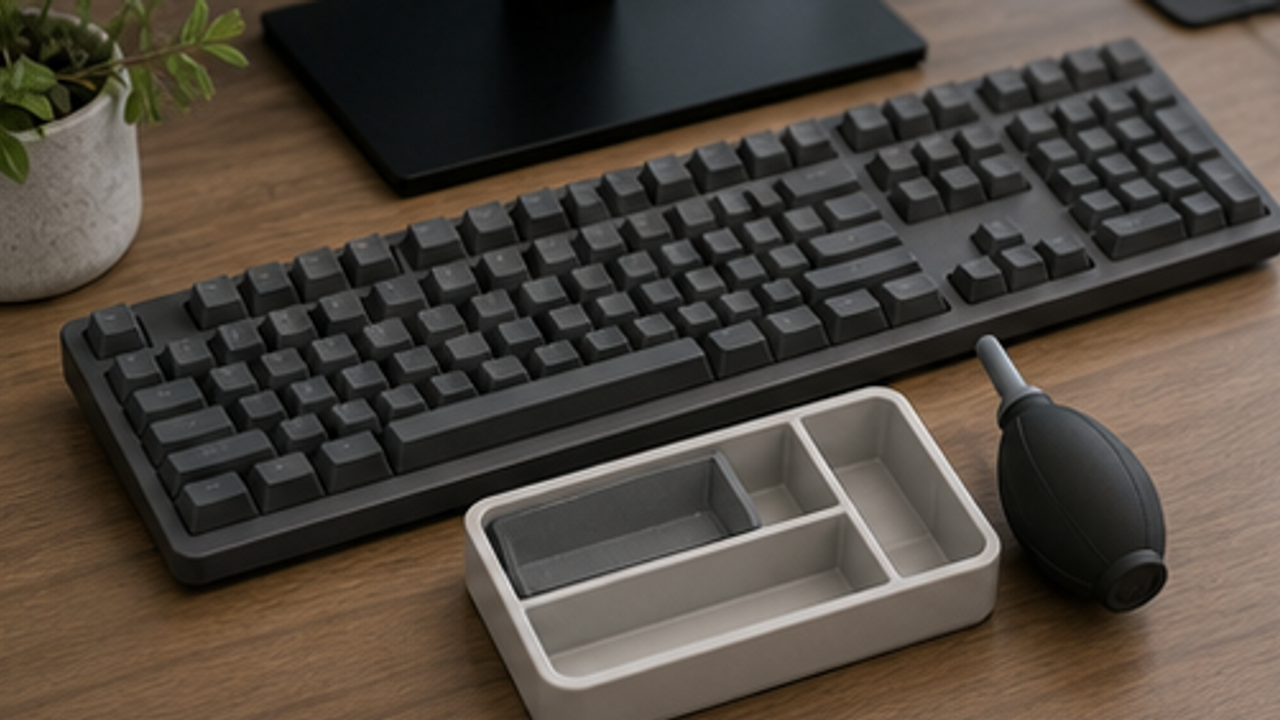
How to Set Up a Desk Keyboard Cleaning Brush Tray
Give a desk keyboard cleaning brush tray one small fixed home so it is easy to use, return, and keep from spreading across drawers, shelves, or counters.
Cleaning
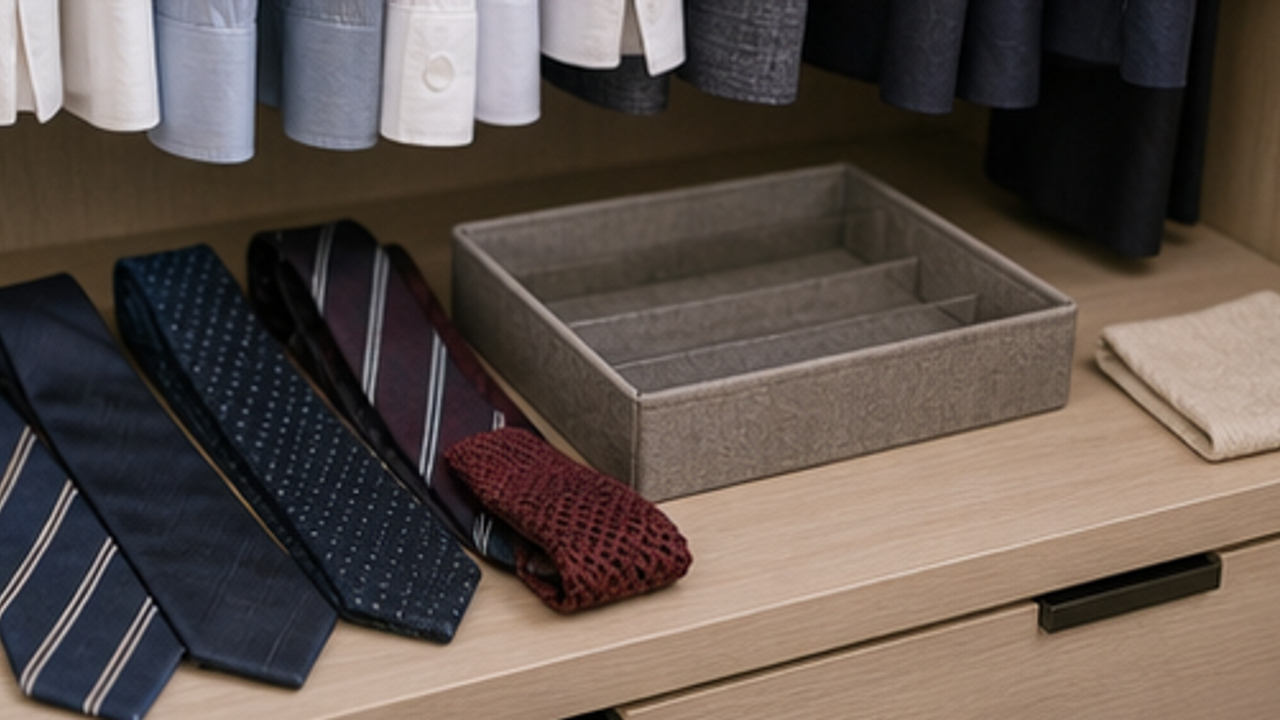
How to Organize Closet Ties in a Roll Tray
Give closet ties in a roll tray one small fixed home so it is easy to use, return, and keep from spreading across drawers, shelves, or counters.
Cleaning
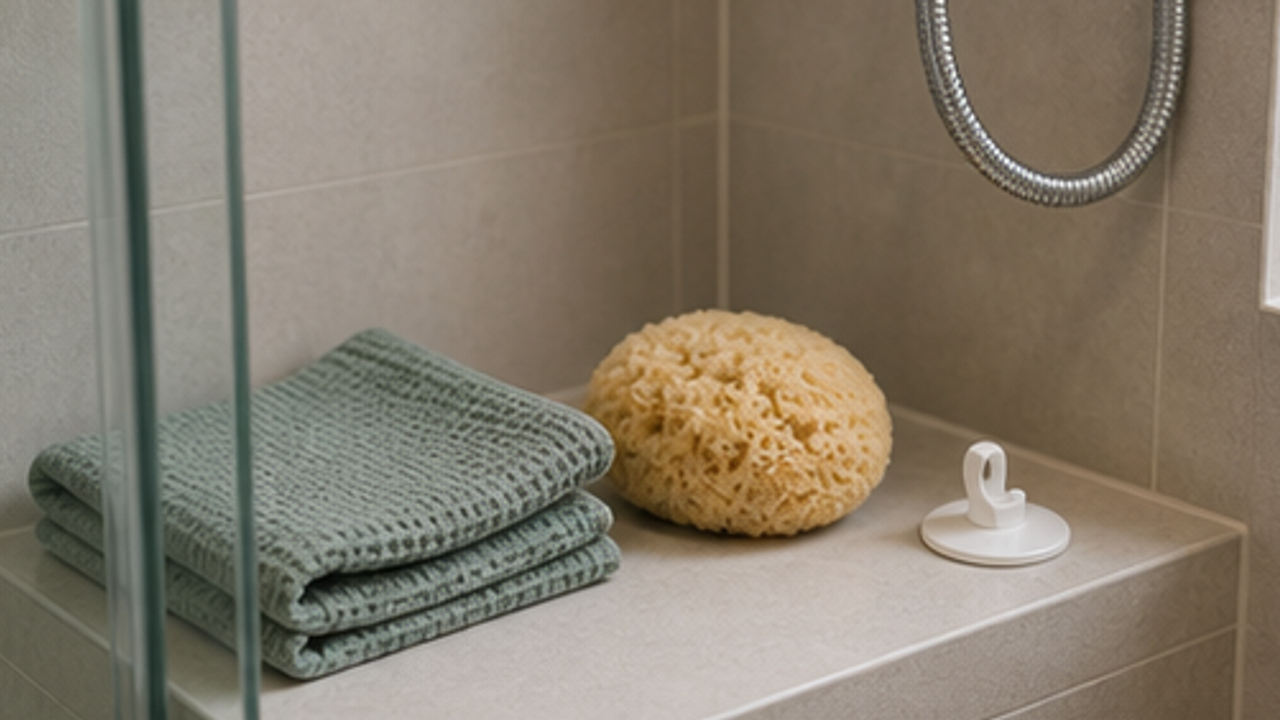
How to Set Up a Bathroom Bath Sponge Drying Hook
Give a bathroom bath sponge drying hook one small fixed home so it is easy to use, return, and keep from spreading across drawers, shelves, or counters.
More from this author
Open
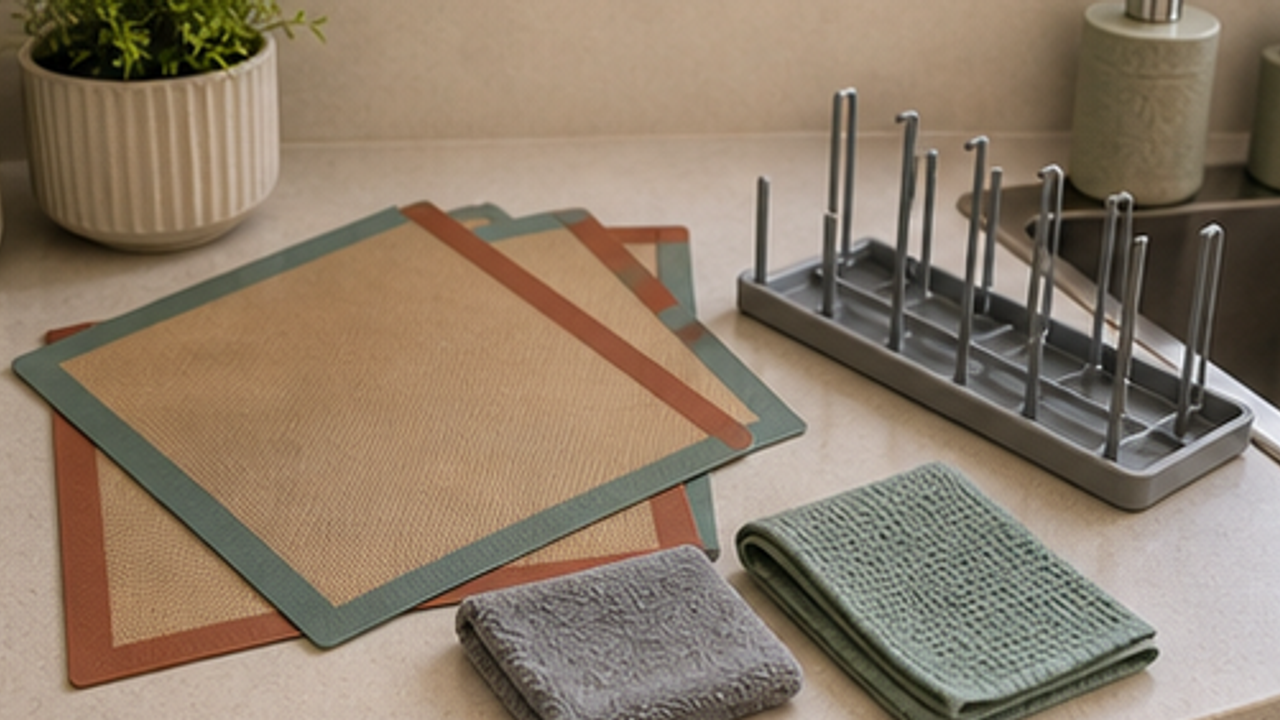
How to Set Up a Kitchen Silicone Baking Mat Drying Rack
Give a kitchen silicone baking mat drying rack one small fixed home so it is easy to use, return, and keep from spreading across drawers, shelves, or counters.
Open
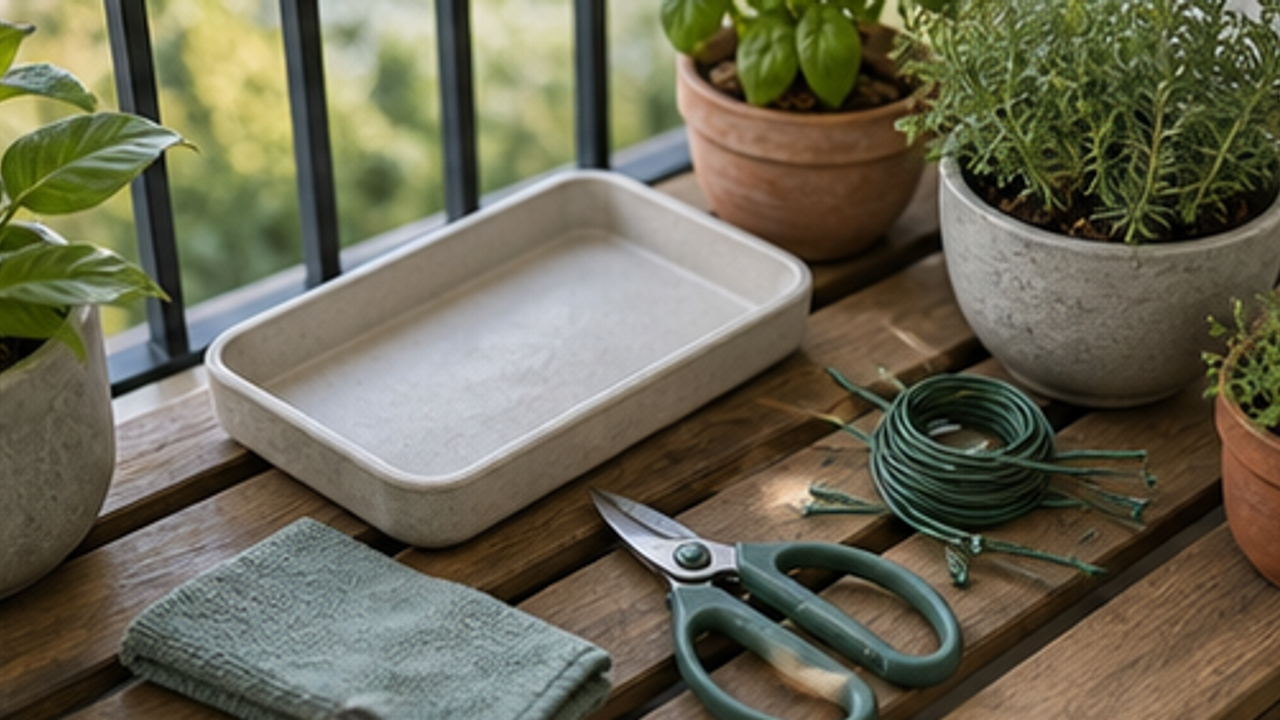
How to Set Up a Balcony Plant Pruning Tool Tray
Give a balcony plant pruning tool tray one small fixed home so it is easy to use, return, and keep from spreading across drawers, shelves, or counters.
Open
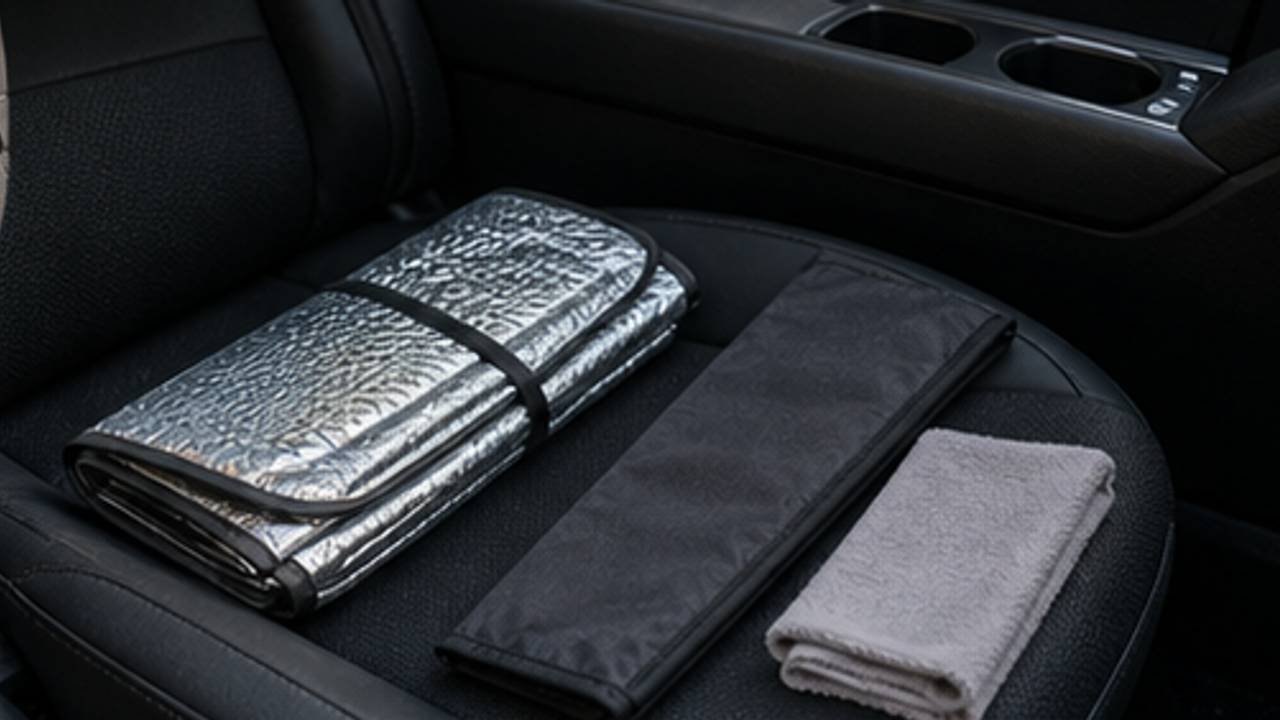
How to Organize a Car Folding Sunshade Sleeve
Give a car folding sunshade sleeve one small fixed home so it is easy to use, return, and keep from spreading across drawers, shelves, or counters.
Life Reactions
How this way feels to you
My Life Trial
Log it after trying
Comments
0 Comments
No comments yet.