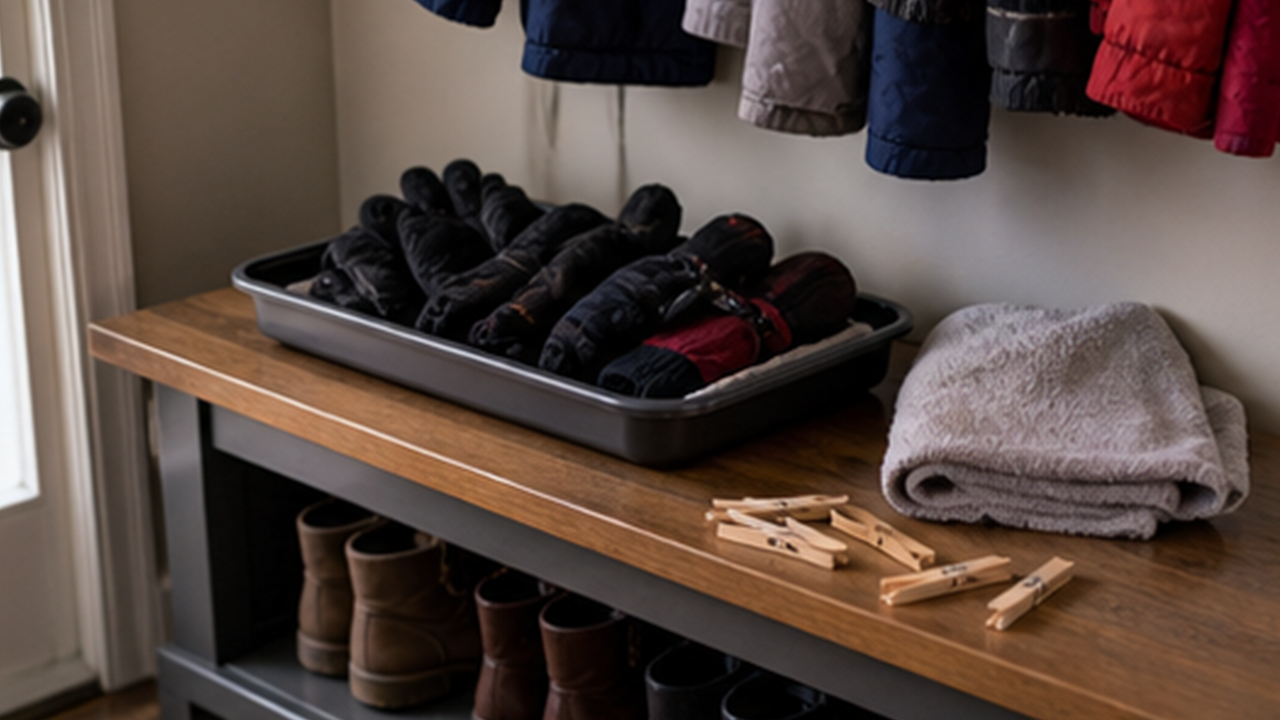
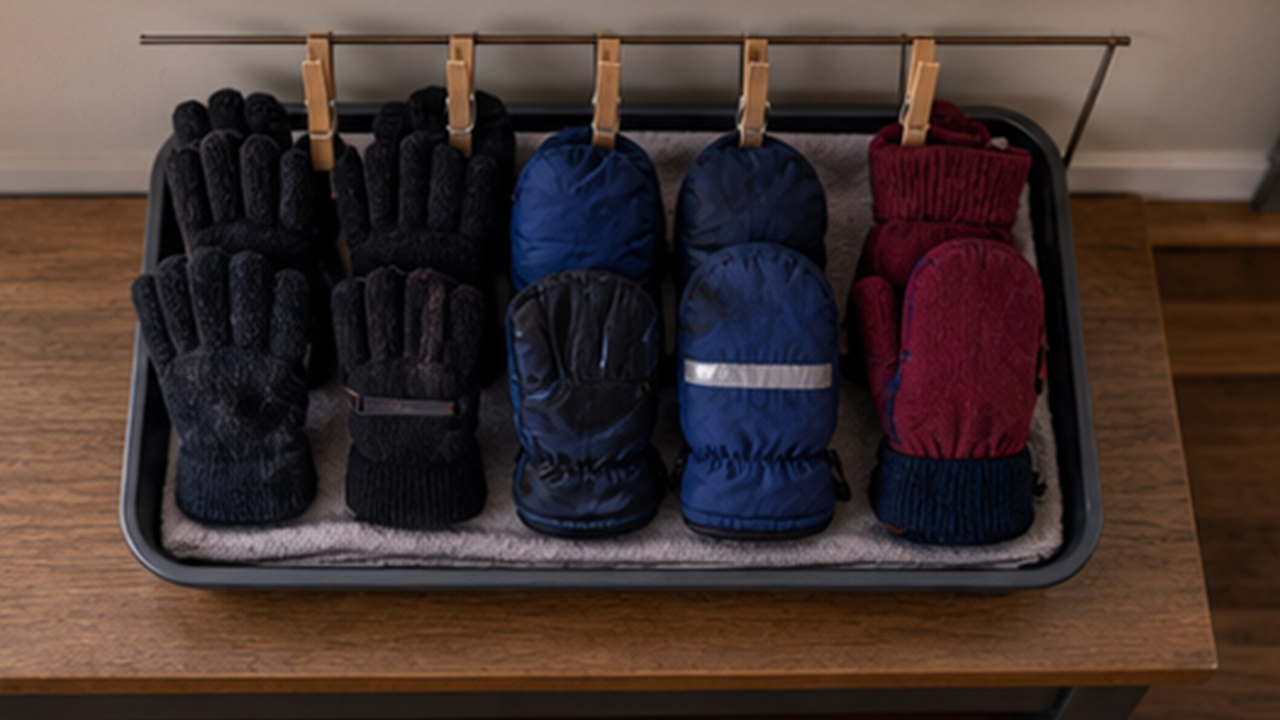
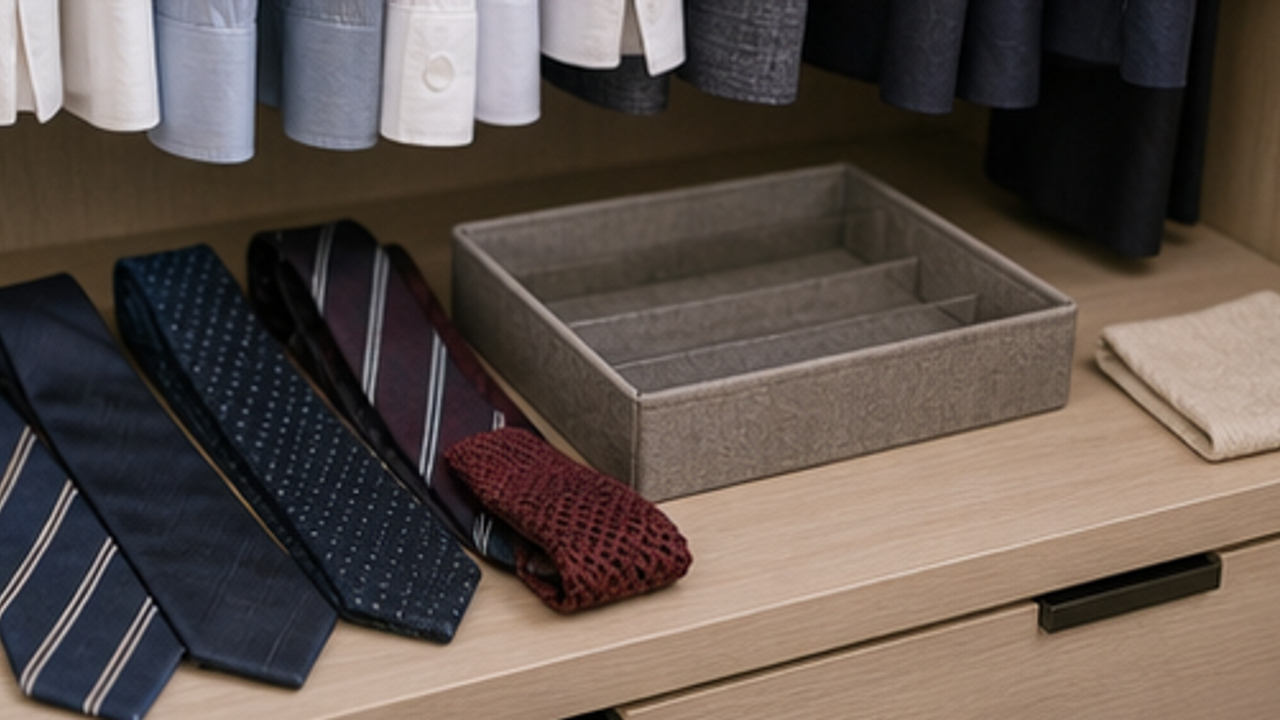
How to Set Up a Winter Glove Drying Tray

Use a small reset routine to gather wet gloves, absorbent towel, tray, clips, and entry bench into one winter glove drying tray, making the setup easier to find, use, and maintain.
Empty and review the area
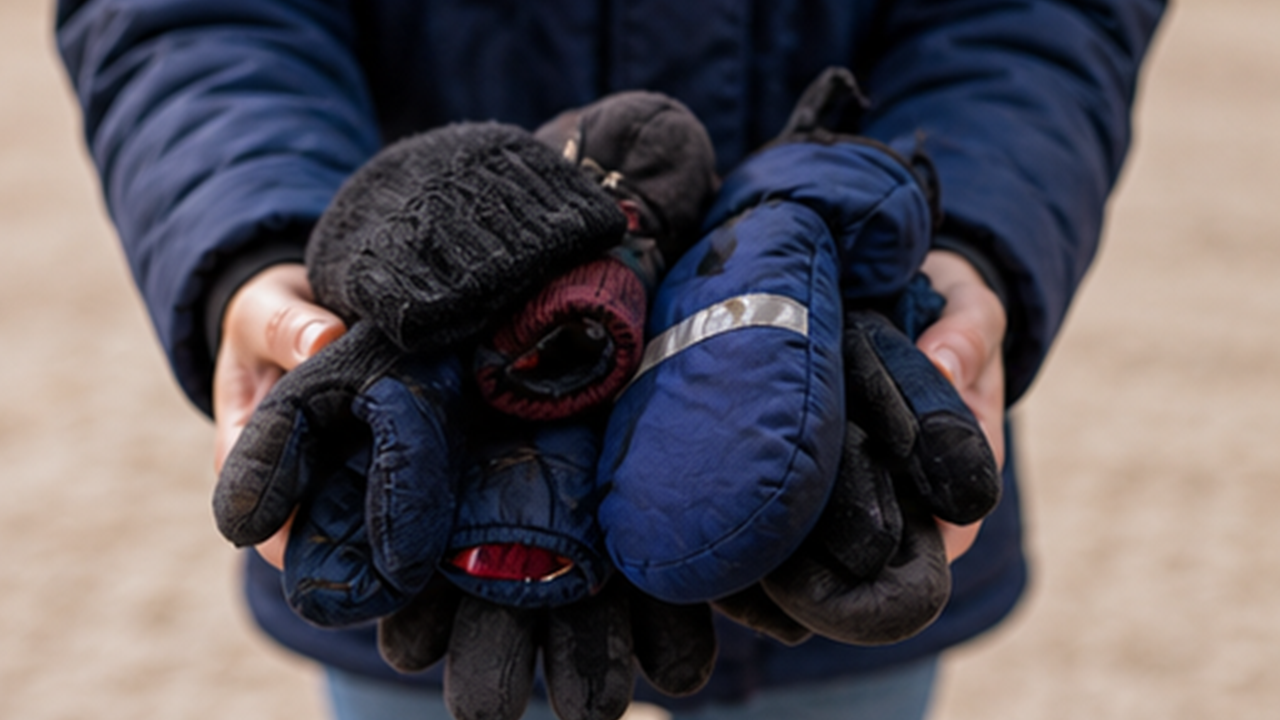
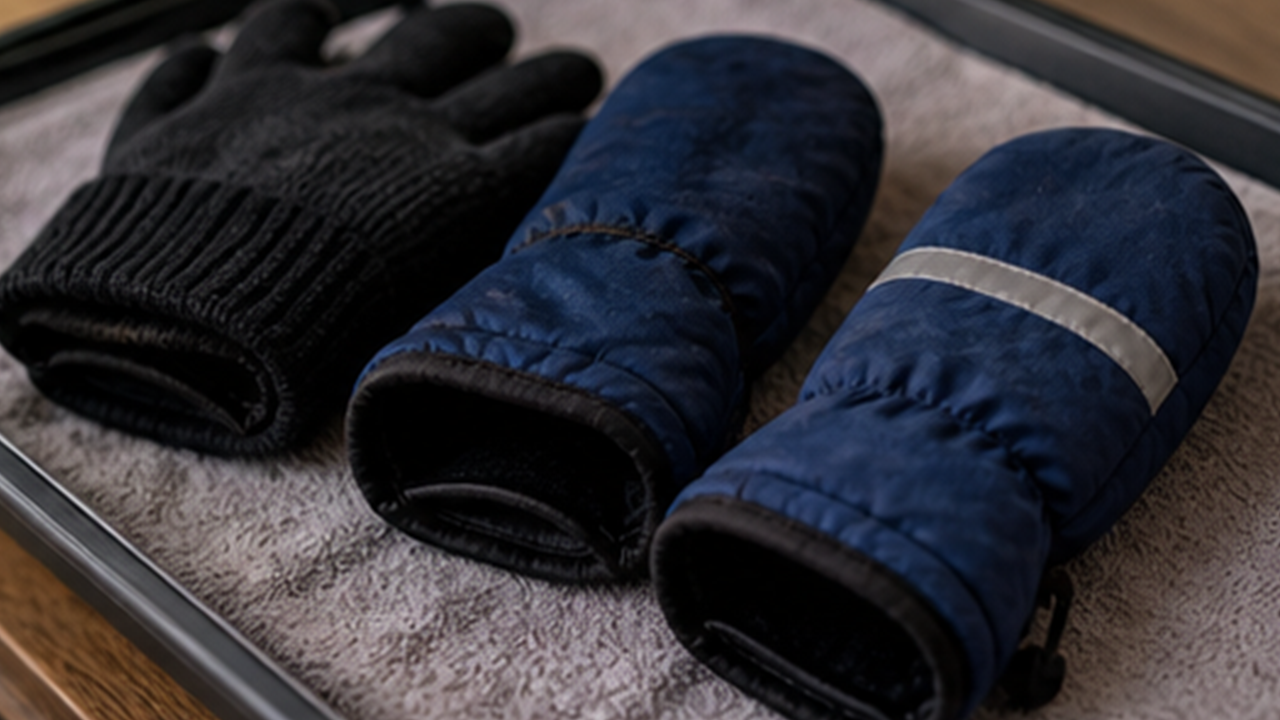
Take out wet gloves, absorbent towel, tray, clips, and entry bench so you can see the amount, condition, and duplicates.
This step turns the winter glove drying tray from a loose pile into a repeatable mini system.
Wipe the surface
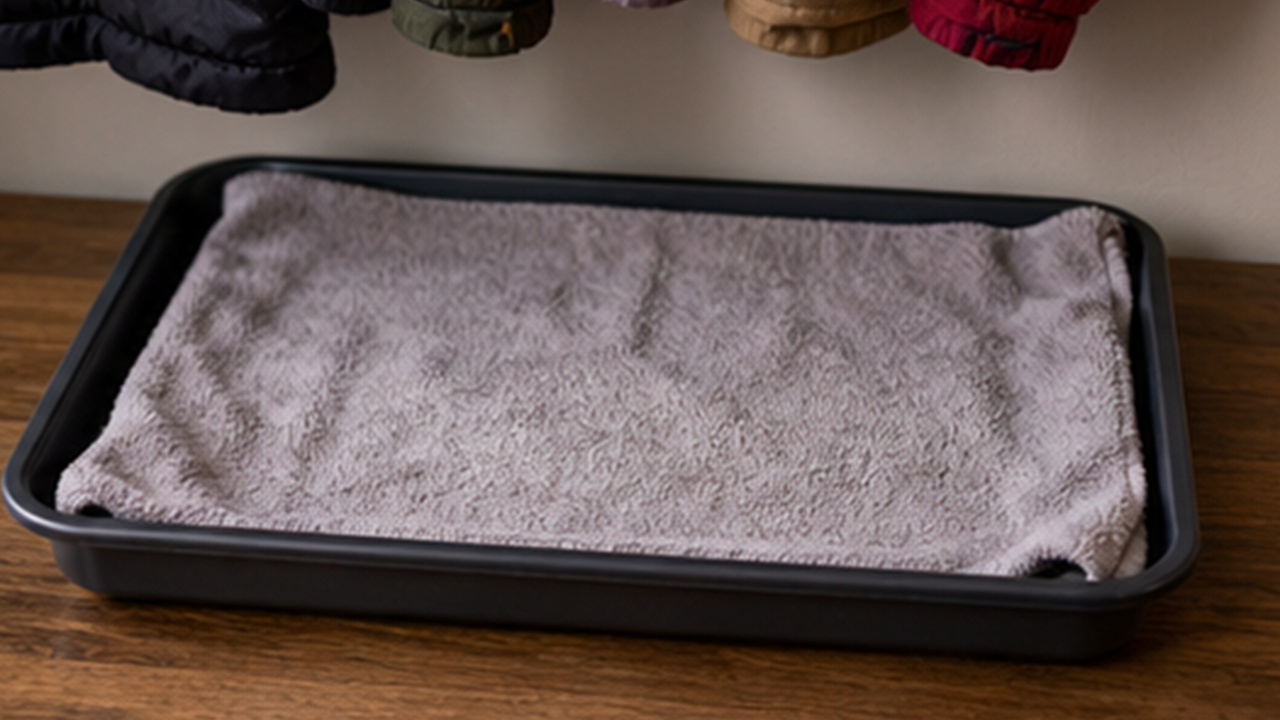
Wipe the counter, drawer, or tray with a suitable cloth and let it dry before returning items.
This step turns the winter glove drying tray from a loose pile into a repeatable mini system.
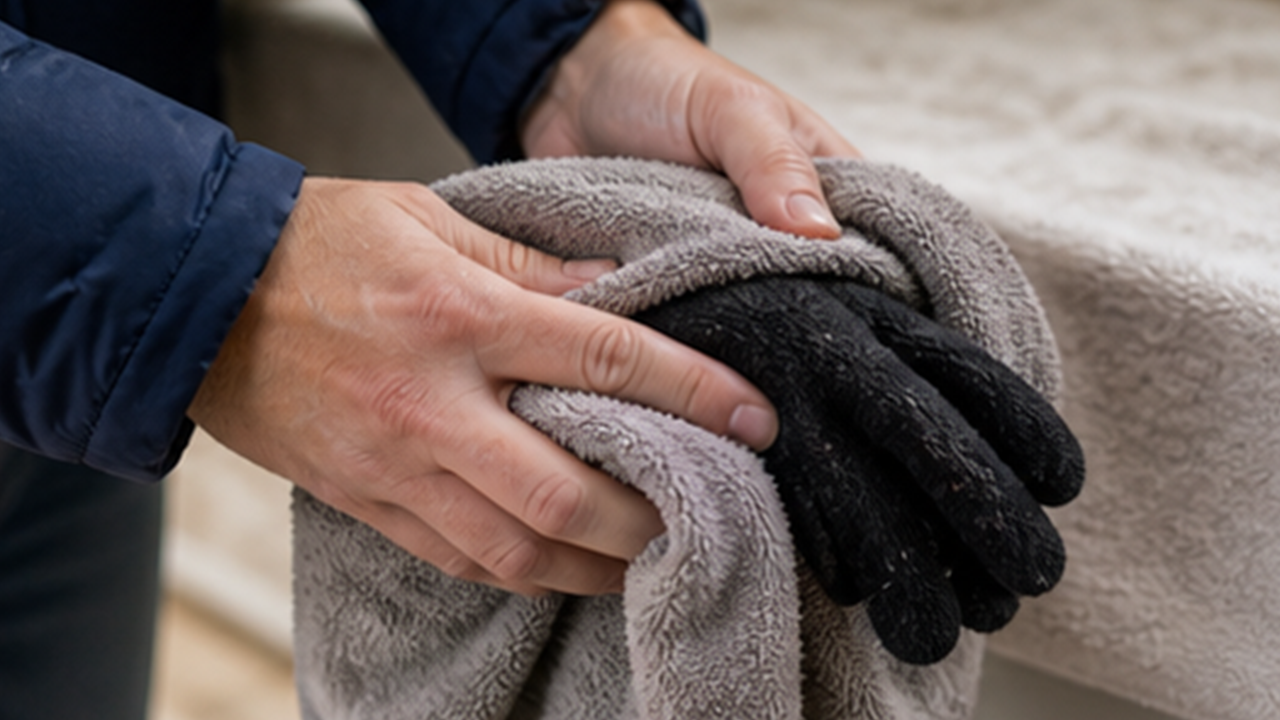
Do not place wet gloves directly on high heat, which can damage the material.
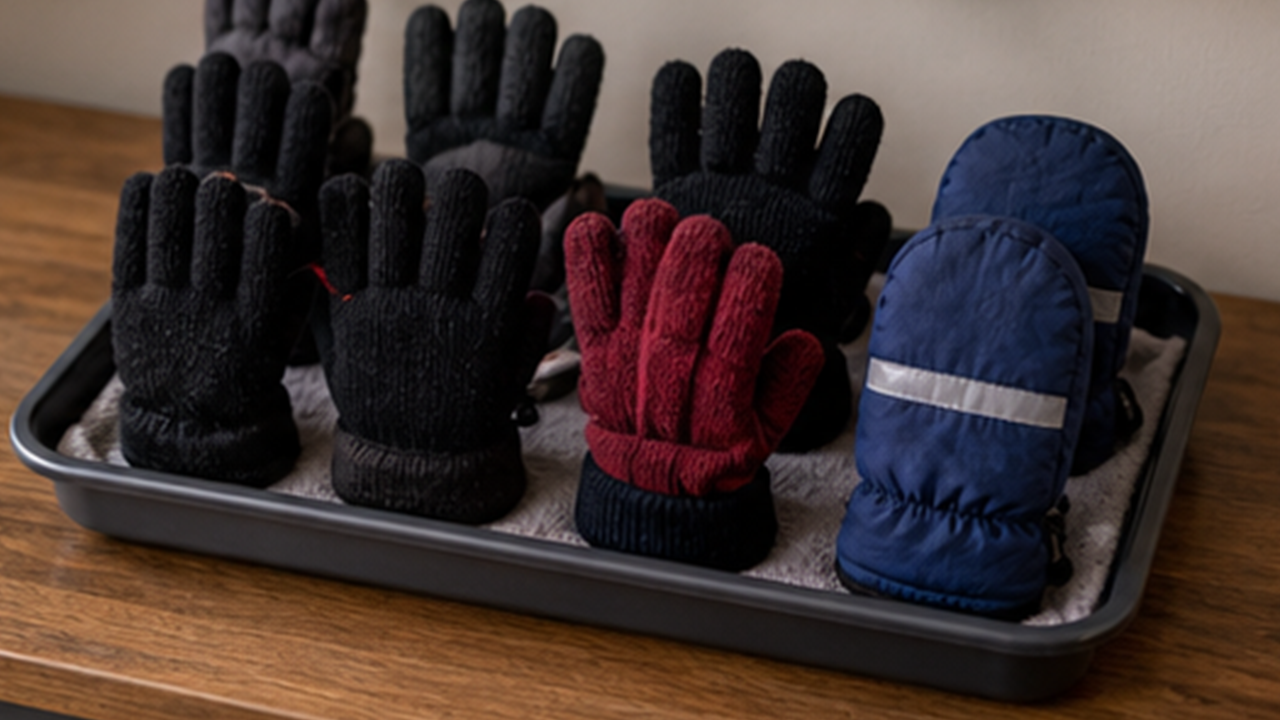
Group by purpose
Separate daily items, occasional items, and backups, keeping daily pieces closest to hand.
This step turns the winter glove drying tray from a loose pile into a repeatable mini system.
Remove what does not belong
Remove expired, damaged, damp, duplicate, or no-longer-useful items.
This step turns the winter glove drying tray from a loose pile into a repeatable mini system.
Add the core items first
Return the most important items first, leaving enough open space for your hand to reach in.
This step turns the winter glove drying tray from a loose pile into a repeatable mini system.
Give small items a fixed spot
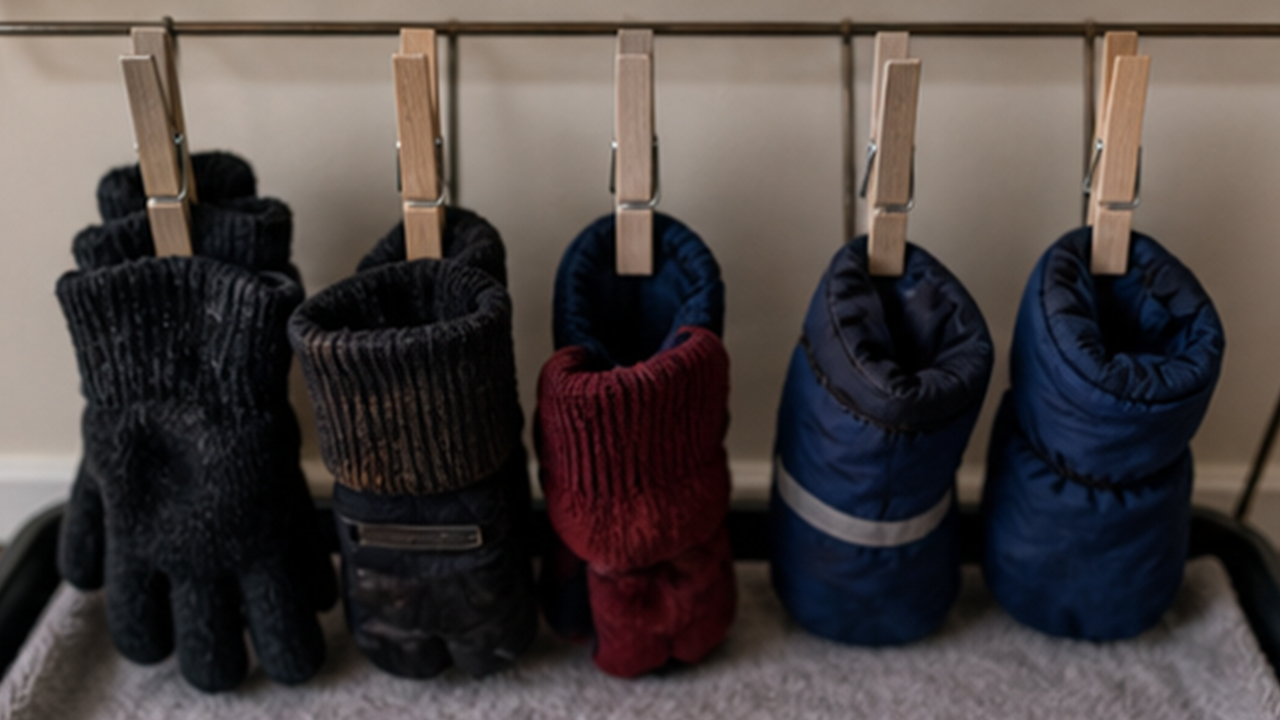
Use a small box, tray, clip, or divider so loose pieces do not spread out again.
This step turns the winter glove drying tray from a loose pile into a repeatable mini system.
Return it to an easy place
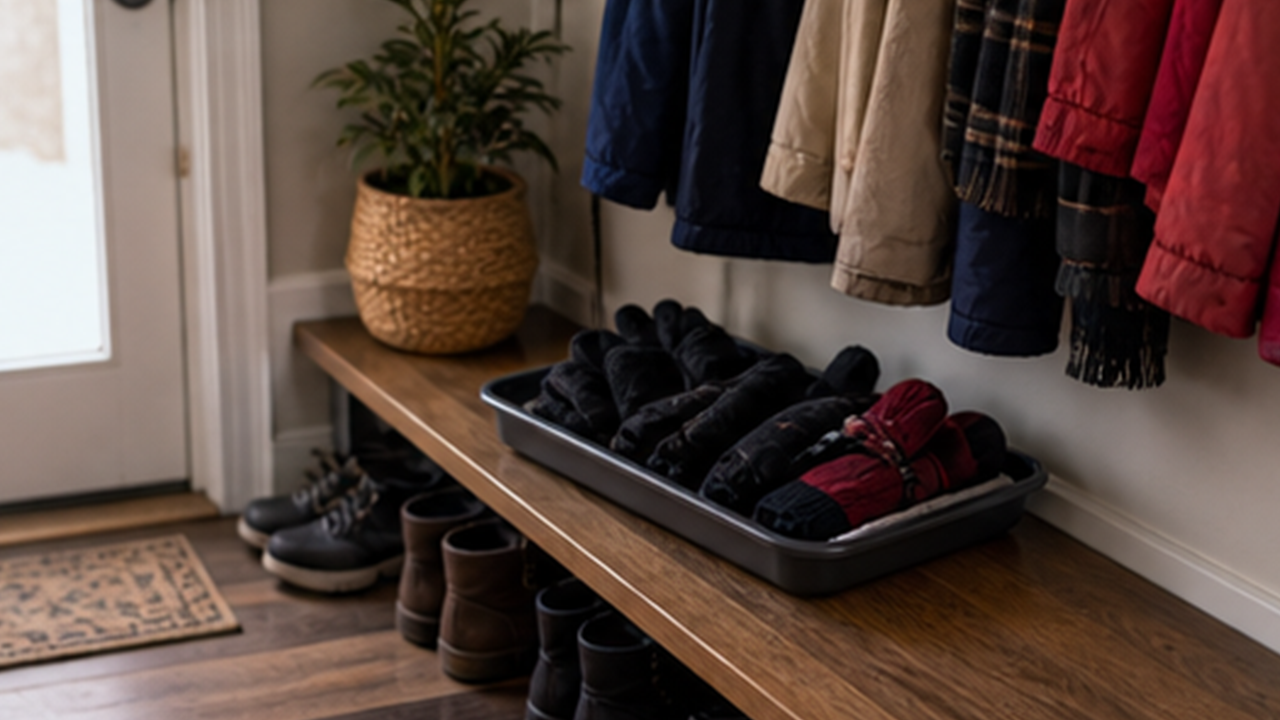
Place the finished winter glove drying tray where you truly use it, not only where it looks nice.
This step turns the winter glove drying tray from a loose pile into a repeatable mini system.
Adjust after the next use
After the next use, adjust one or two awkward spots so the system fits your habits.
This step turns the winter glove drying tray from a loose pile into a repeatable mini system.
Do not place wet gloves directly on high heat, which can damage the material.
Same topic
Related guides
Related guides
Home Organization
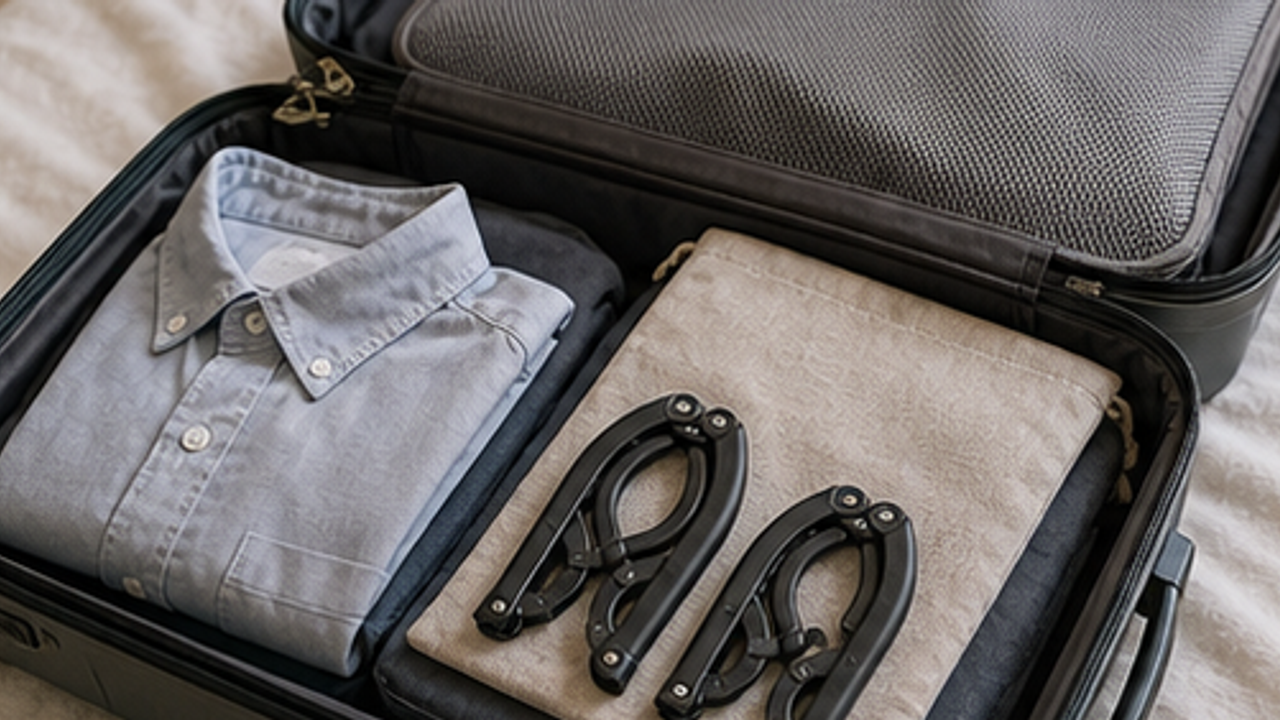
How to Prepare a Travel Folding Hanger Pouch
Give a travel folding hanger pouch one small fixed home so it is easy to use, return, and keep from spreading across drawers, shelves, or counters.
Home Organization
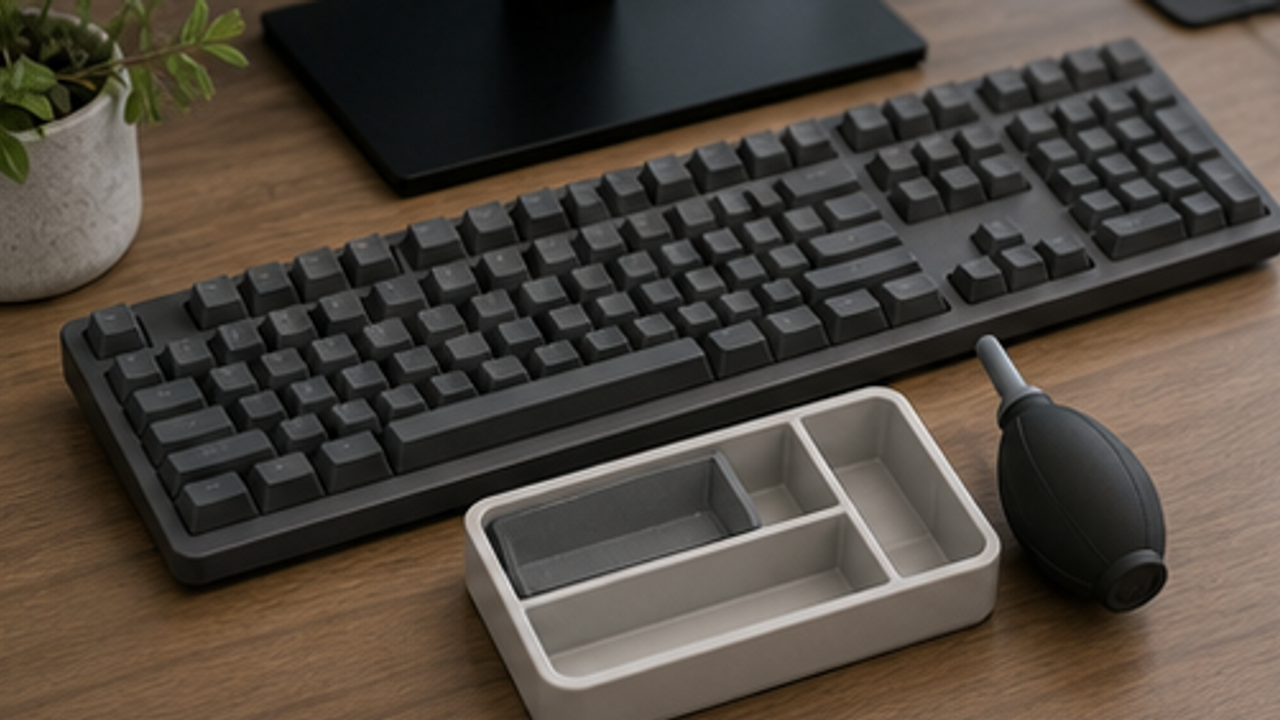
How to Set Up a Desk Keyboard Cleaning Brush Tray
Give a desk keyboard cleaning brush tray one small fixed home so it is easy to use, return, and keep from spreading across drawers, shelves, or counters.
Home Organization
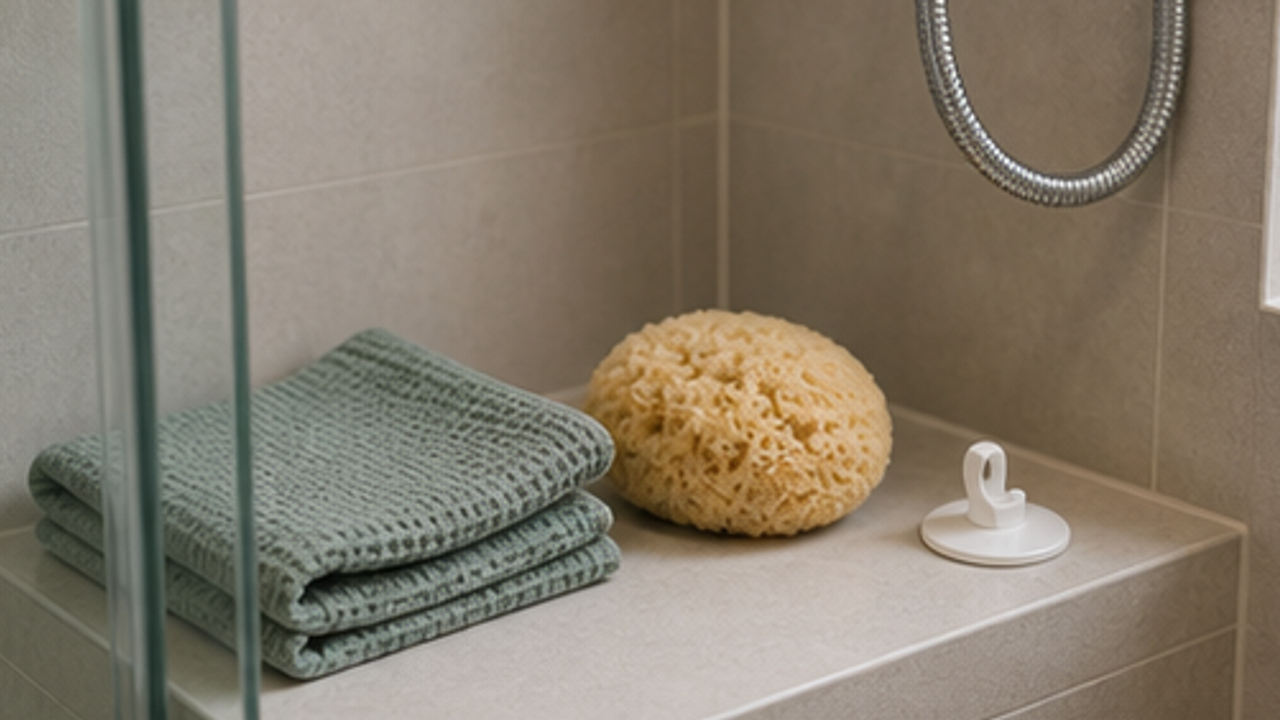
How to Set Up a Bathroom Bath Sponge Drying Hook
Give a bathroom bath sponge drying hook one small fixed home so it is easy to use, return, and keep from spreading across drawers, shelves, or counters.
Home Organization
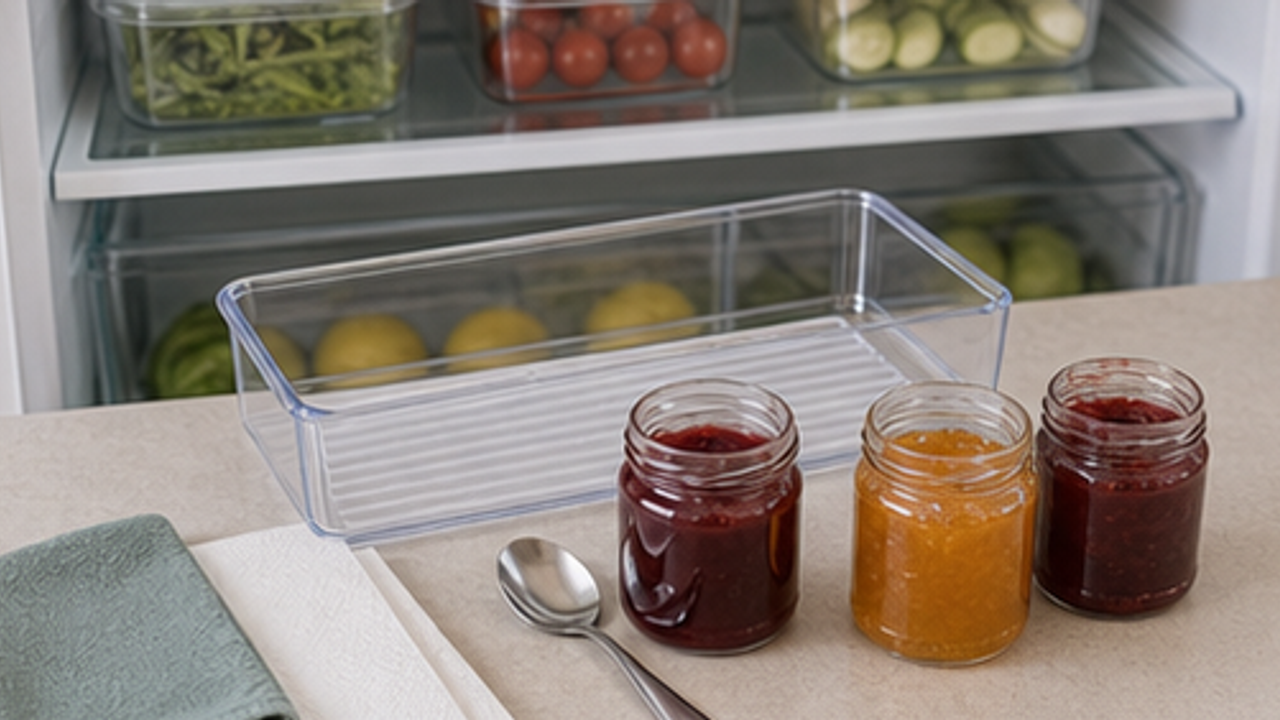
How to Organize Opened Jam Jars in a Fridge Front Bin
Give opened jam jars in a fridge front bin one small fixed home so it is easy to use, return, and keep from spreading across drawers, shelves, or counters.
More from this author
Open
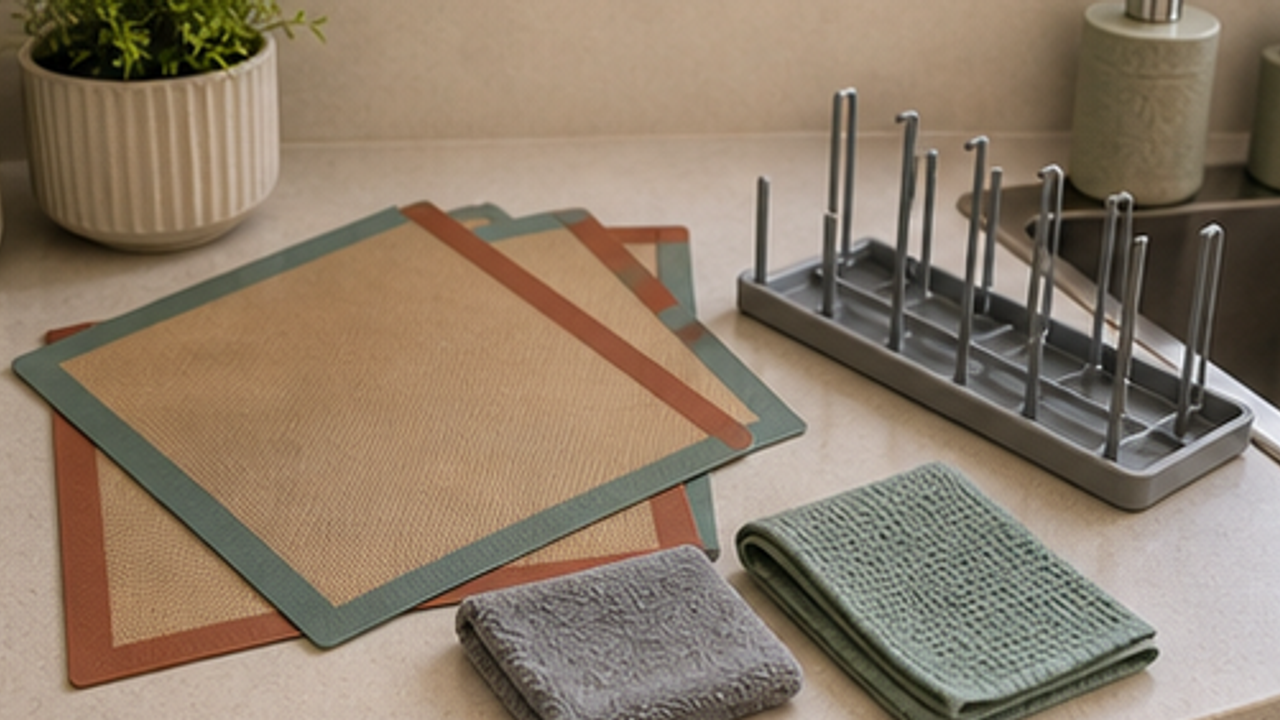
How to Set Up a Kitchen Silicone Baking Mat Drying Rack
Give a kitchen silicone baking mat drying rack one small fixed home so it is easy to use, return, and keep from spreading across drawers, shelves, or counters.
Open
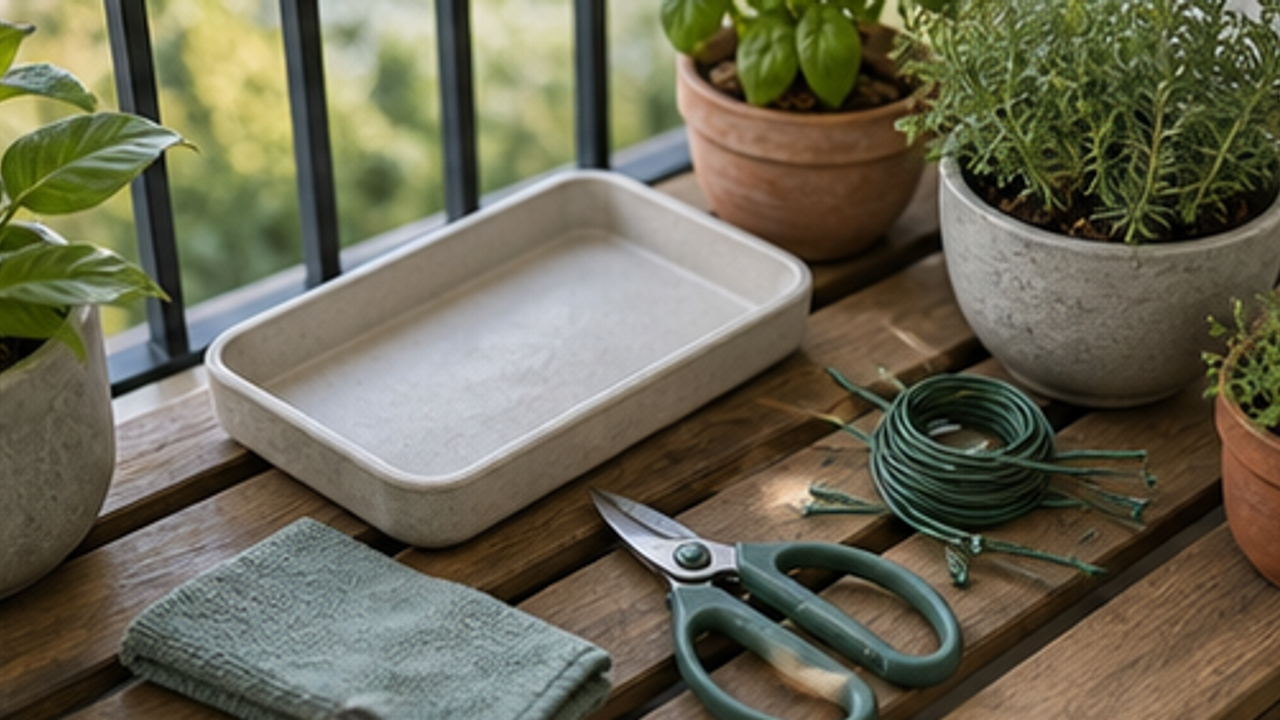
How to Set Up a Balcony Plant Pruning Tool Tray
Give a balcony plant pruning tool tray one small fixed home so it is easy to use, return, and keep from spreading across drawers, shelves, or counters.
Open
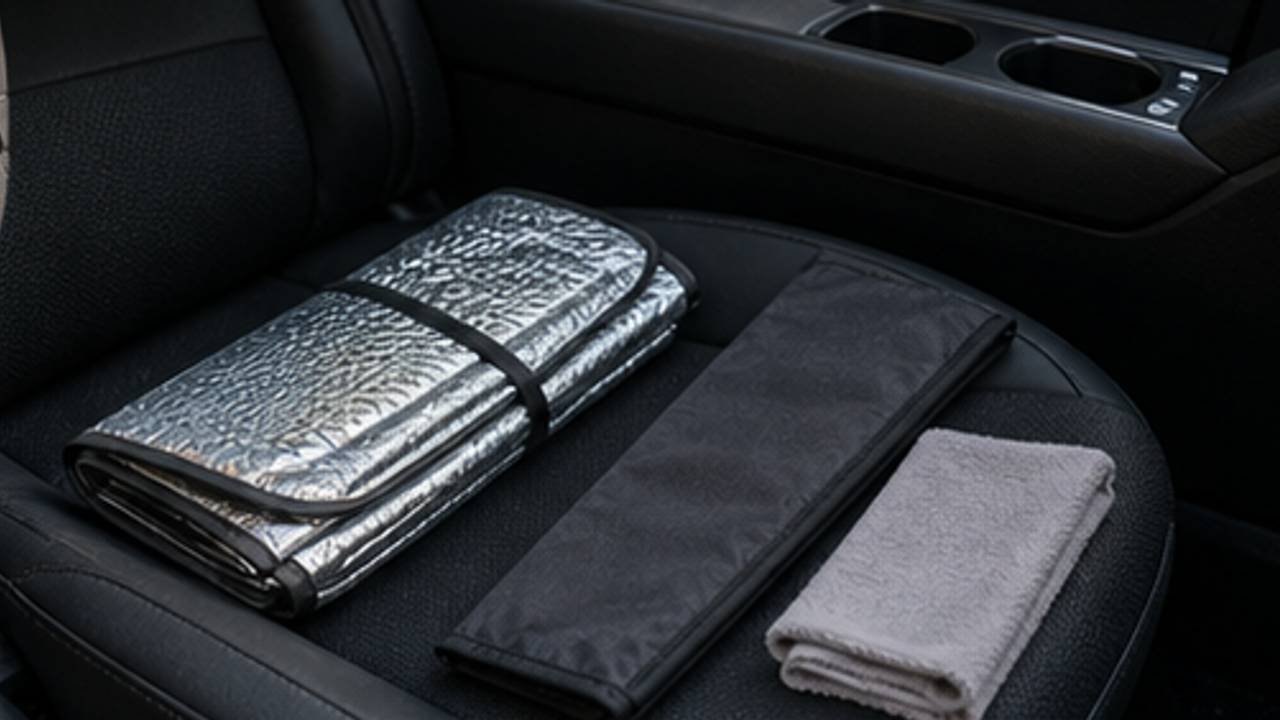
How to Organize a Car Folding Sunshade Sleeve
Give a car folding sunshade sleeve one small fixed home so it is easy to use, return, and keep from spreading across drawers, shelves, or counters.
Life Reactions
How this way feels to you
My Life Trial
Log it after trying
Comments
0 Comments
No comments yet.