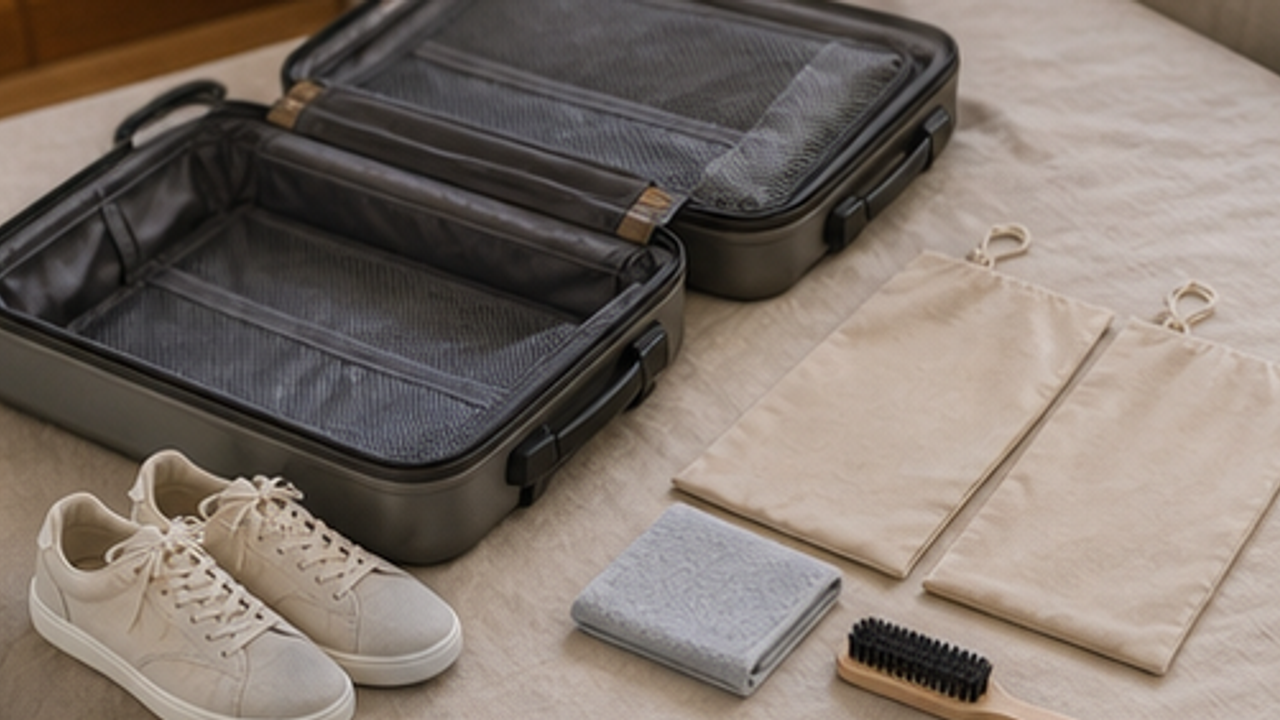
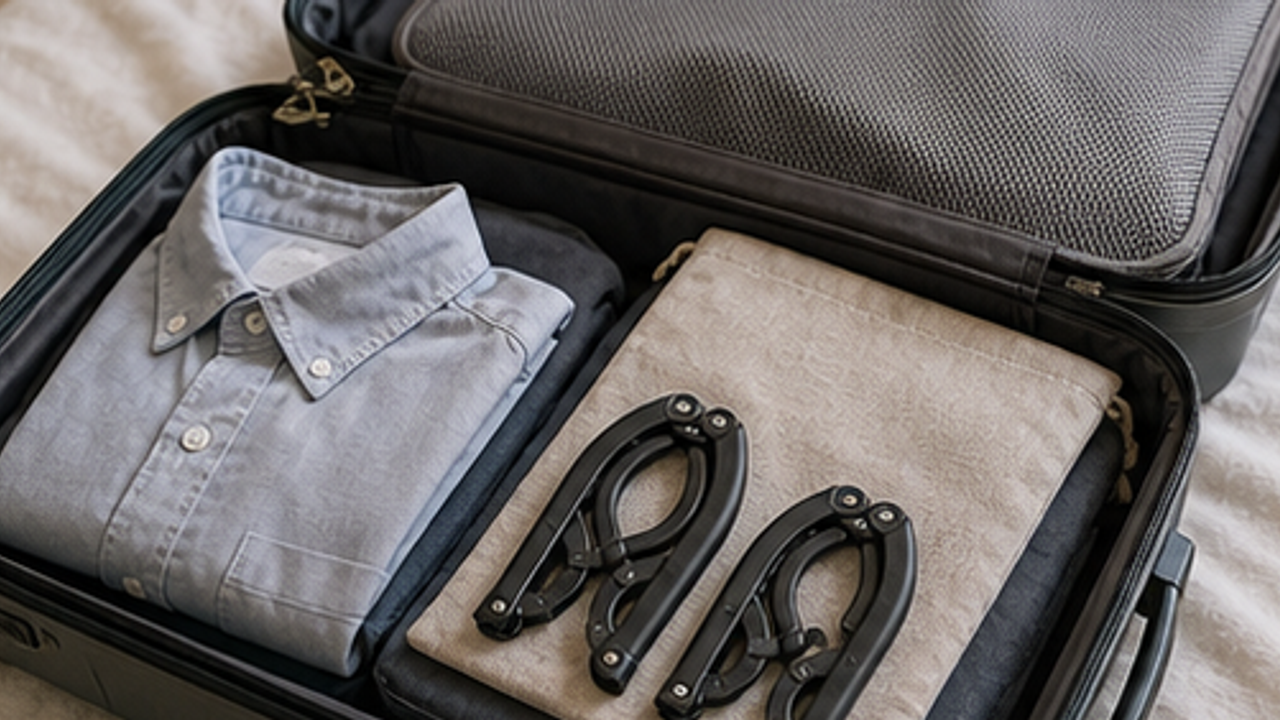
How to Pack Travel Shoe Sole Isolation Bags

Give travel shoe sole isolation bags a clear small home so you do not have to search for it when leaving, cooking, cleaning, or packing.
Place shoes on a towel
Place shoes on a towel. Handle only this small category so the work surface stays controlled and matches the visual step clearly.
This moves travel shoe sole isolation bags from scattered storage into a fixed setup. Finish step 1 before moving on.
Do not seal shoes while the soles are still wet, or moisture can spread inside the luggage.
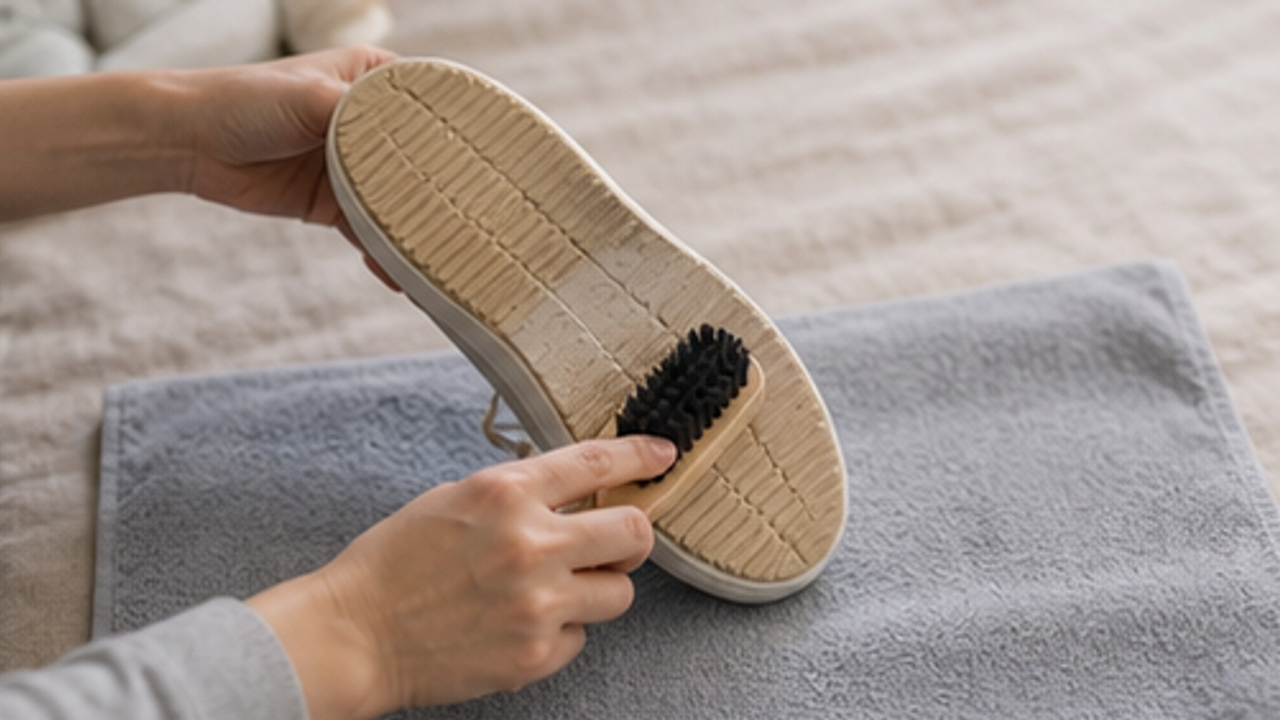
Brush debris from the soles

Brush debris from the soles. Handle only this small category so the work surface stays controlled and matches the visual step clearly.
This moves travel shoe sole isolation bags from scattered storage into a fixed setup. Finish step 2 before moving on.
Do not seal shoes while the soles are still wet, or moisture can spread inside the luggage.
Wipe soles with a damp cloth
Wipe soles with a damp cloth. Handle only this small category so the work surface stays controlled and matches the visual step clearly.
This moves travel shoe sole isolation bags from scattered storage into a fixed setup. Finish step 3 before moving on.
Do not seal shoes while the soles are still wet, or moisture can spread inside the luggage.
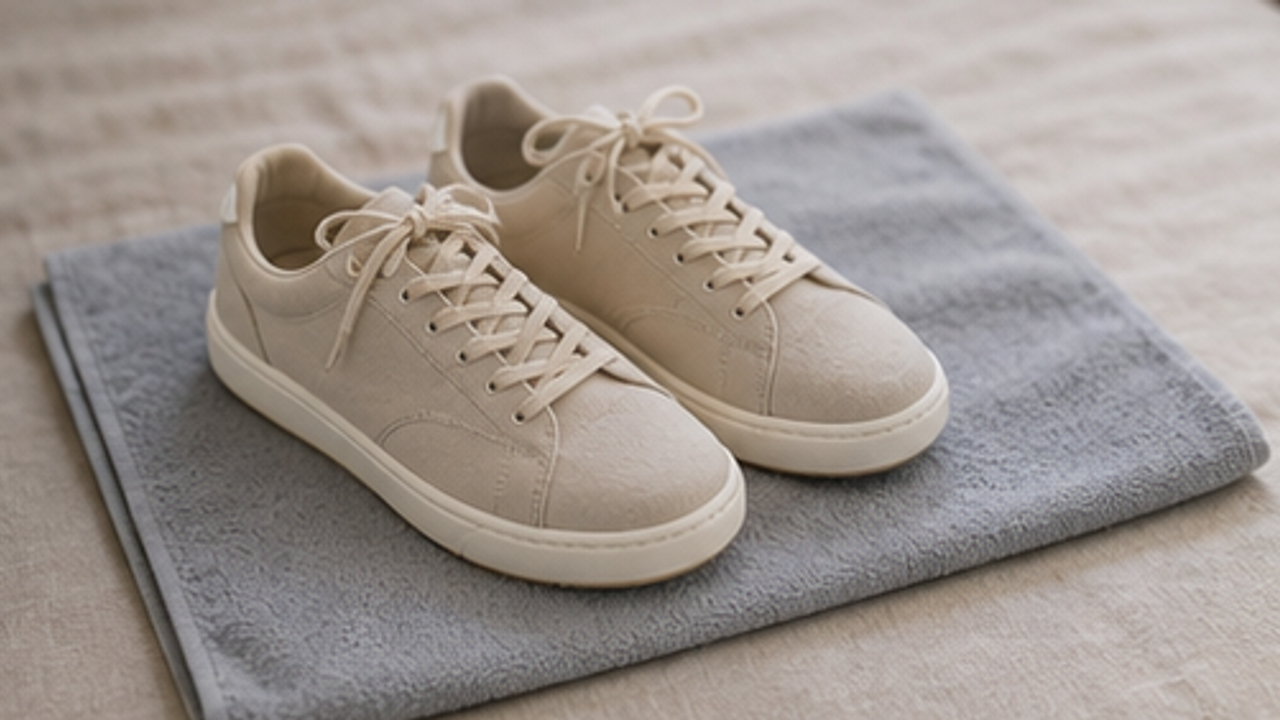
Let the soles dry completely
Let the soles dry completely. Handle only this small category so the work surface stays controlled and matches the visual step clearly.
This moves travel shoe sole isolation bags from scattered storage into a fixed setup. Finish step 4 before moving on.
Do not seal shoes while the soles are still wet, or moisture can spread inside the luggage.
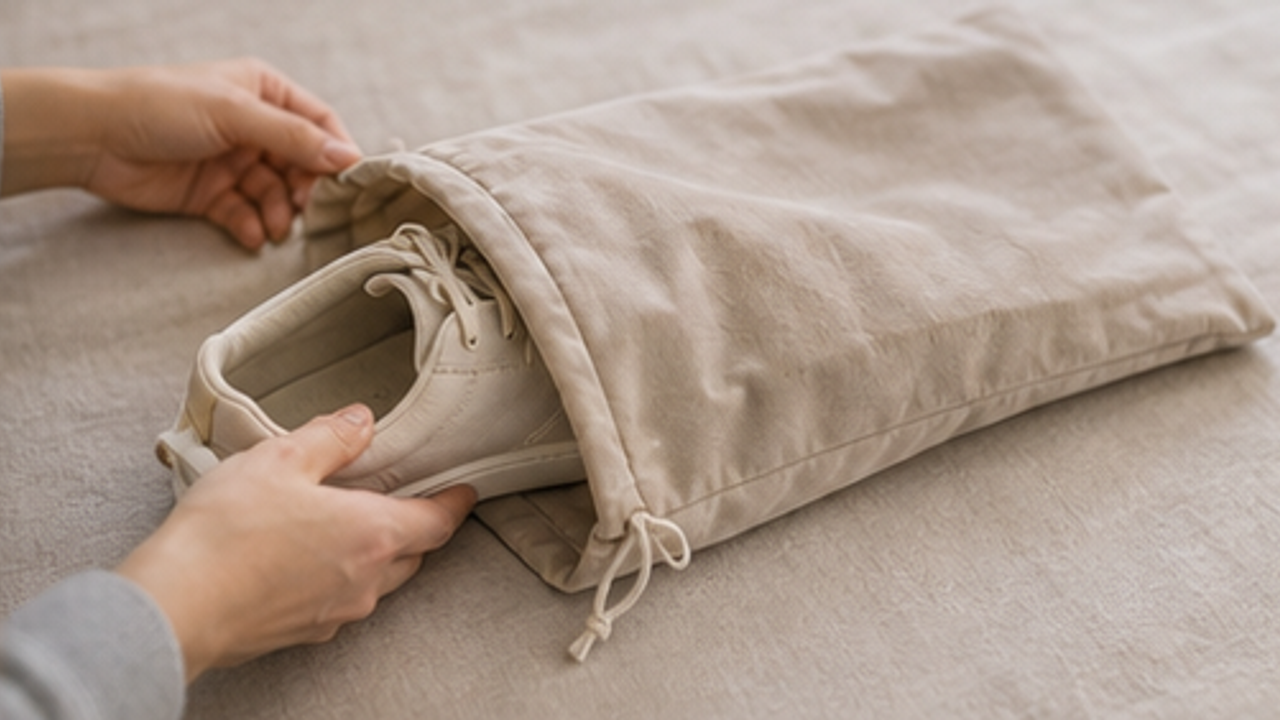
Put one shoe into one bag
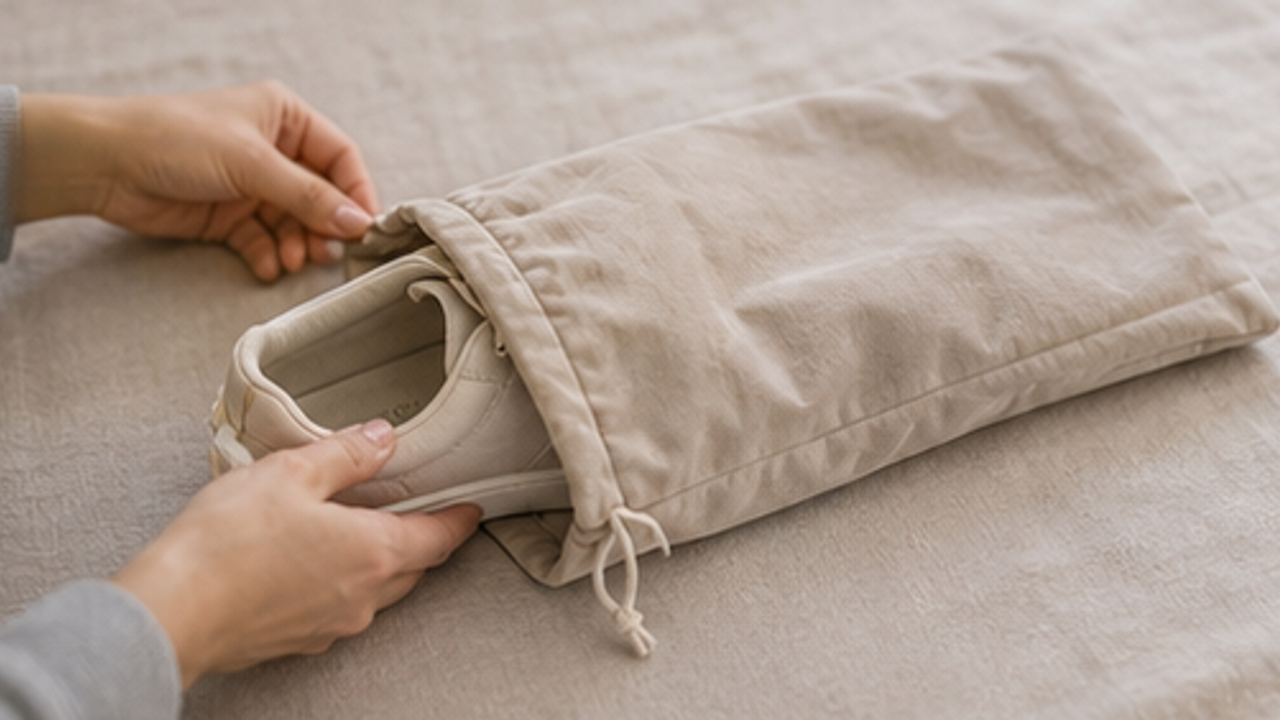
Put one shoe into one bag. Handle only this small category so the work surface stays controlled and matches the visual step clearly.
This moves travel shoe sole isolation bags from scattered storage into a fixed setup. Finish step 5 before moving on.
Do not seal shoes while the soles are still wet, or moisture can spread inside the luggage.
Bag the second shoe separately
Bag the second shoe separately. Handle only this small category so the work surface stays controlled and matches the visual step clearly.
This moves travel shoe sole isolation bags from scattered storage into a fixed setup. Finish step 6 before moving on.
Do not seal shoes while the soles are still wet, or moisture can spread inside the luggage.
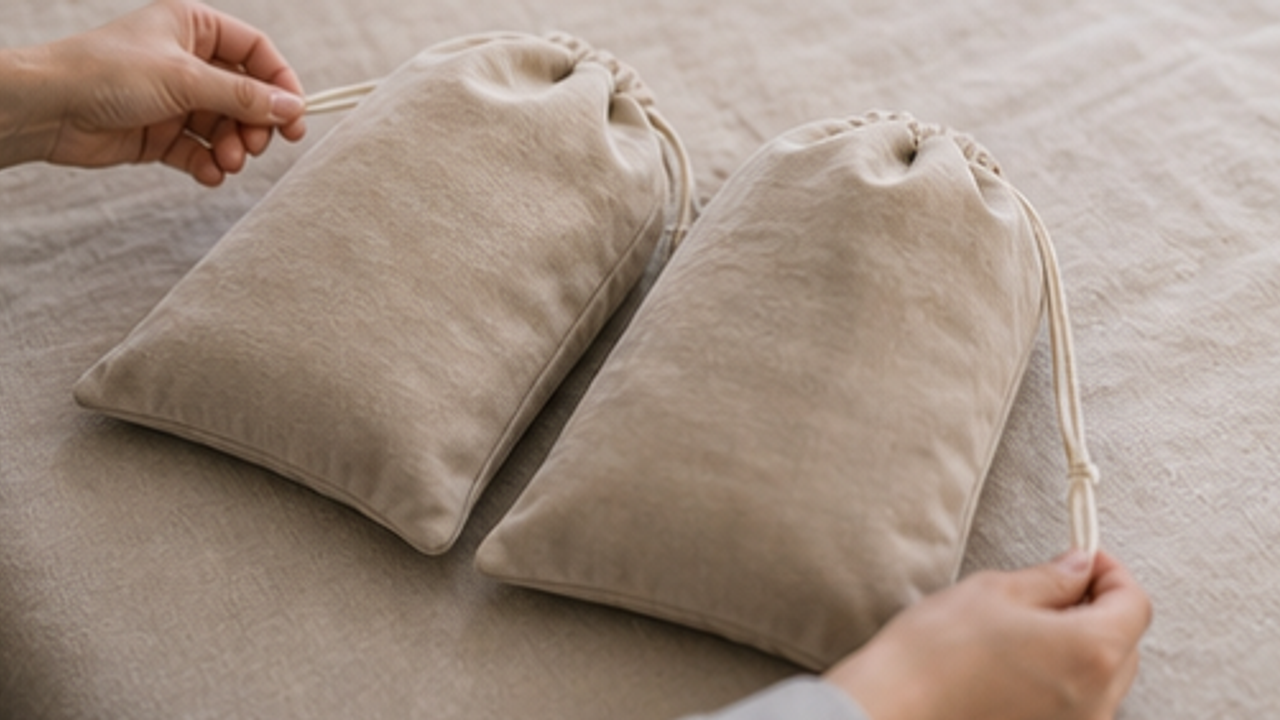
Close each bag securely
Close each bag securely. Handle only this small category so the work surface stays controlled and matches the visual step clearly.
This moves travel shoe sole isolation bags from scattered storage into a fixed setup. Finish step 7 before moving on.
Do not seal shoes while the soles are still wet, or moisture can spread inside the luggage.
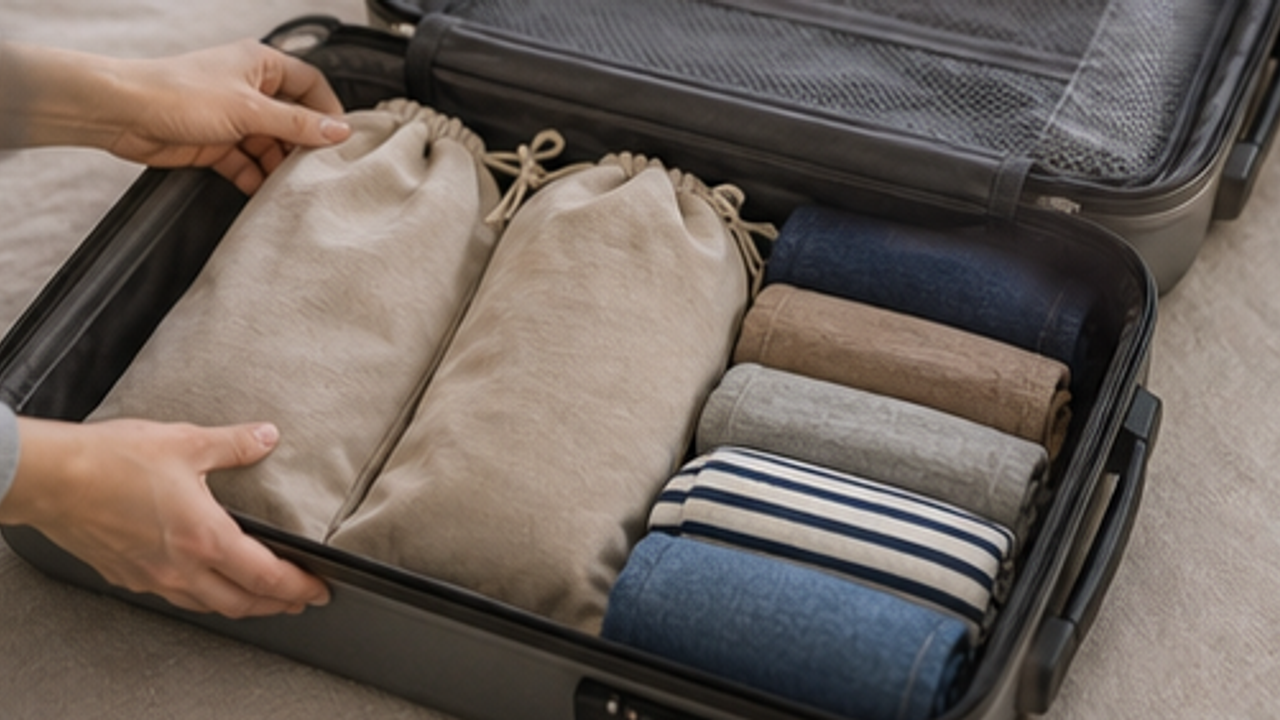
Pack the bags along the suitcase side
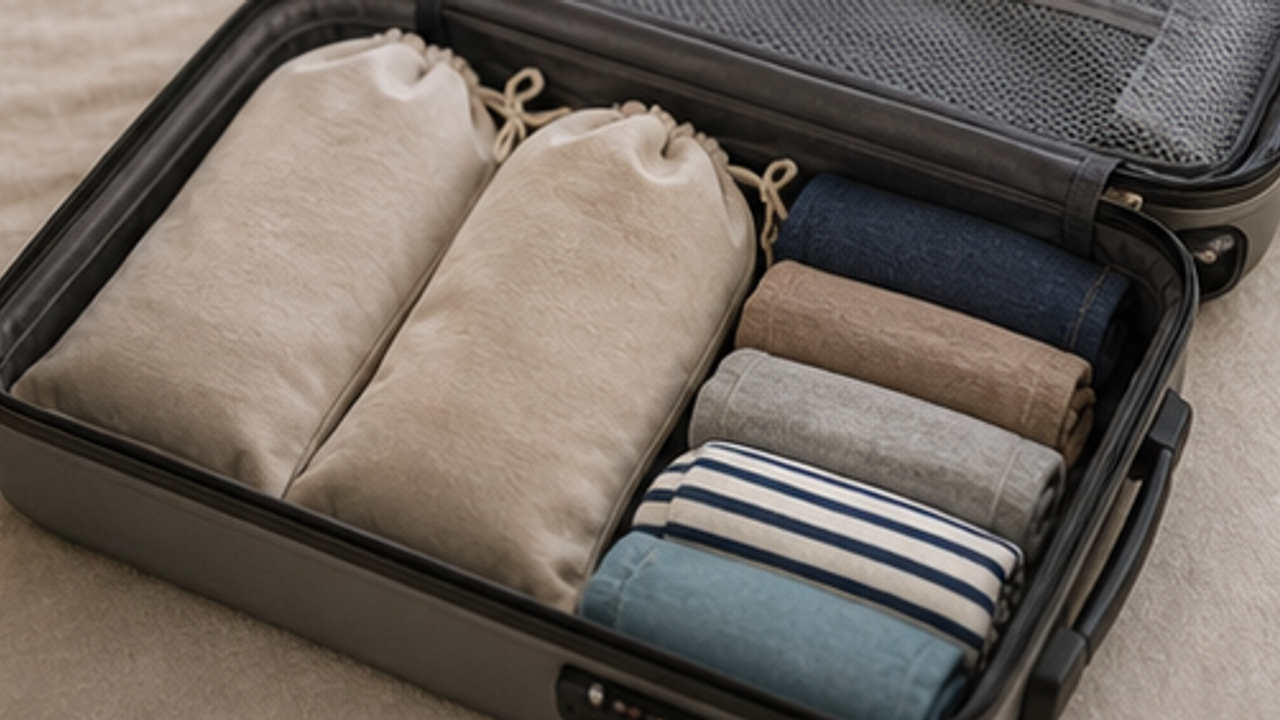
Pack the bags along the suitcase side. Handle only this small category so the work surface stays controlled and matches the visual step clearly.
This moves travel shoe sole isolation bags from scattered storage into a fixed setup. Finish step 8 before moving on.
Do not seal shoes while the soles are still wet, or moisture can spread inside the luggage.
Same topic
Related guides
Related guides
Cleaning
How to Prepare a Travel Folding Hanger Pouch
Give a travel folding hanger pouch one small fixed home so it is easy to use, return, and keep from spreading across drawers, shelves, or counters.
Cleaning
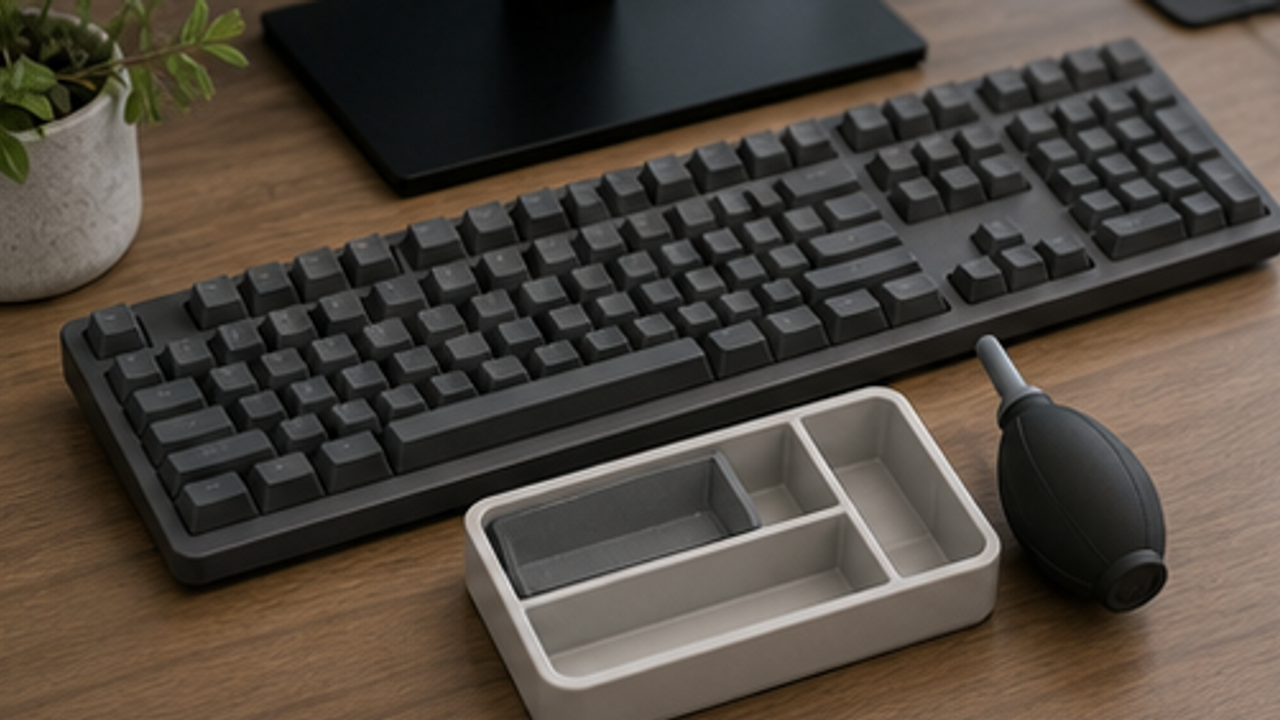
How to Set Up a Desk Keyboard Cleaning Brush Tray
Give a desk keyboard cleaning brush tray one small fixed home so it is easy to use, return, and keep from spreading across drawers, shelves, or counters.
Cleaning
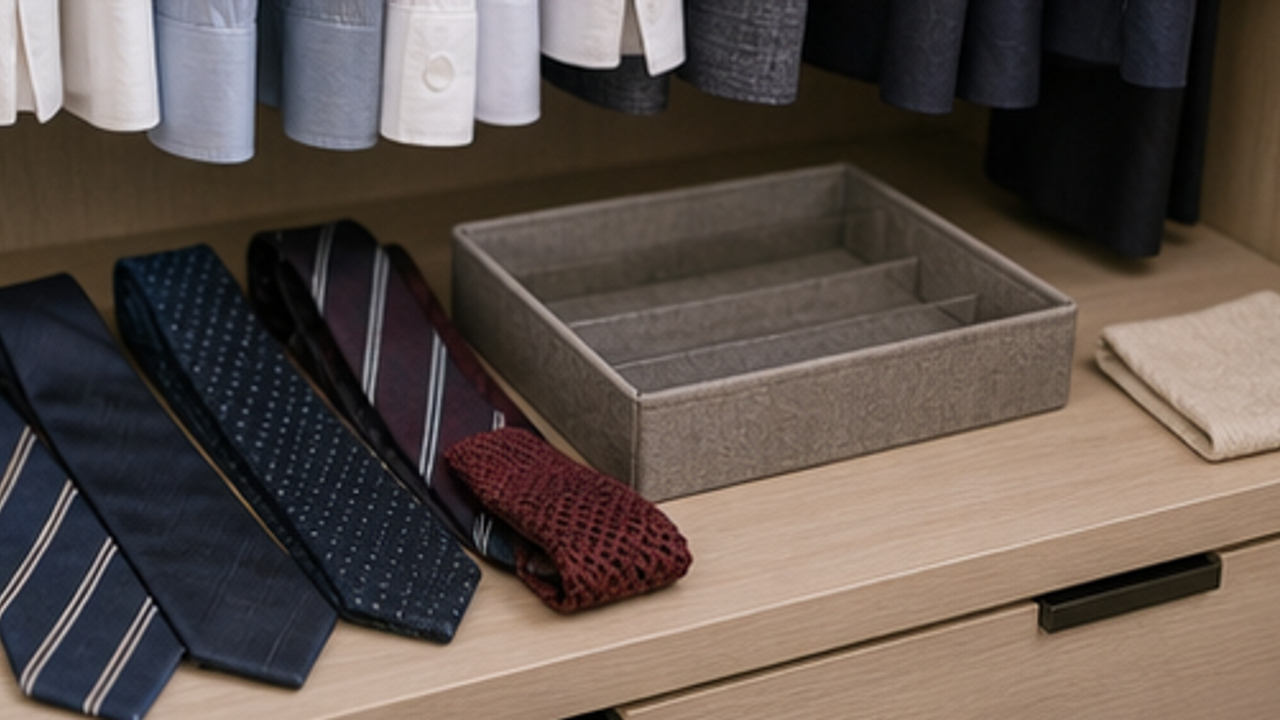
How to Organize Closet Ties in a Roll Tray
Give closet ties in a roll tray one small fixed home so it is easy to use, return, and keep from spreading across drawers, shelves, or counters.
Cleaning
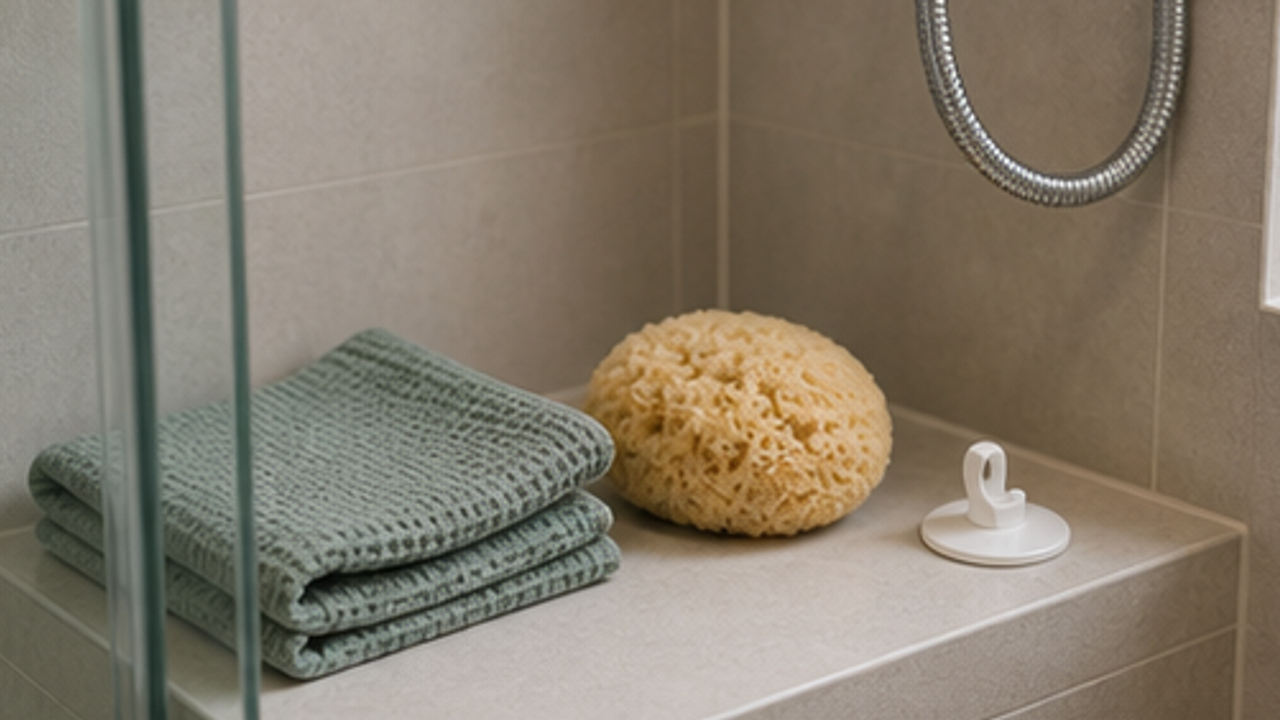
How to Set Up a Bathroom Bath Sponge Drying Hook
Give a bathroom bath sponge drying hook one small fixed home so it is easy to use, return, and keep from spreading across drawers, shelves, or counters.
More from this author
Open
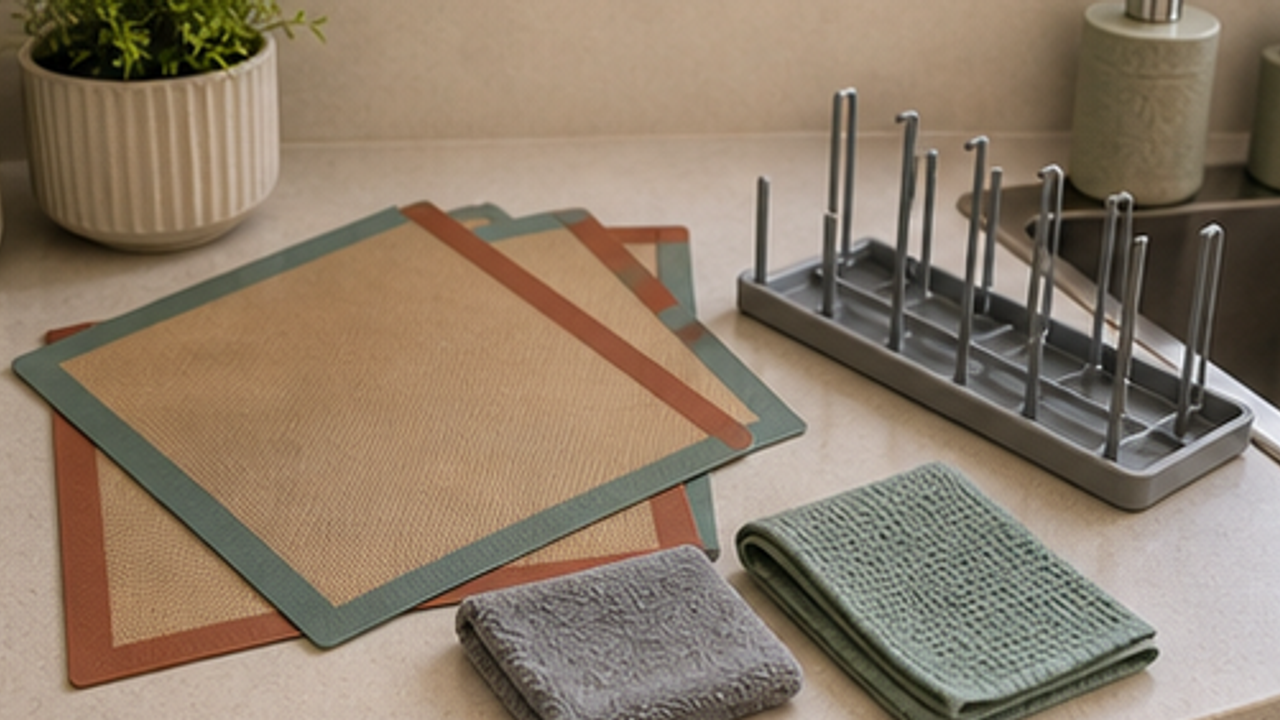
How to Set Up a Kitchen Silicone Baking Mat Drying Rack
Give a kitchen silicone baking mat drying rack one small fixed home so it is easy to use, return, and keep from spreading across drawers, shelves, or counters.
Open
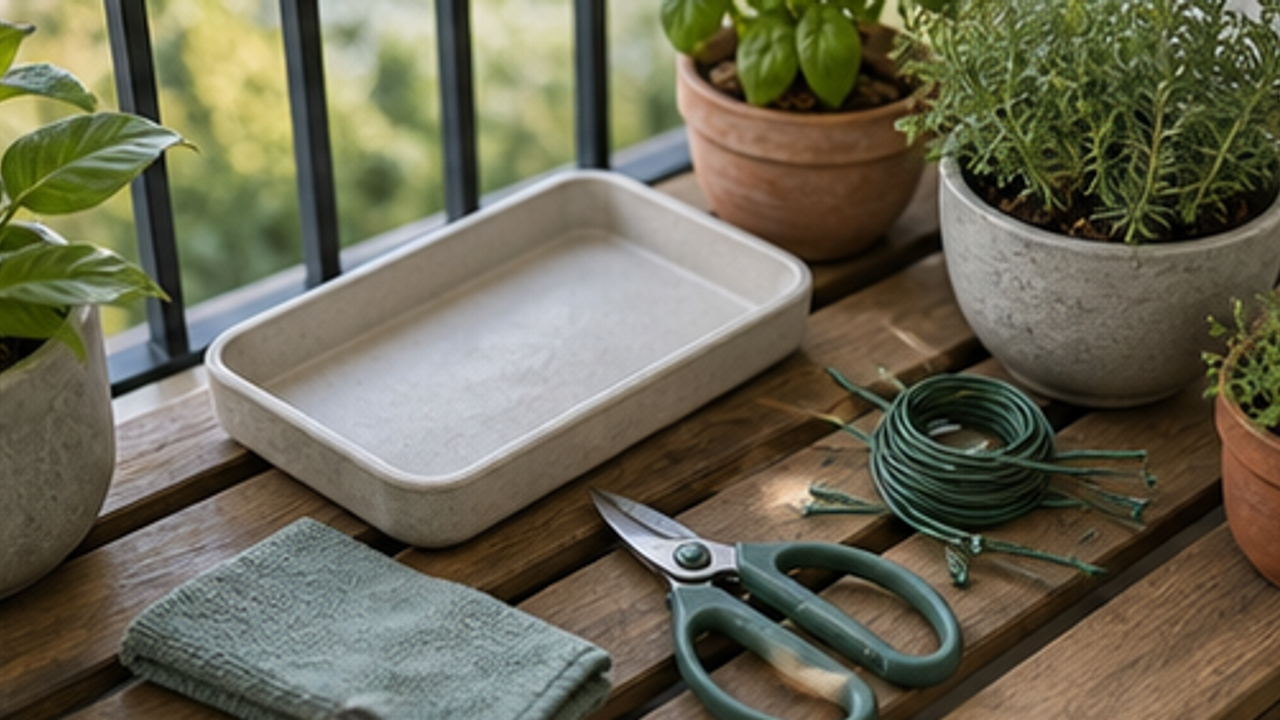
How to Set Up a Balcony Plant Pruning Tool Tray
Give a balcony plant pruning tool tray one small fixed home so it is easy to use, return, and keep from spreading across drawers, shelves, or counters.
Open
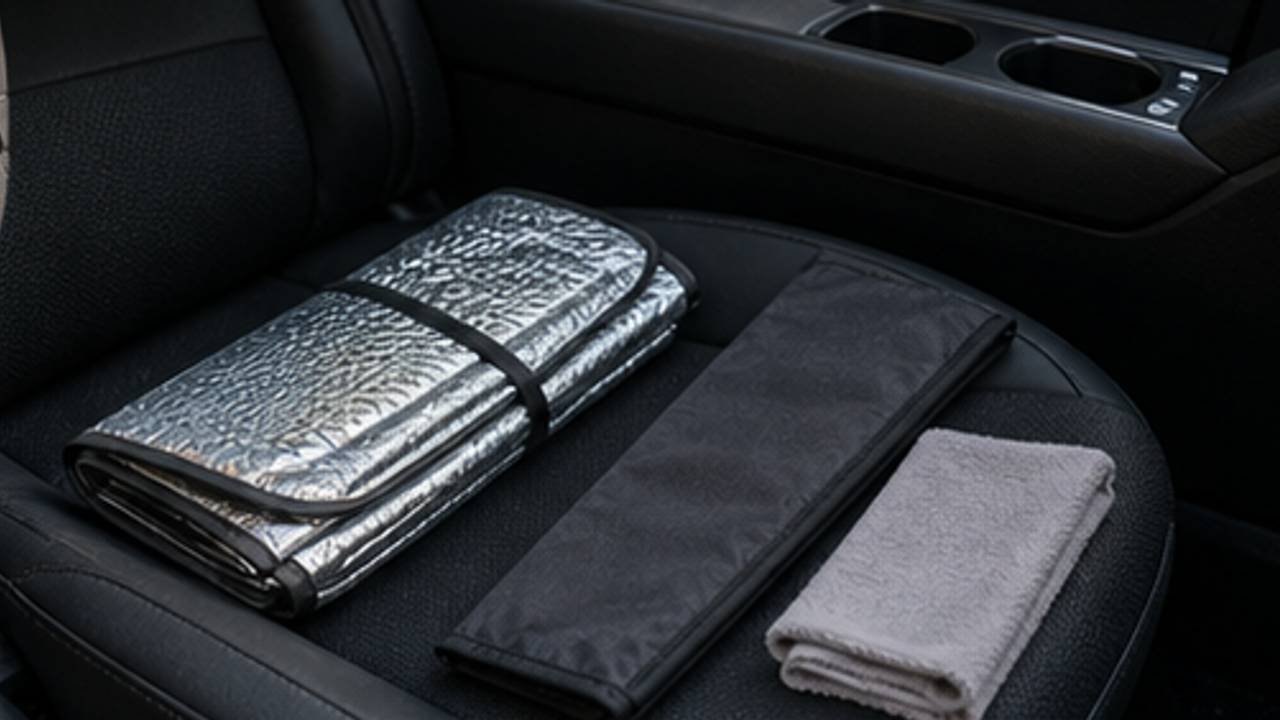
How to Organize a Car Folding Sunshade Sleeve
Give a car folding sunshade sleeve one small fixed home so it is easy to use, return, and keep from spreading across drawers, shelves, or counters.
Life Reactions
How this way feels to you
My Life Trial
Log it after trying
Comments
0 Comments
No comments yet.