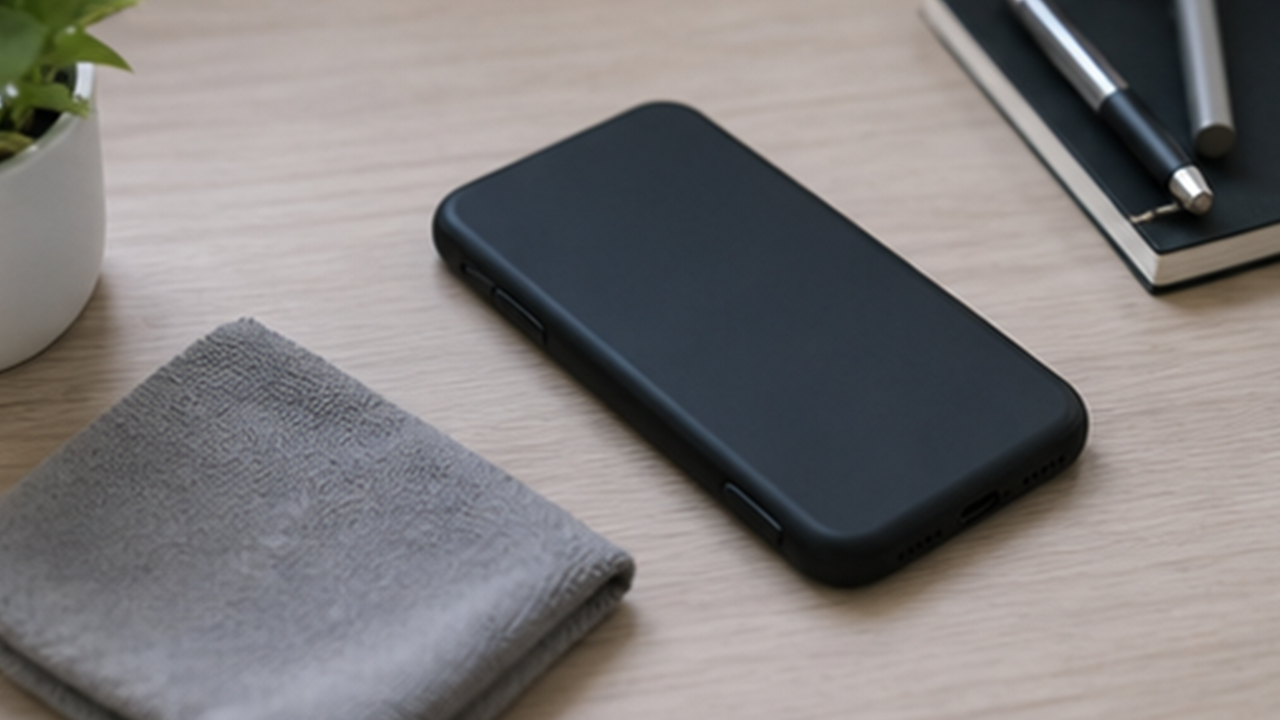
How to Disinfect a Smartphone Safely

Phones are touched constantly, but liquid should never be sprayed directly onto them. Power down, remove the case, wipe gently, and let it dry.
Unplug and power off
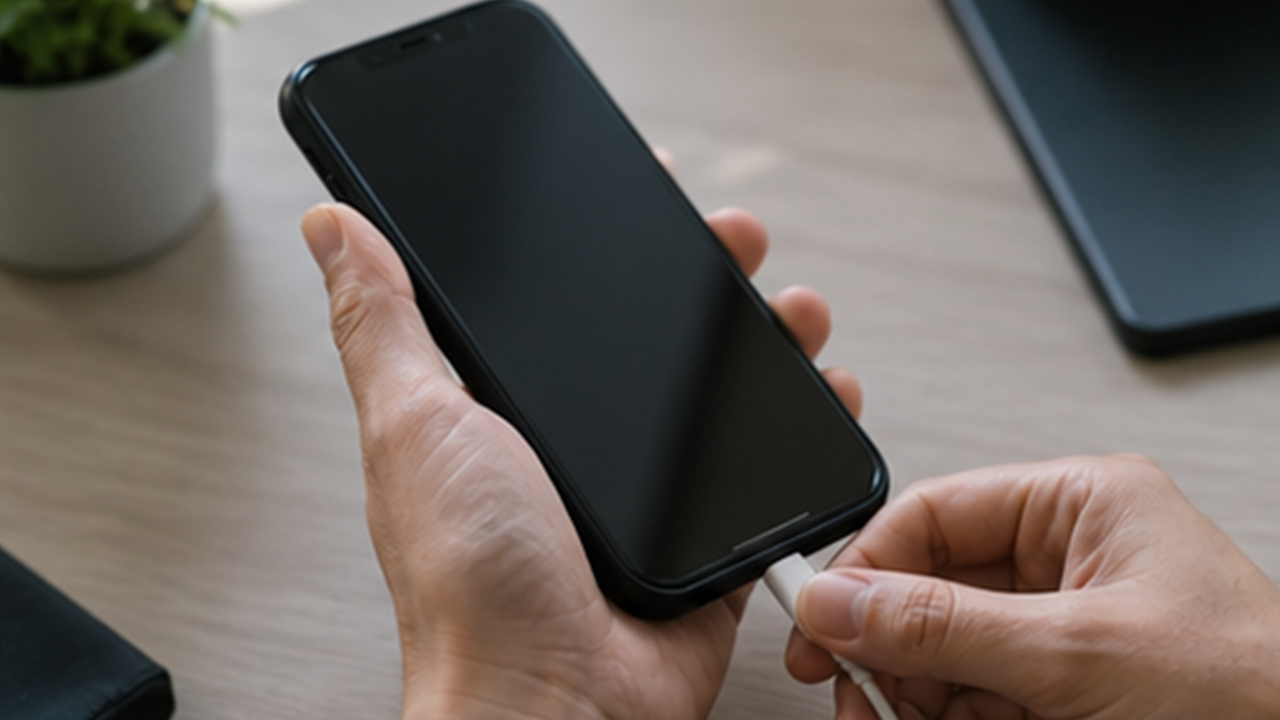
Step 1 is “Unplug and power off.” Keep the tools close, handle only this part, and avoid opening too many tasks at once. A steady pace keeps the result cleaner.
This reduces rework and makes the next step easier. It looks simple, but it prevents many small problems.
Do not spray liquid directly on the phone or let moisture enter ports.
Remove the phone case
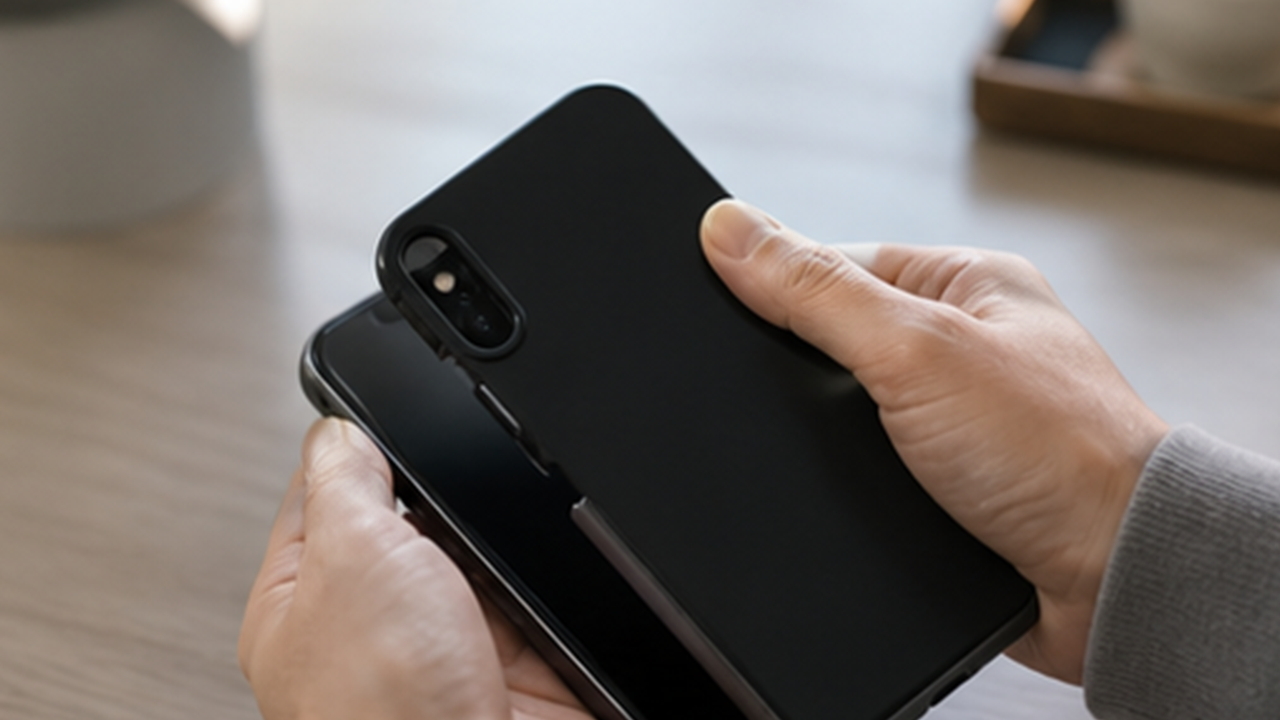
Step 2 is “Remove the phone case.” Keep the tools close, handle only this part, and avoid opening too many tasks at once. A steady pace keeps the result cleaner.
This reduces rework and makes the next step easier. It looks simple, but it prevents many small problems.
Do not spray liquid directly on the phone or let moisture enter ports.
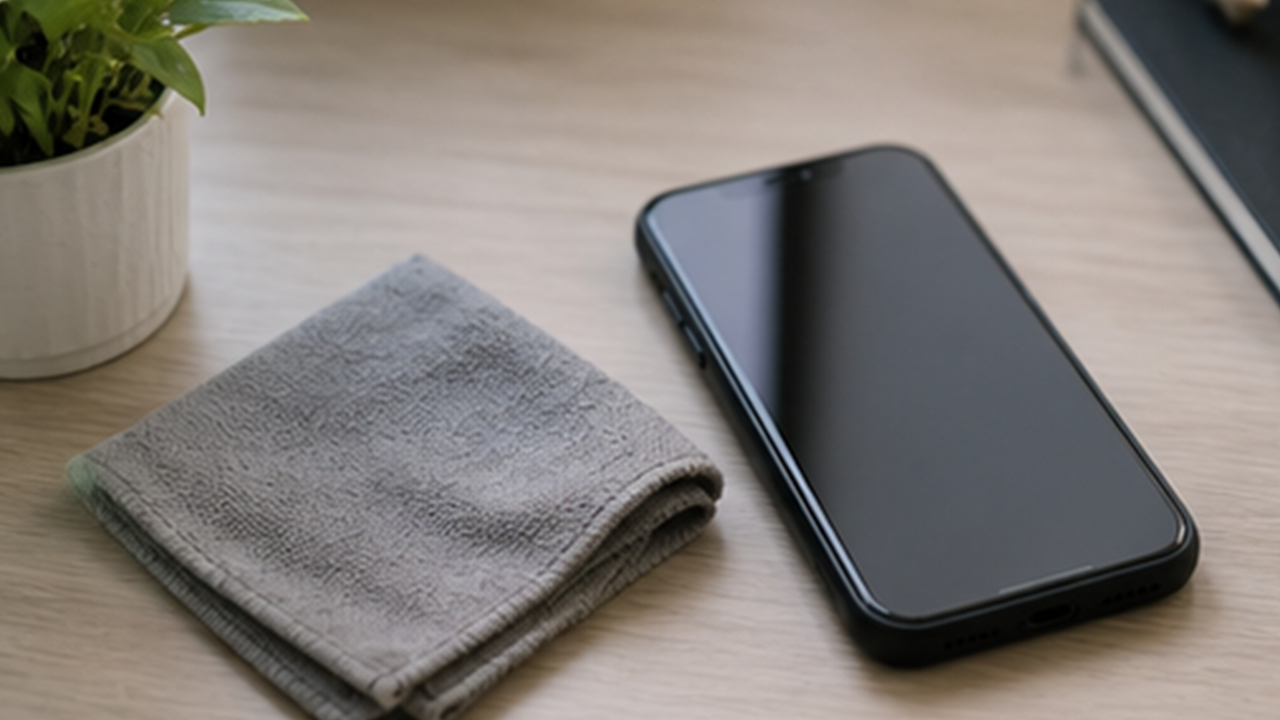
Wipe the case separately
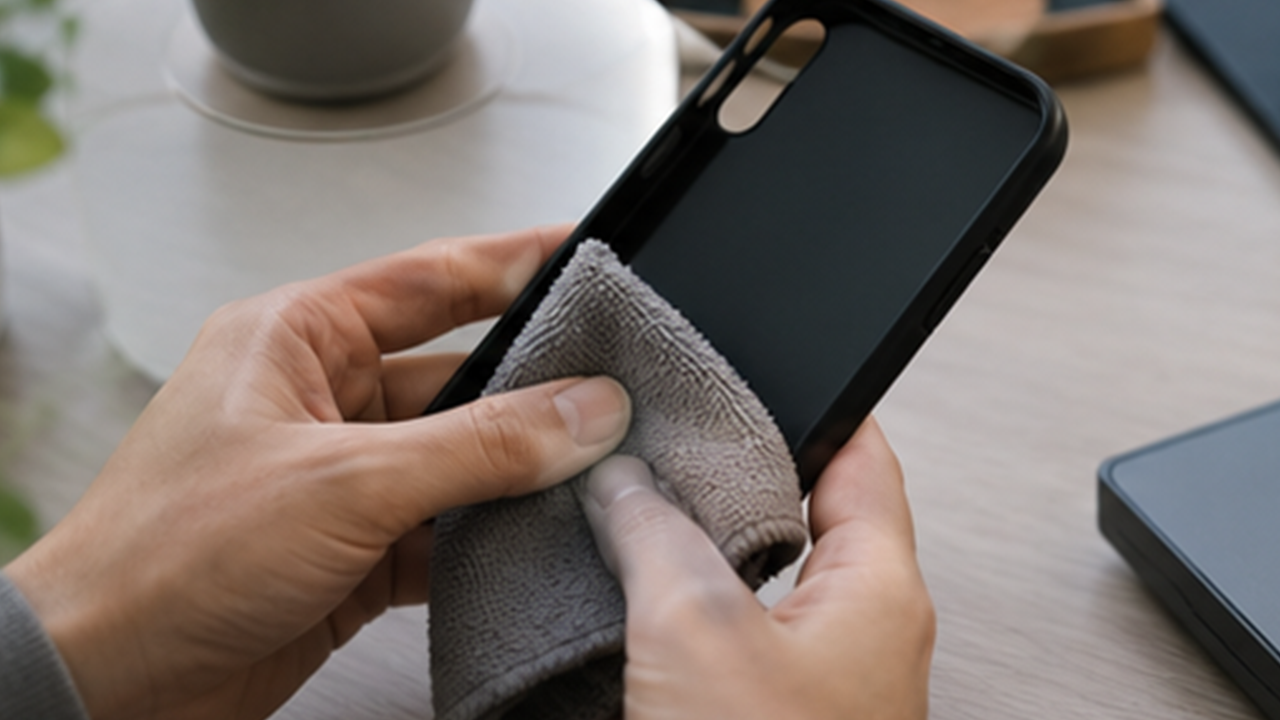
Step 3 is “Wipe the case separately.” Keep the tools close, handle only this part, and avoid opening too many tasks at once. A steady pace keeps the result cleaner.
This reduces rework and makes the next step easier. It looks simple, but it prevents many small problems.
Do not spray liquid directly on the phone or let moisture enter ports.
Prepare a lightly damp disinfecting cloth
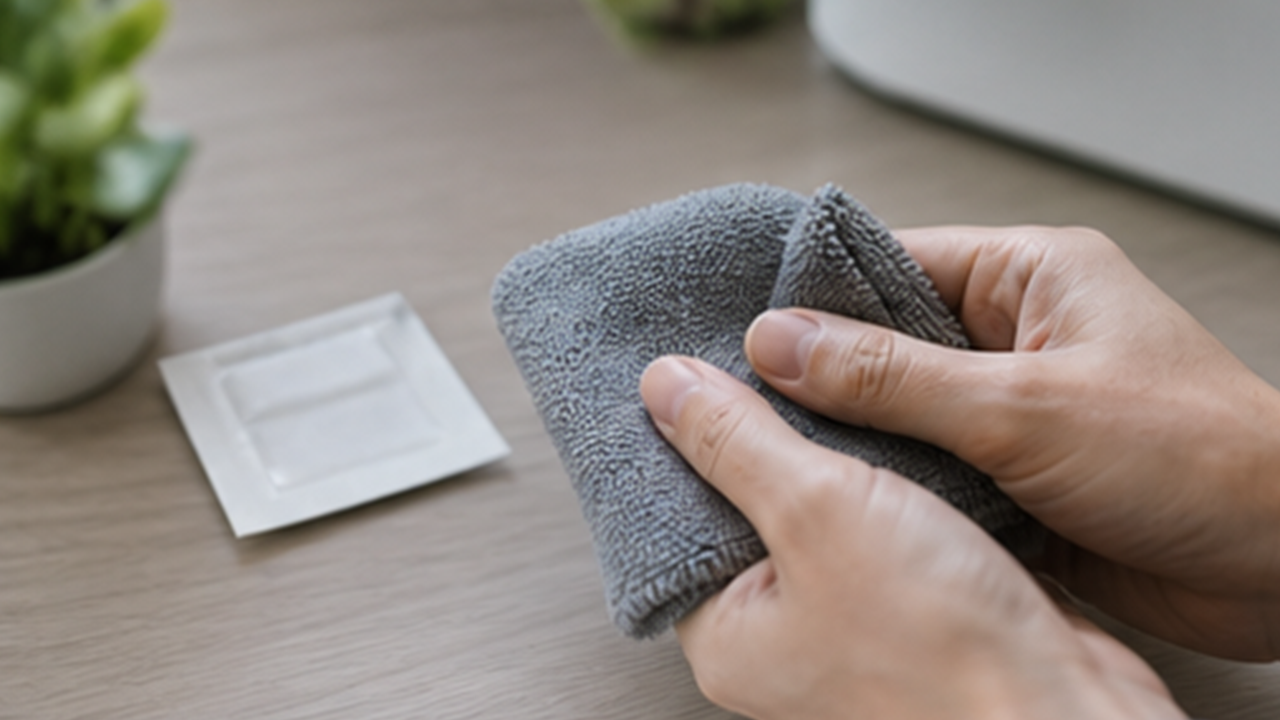
Step 4 is “Prepare a lightly damp disinfecting cloth.” Keep the tools close, handle only this part, and avoid opening too many tasks at once. A steady pace keeps the result cleaner.
This reduces rework and makes the next step easier. It looks simple, but it prevents many small problems.
Do not spray liquid directly on the phone or let moisture enter ports.
Wipe the screen gently
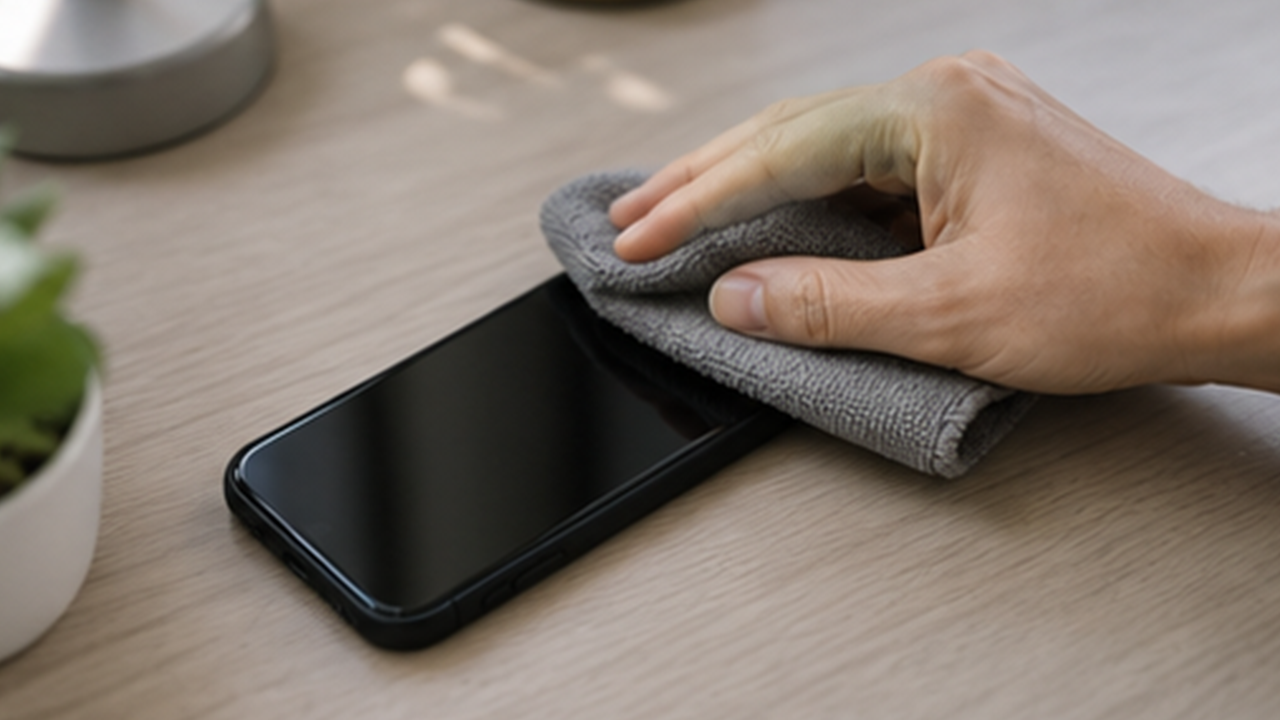
Step 5 is “Wipe the screen gently.” Keep the tools close, handle only this part, and avoid opening too many tasks at once. A steady pace keeps the result cleaner.
This reduces rework and makes the next step easier. It looks simple, but it prevents many small problems.
Do not spray liquid directly on the phone or let moisture enter ports.
Clean edges and camera area
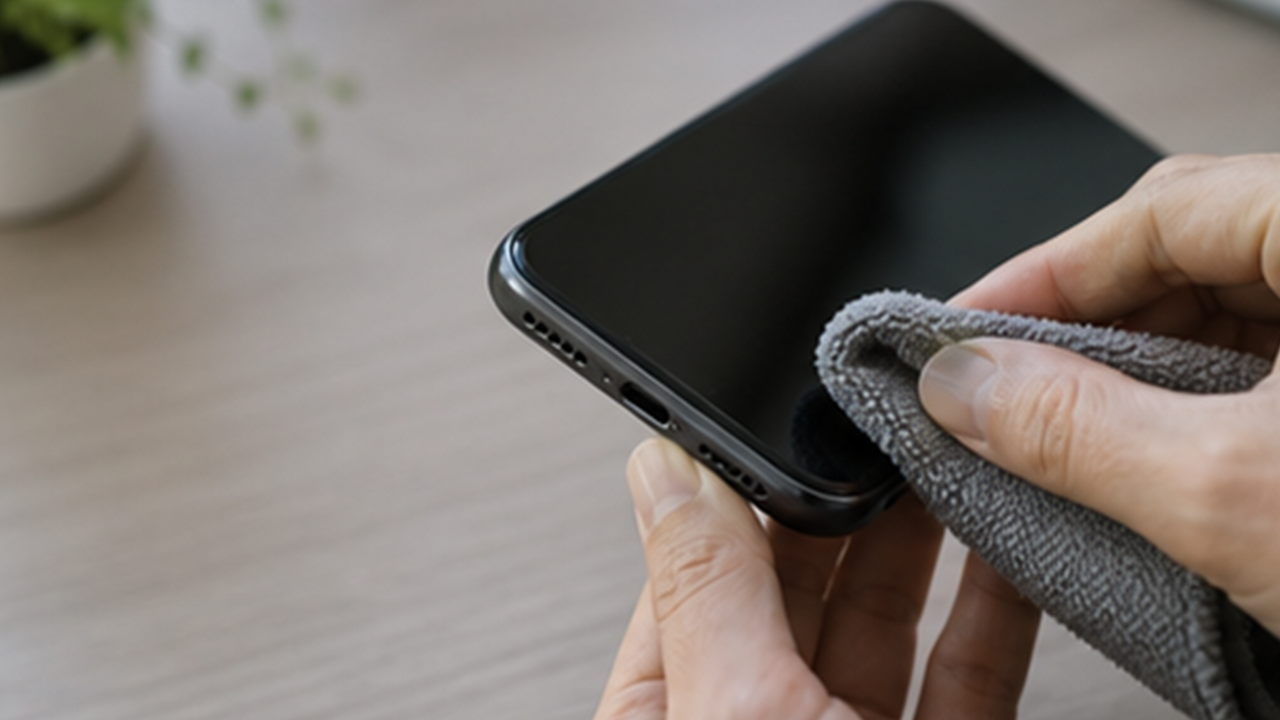
Step 6 is “Clean edges and camera area.” Keep the tools close, handle only this part, and avoid opening too many tasks at once. A steady pace keeps the result cleaner.
This reduces rework and makes the next step easier. It looks simple, but it prevents many small problems.
Do not spray liquid directly on the phone or let moisture enter ports.
Let it dry completely
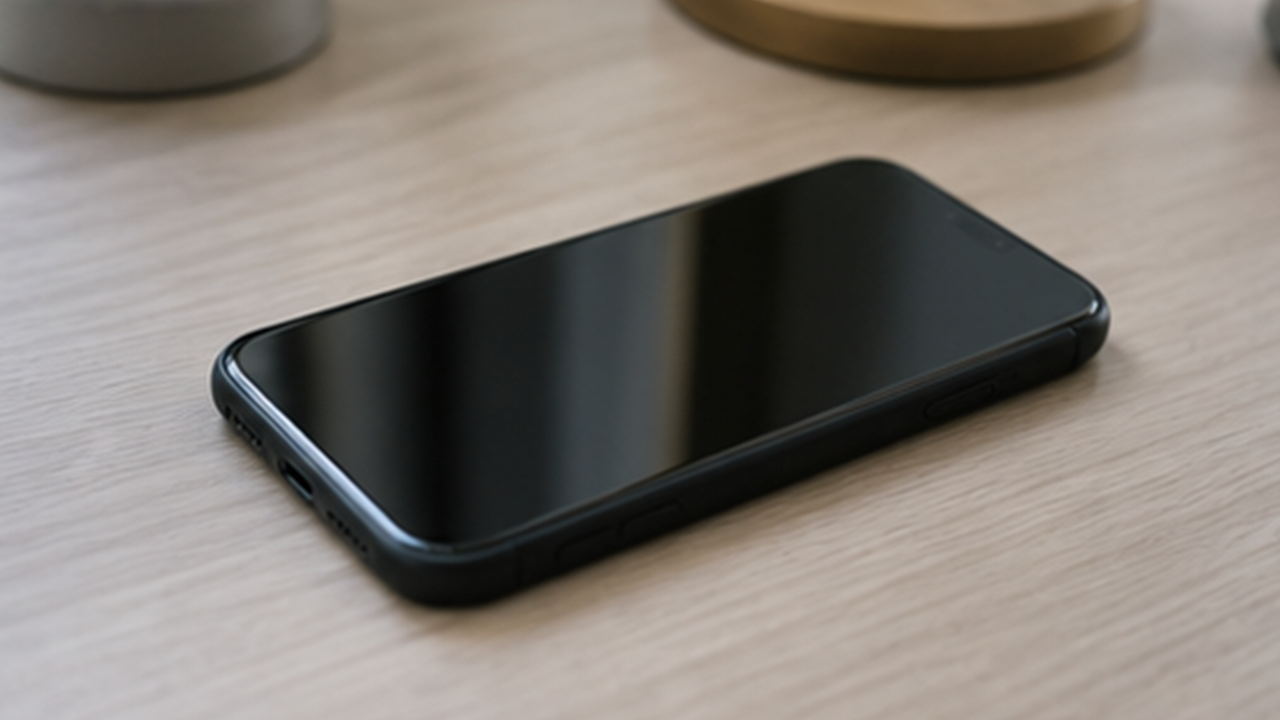
Step 7 is “Let it dry completely.” Keep the tools close, handle only this part, and avoid opening too many tasks at once. A steady pace keeps the result cleaner.
This reduces rework and makes the next step easier. It looks simple, but it prevents many small problems.
Do not spray liquid directly on the phone or let moisture enter ports.
Put the case back on
Step 8 is “Put the case back on.” Keep the tools close, handle only this part, and avoid opening too many tasks at once. A steady pace keeps the result cleaner.
This reduces rework and makes the next step easier. It looks simple, but it prevents many small problems.
Do not spray liquid directly on the phone or let moisture enter ports.
Same topic
Related guides
Related guides
Cleaning
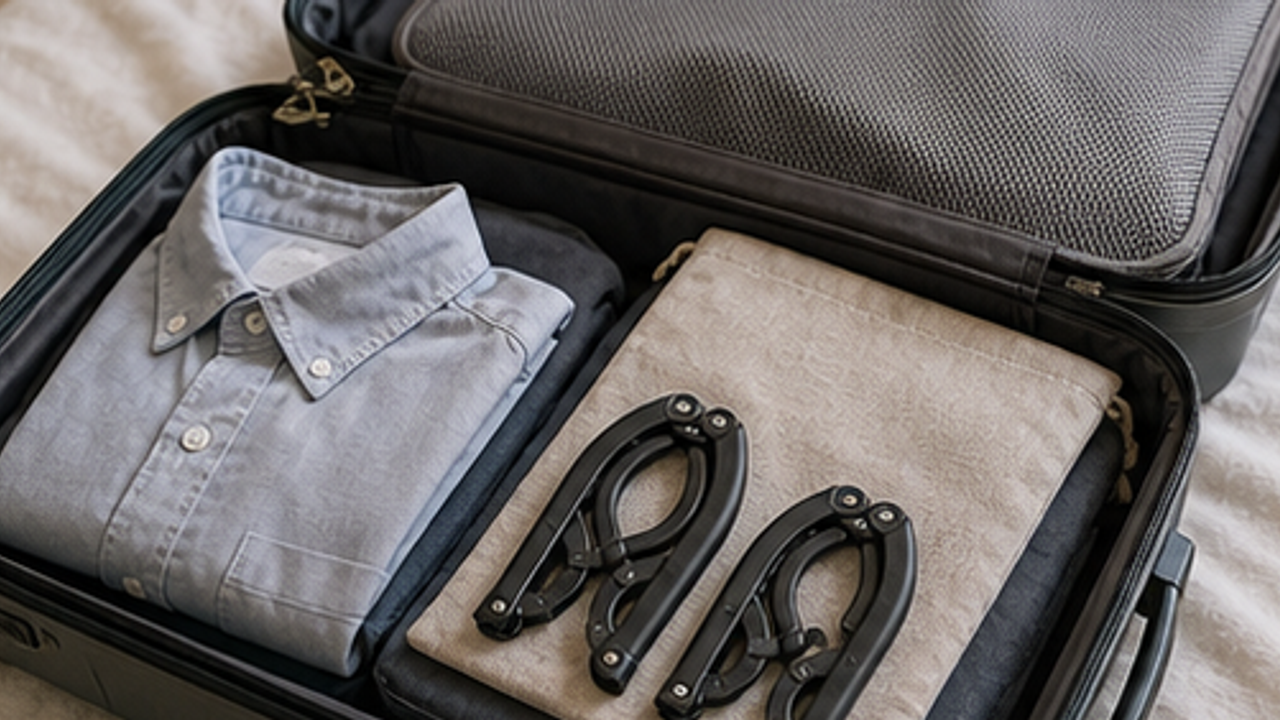
How to Prepare a Travel Folding Hanger Pouch
Give a travel folding hanger pouch one small fixed home so it is easy to use, return, and keep from spreading across drawers, shelves, or counters.
Cleaning
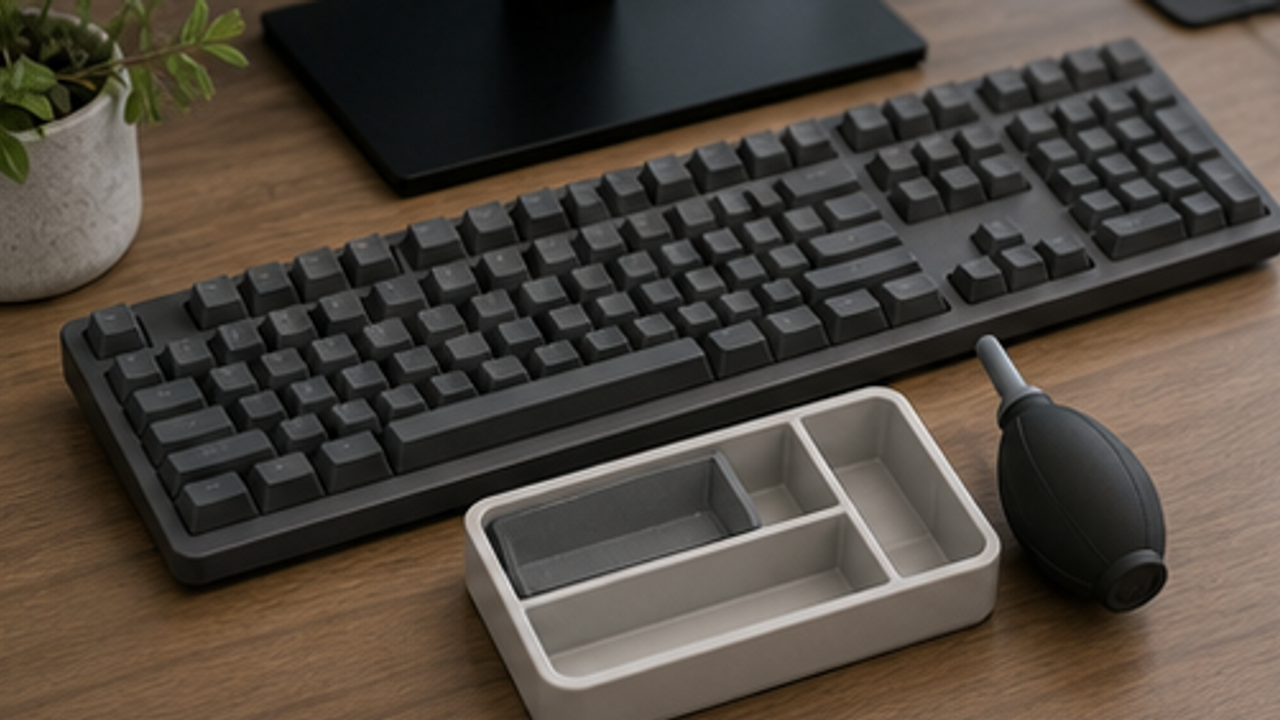
How to Set Up a Desk Keyboard Cleaning Brush Tray
Give a desk keyboard cleaning brush tray one small fixed home so it is easy to use, return, and keep from spreading across drawers, shelves, or counters.
Cleaning
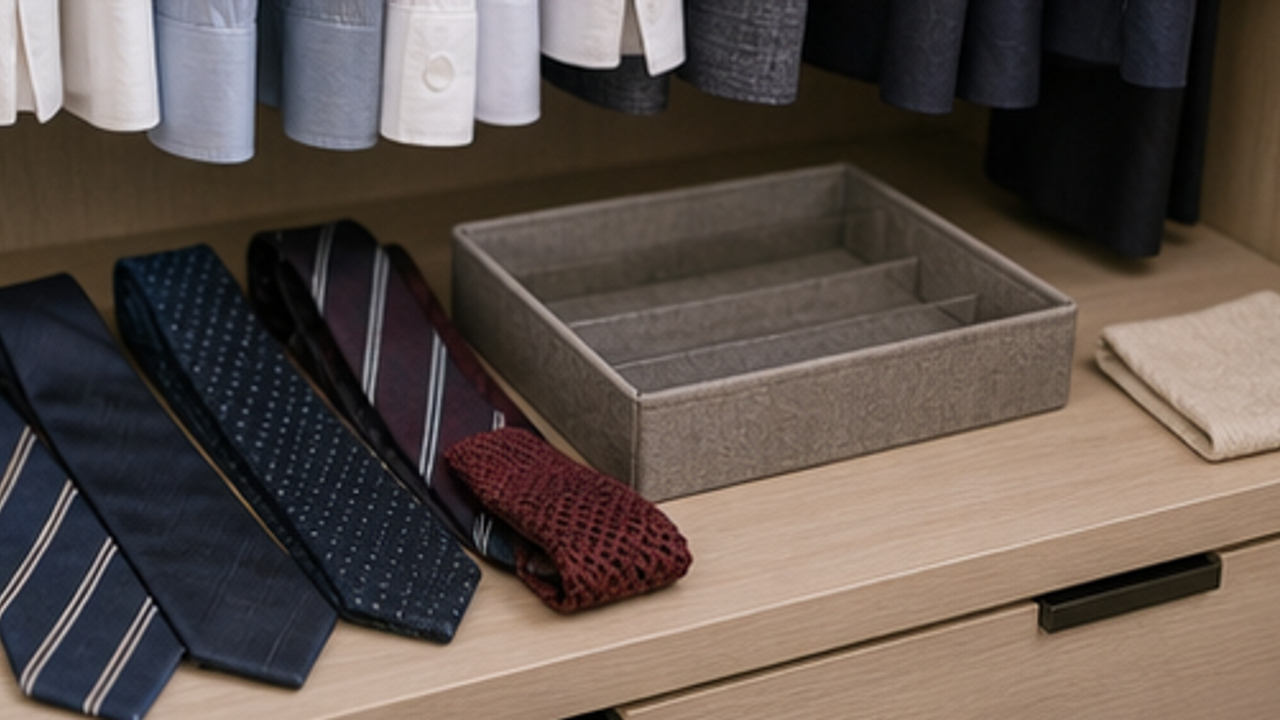
How to Organize Closet Ties in a Roll Tray
Give closet ties in a roll tray one small fixed home so it is easy to use, return, and keep from spreading across drawers, shelves, or counters.
Cleaning
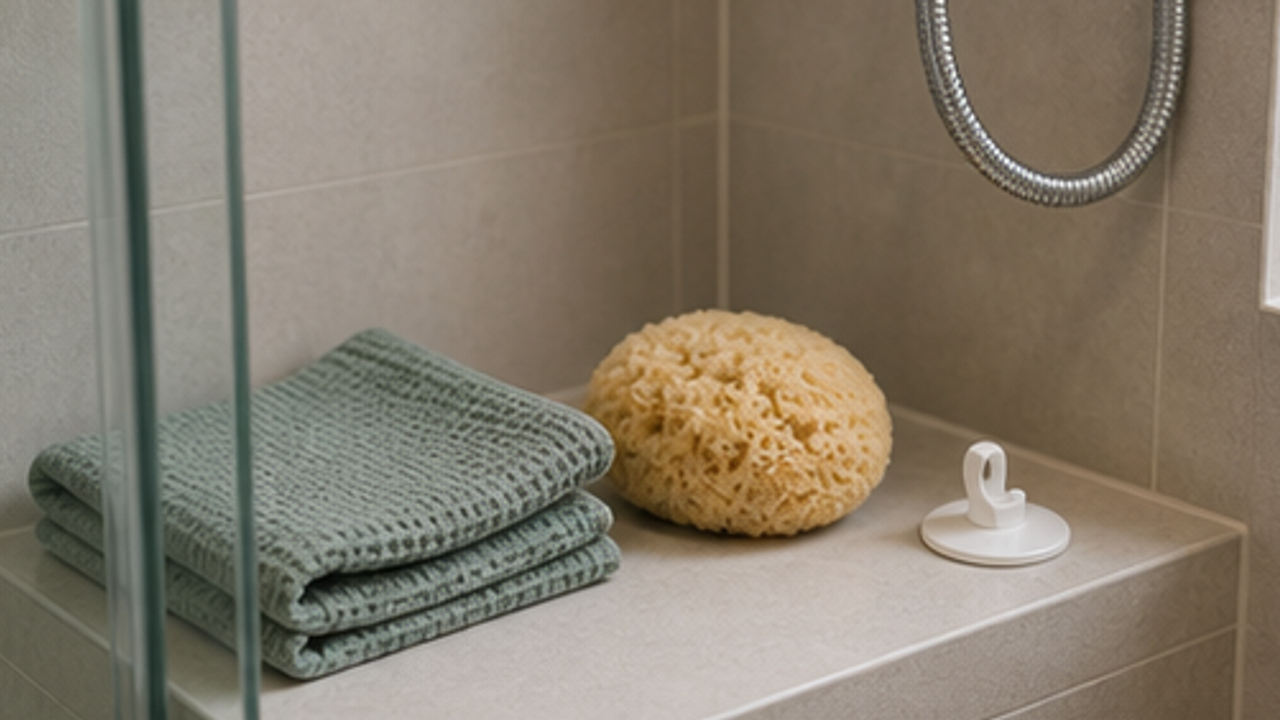
How to Set Up a Bathroom Bath Sponge Drying Hook
Give a bathroom bath sponge drying hook one small fixed home so it is easy to use, return, and keep from spreading across drawers, shelves, or counters.
More from this author
Open
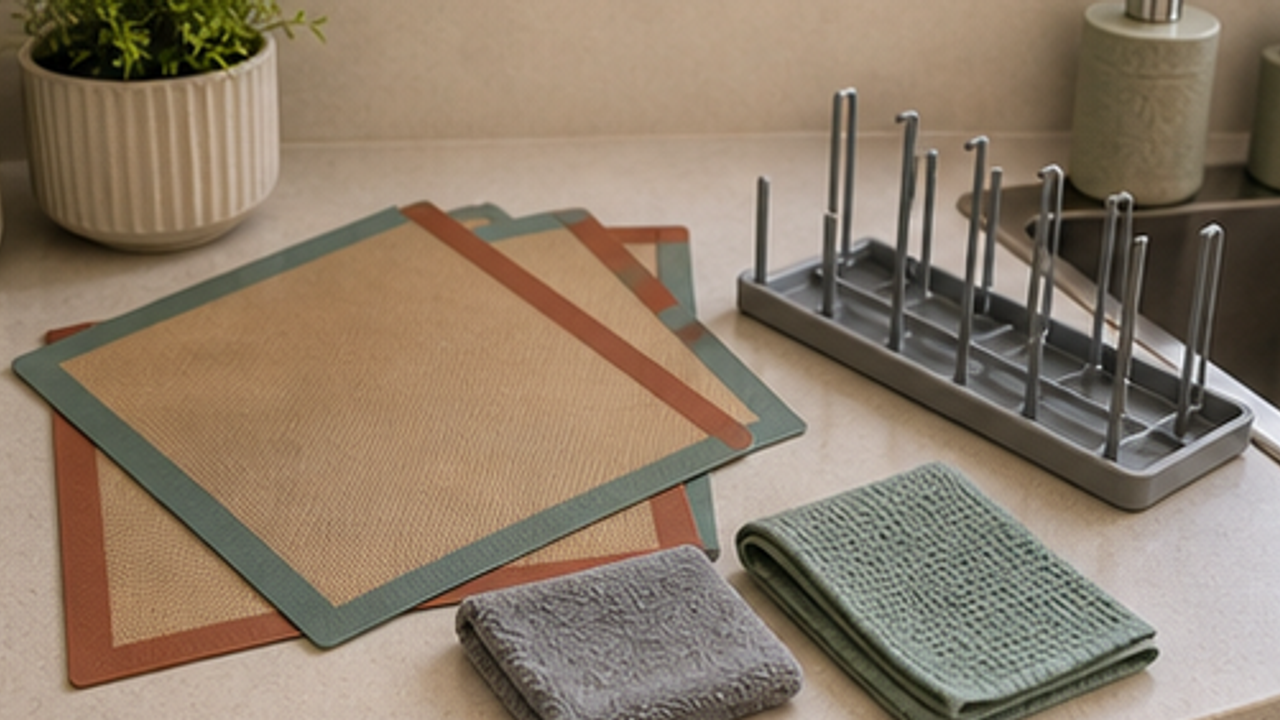
How to Set Up a Kitchen Silicone Baking Mat Drying Rack
Give a kitchen silicone baking mat drying rack one small fixed home so it is easy to use, return, and keep from spreading across drawers, shelves, or counters.
Open
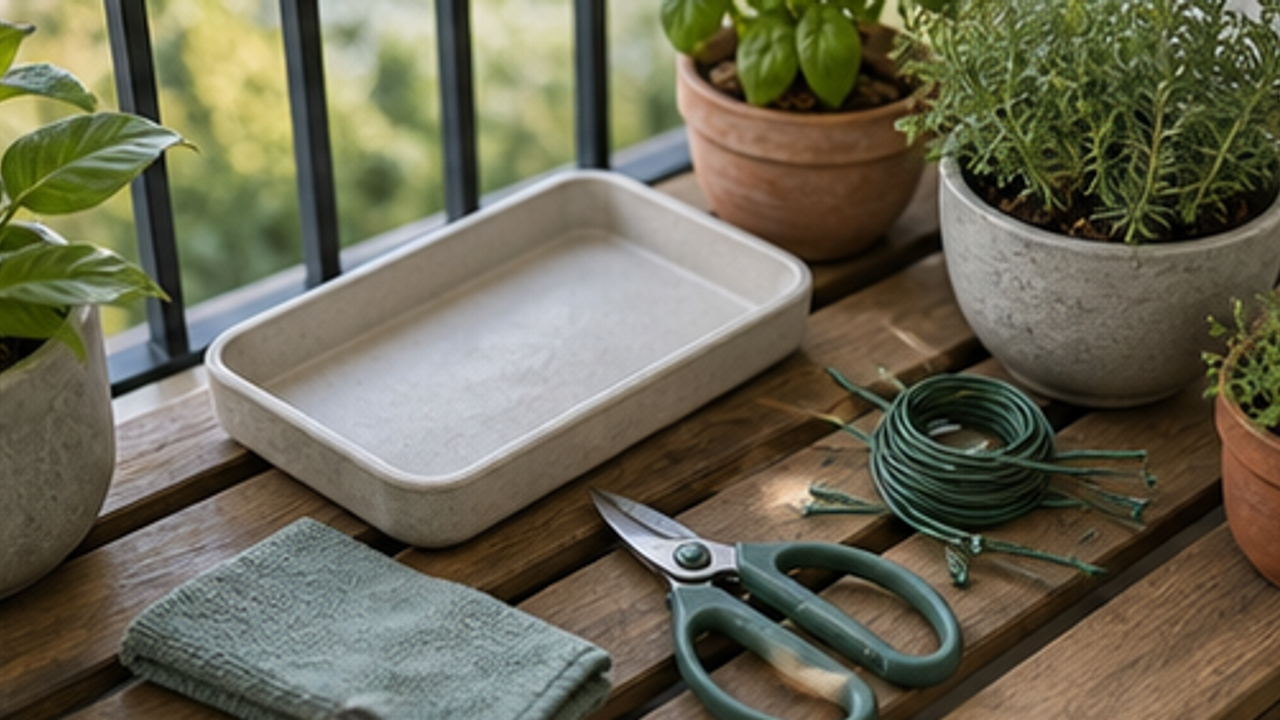
How to Set Up a Balcony Plant Pruning Tool Tray
Give a balcony plant pruning tool tray one small fixed home so it is easy to use, return, and keep from spreading across drawers, shelves, or counters.
Open
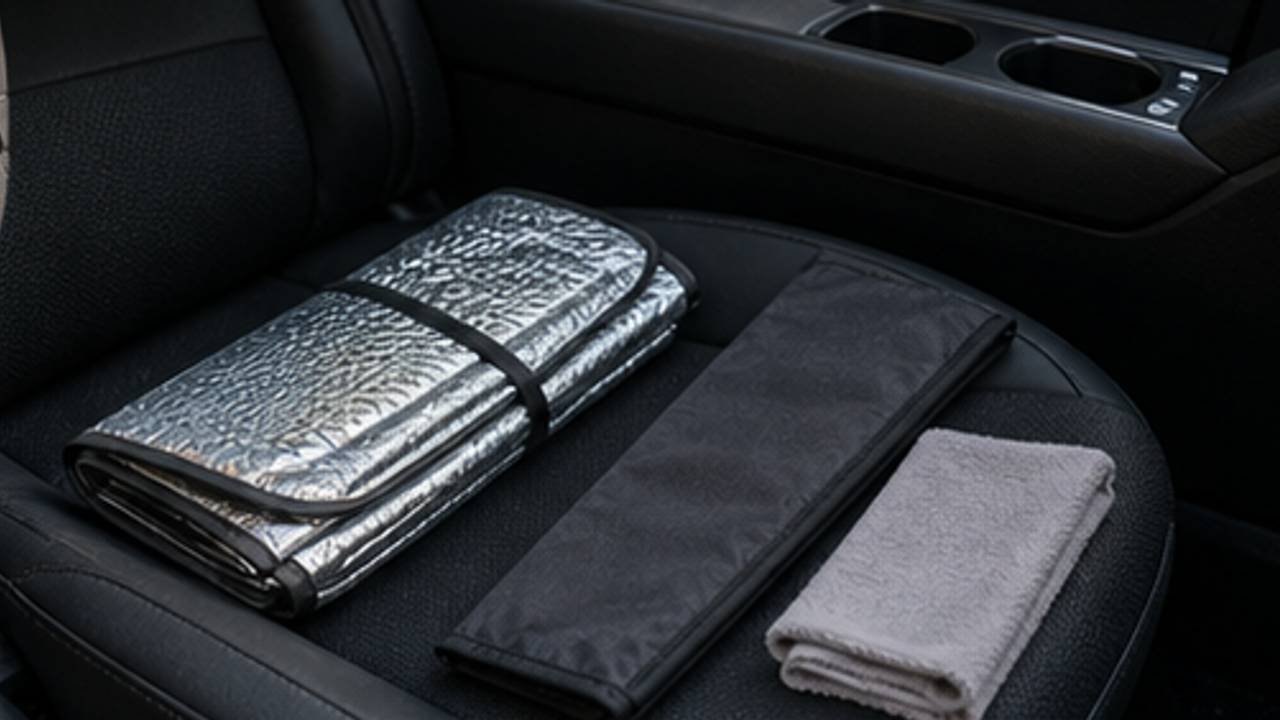
How to Organize a Car Folding Sunshade Sleeve
Give a car folding sunshade sleeve one small fixed home so it is easy to use, return, and keep from spreading across drawers, shelves, or counters.
Life Reactions
How this way feels to you
My Life Trial
Log it after trying
Comments
0 Comments
No comments yet.